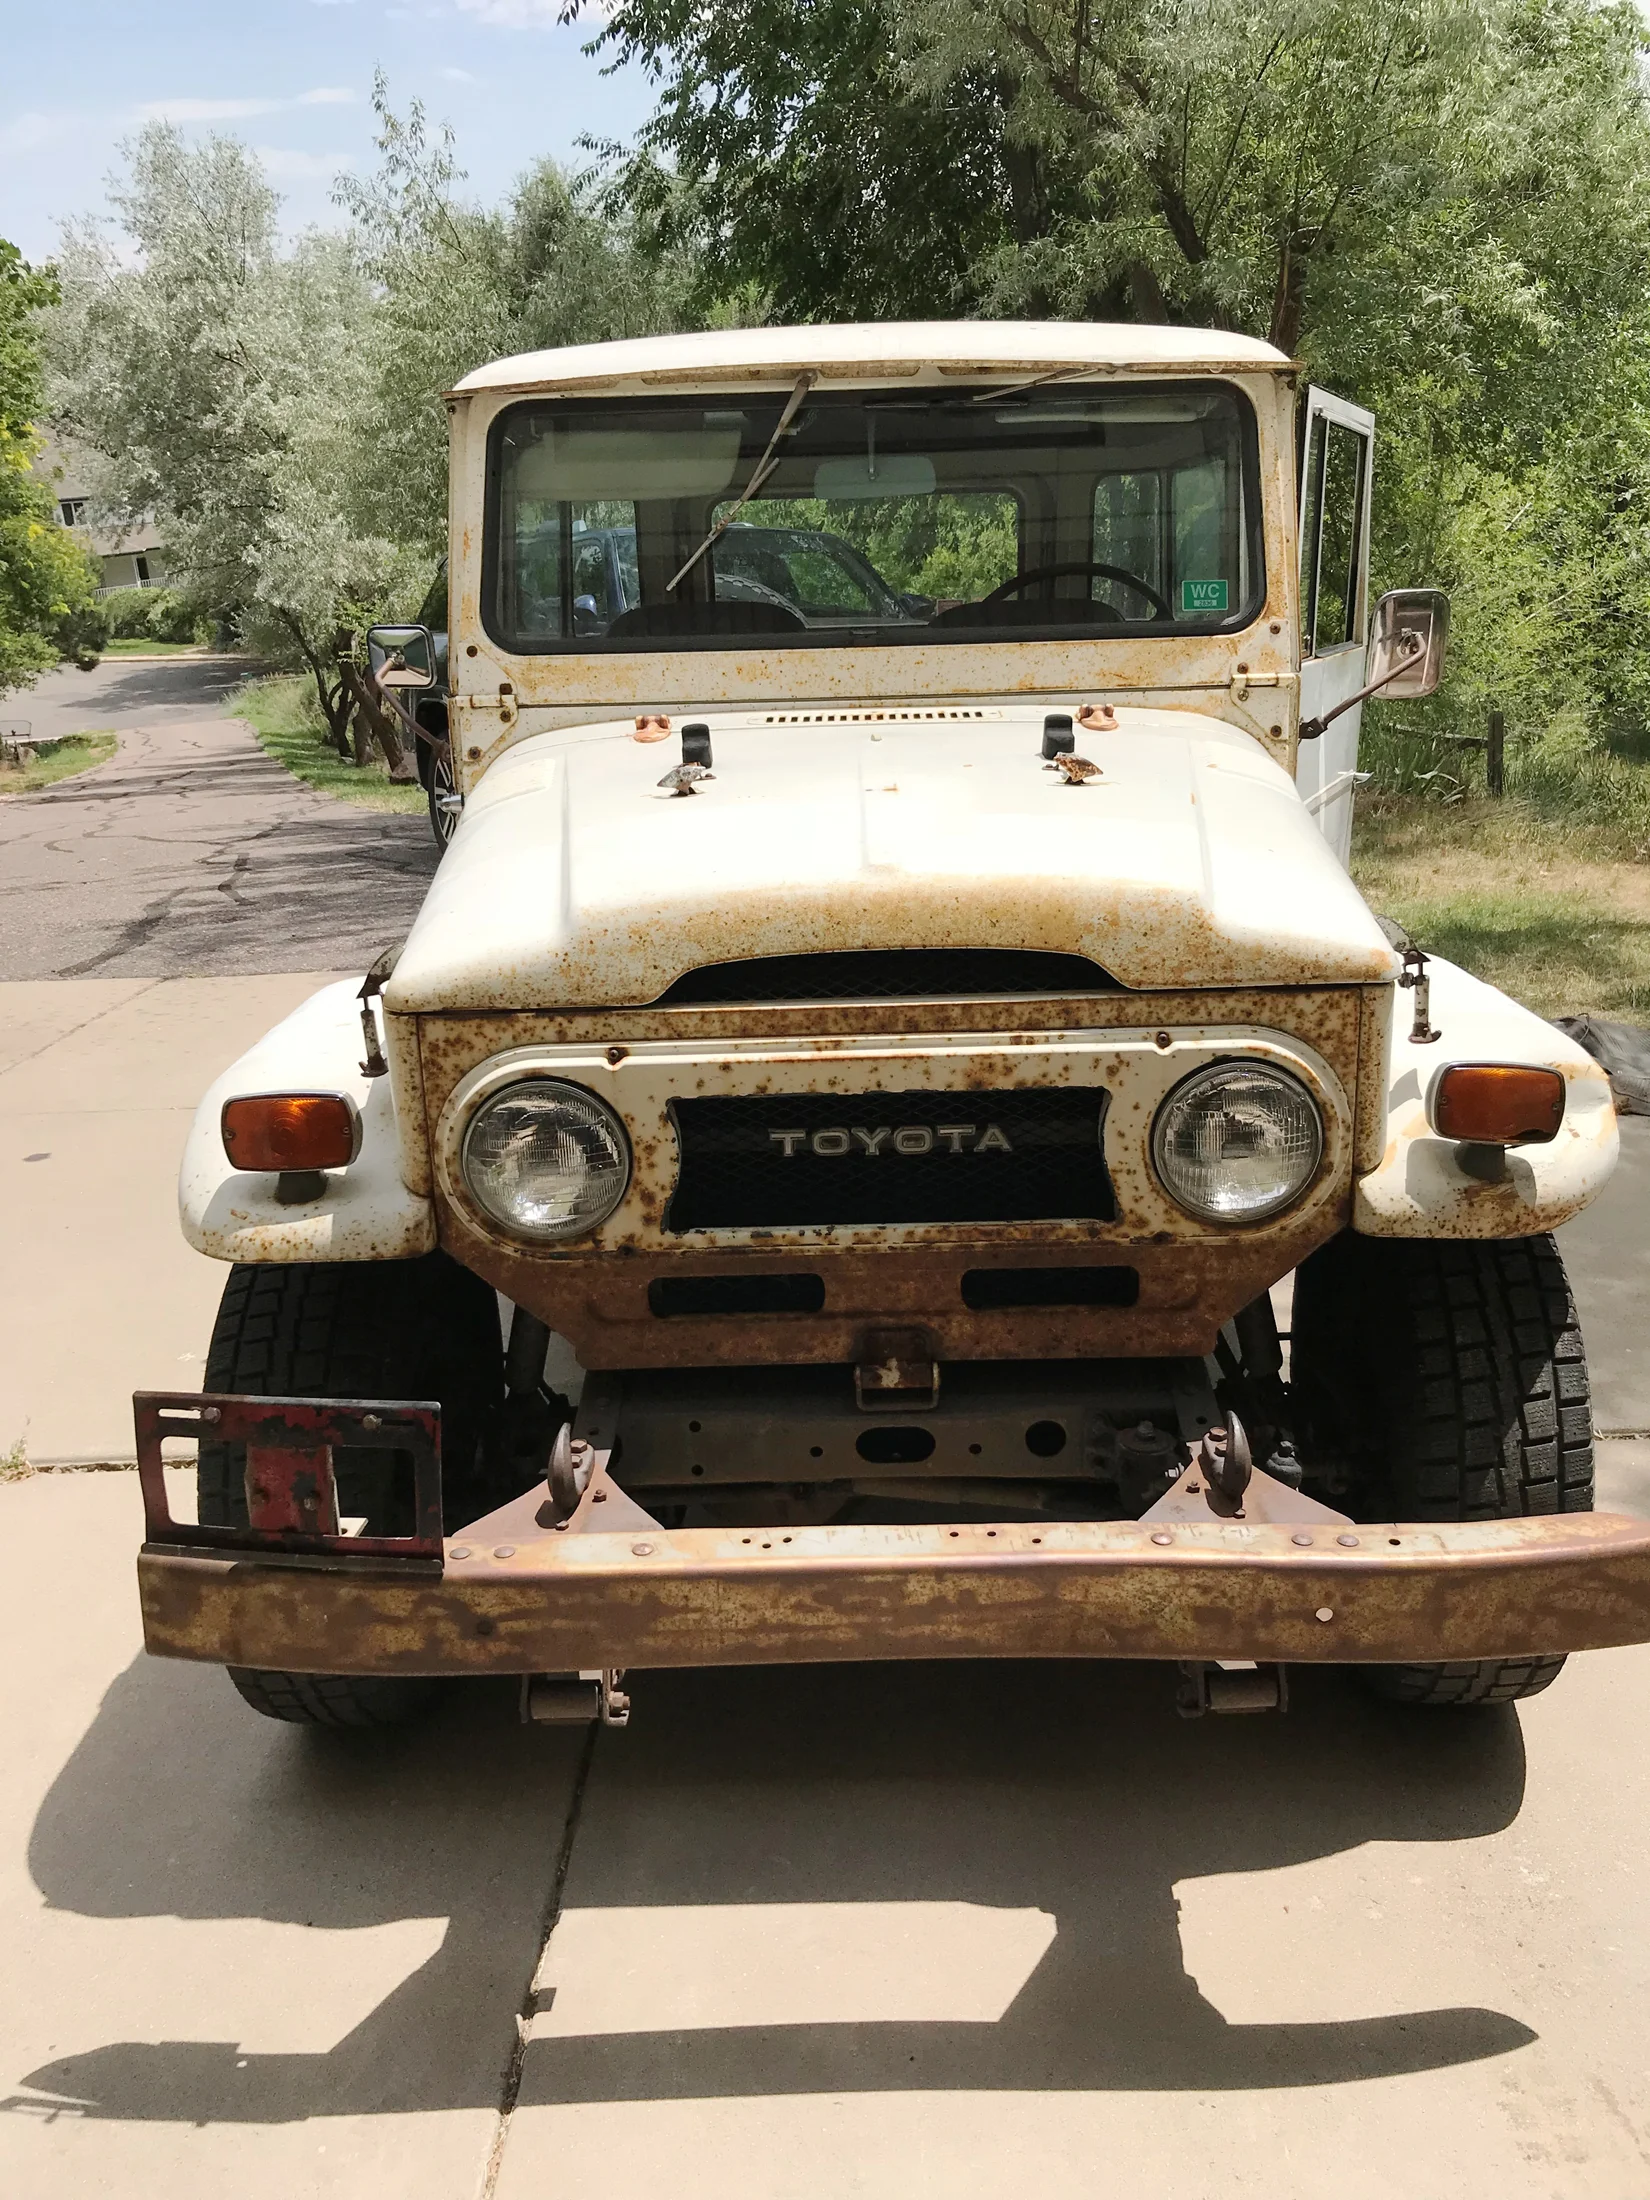
“Disassembly” (I’m referring to my mental state…and possibly my marriage.)
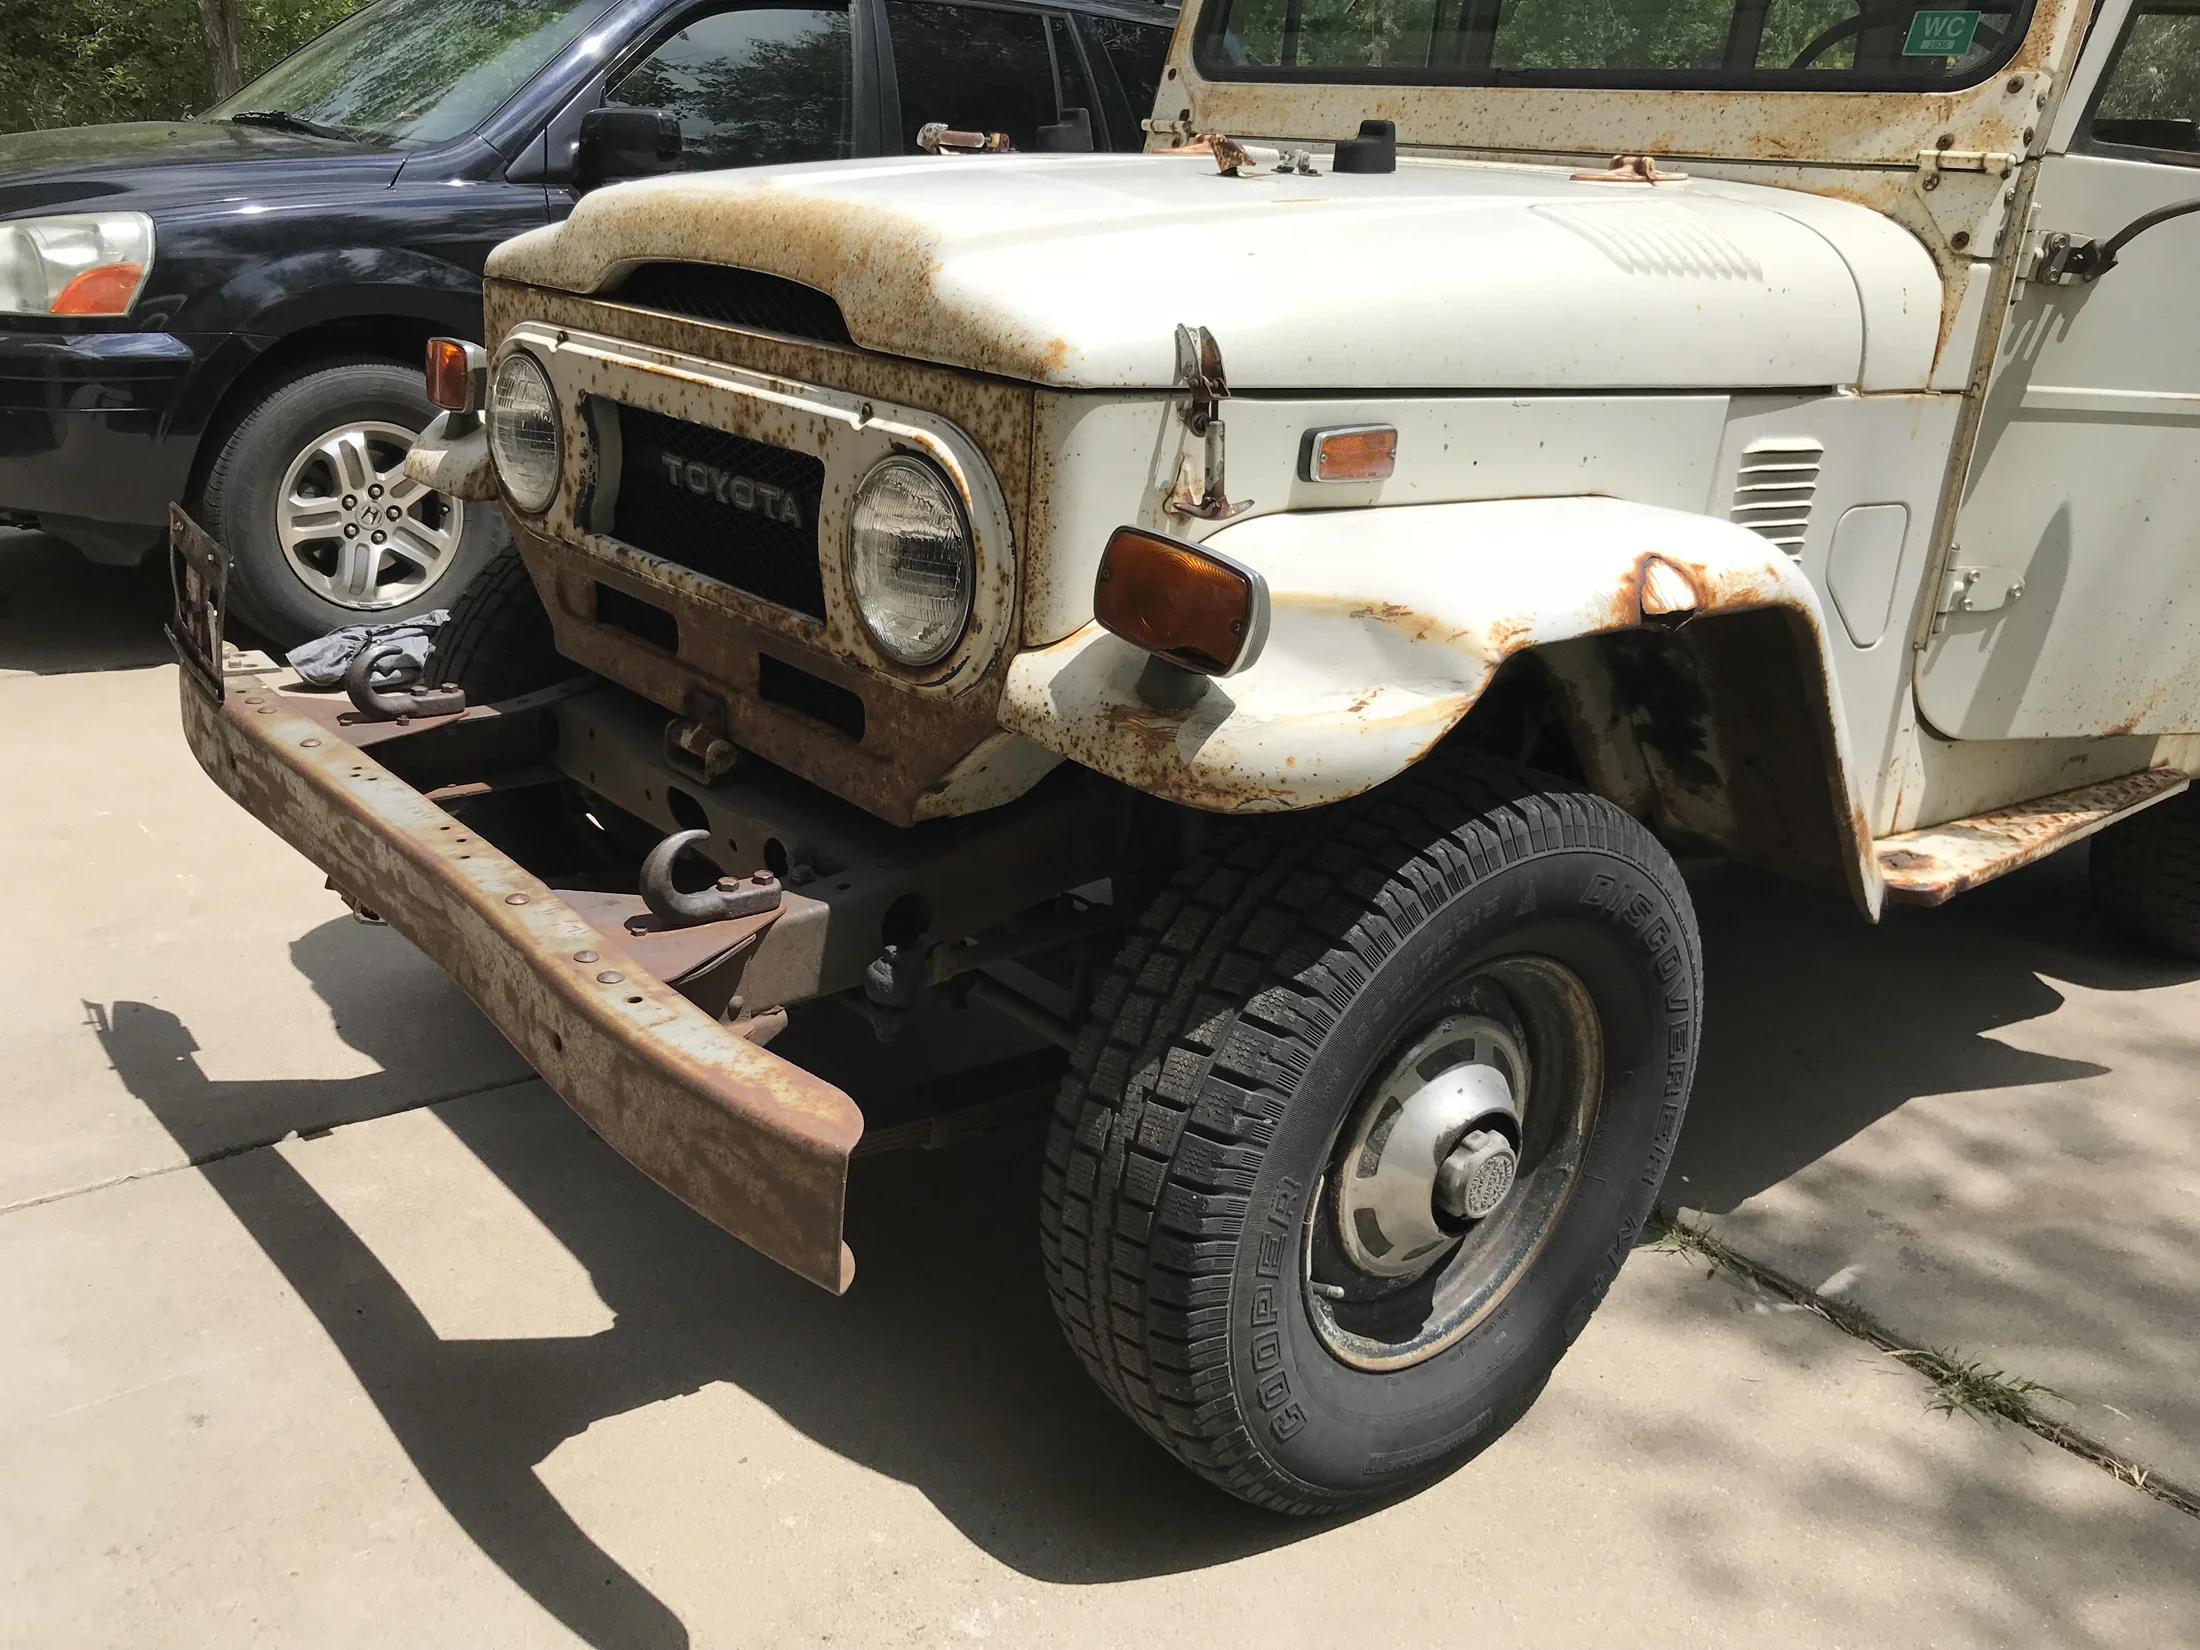
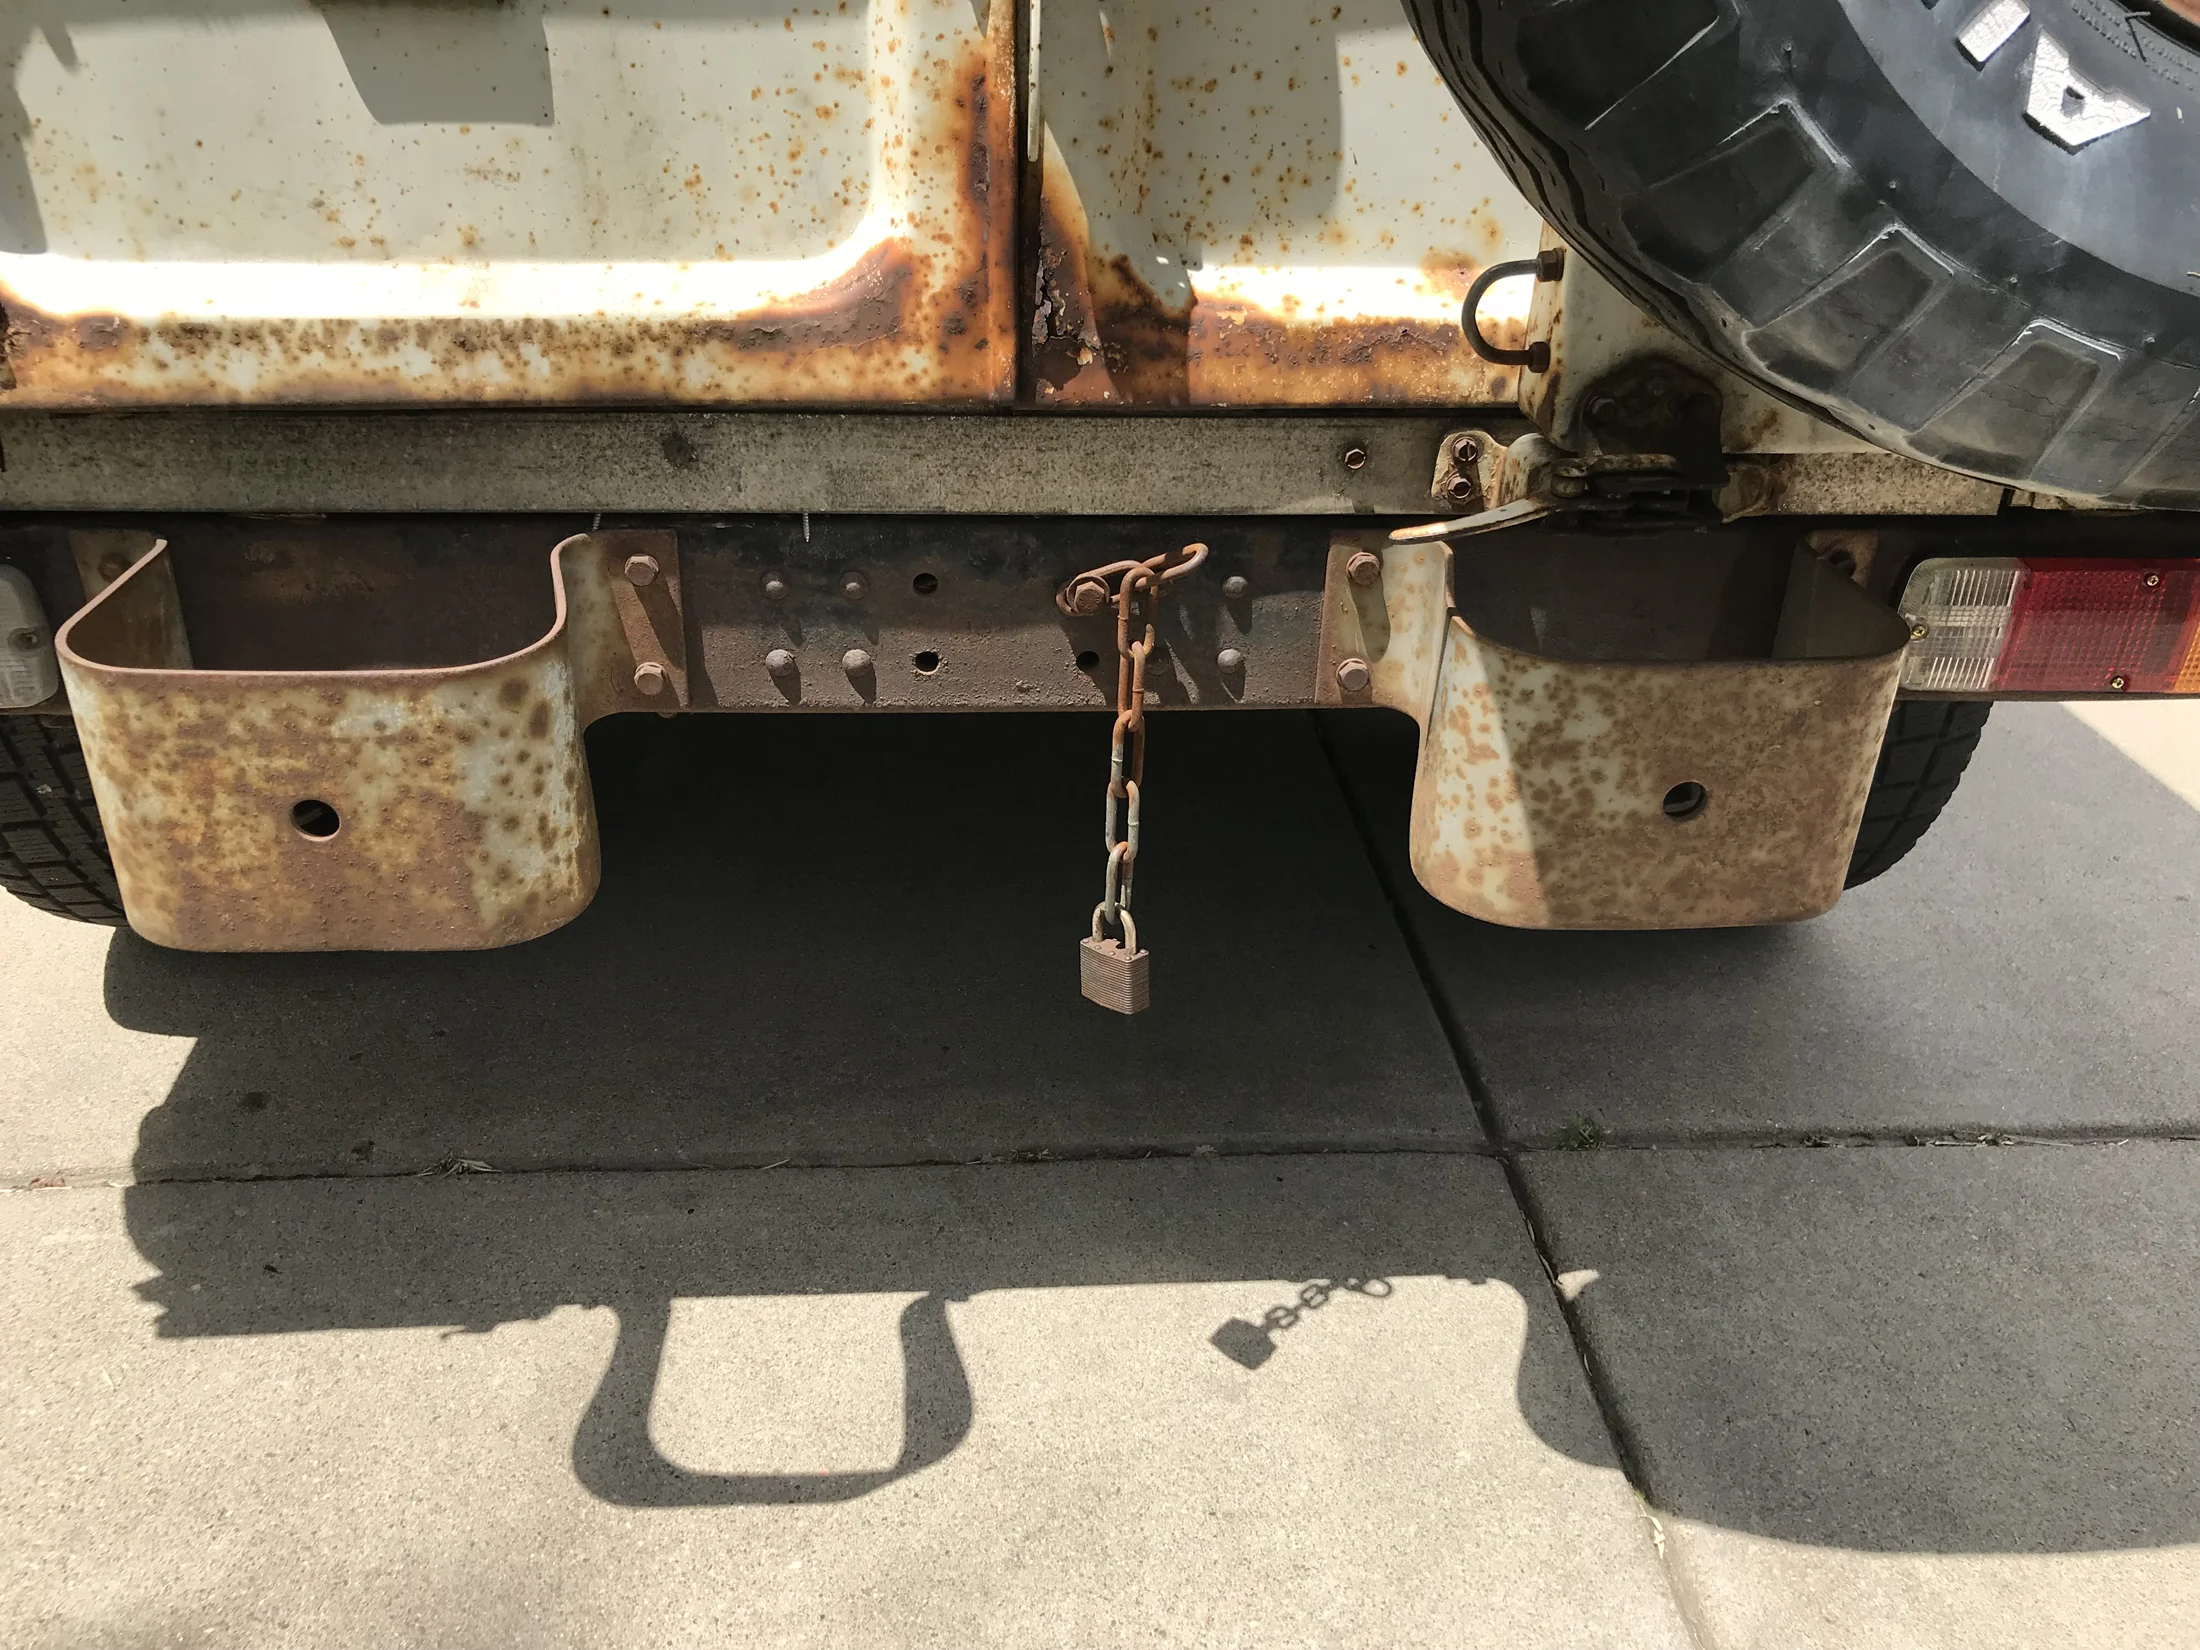
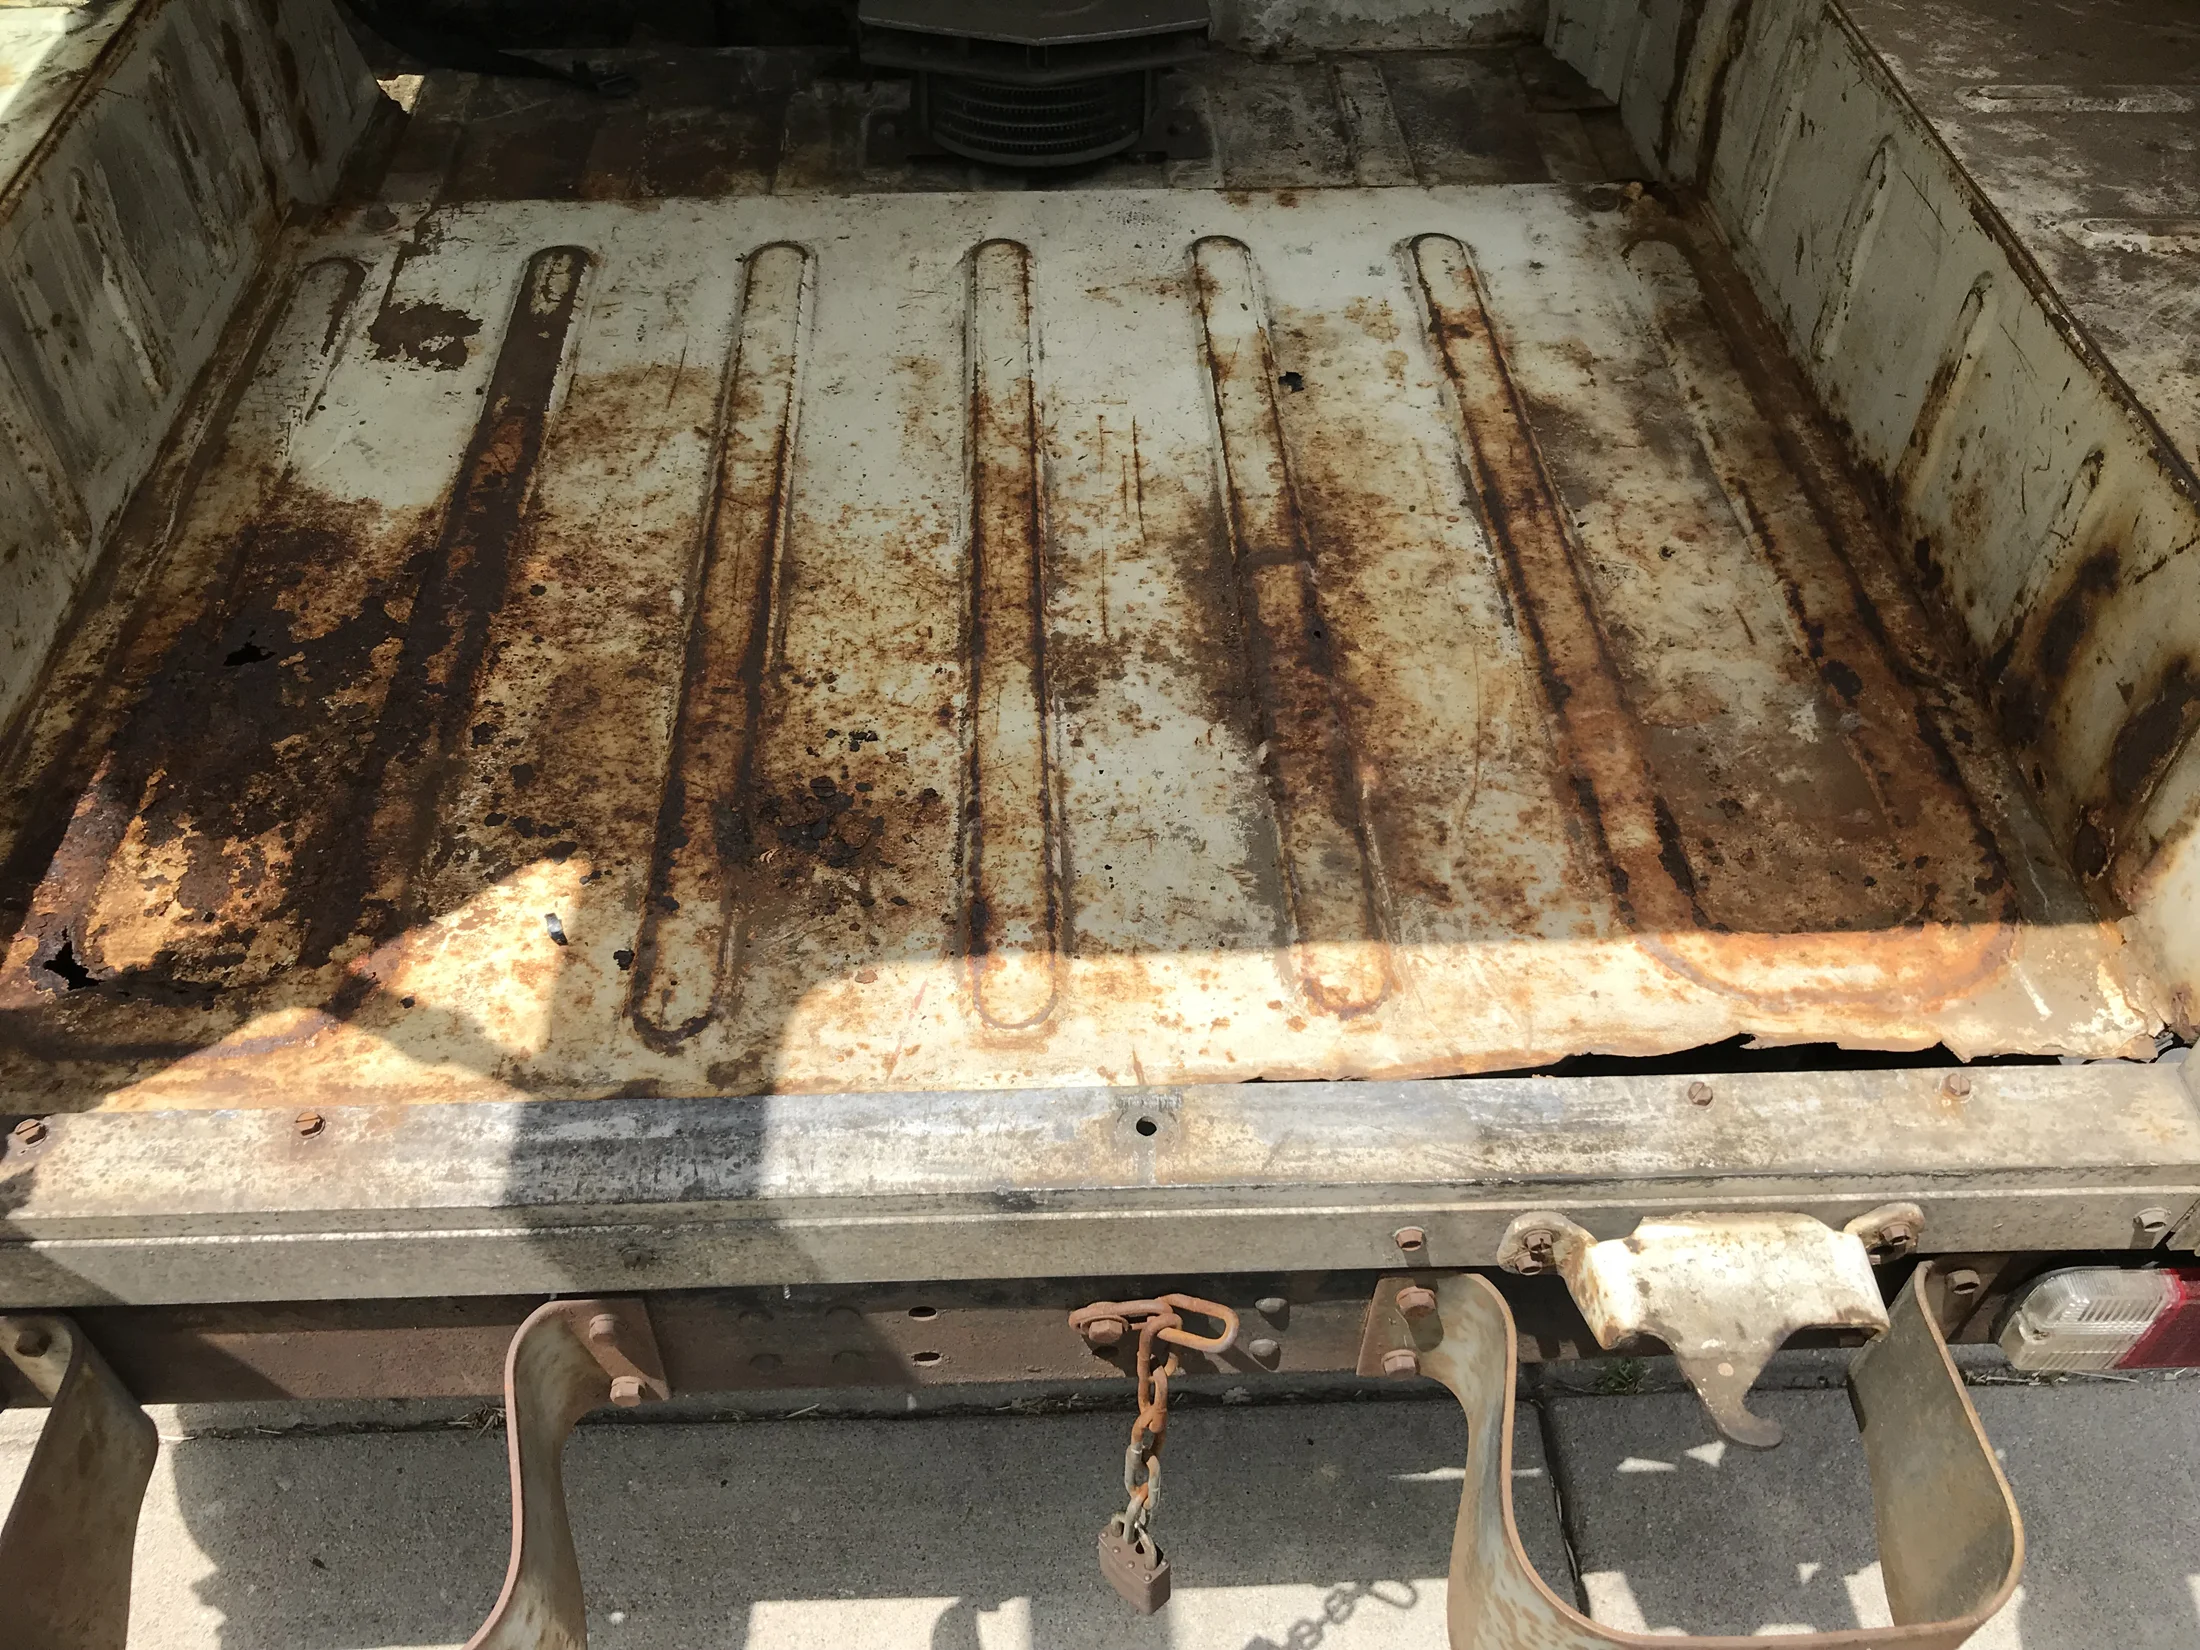
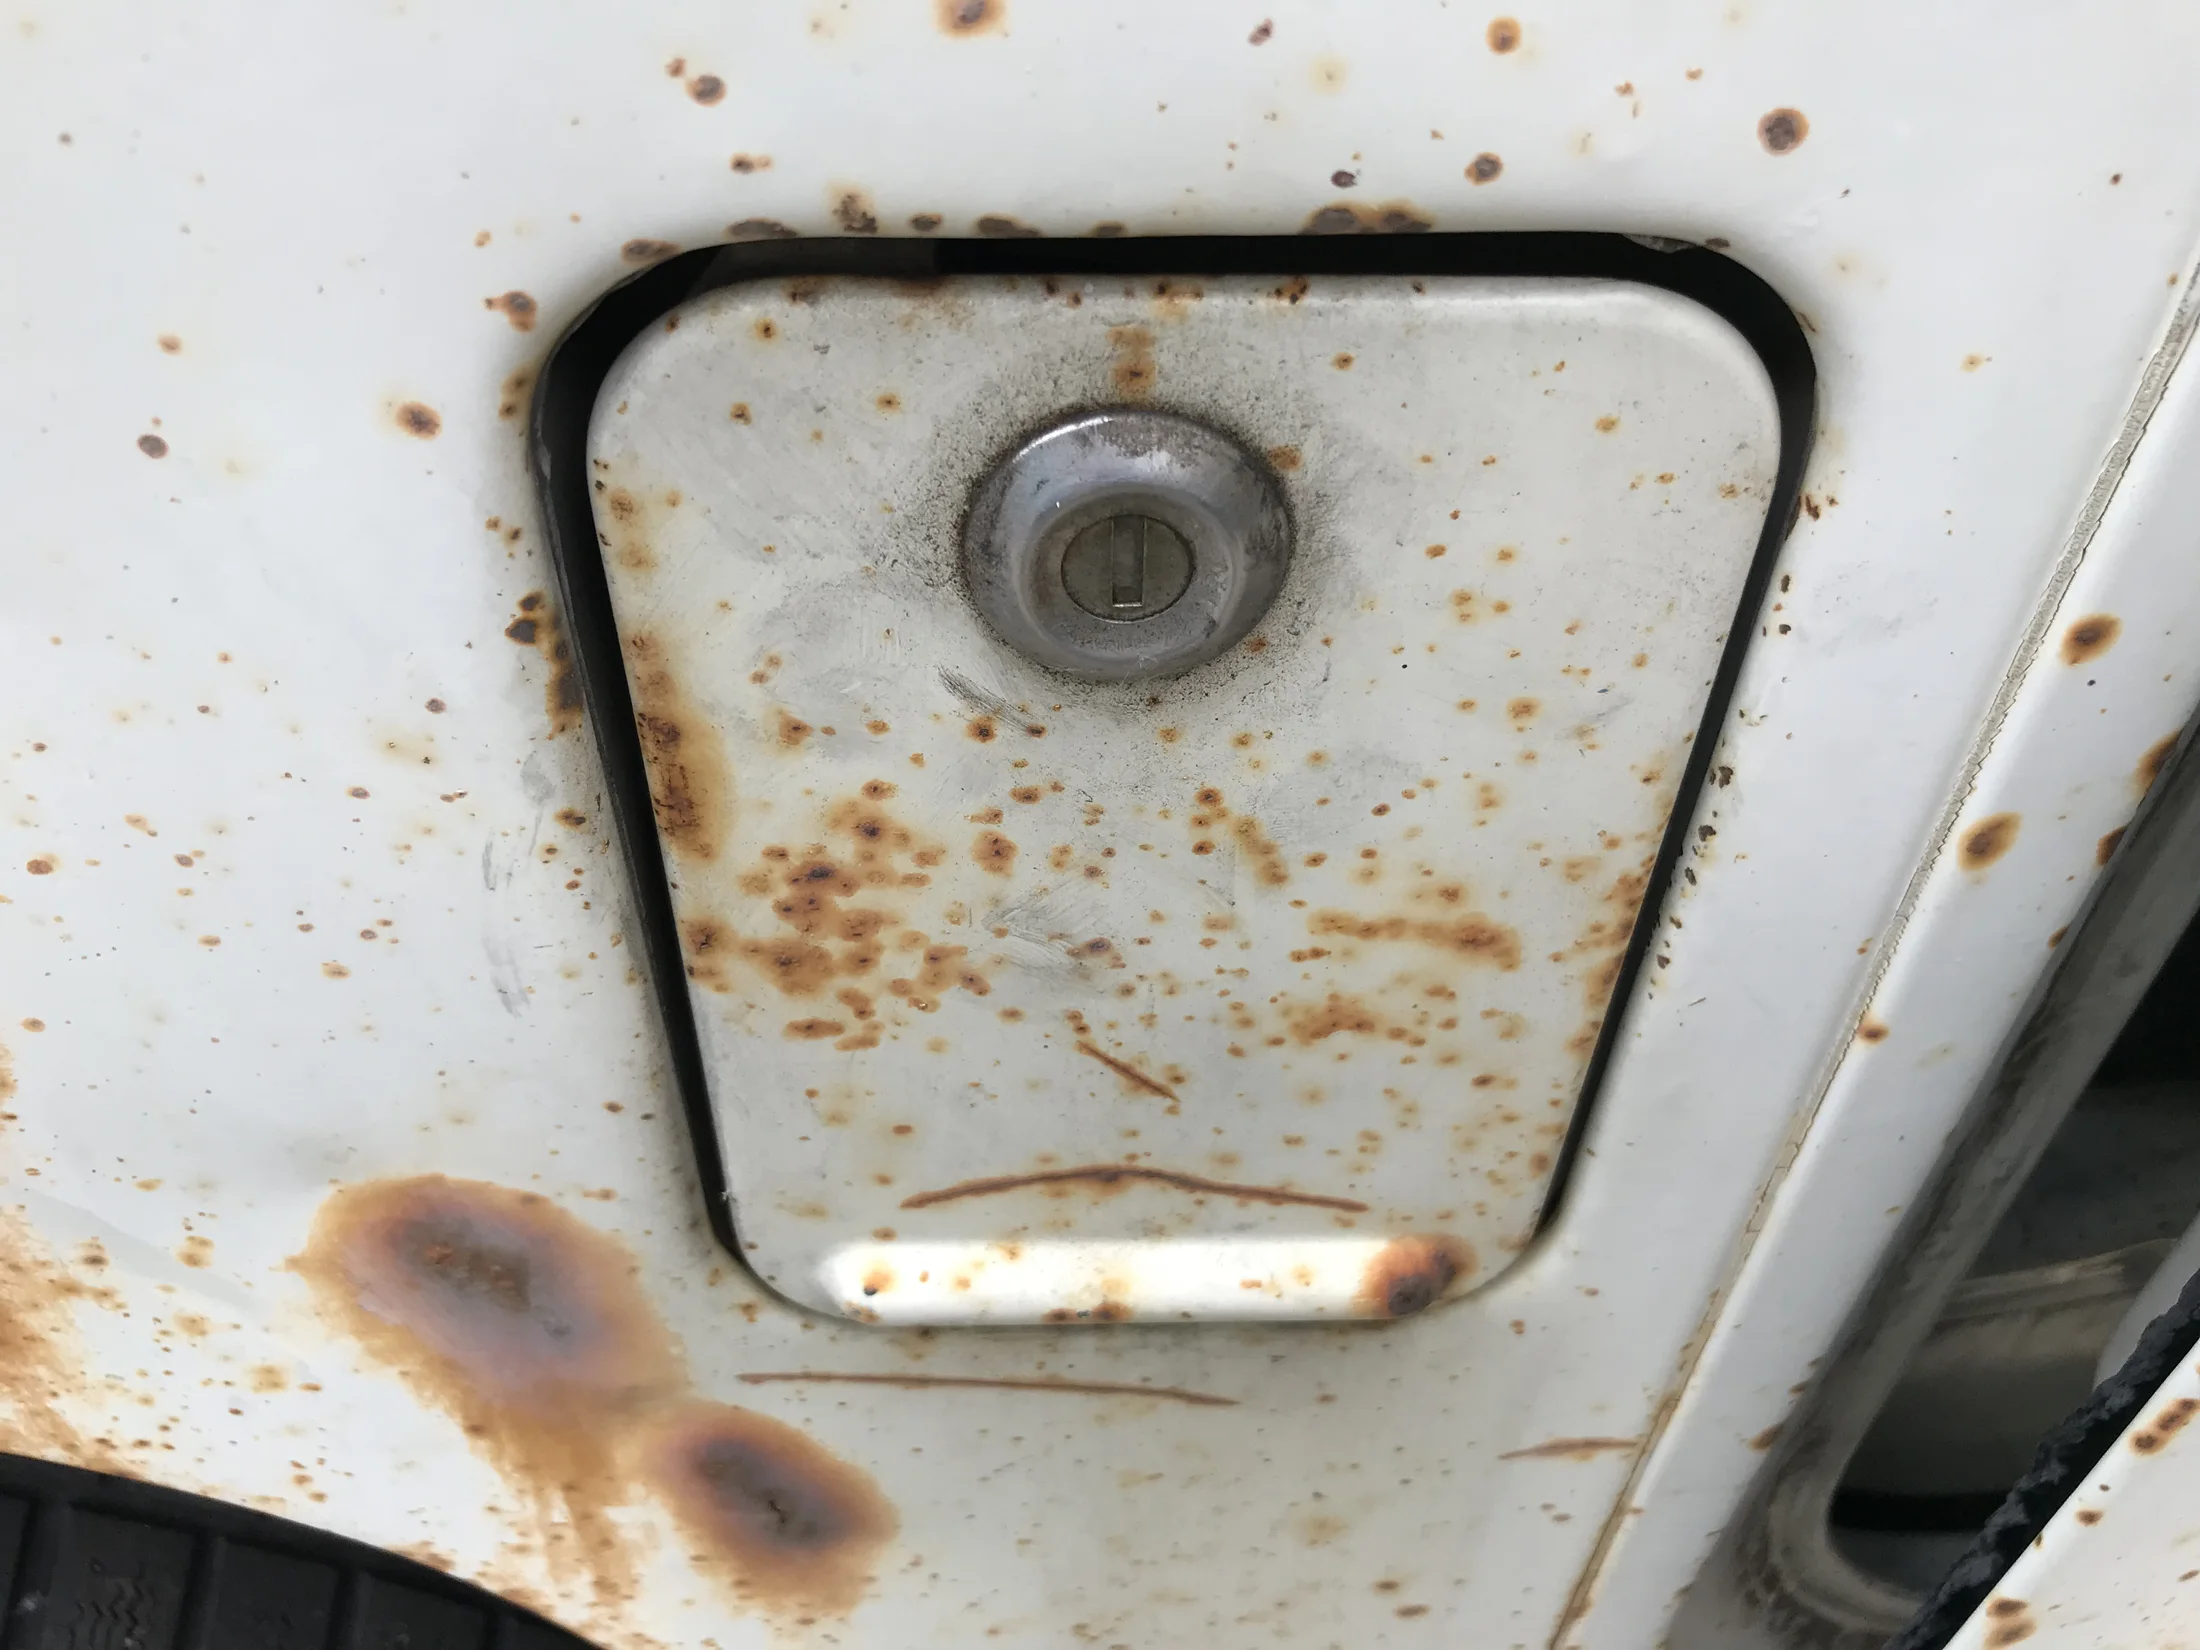
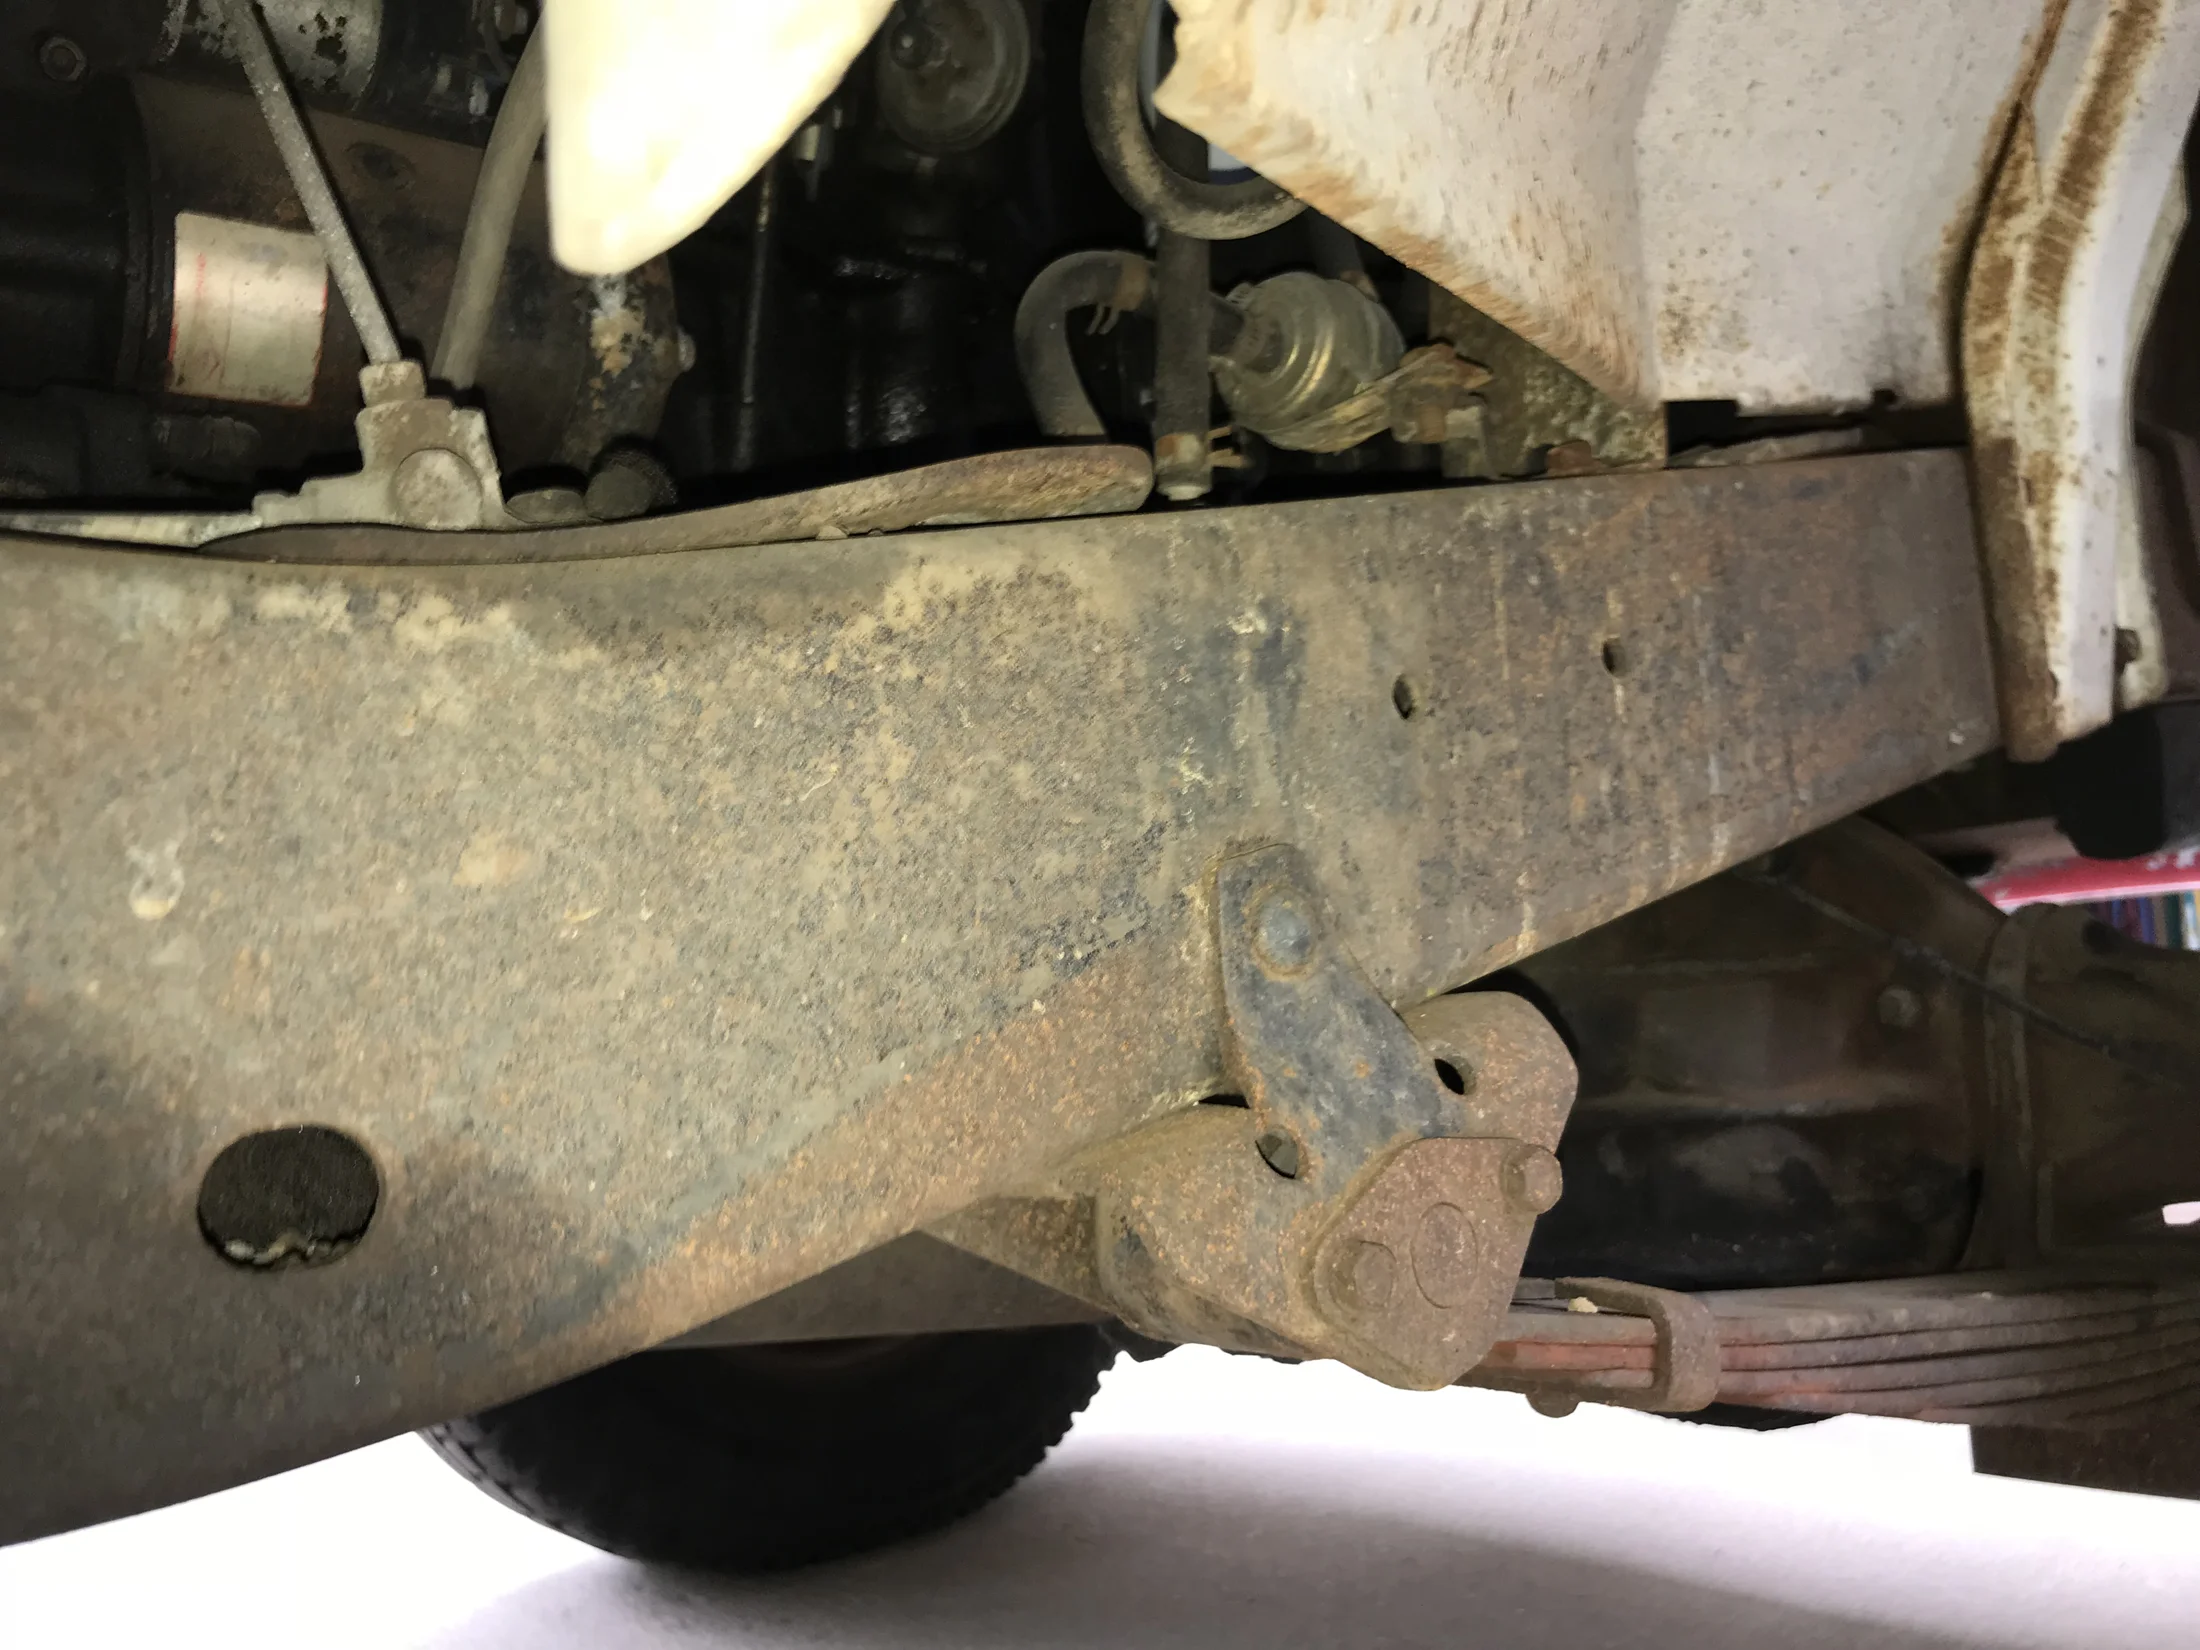
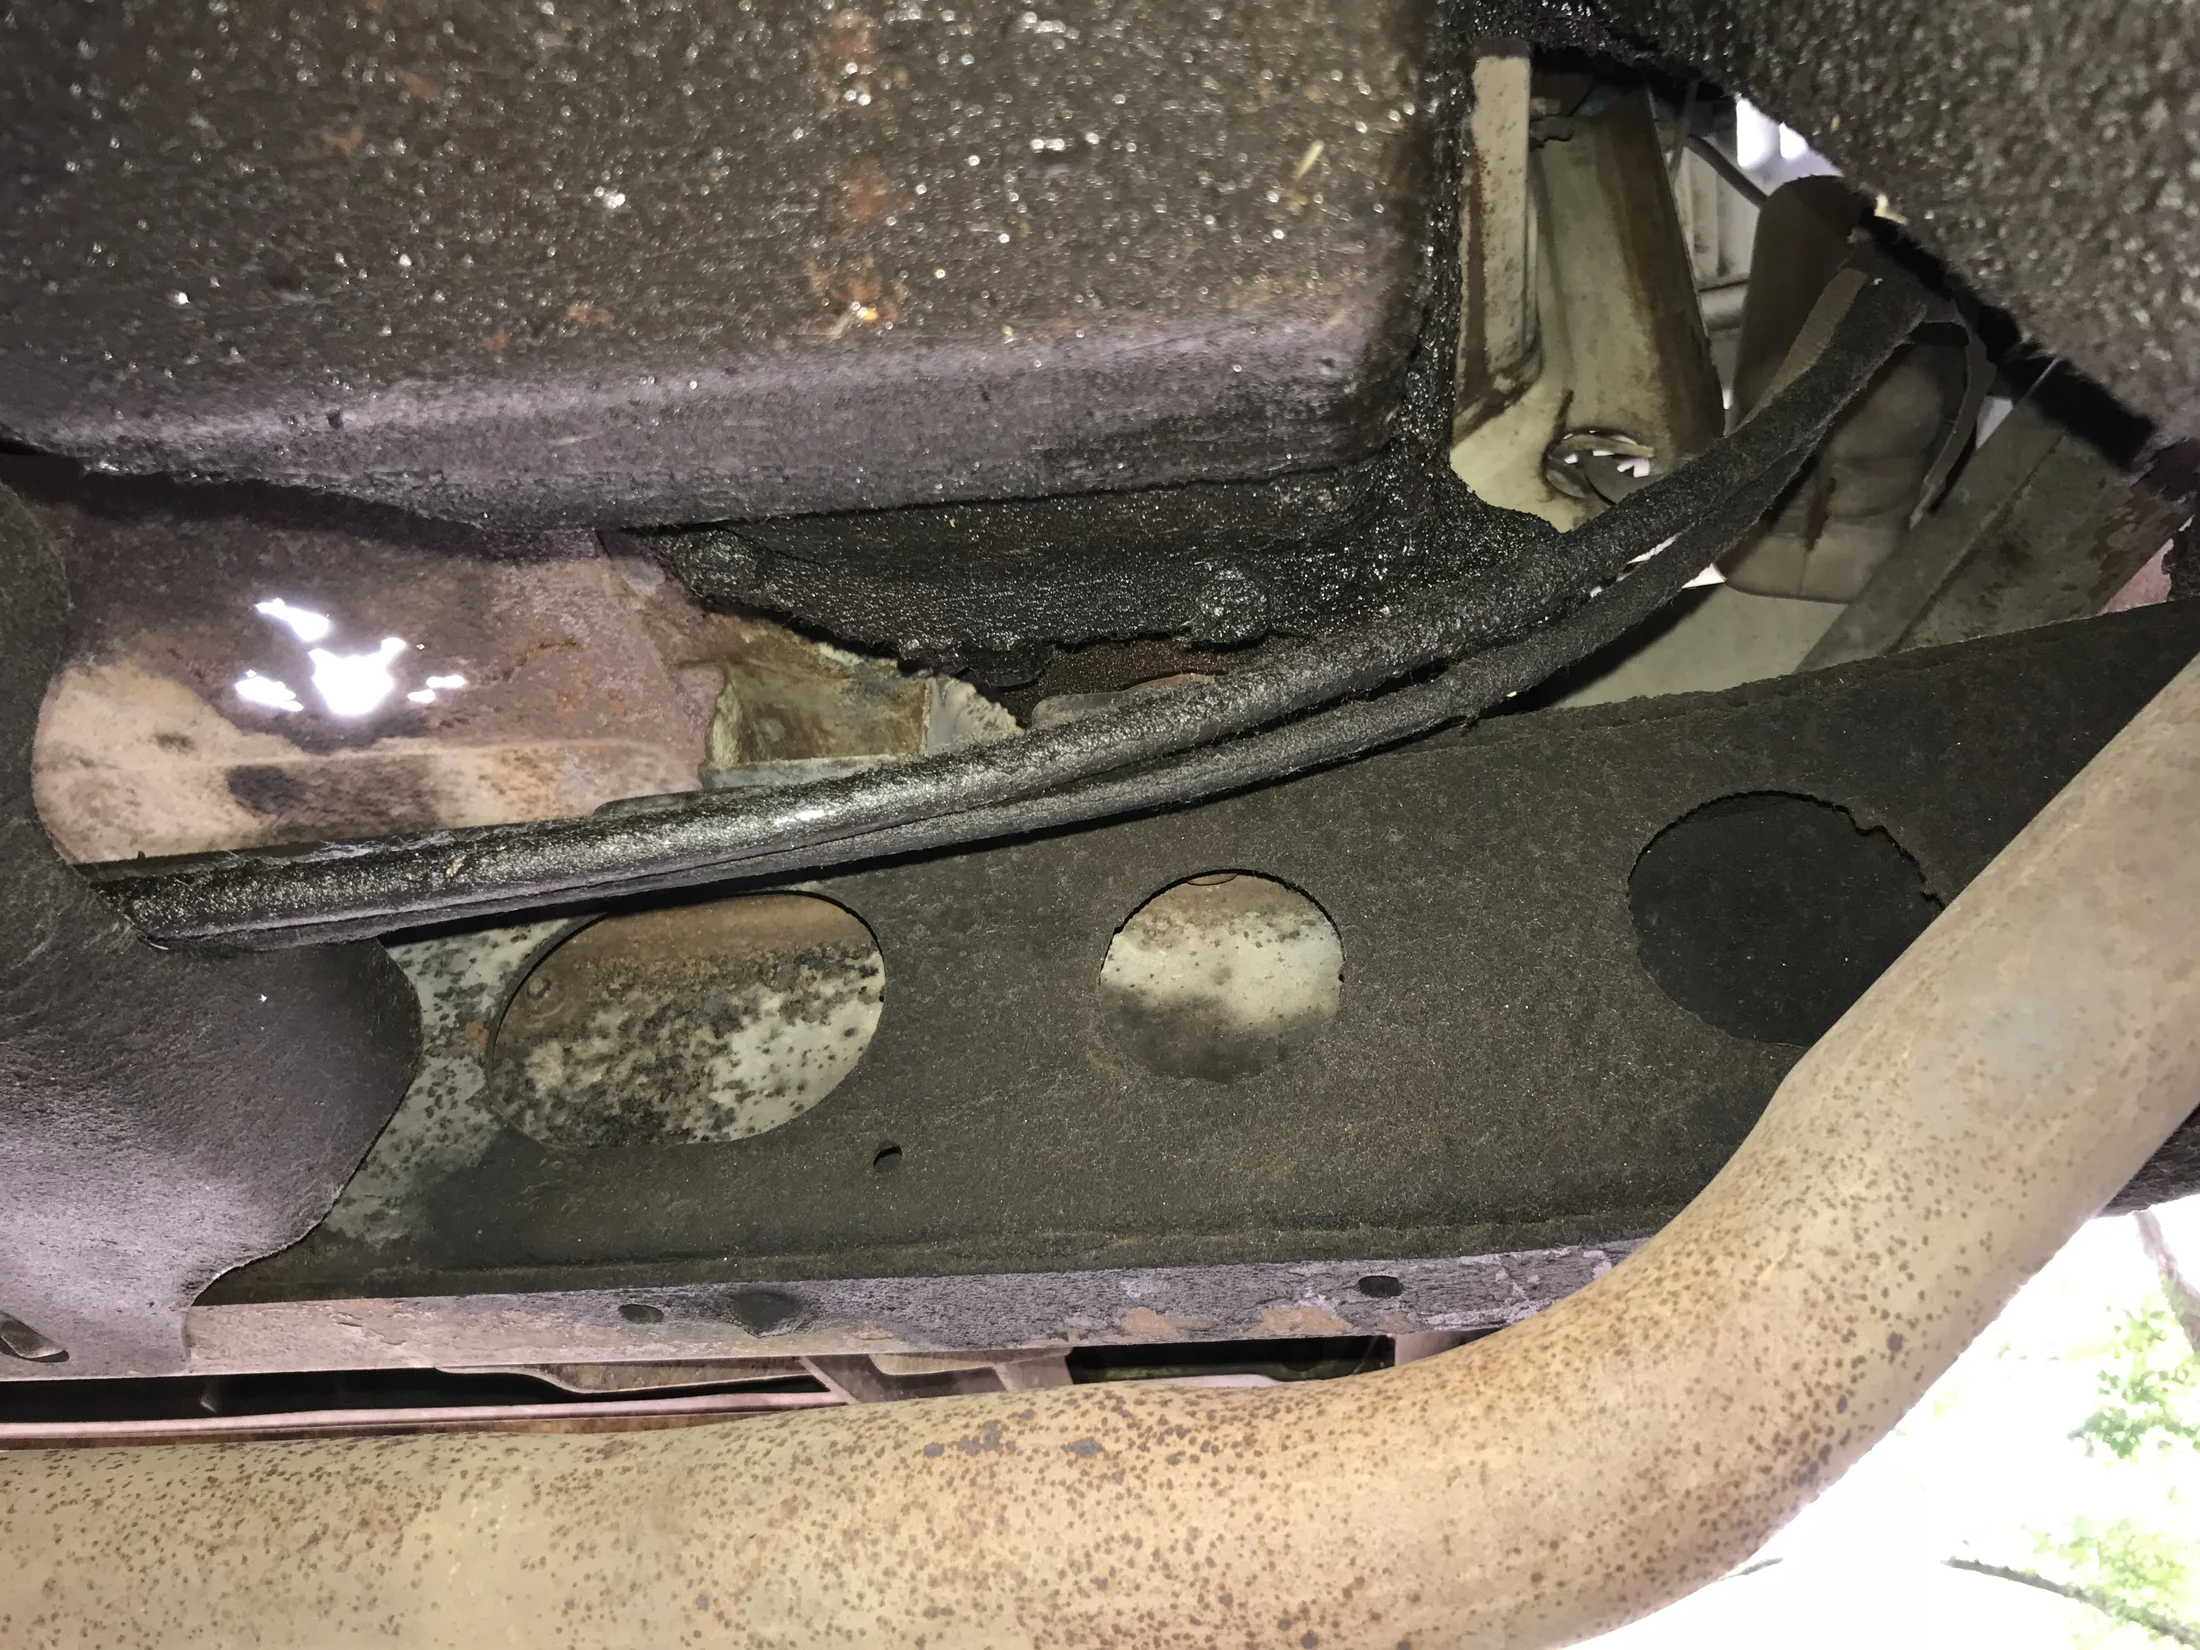
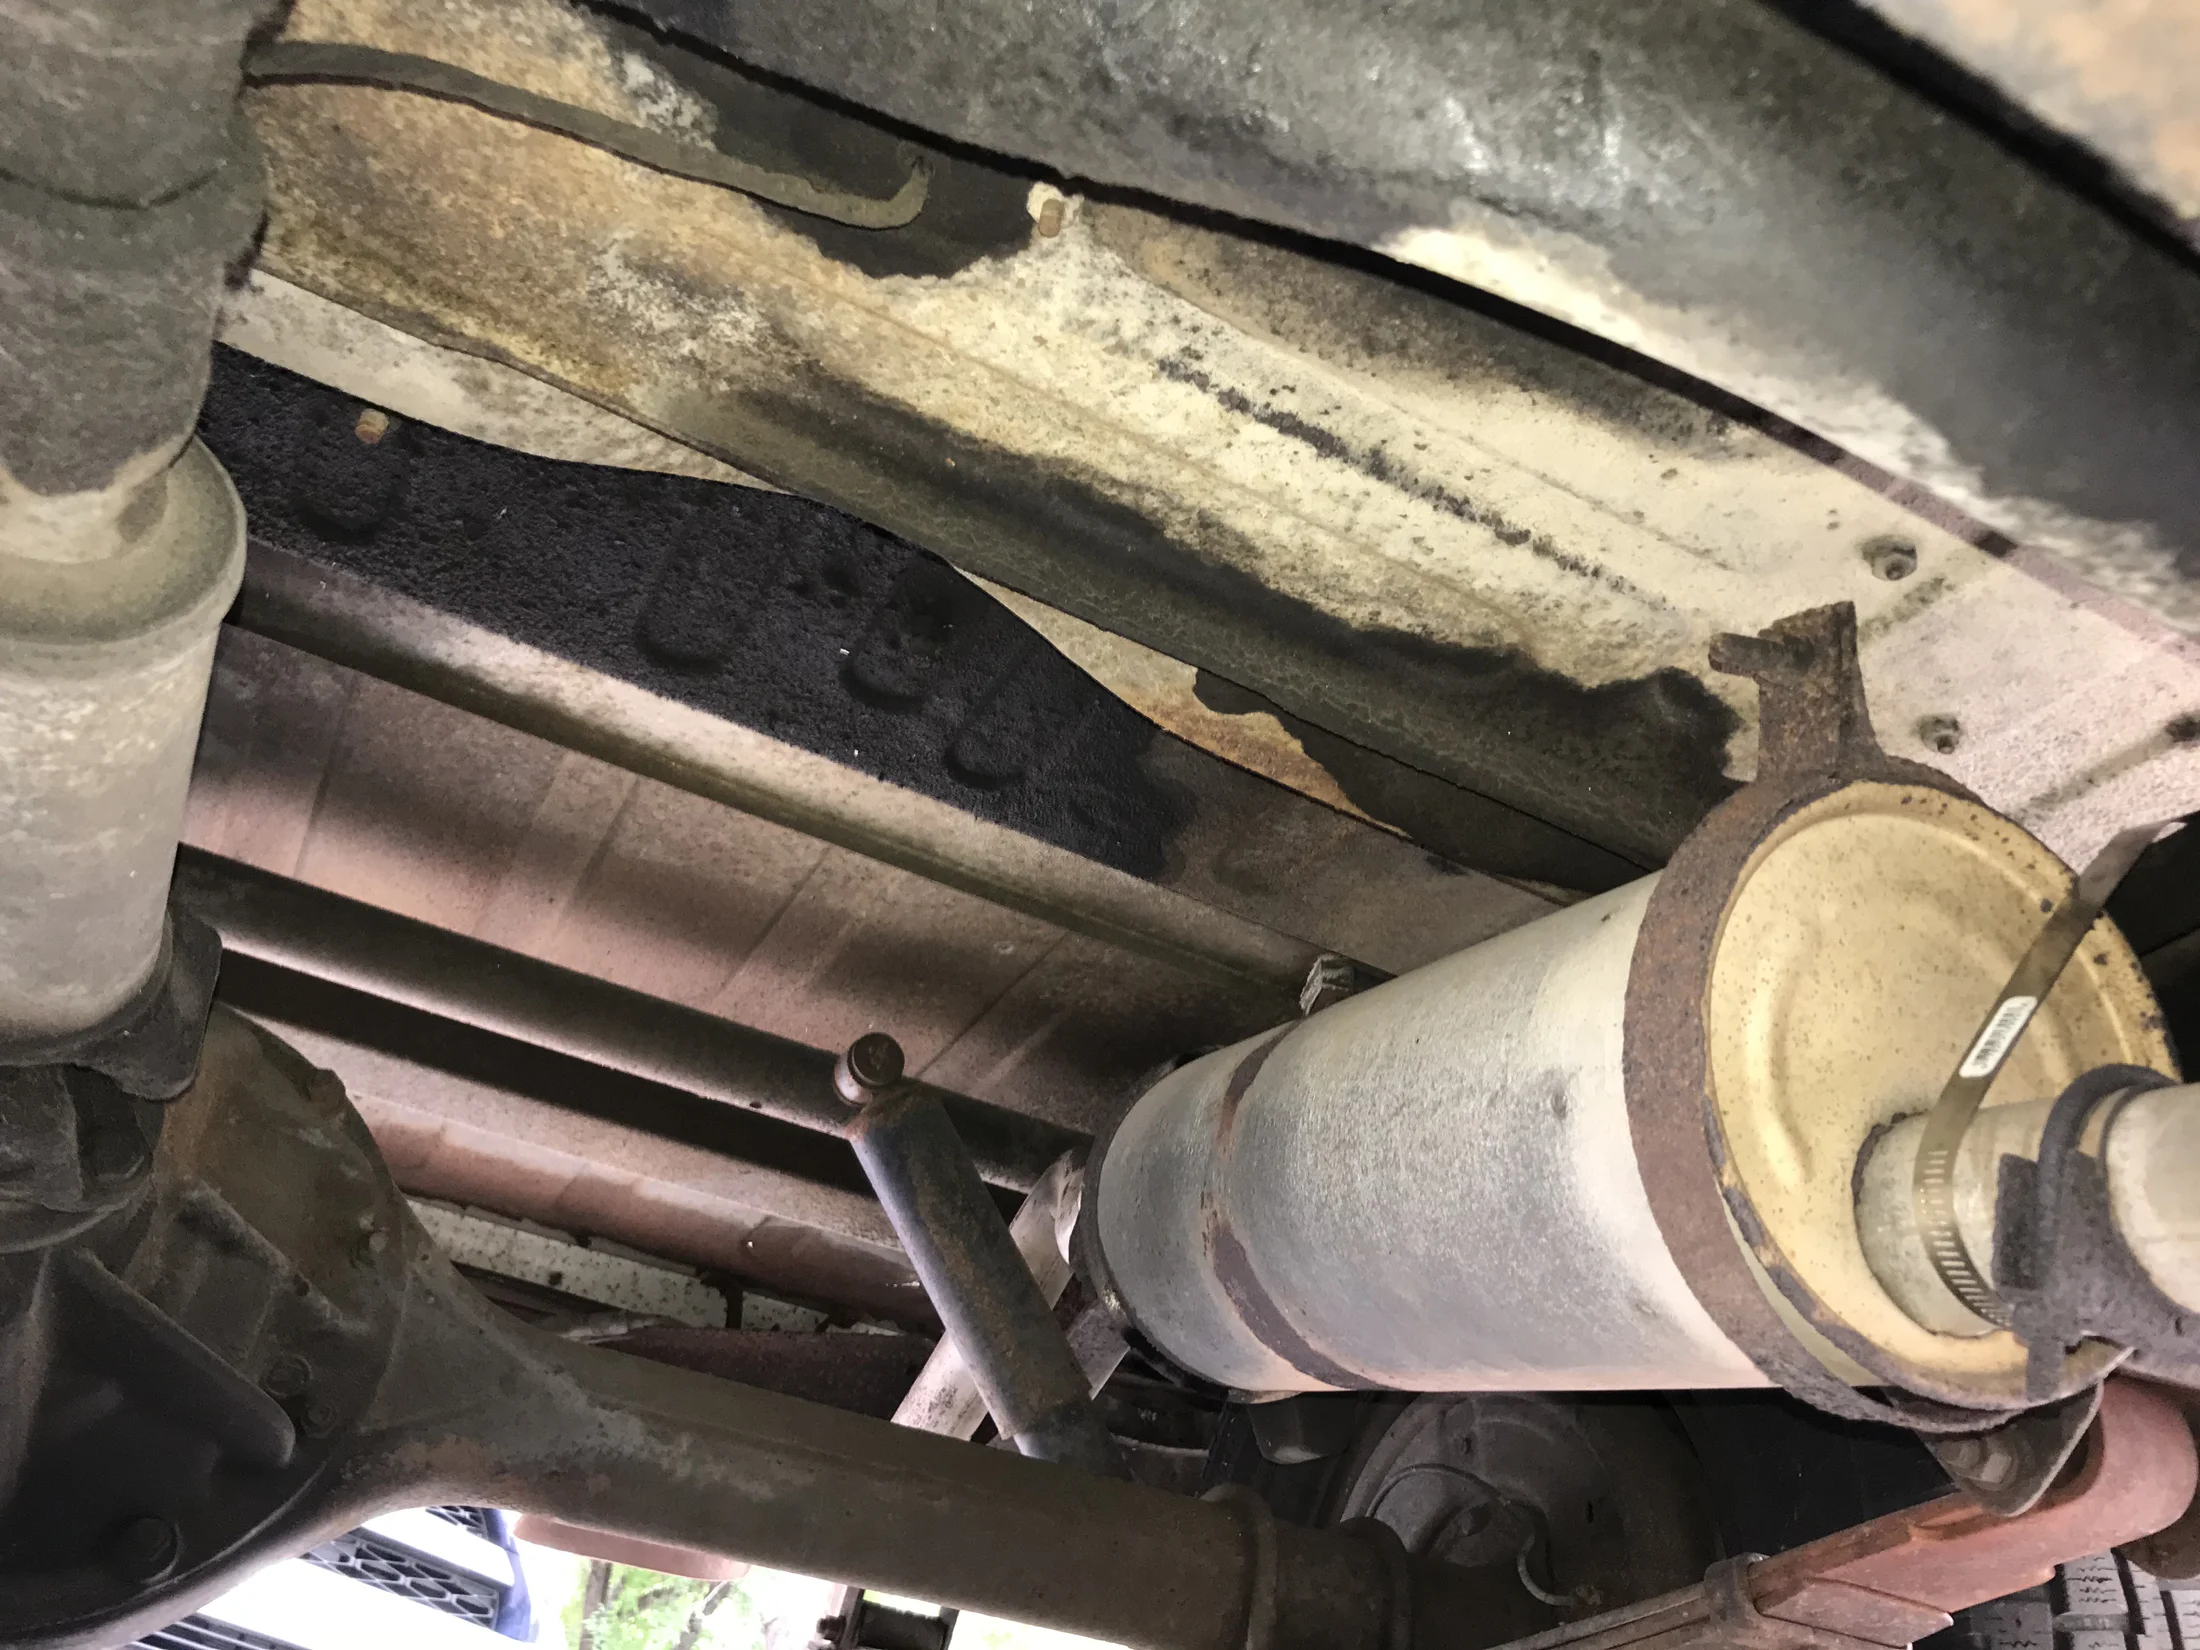
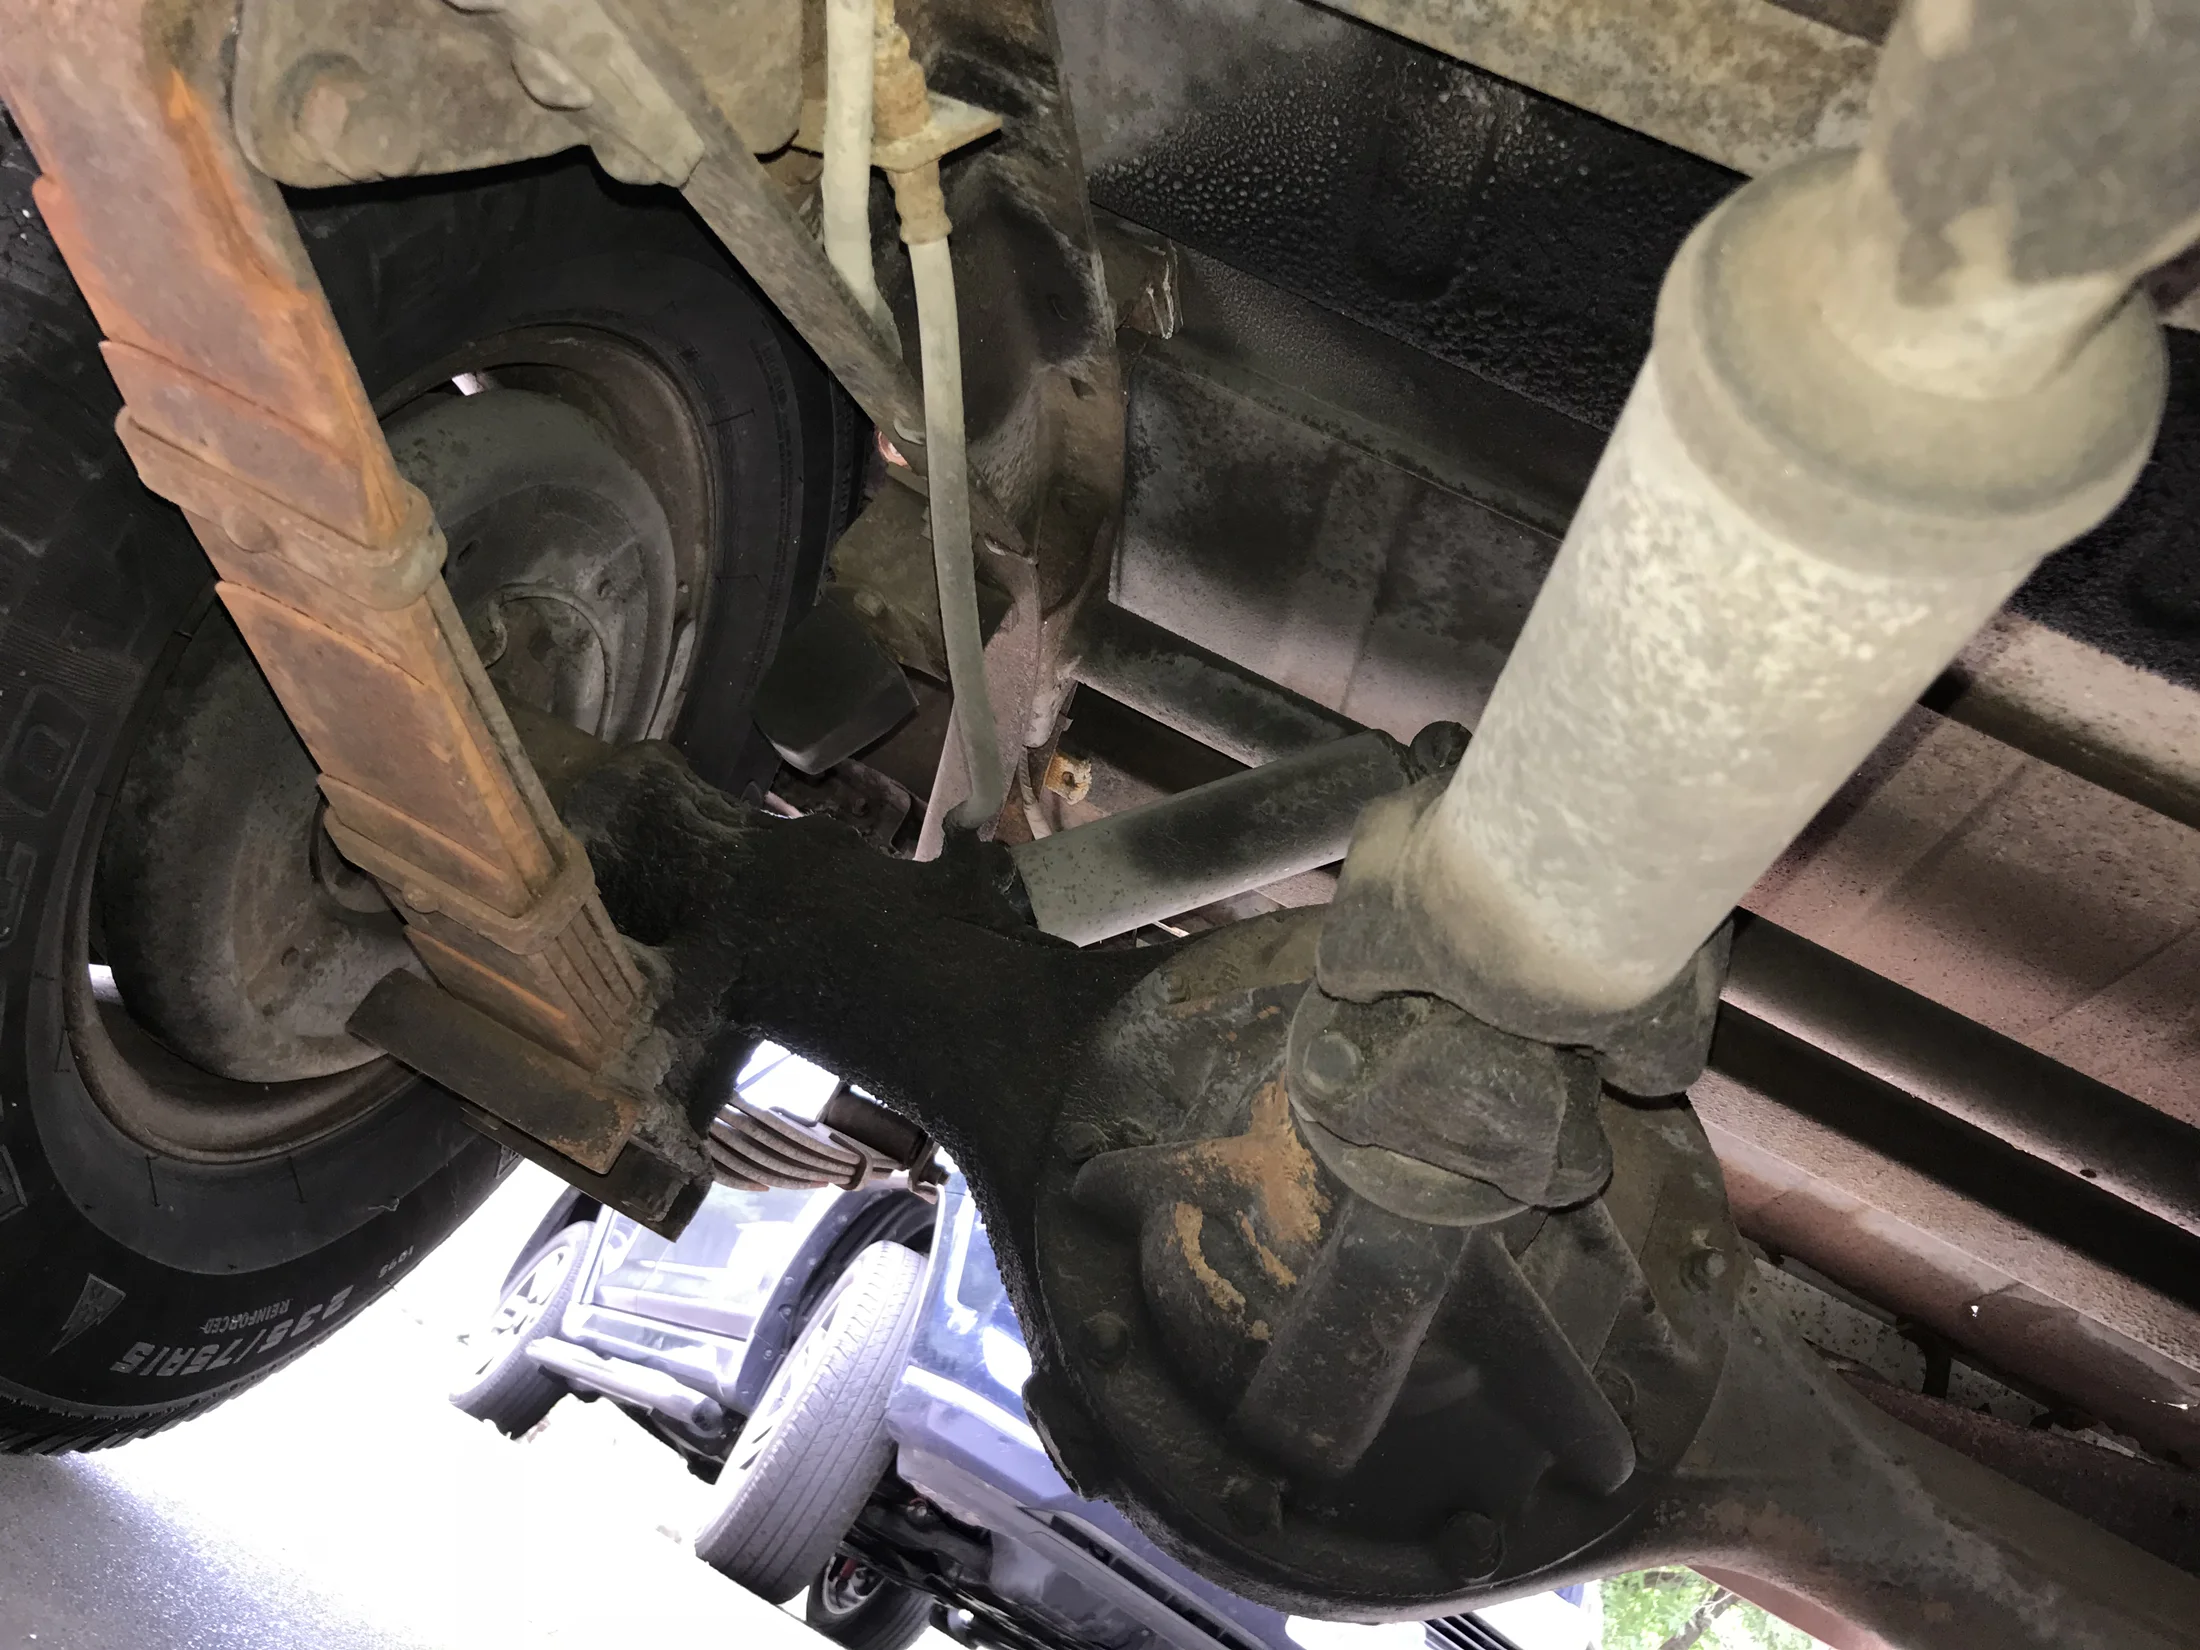
Oddly – the first thing I had repaired was the exhaust system. As I drove my kids around Golden in this death trap, they were buckled in…sort of, but a seat belt is lackluster protection from carbon monoxide that was seeping into the cabin through the multitude of rust and drain holes in the tub. Granted, the FJ was much lighter with all those holes, but ultimately, they had to go. But first, a spanking new exhaust.
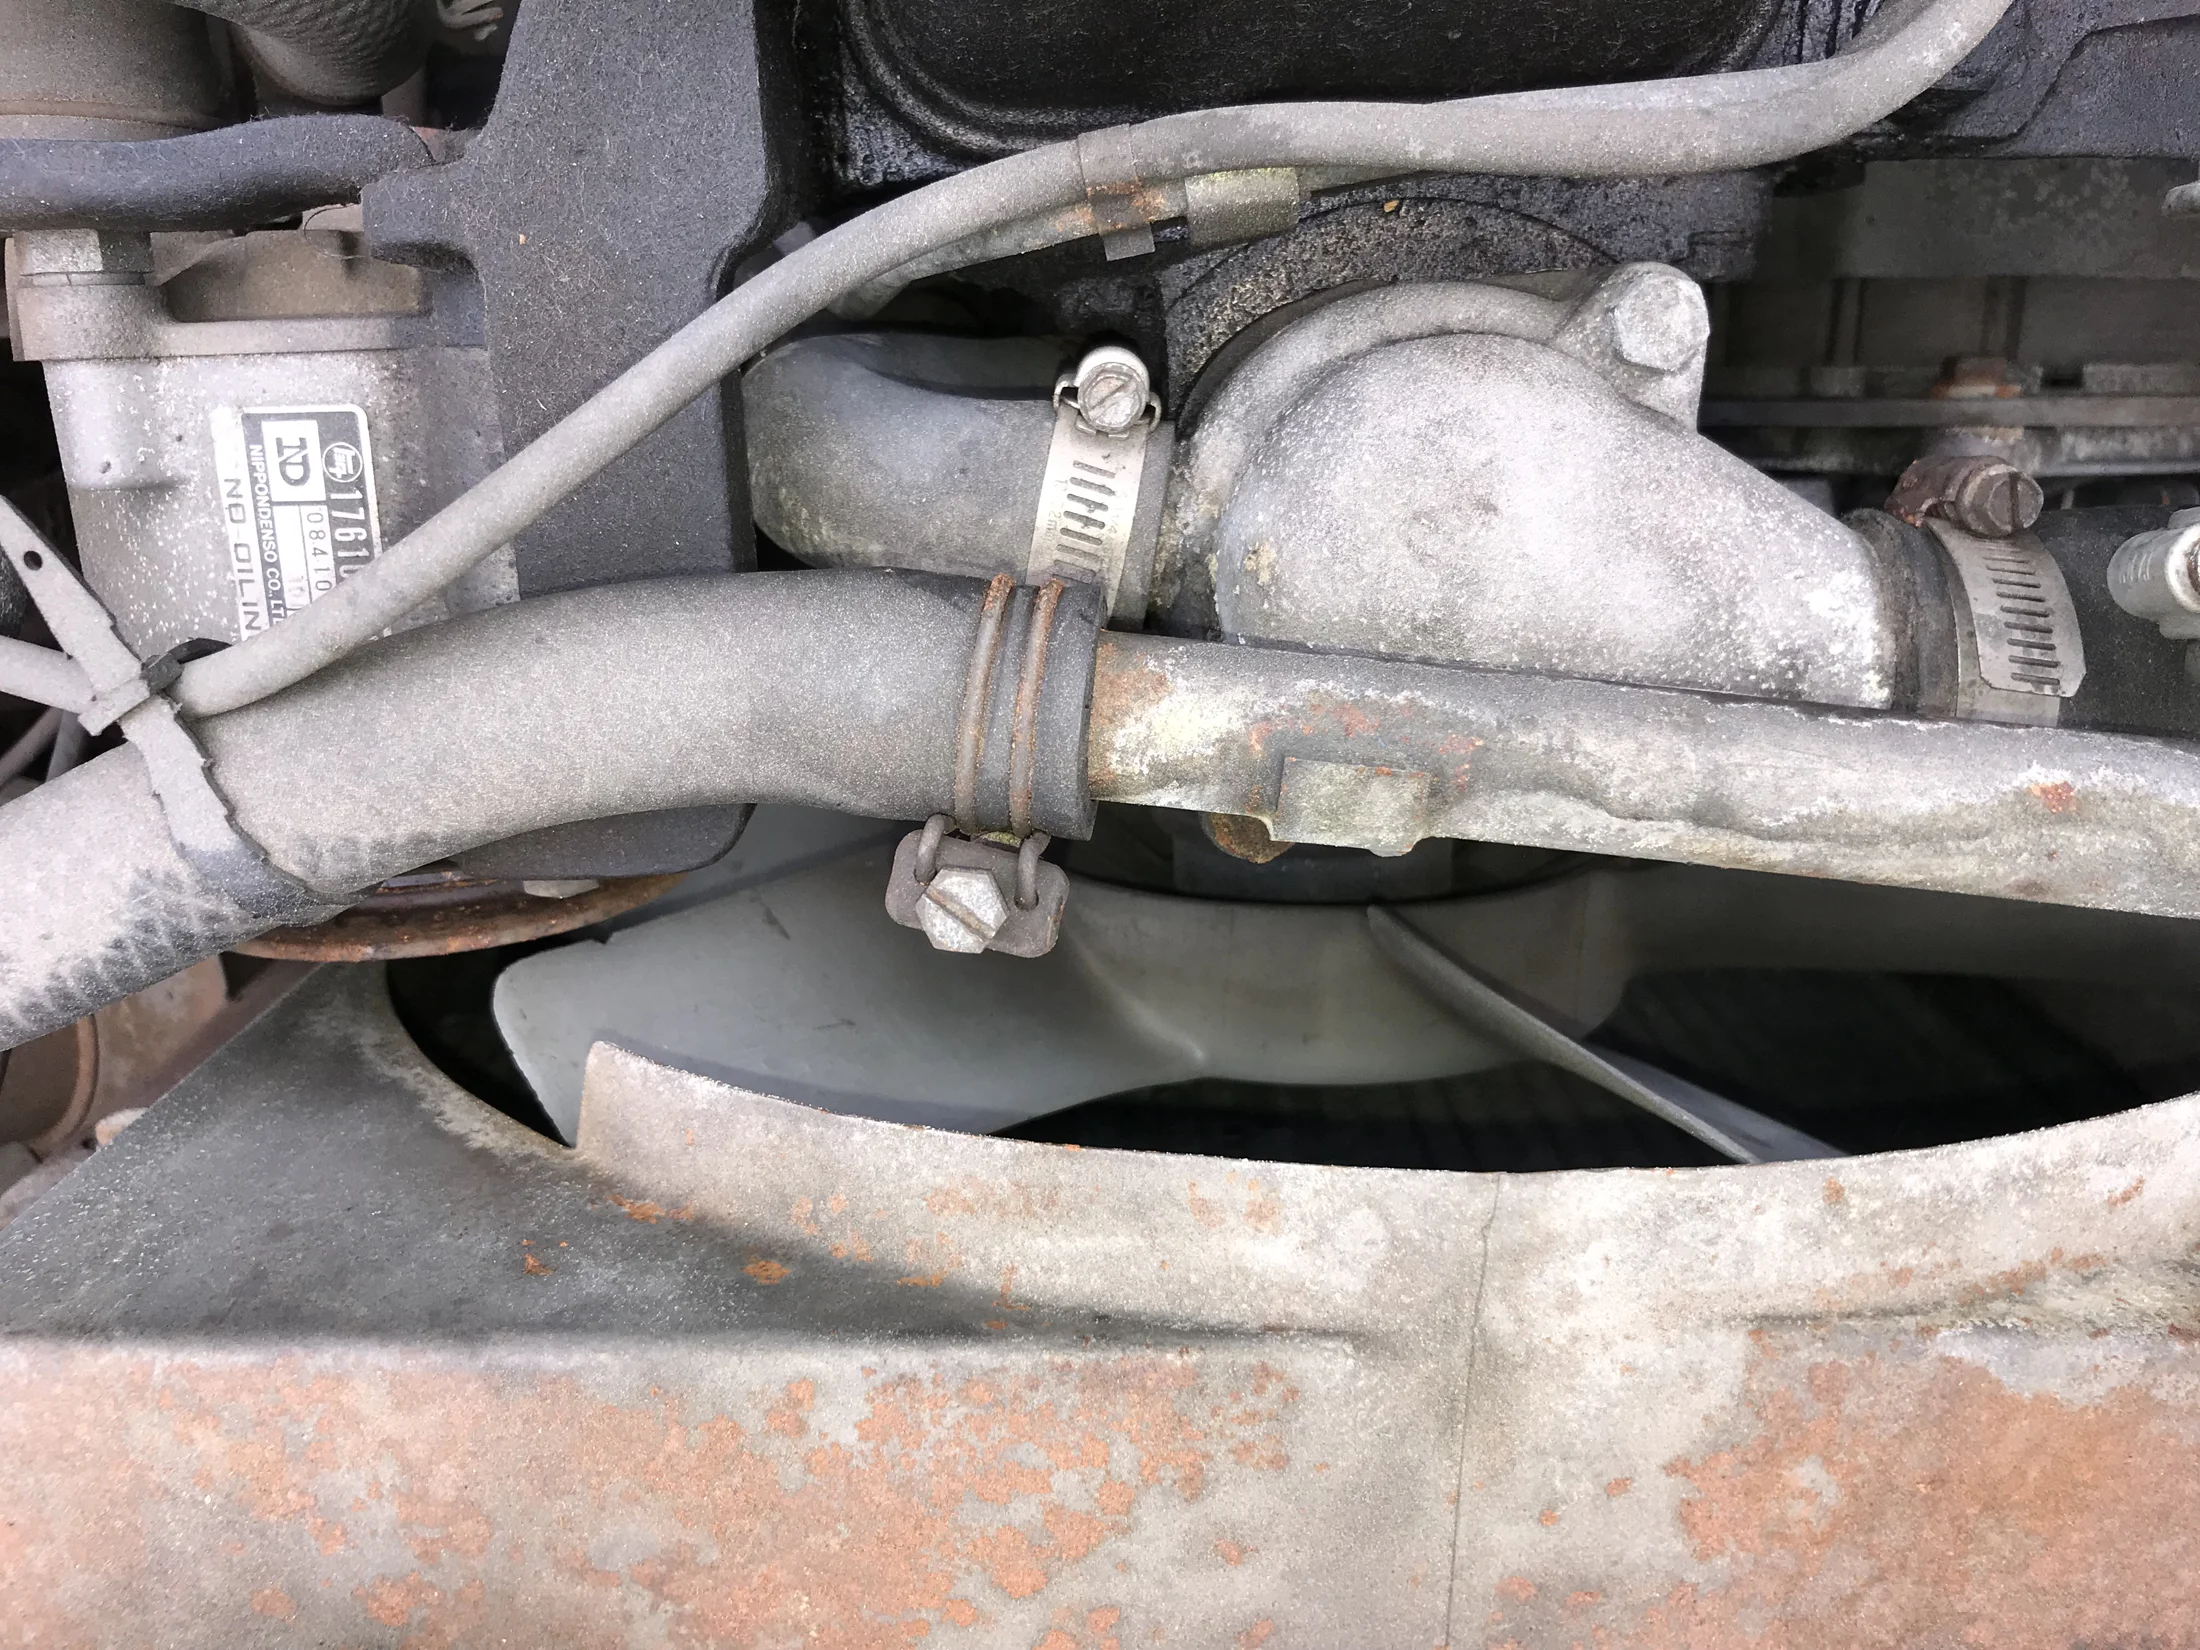
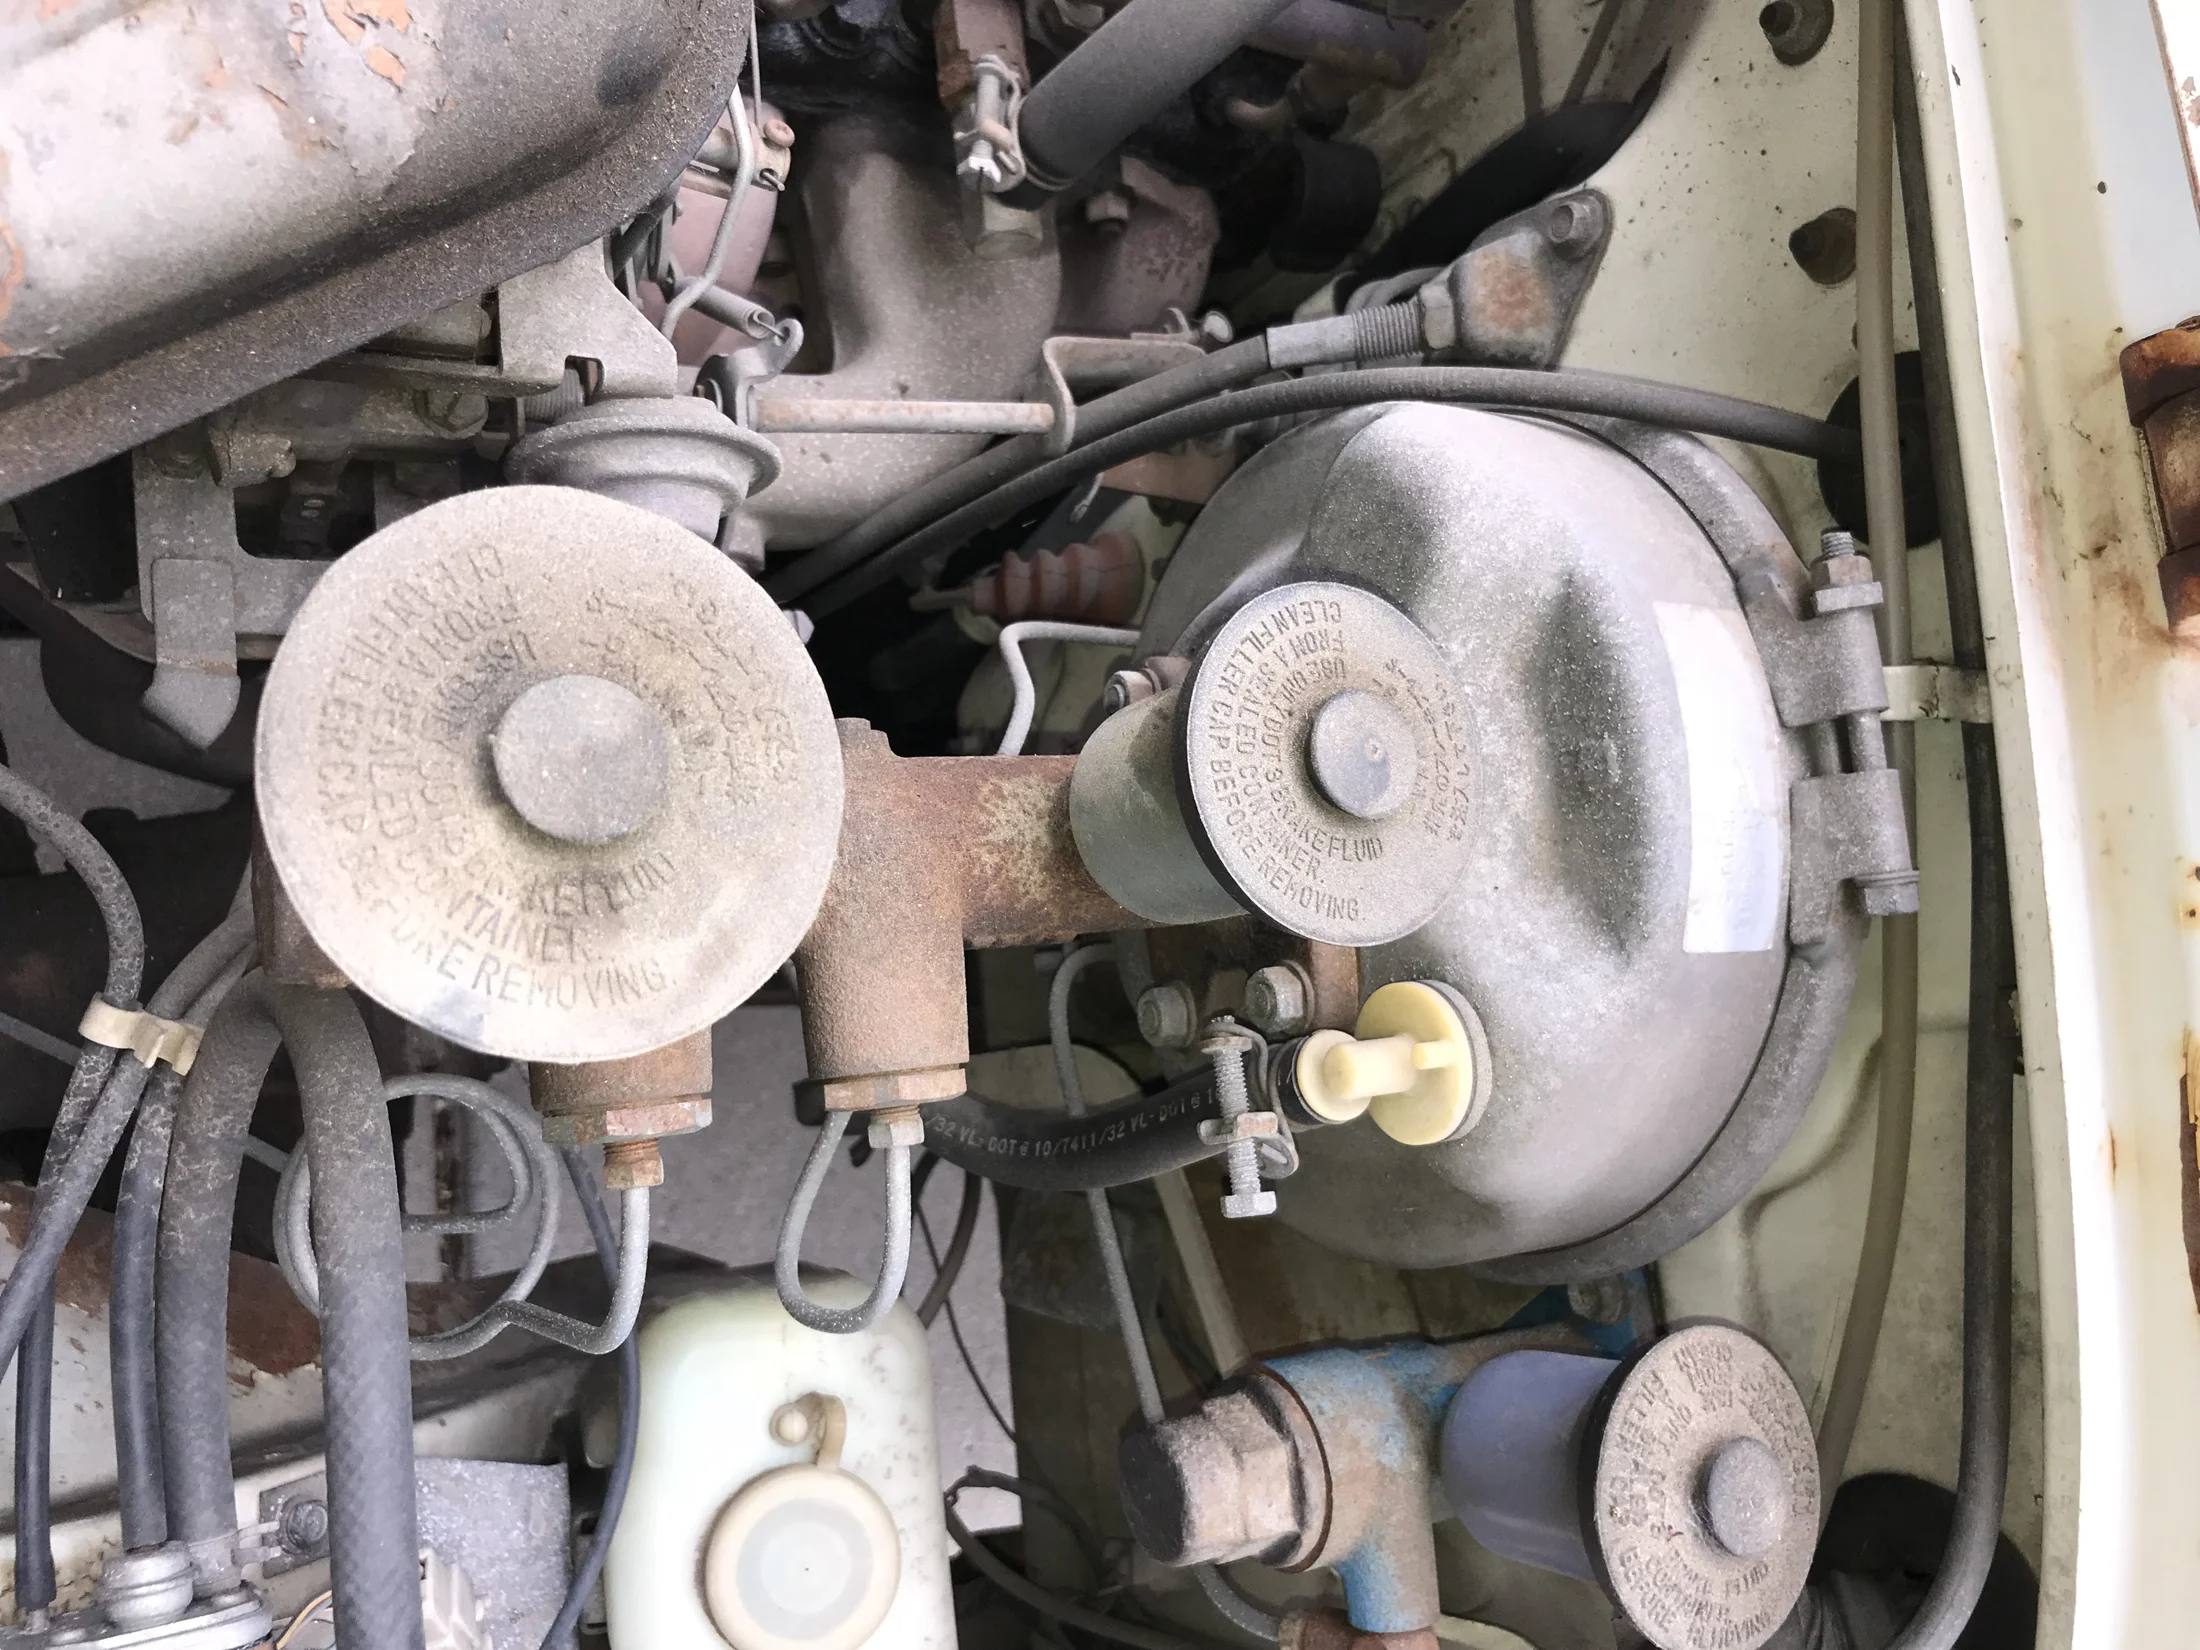
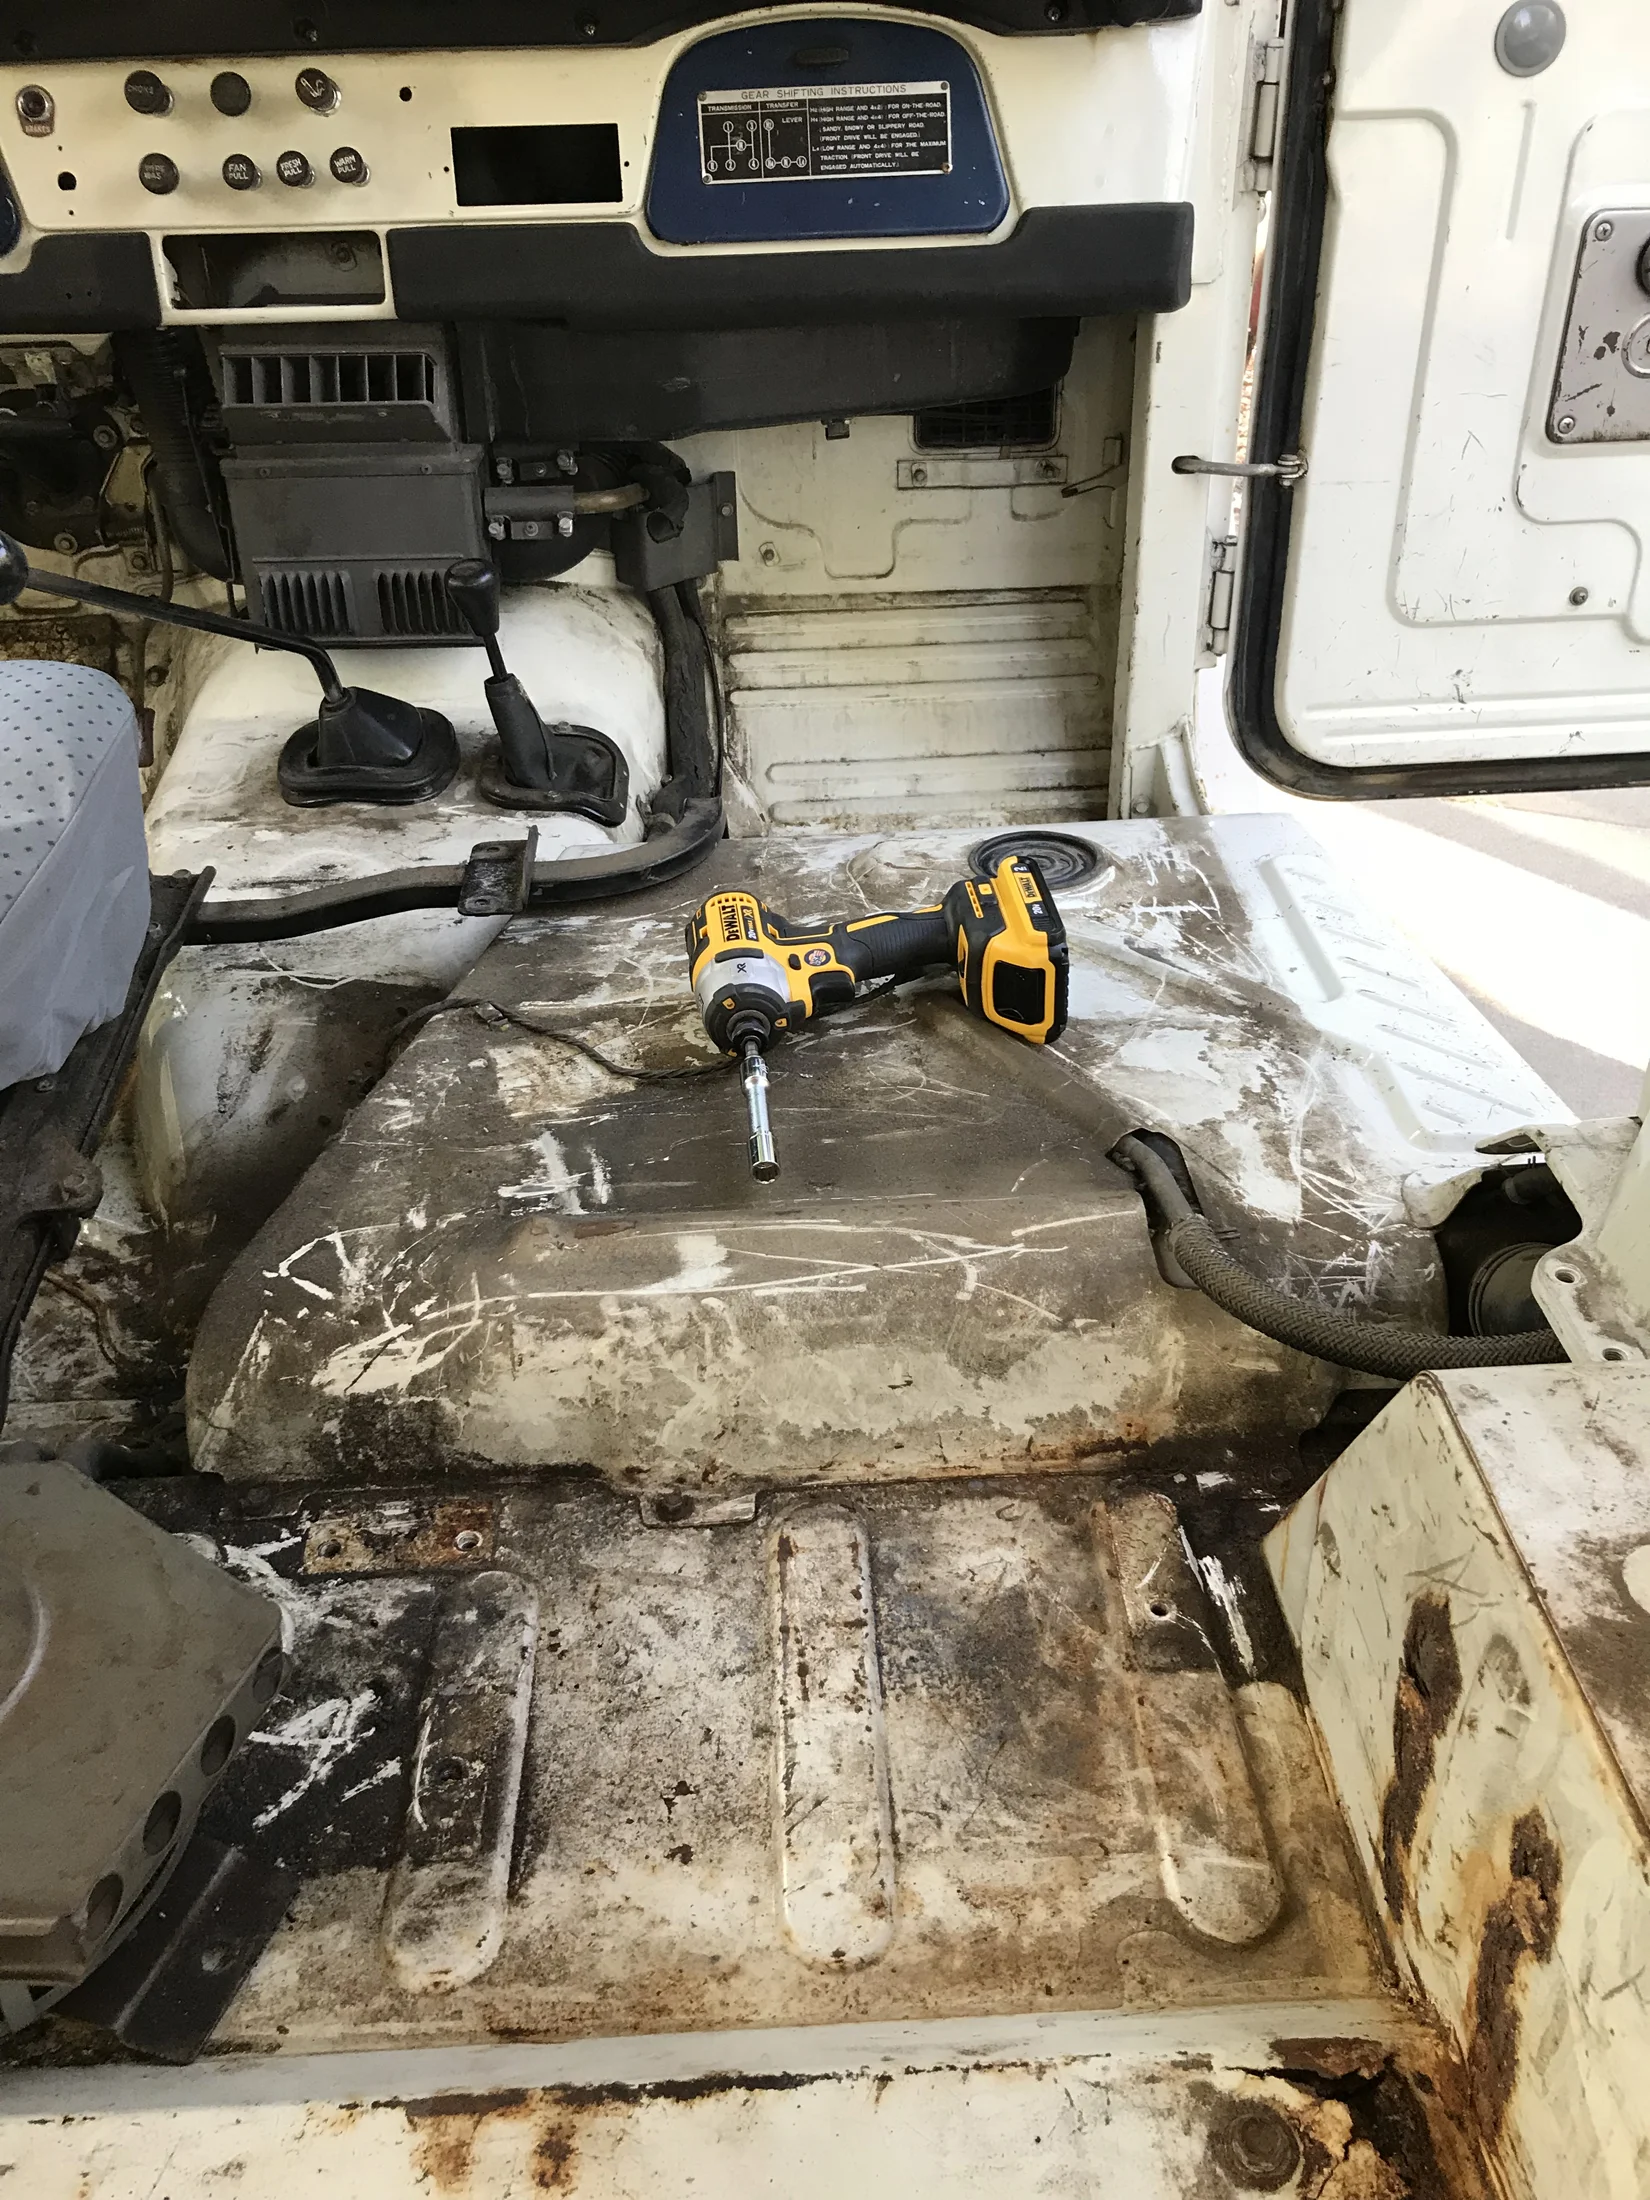
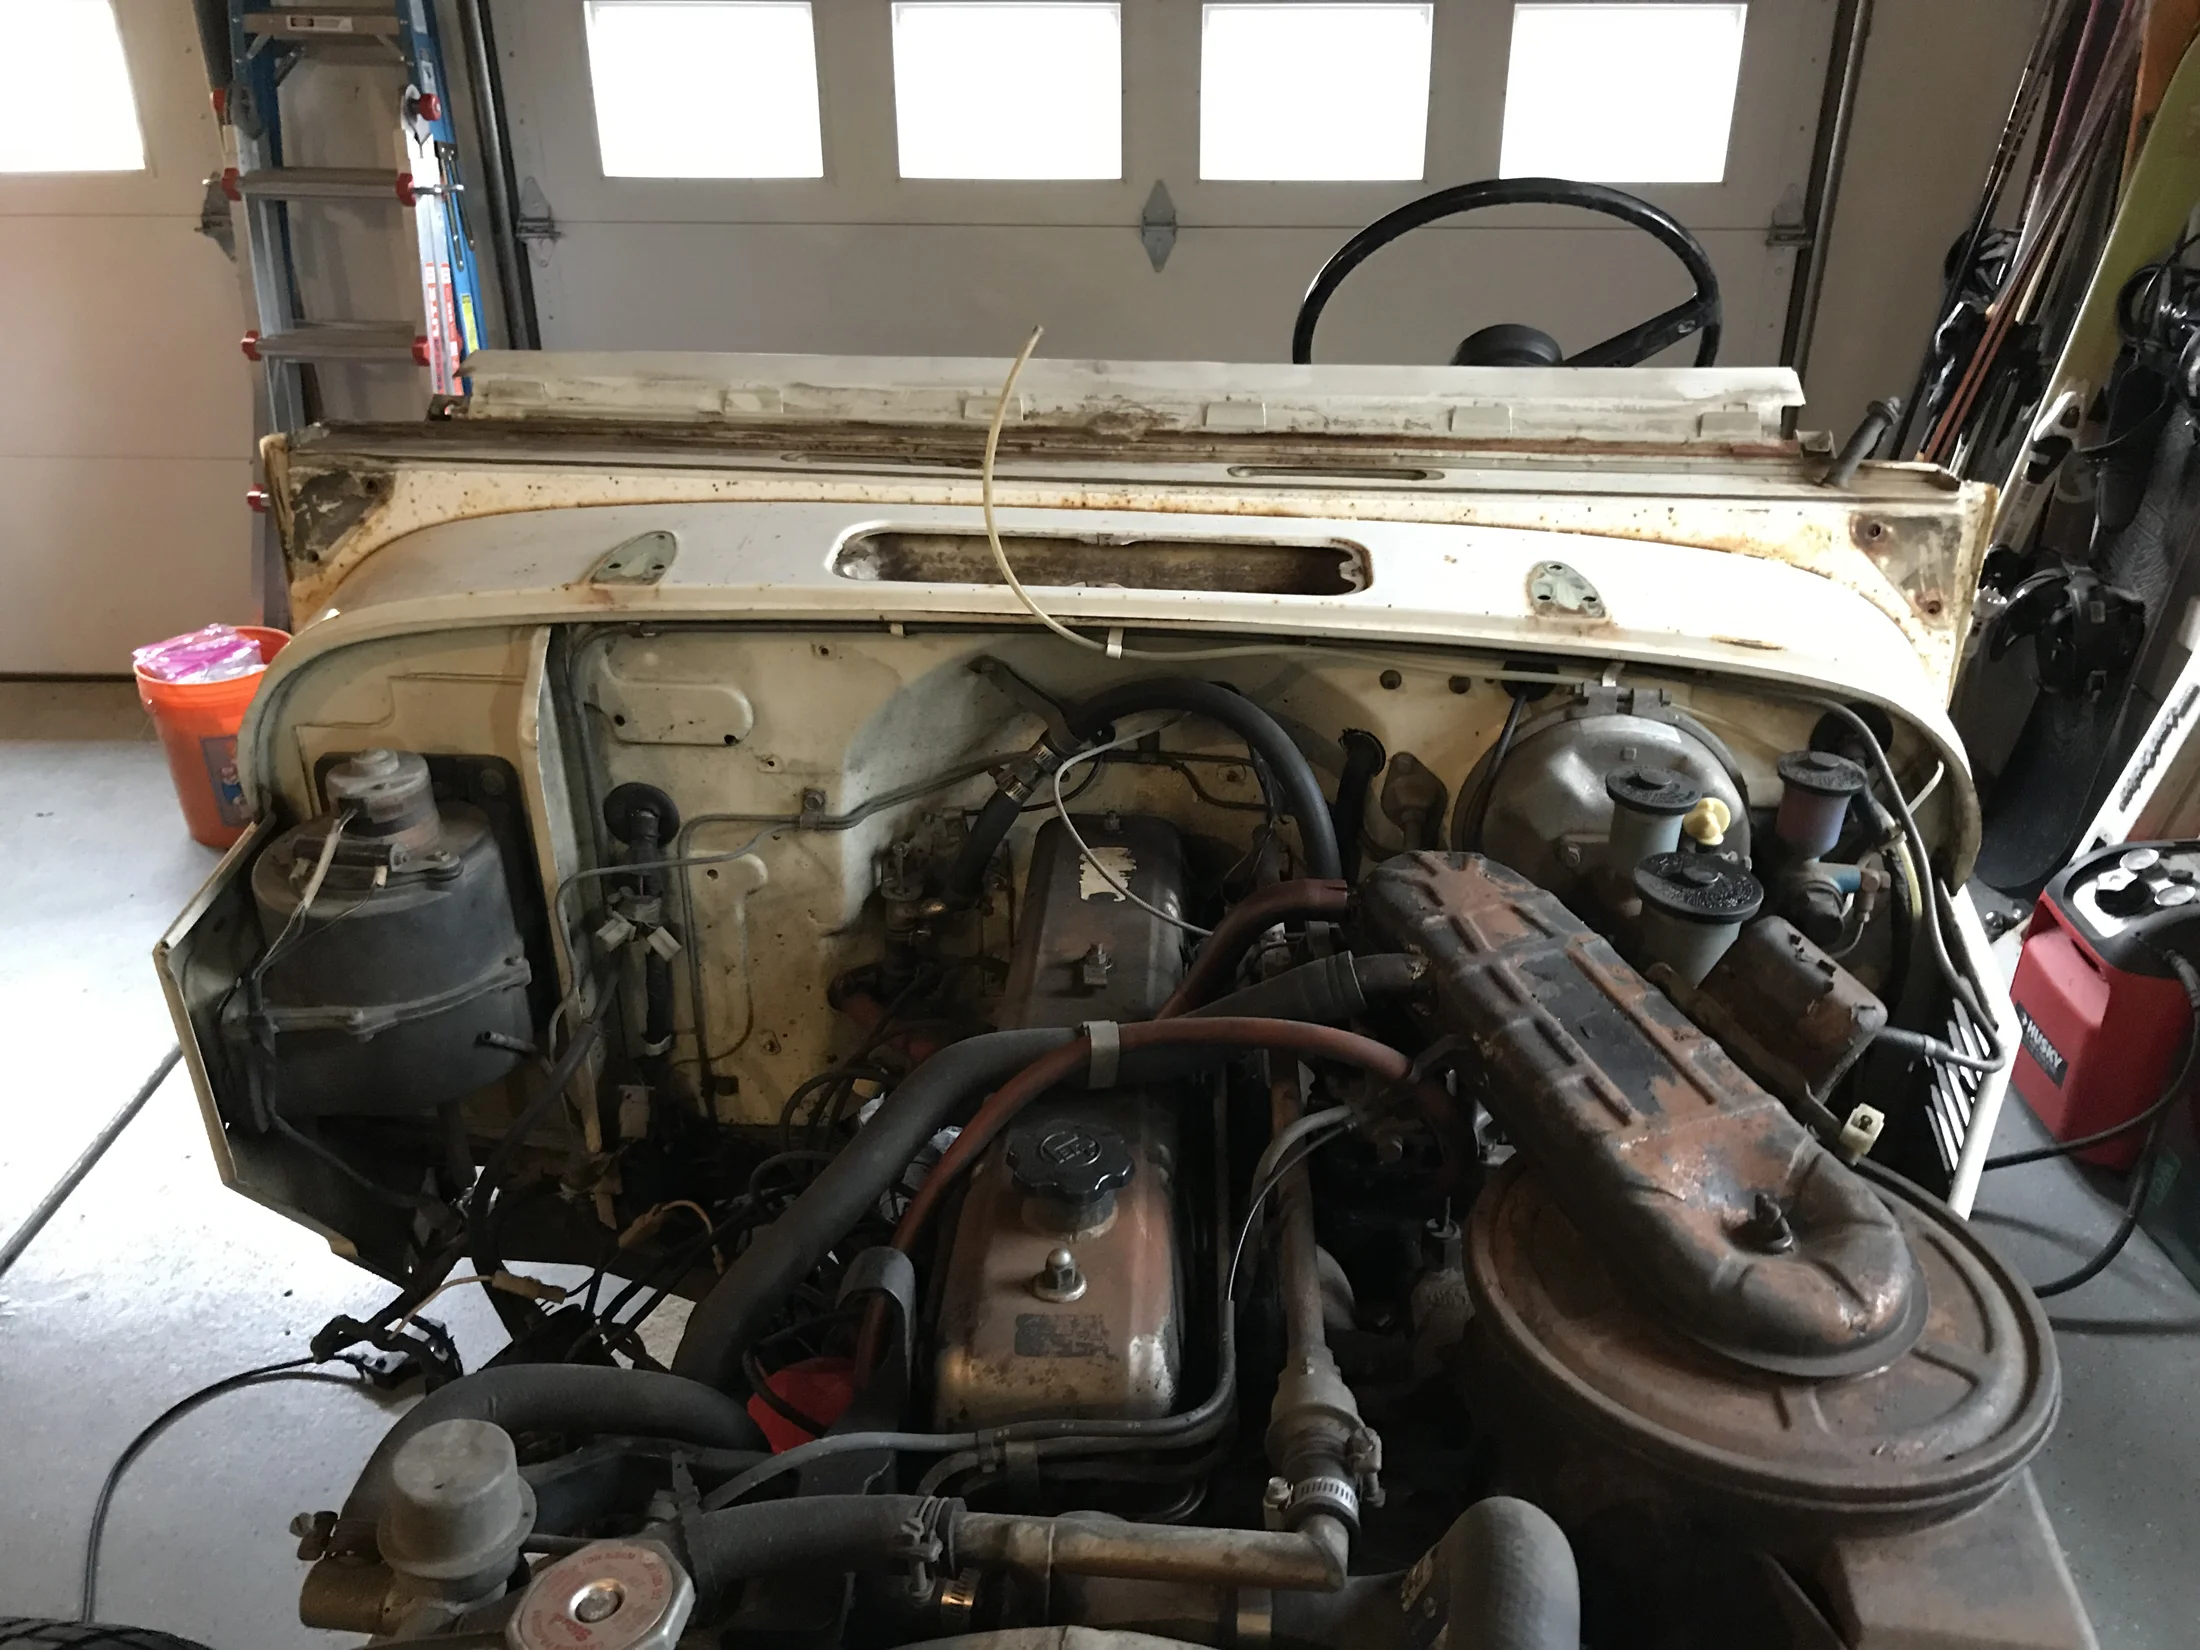
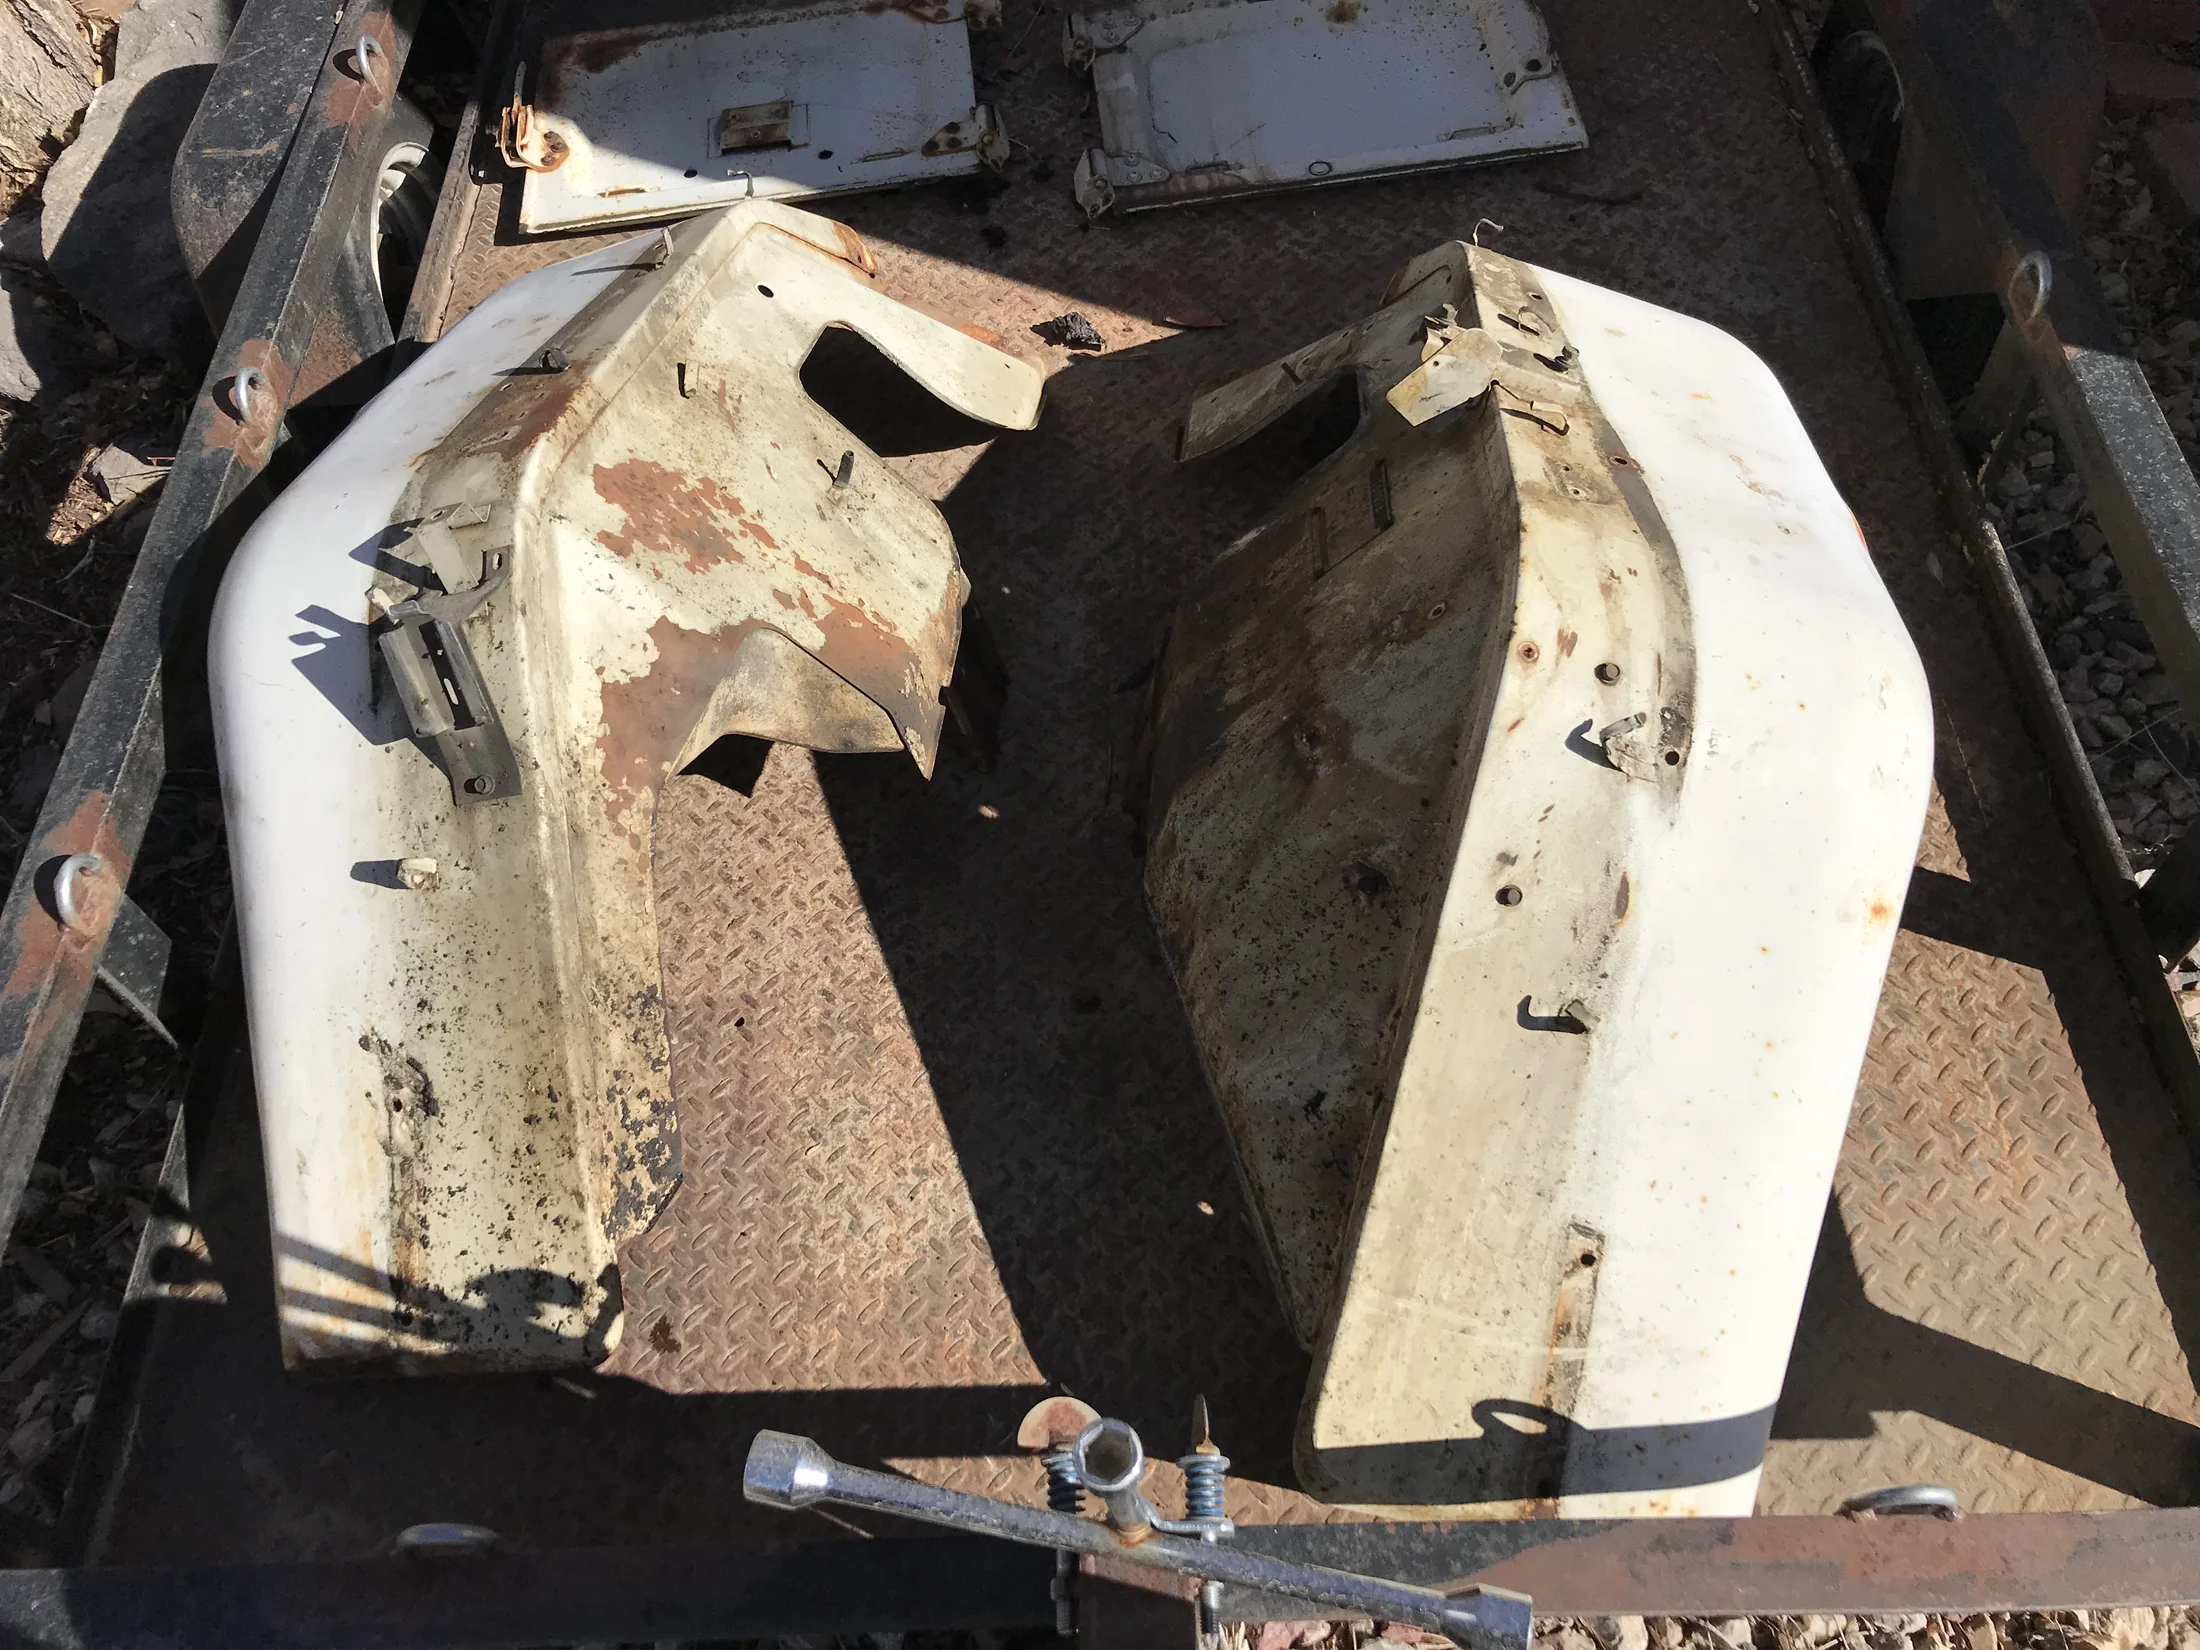
Shortly thereafter, I started the disassembly of the FJ, with the help of my son, Owen. It turned out to be great bonding time together, and also I suspect his vocabulary expanded significantly (e.g., impact driver and W*%**#& R@#$% E#()/!).
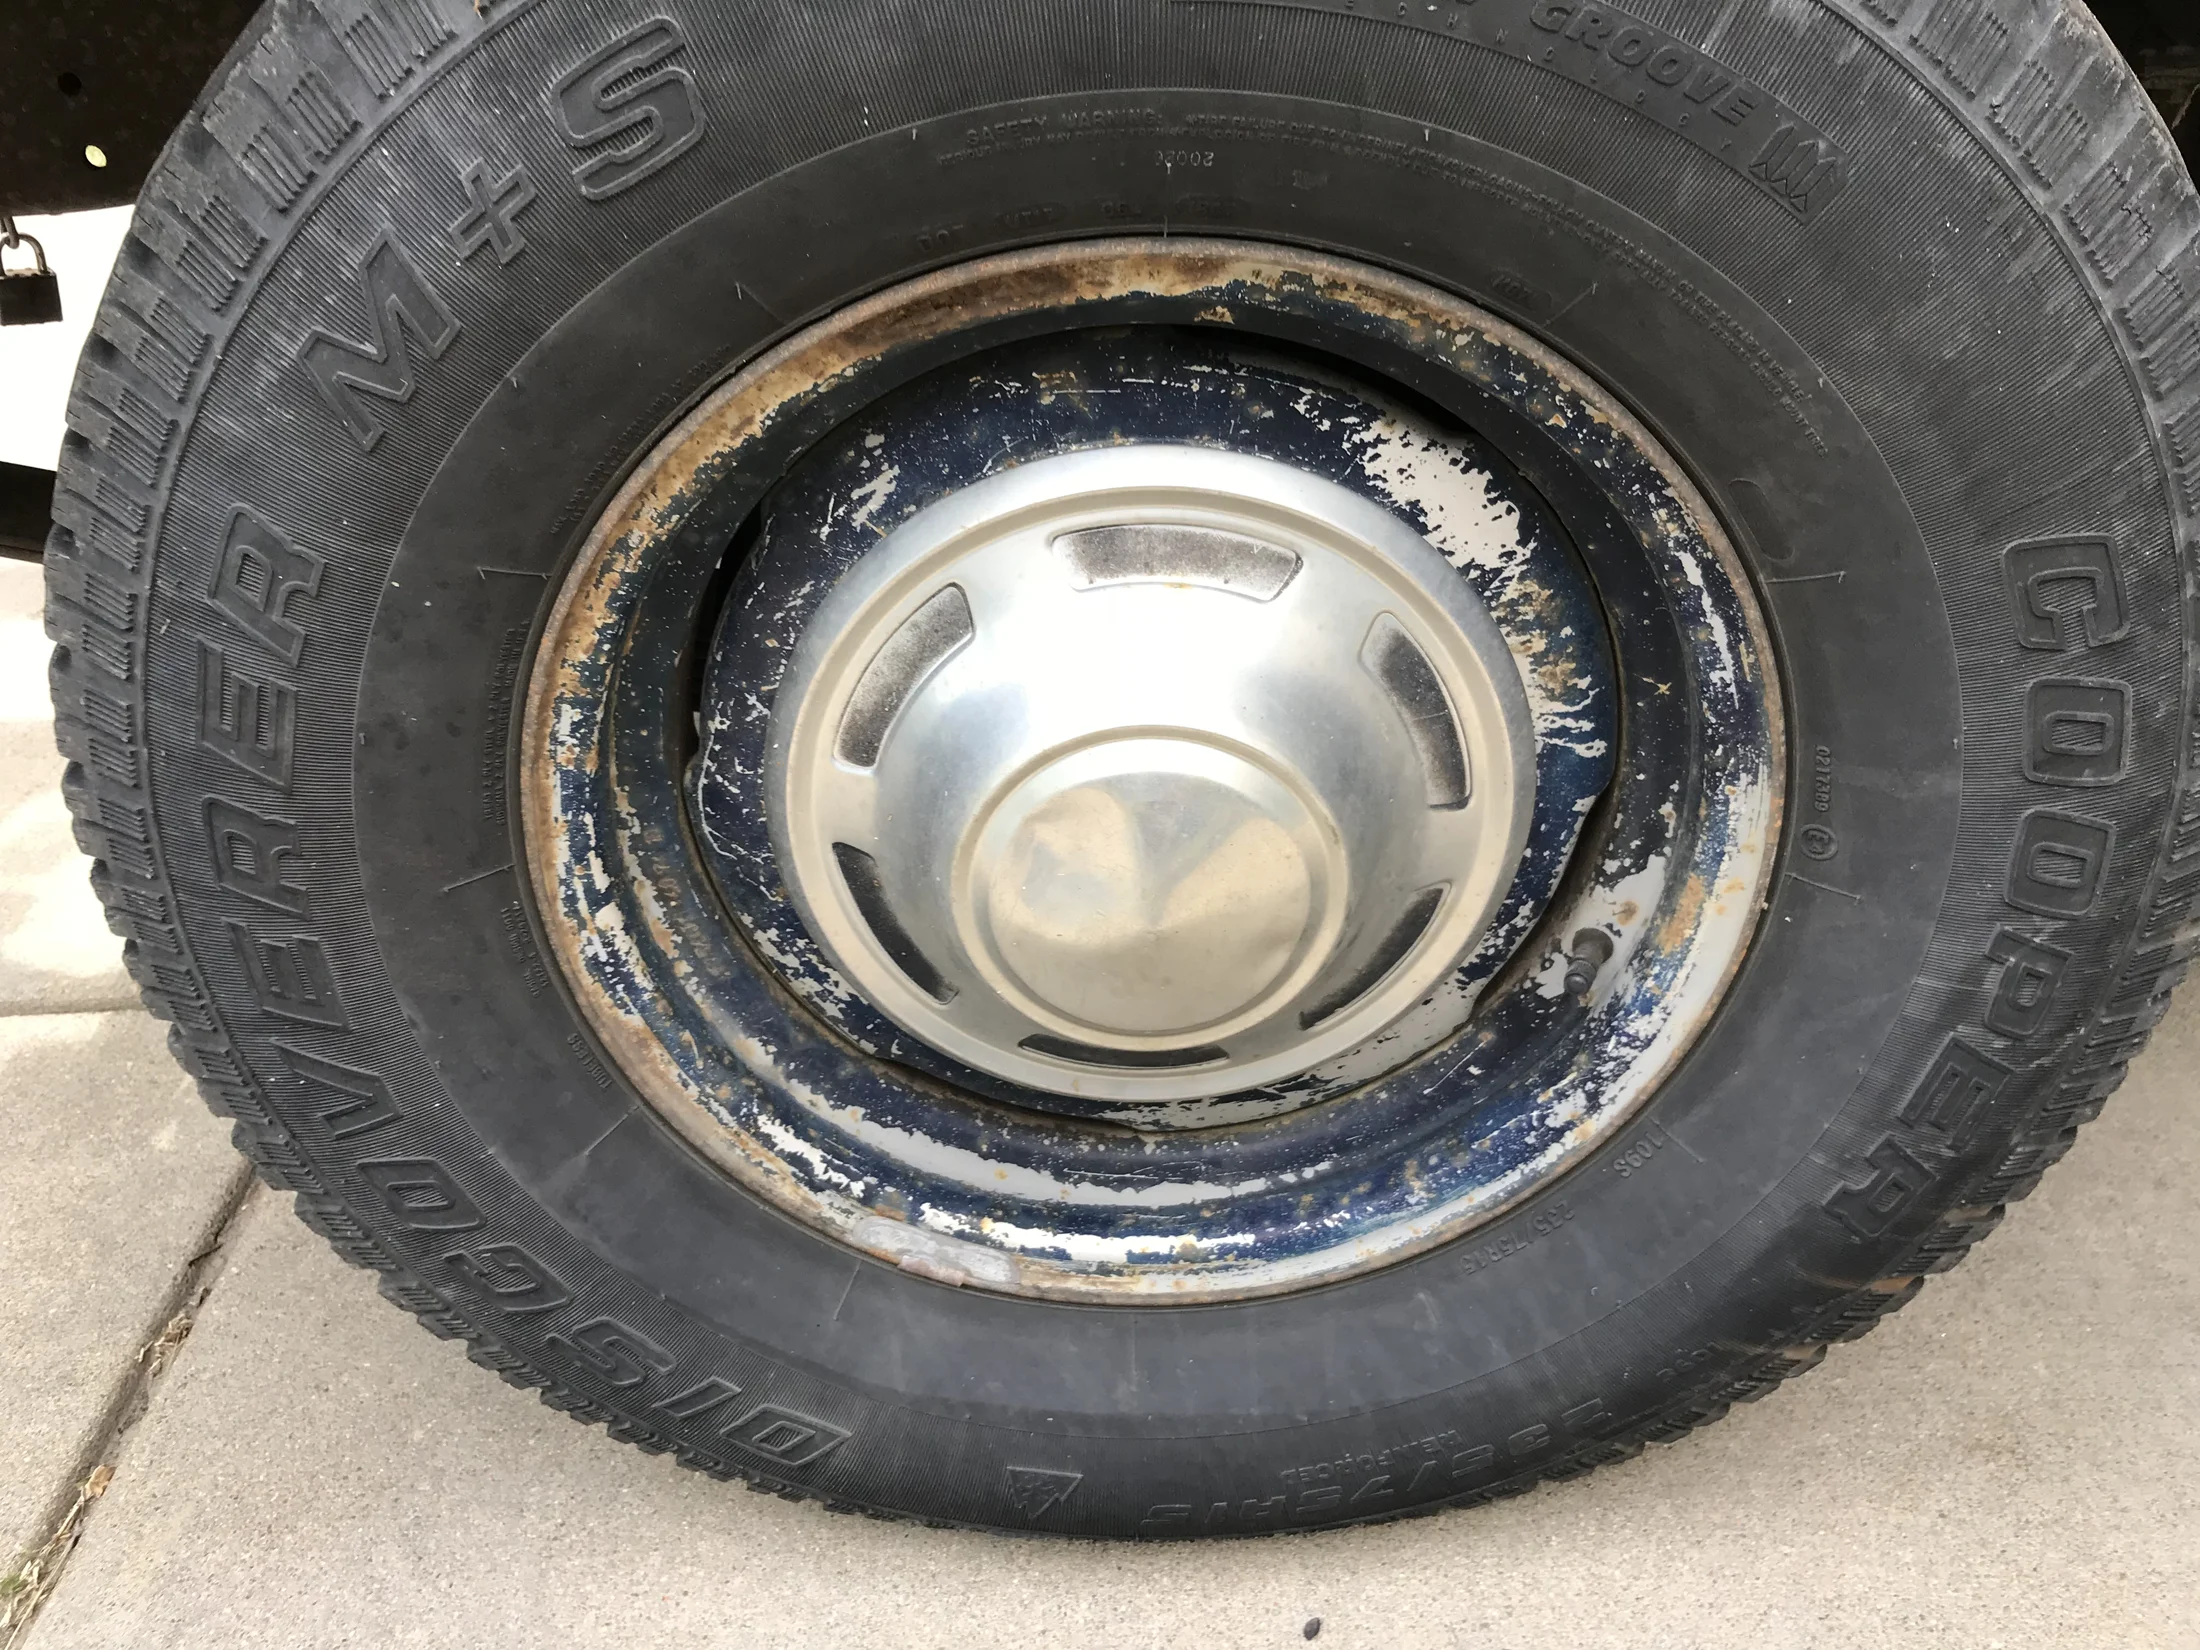
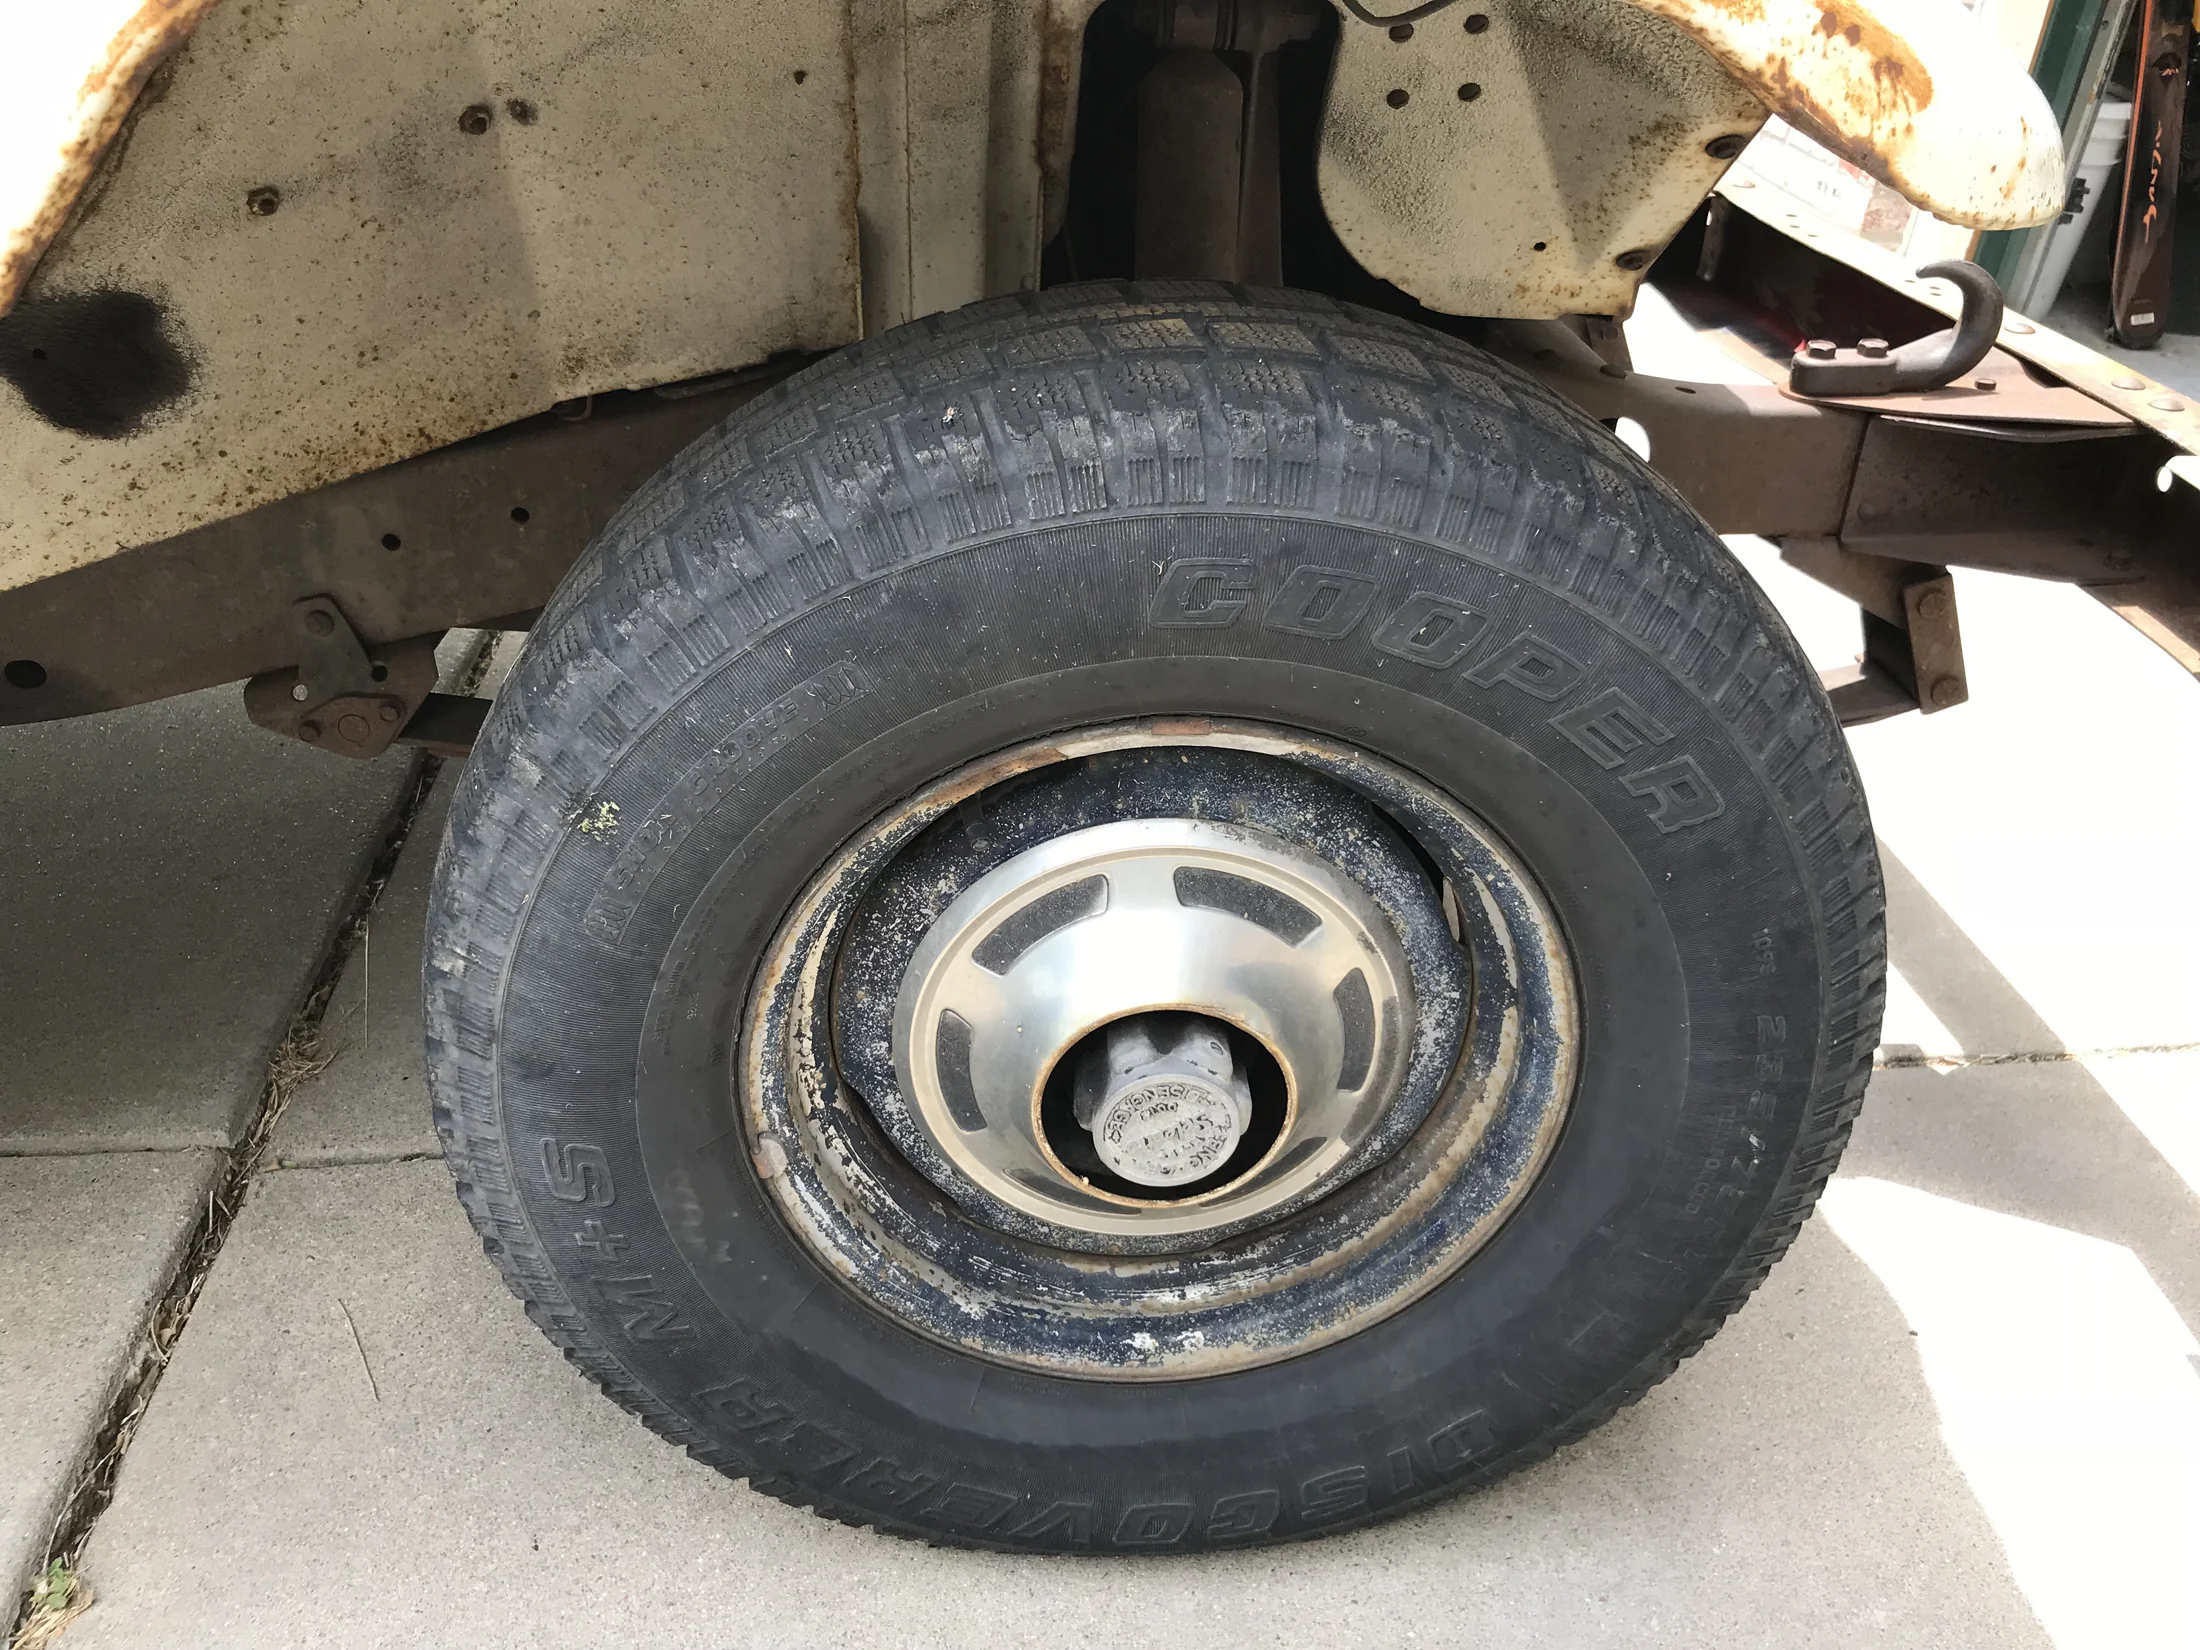
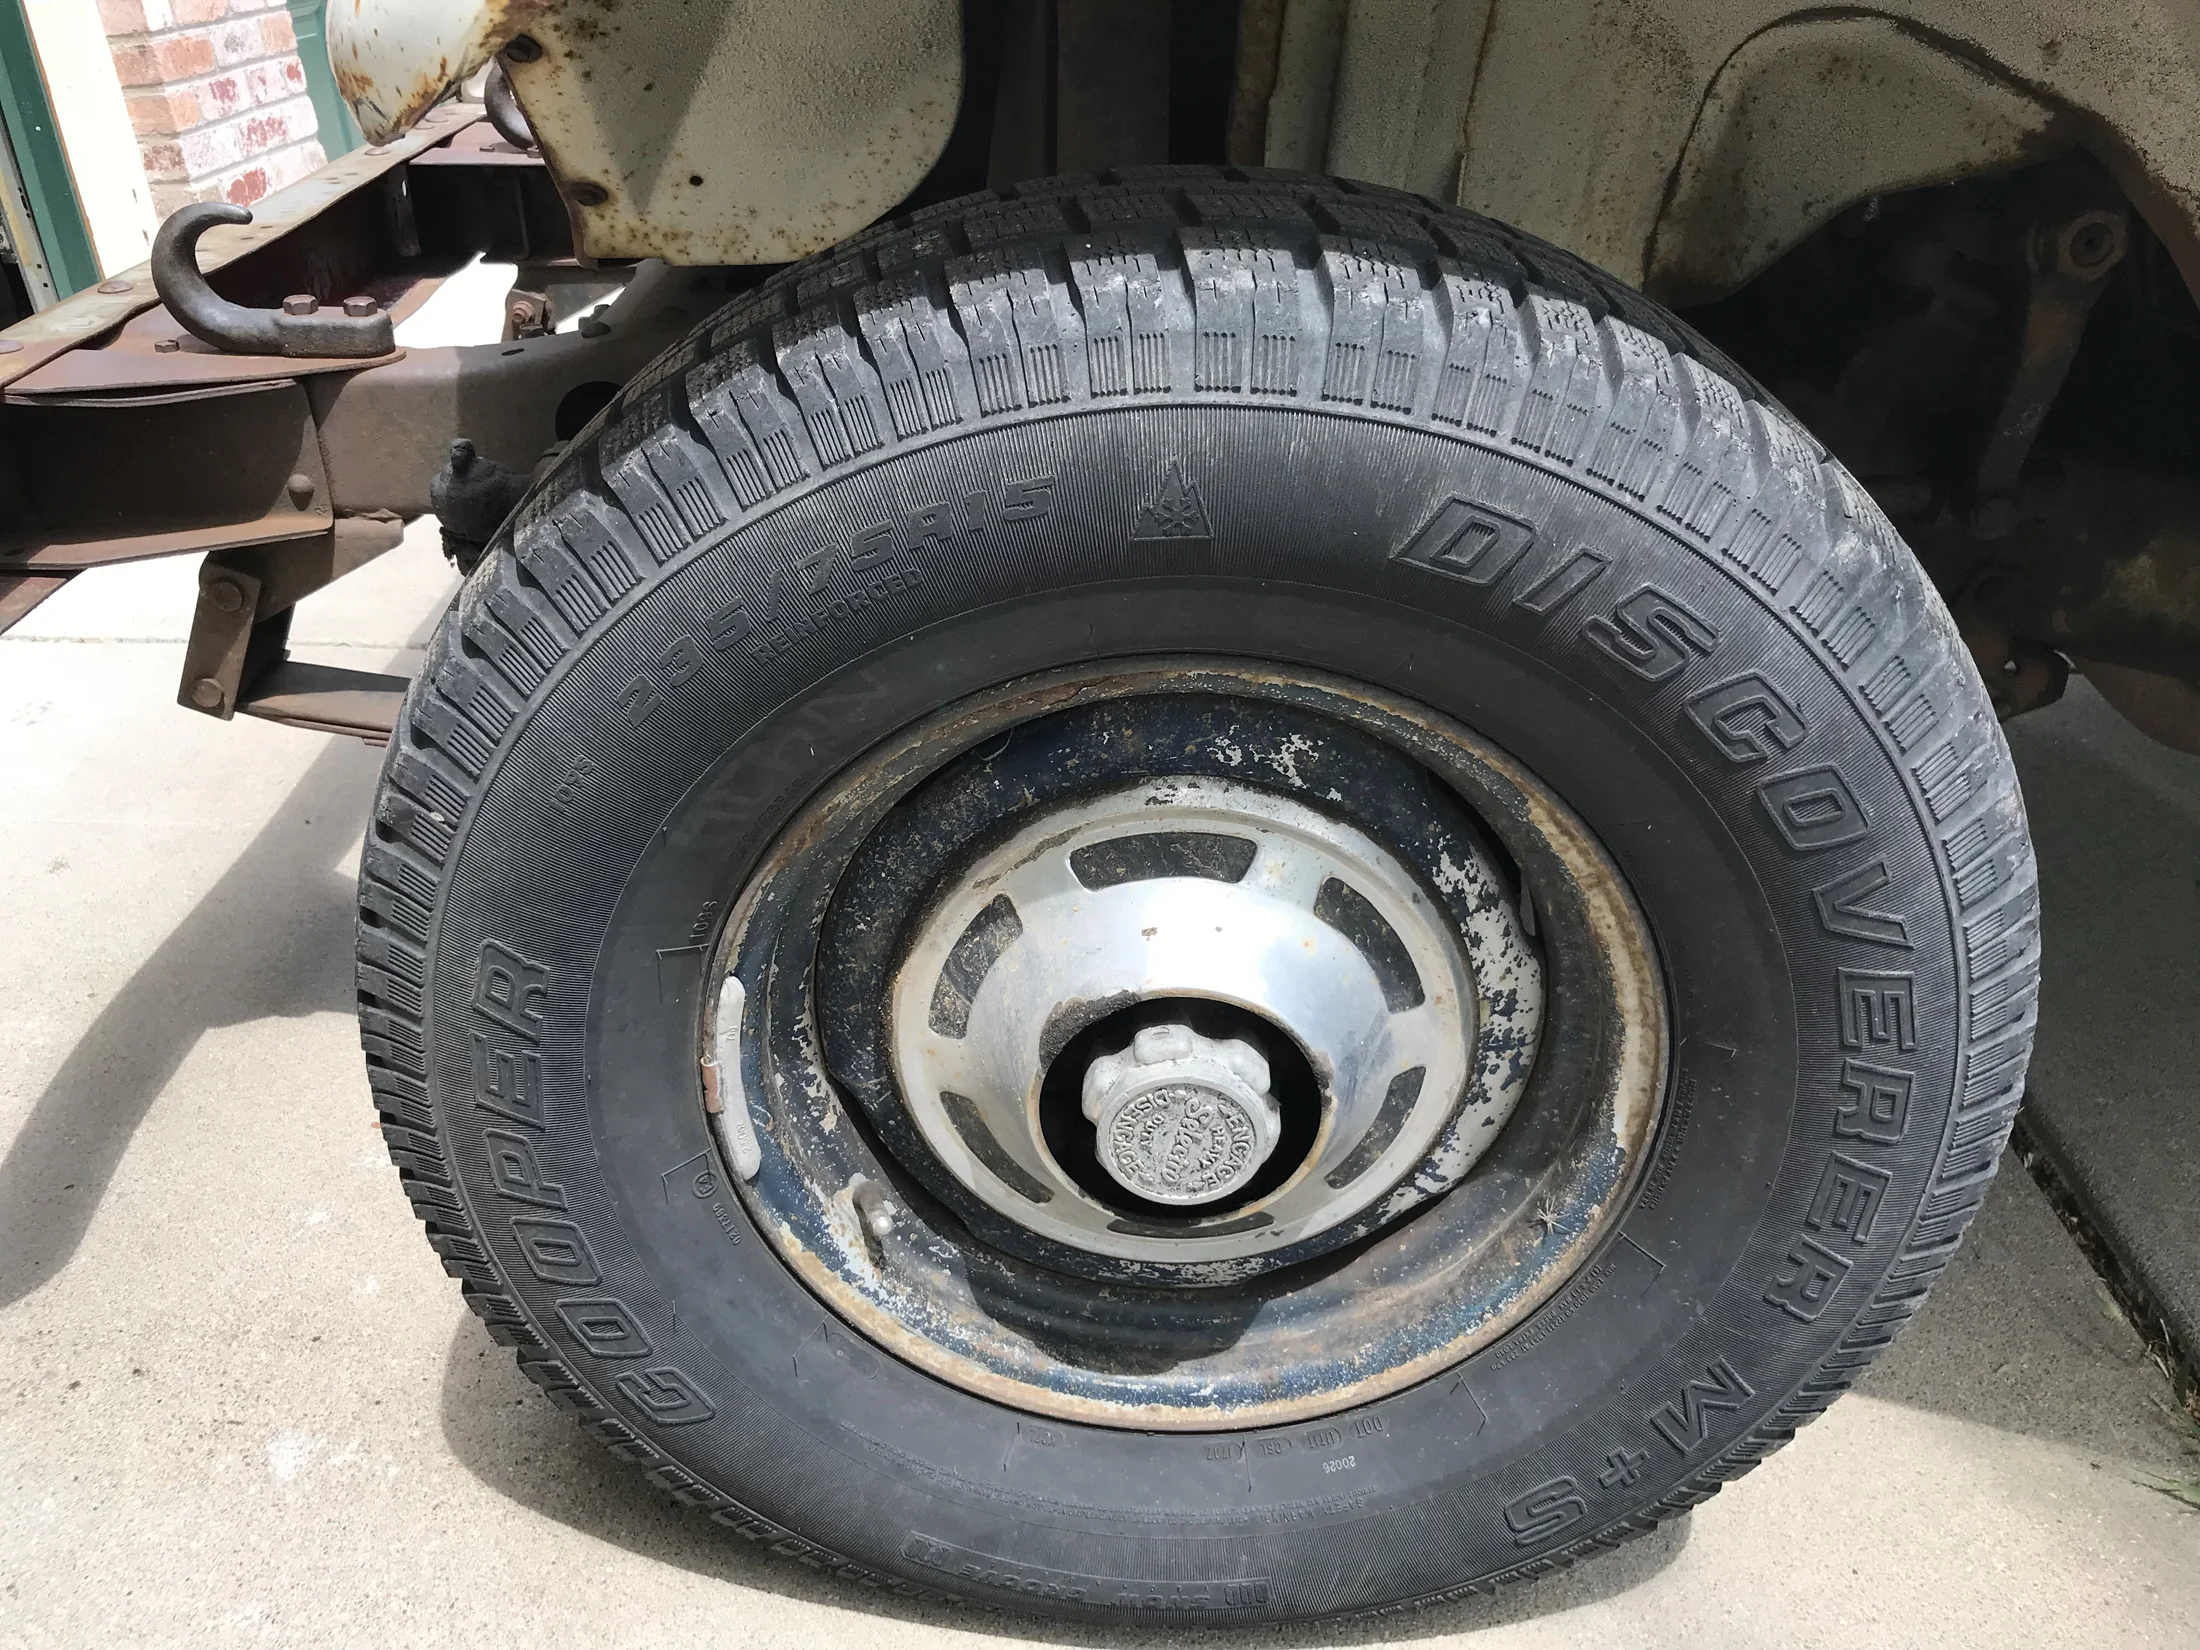
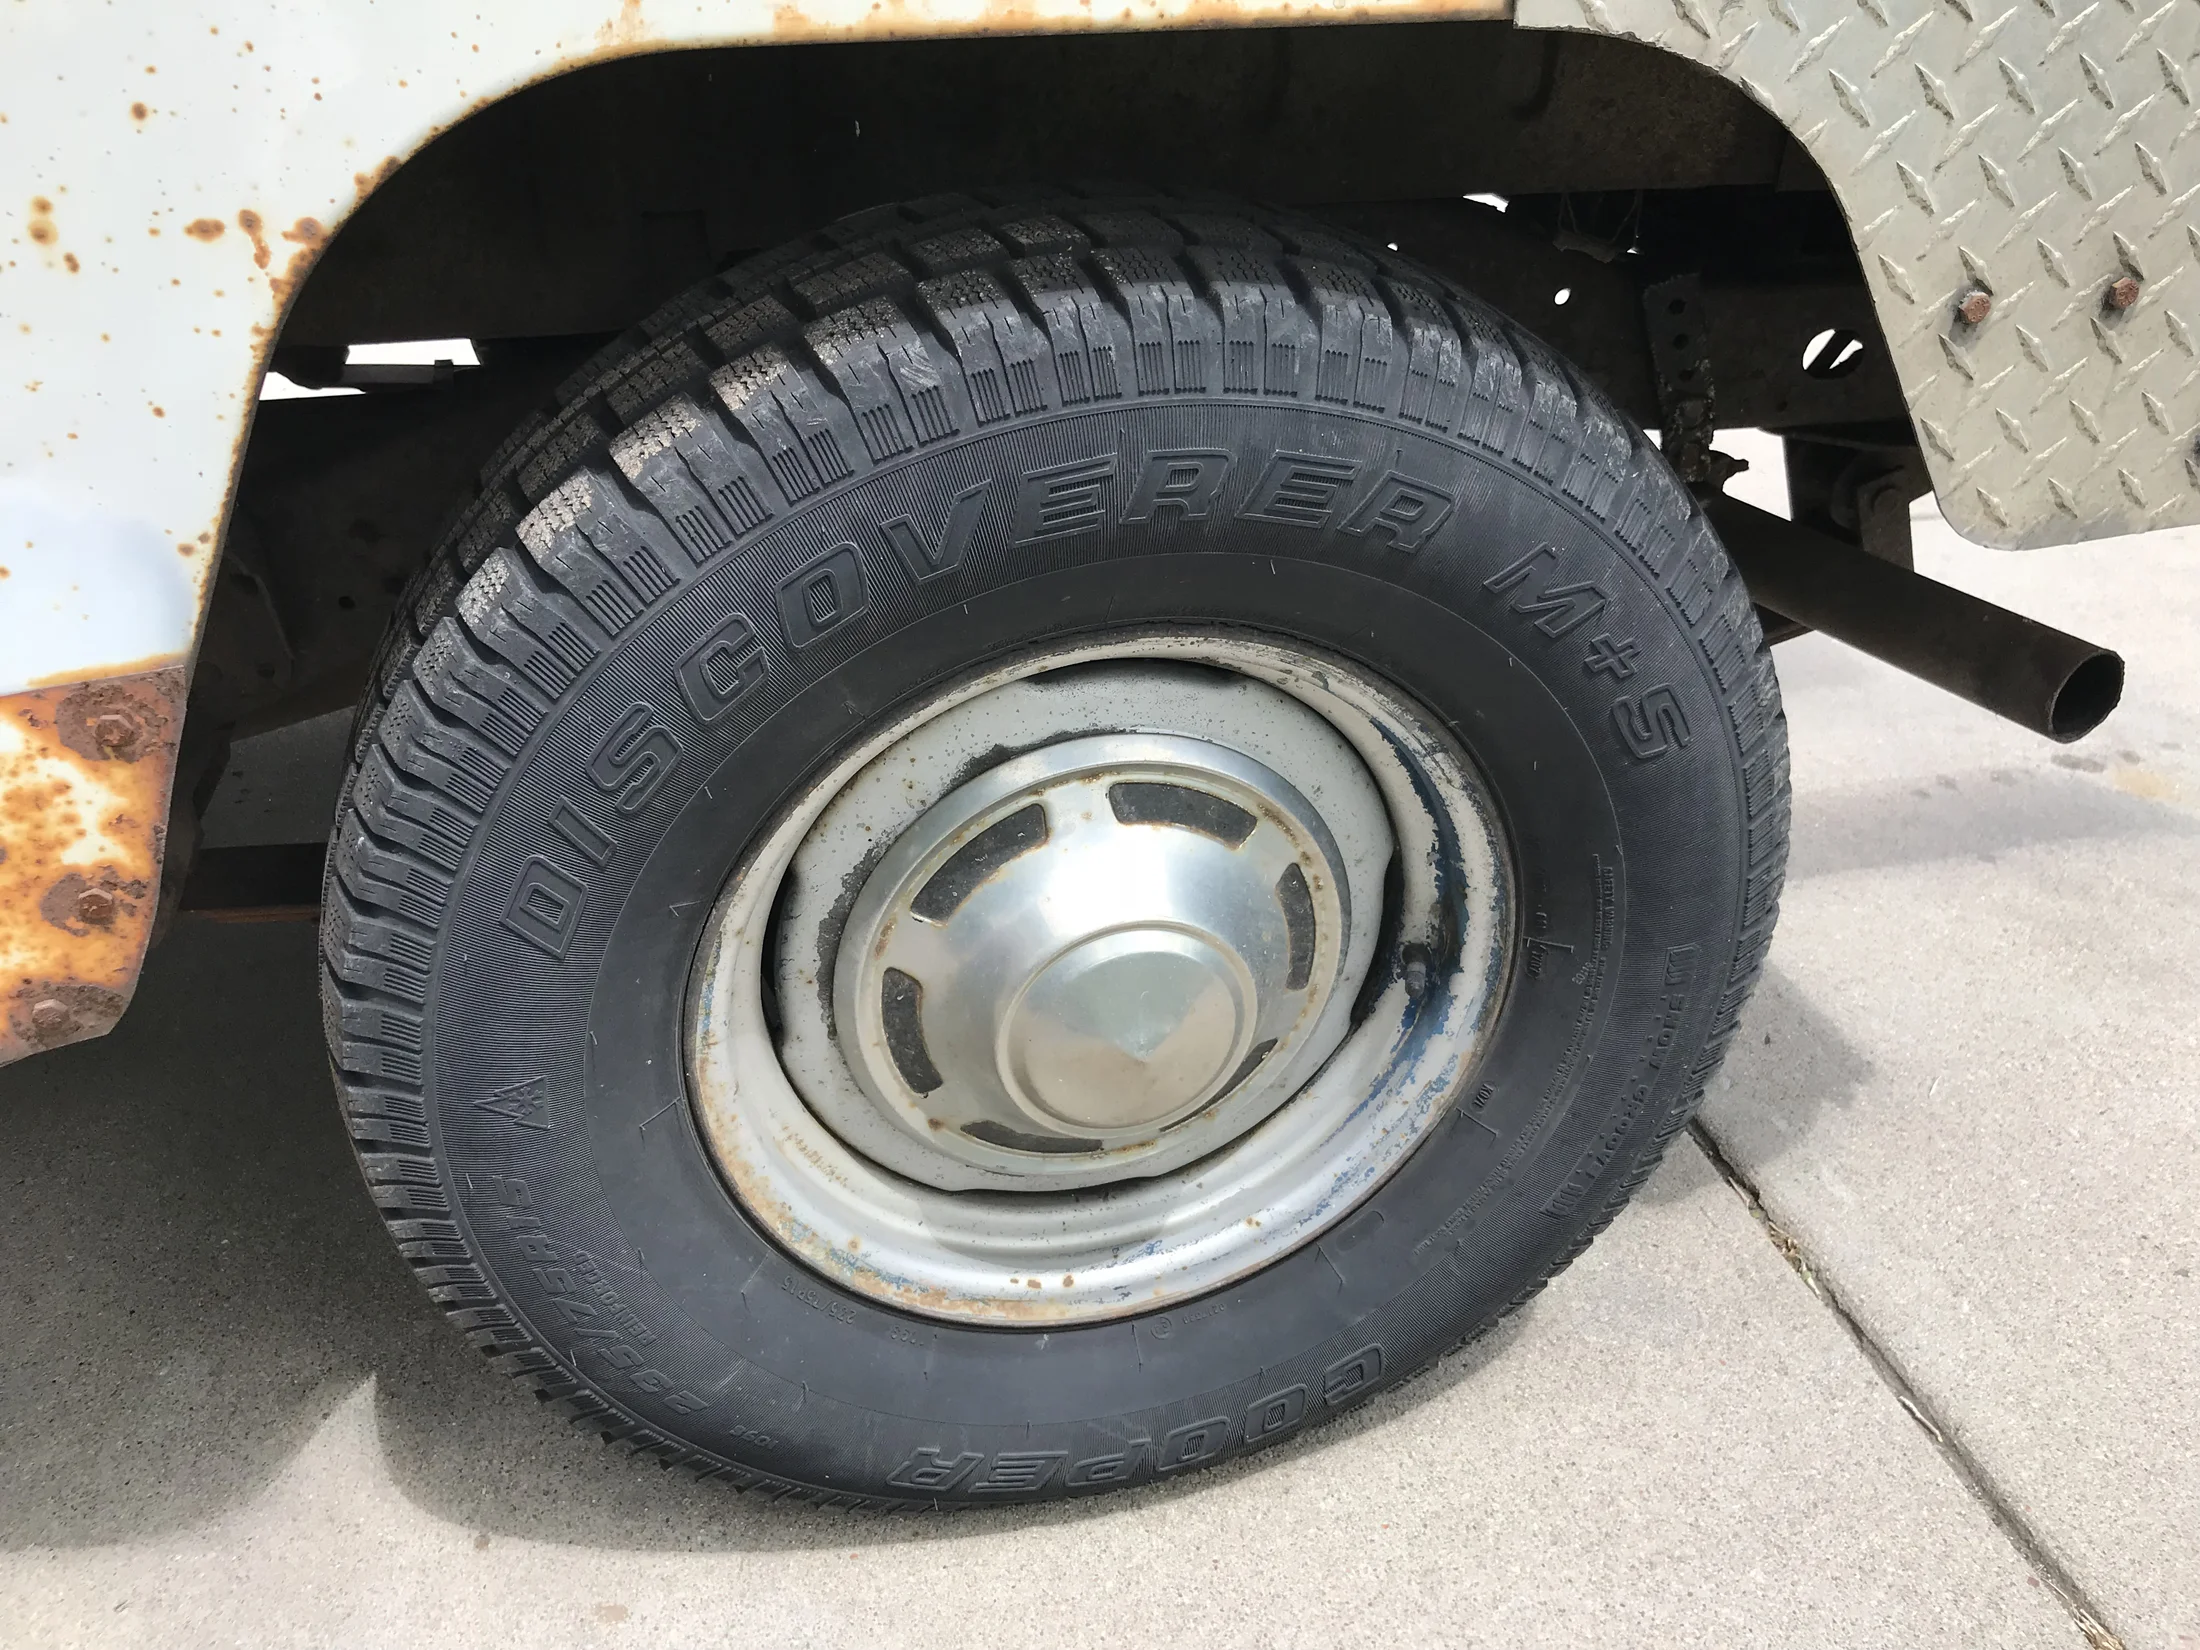
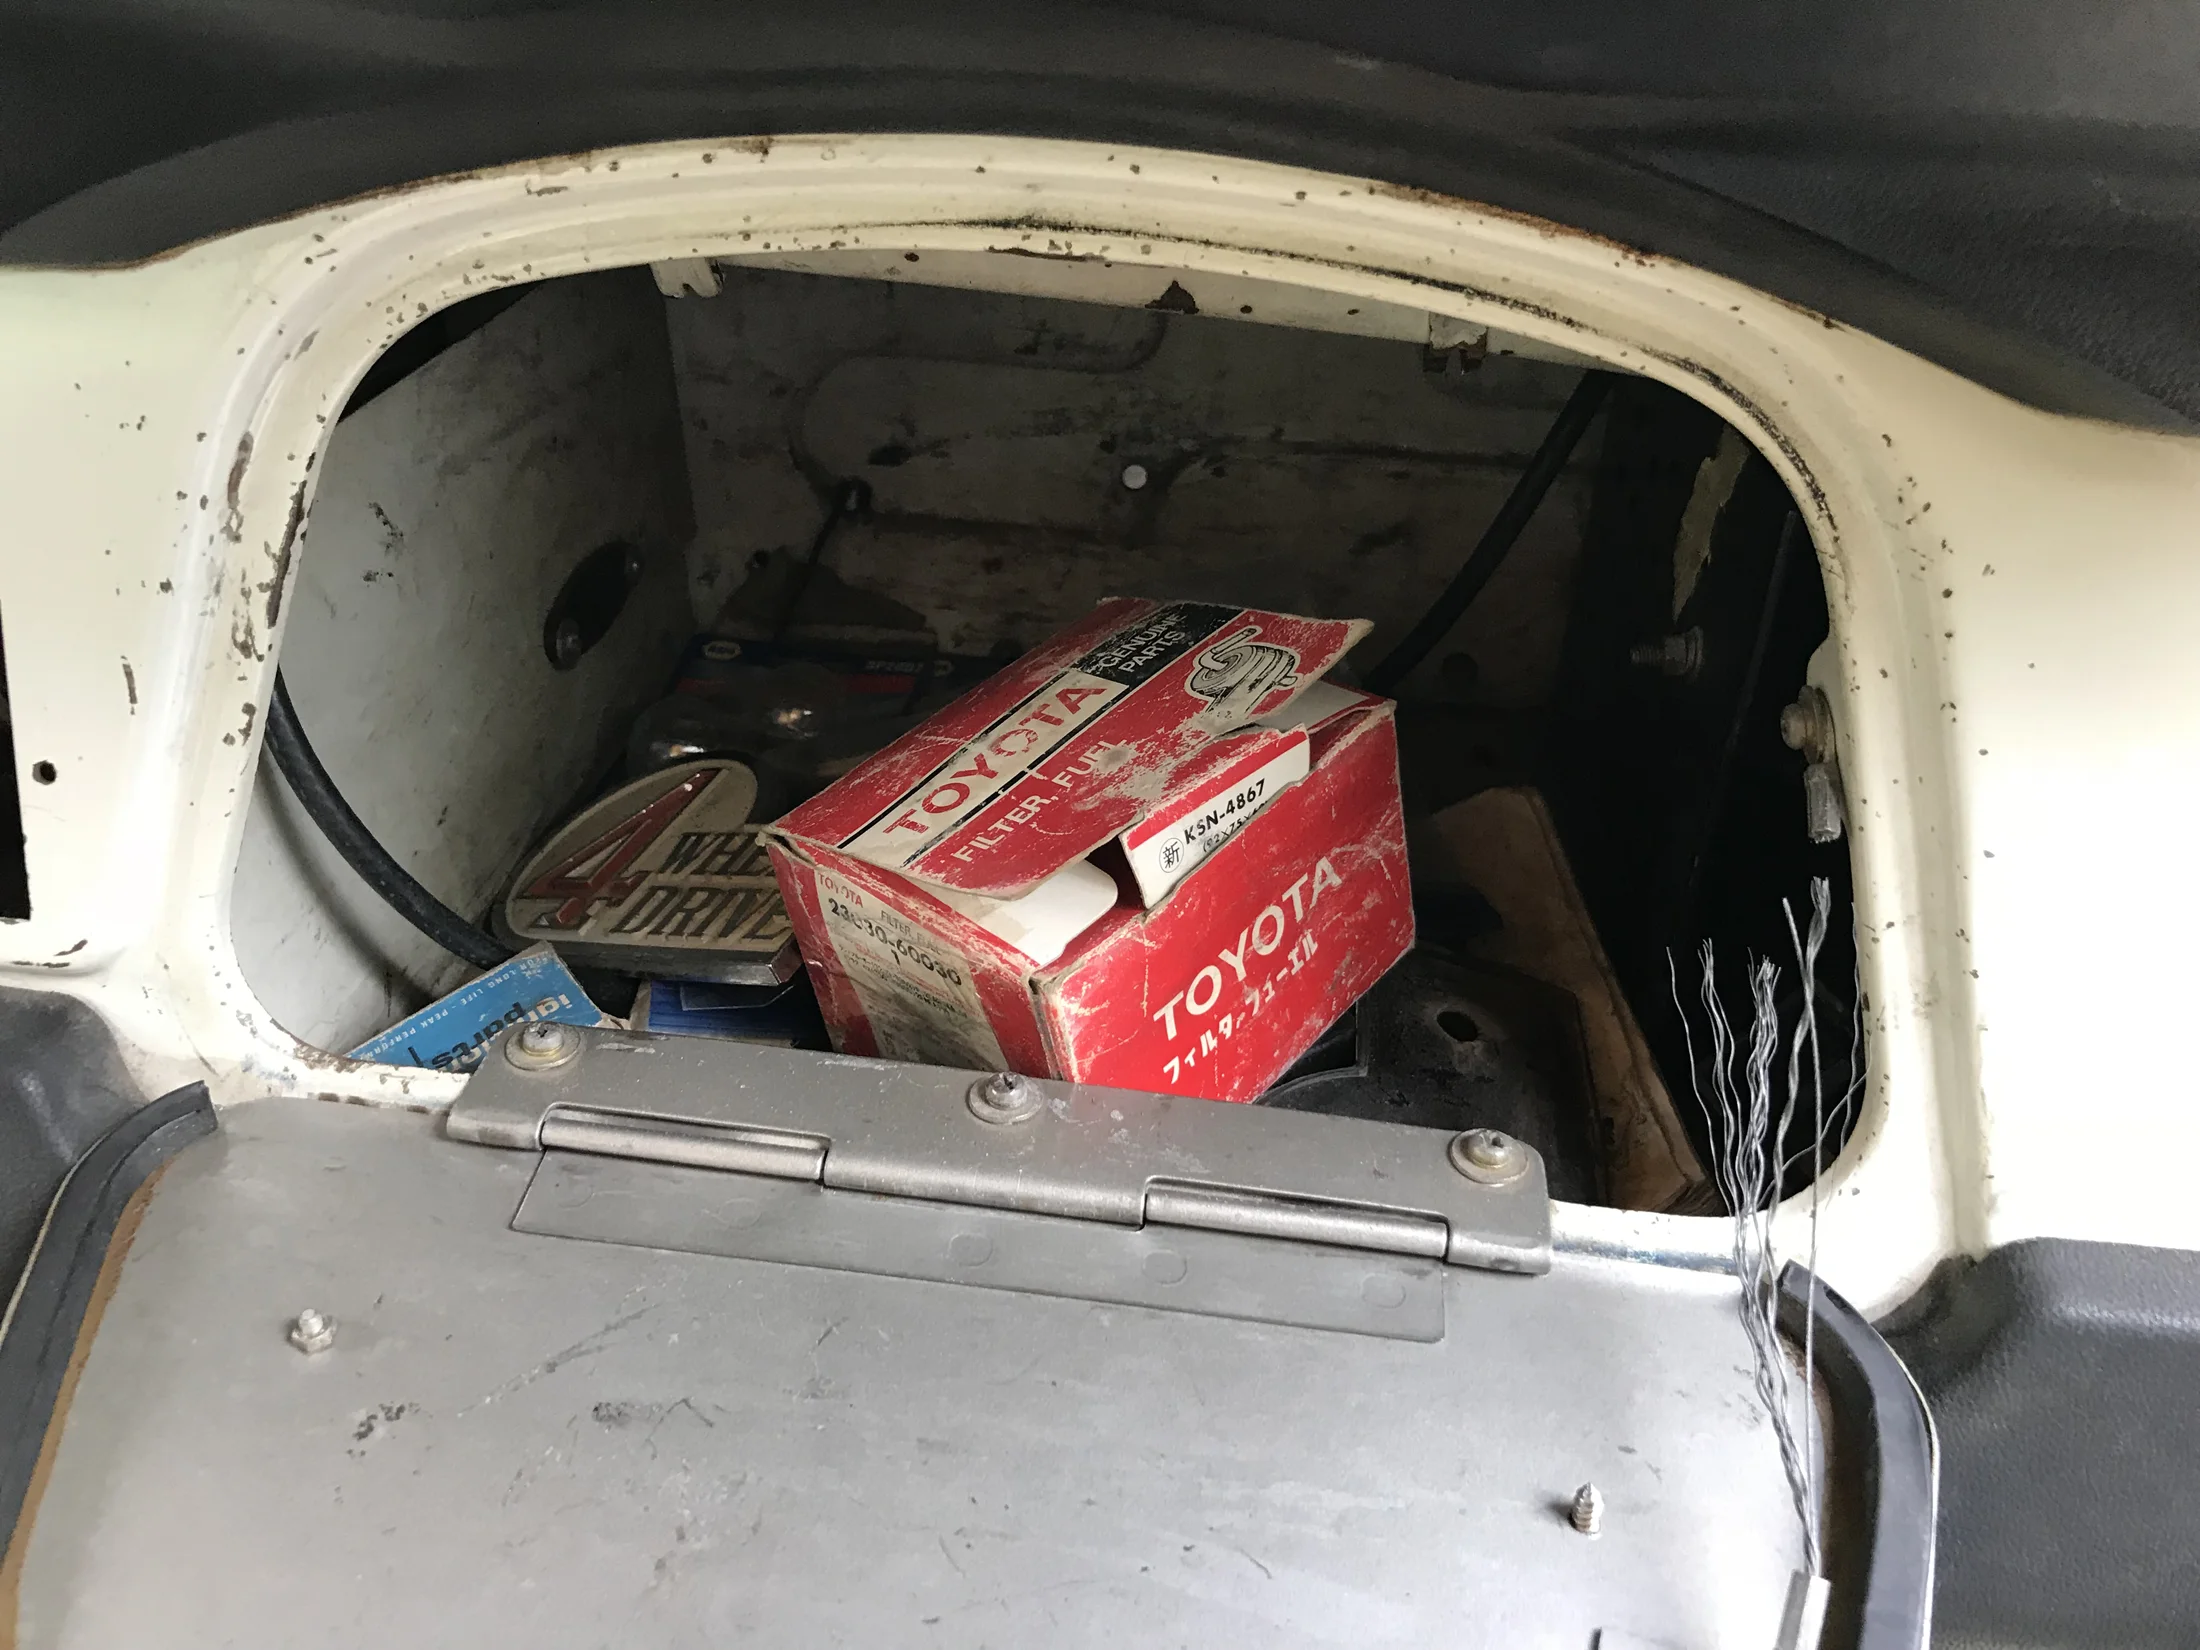
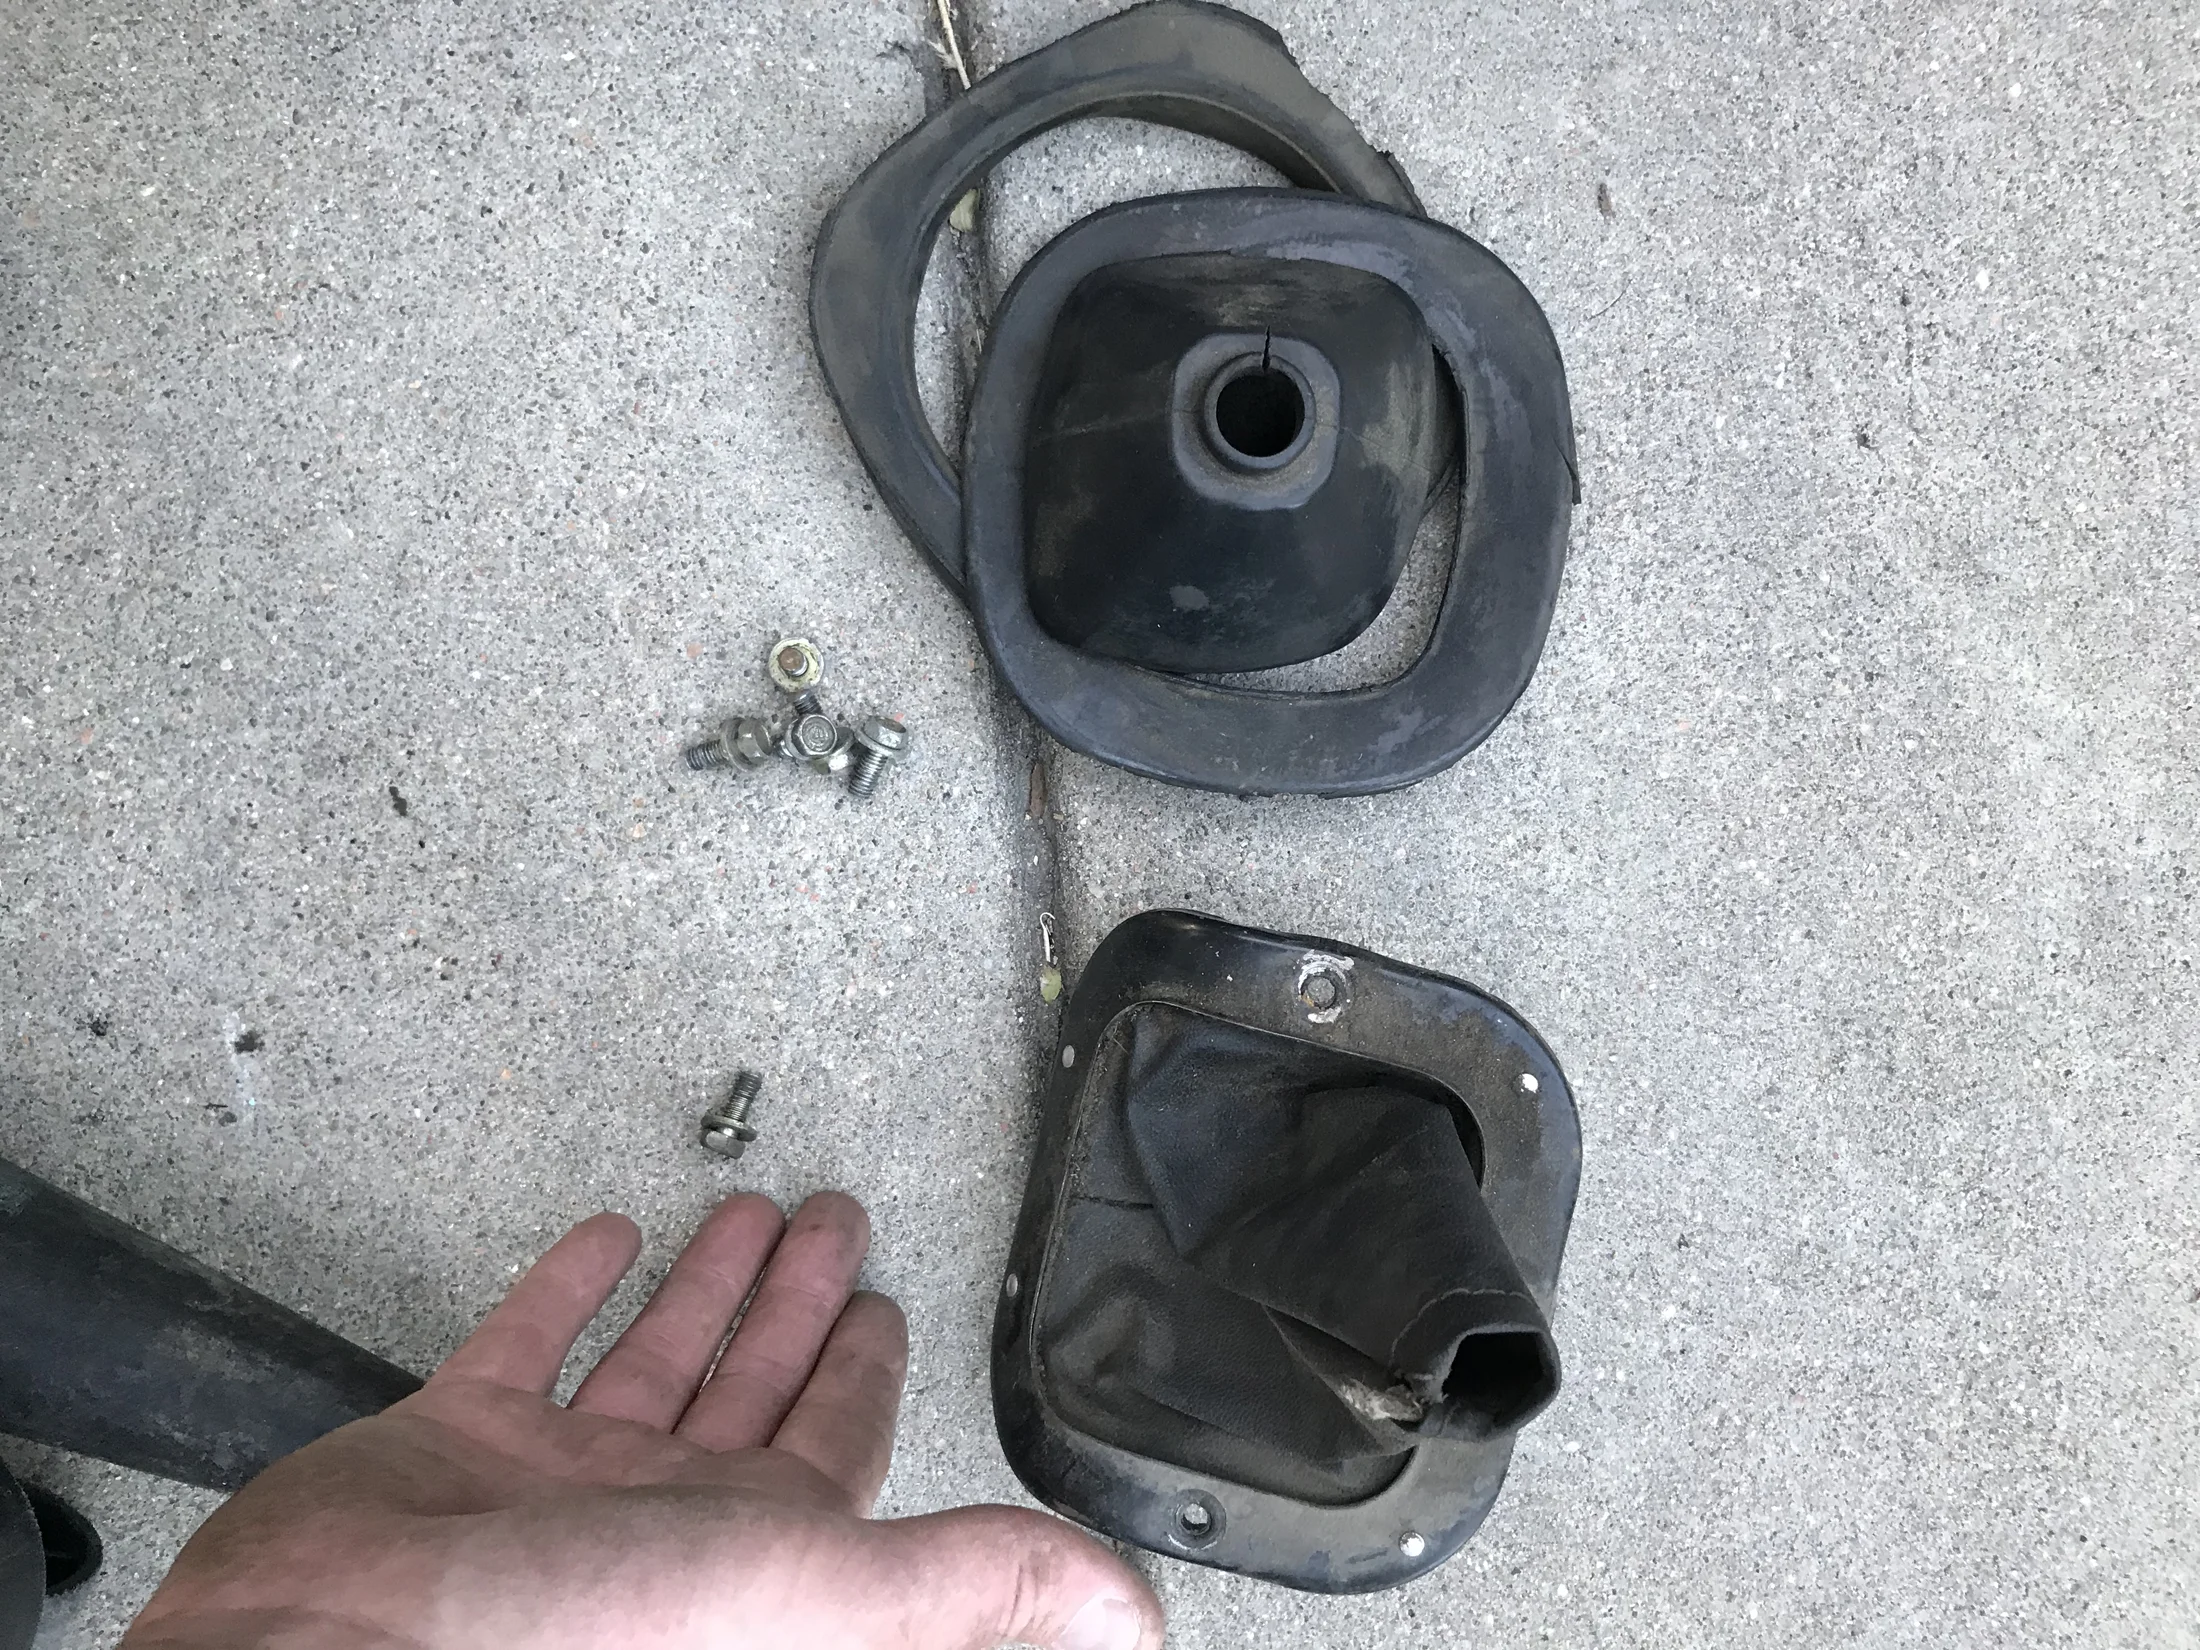
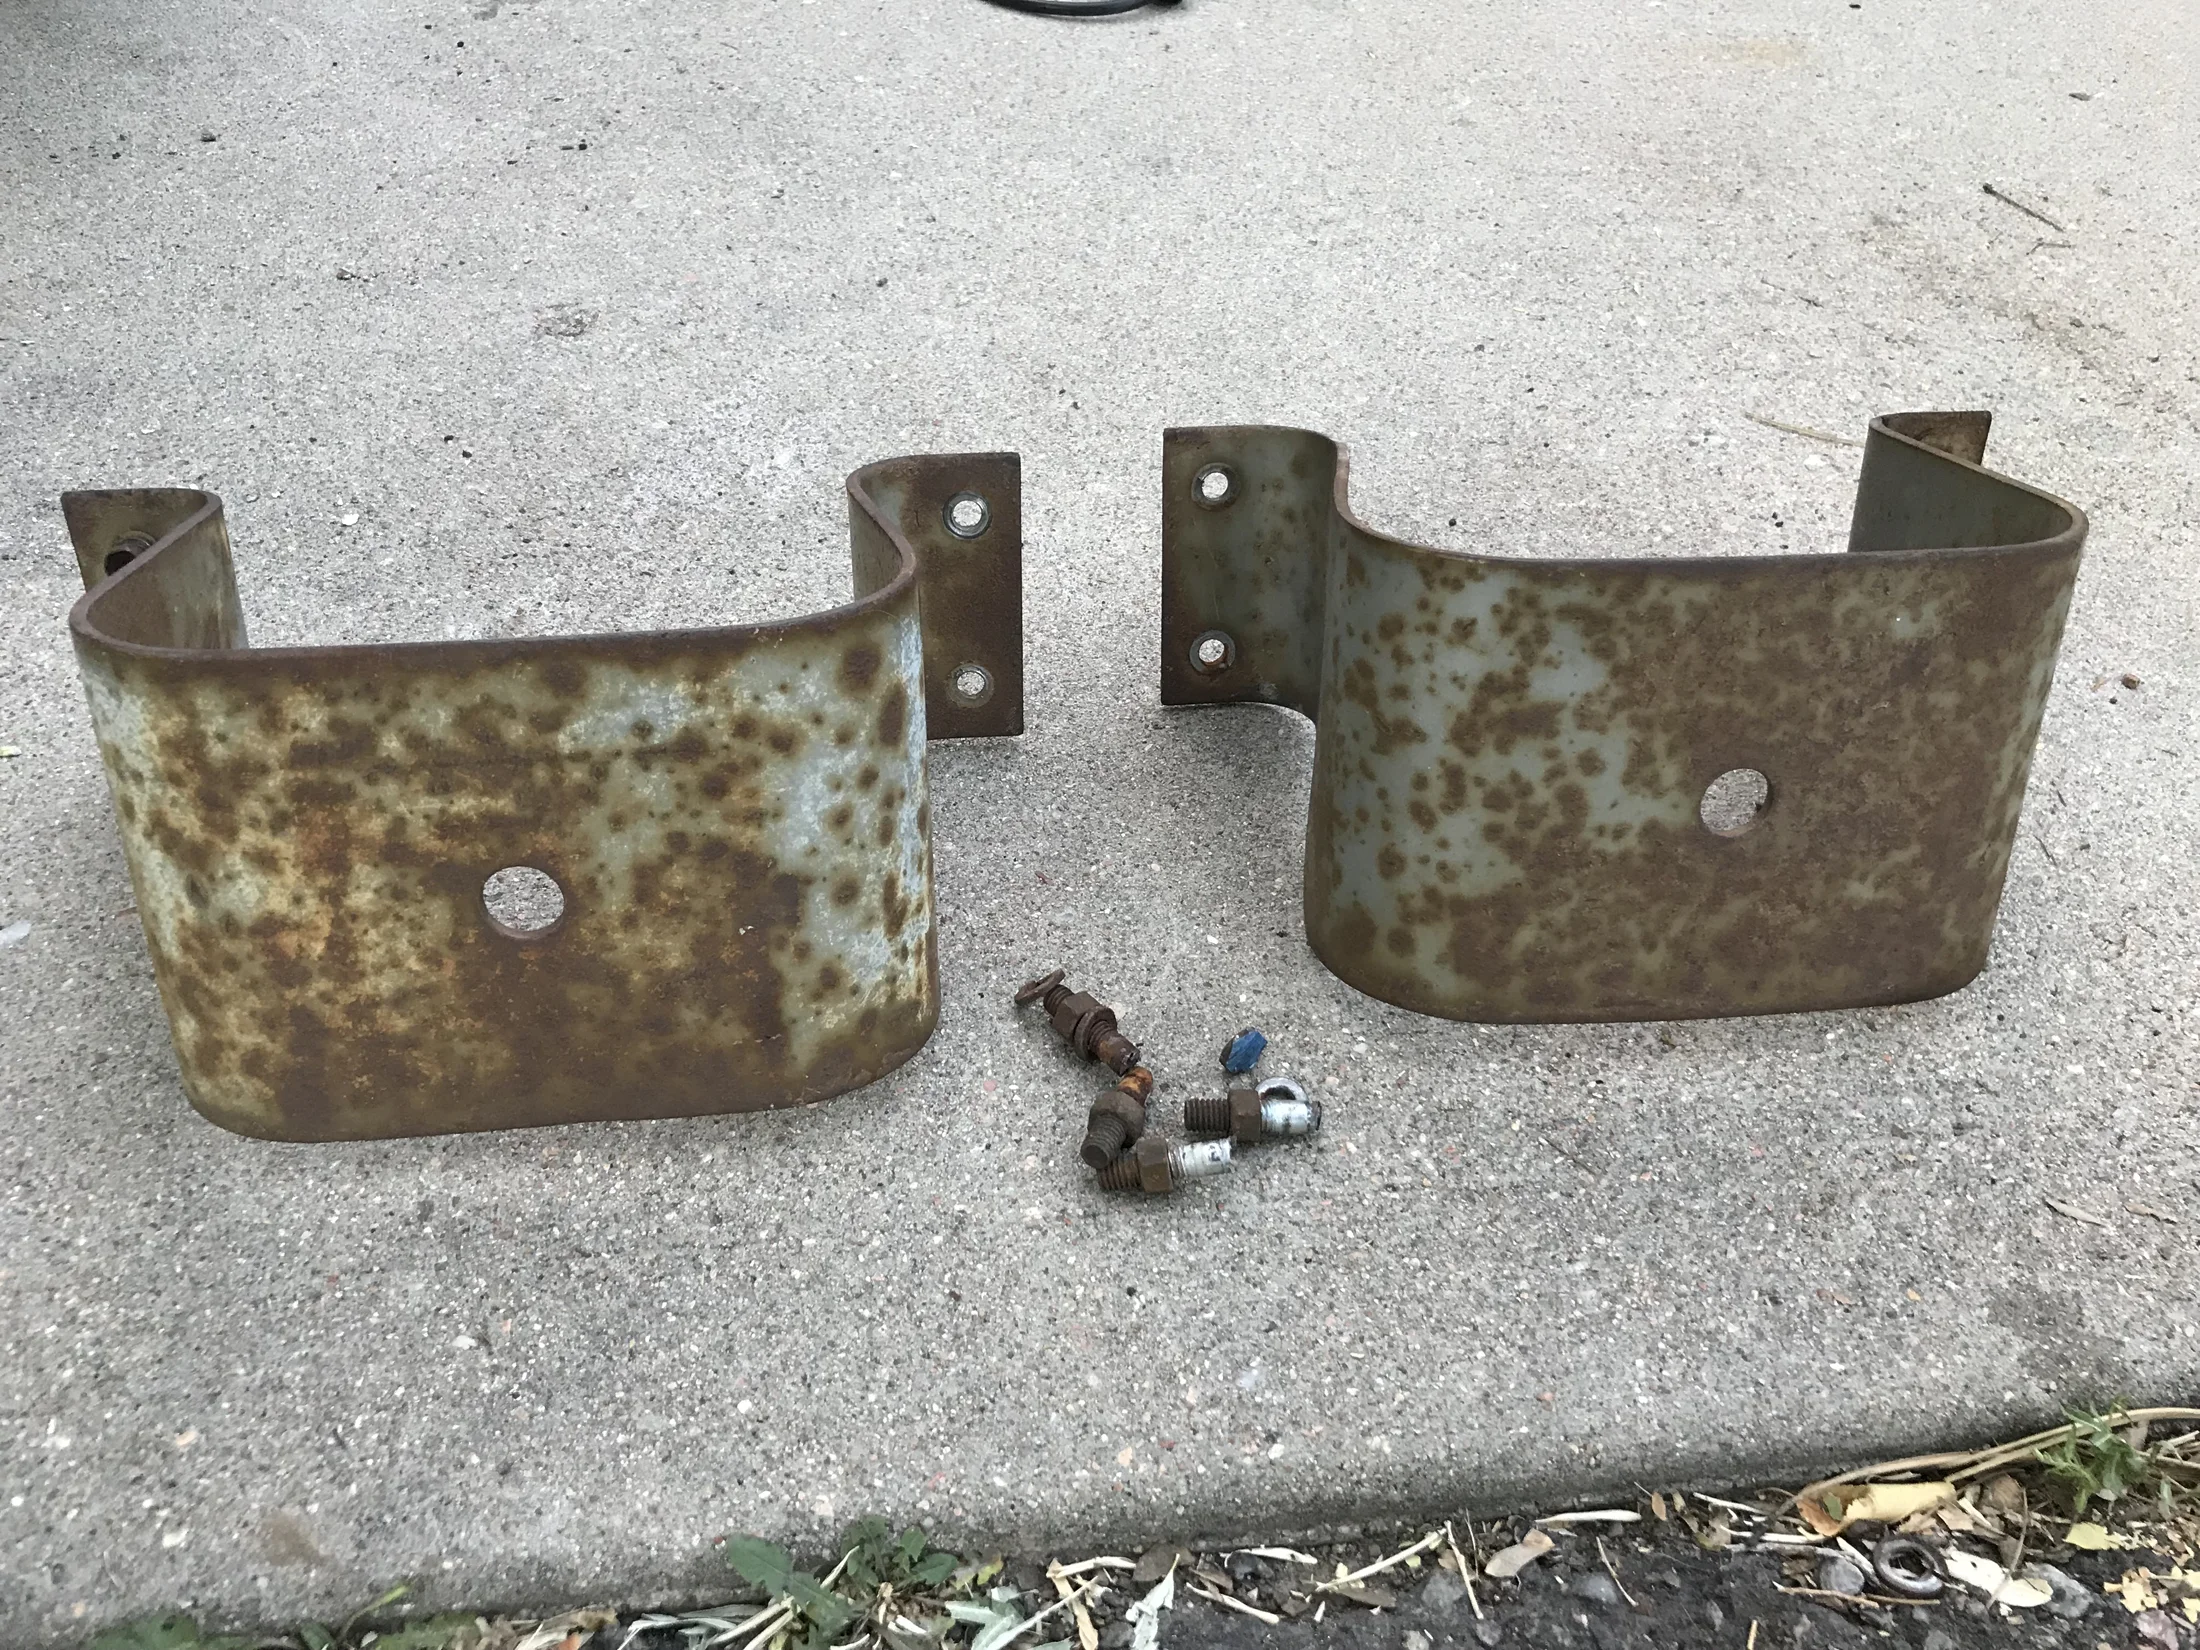
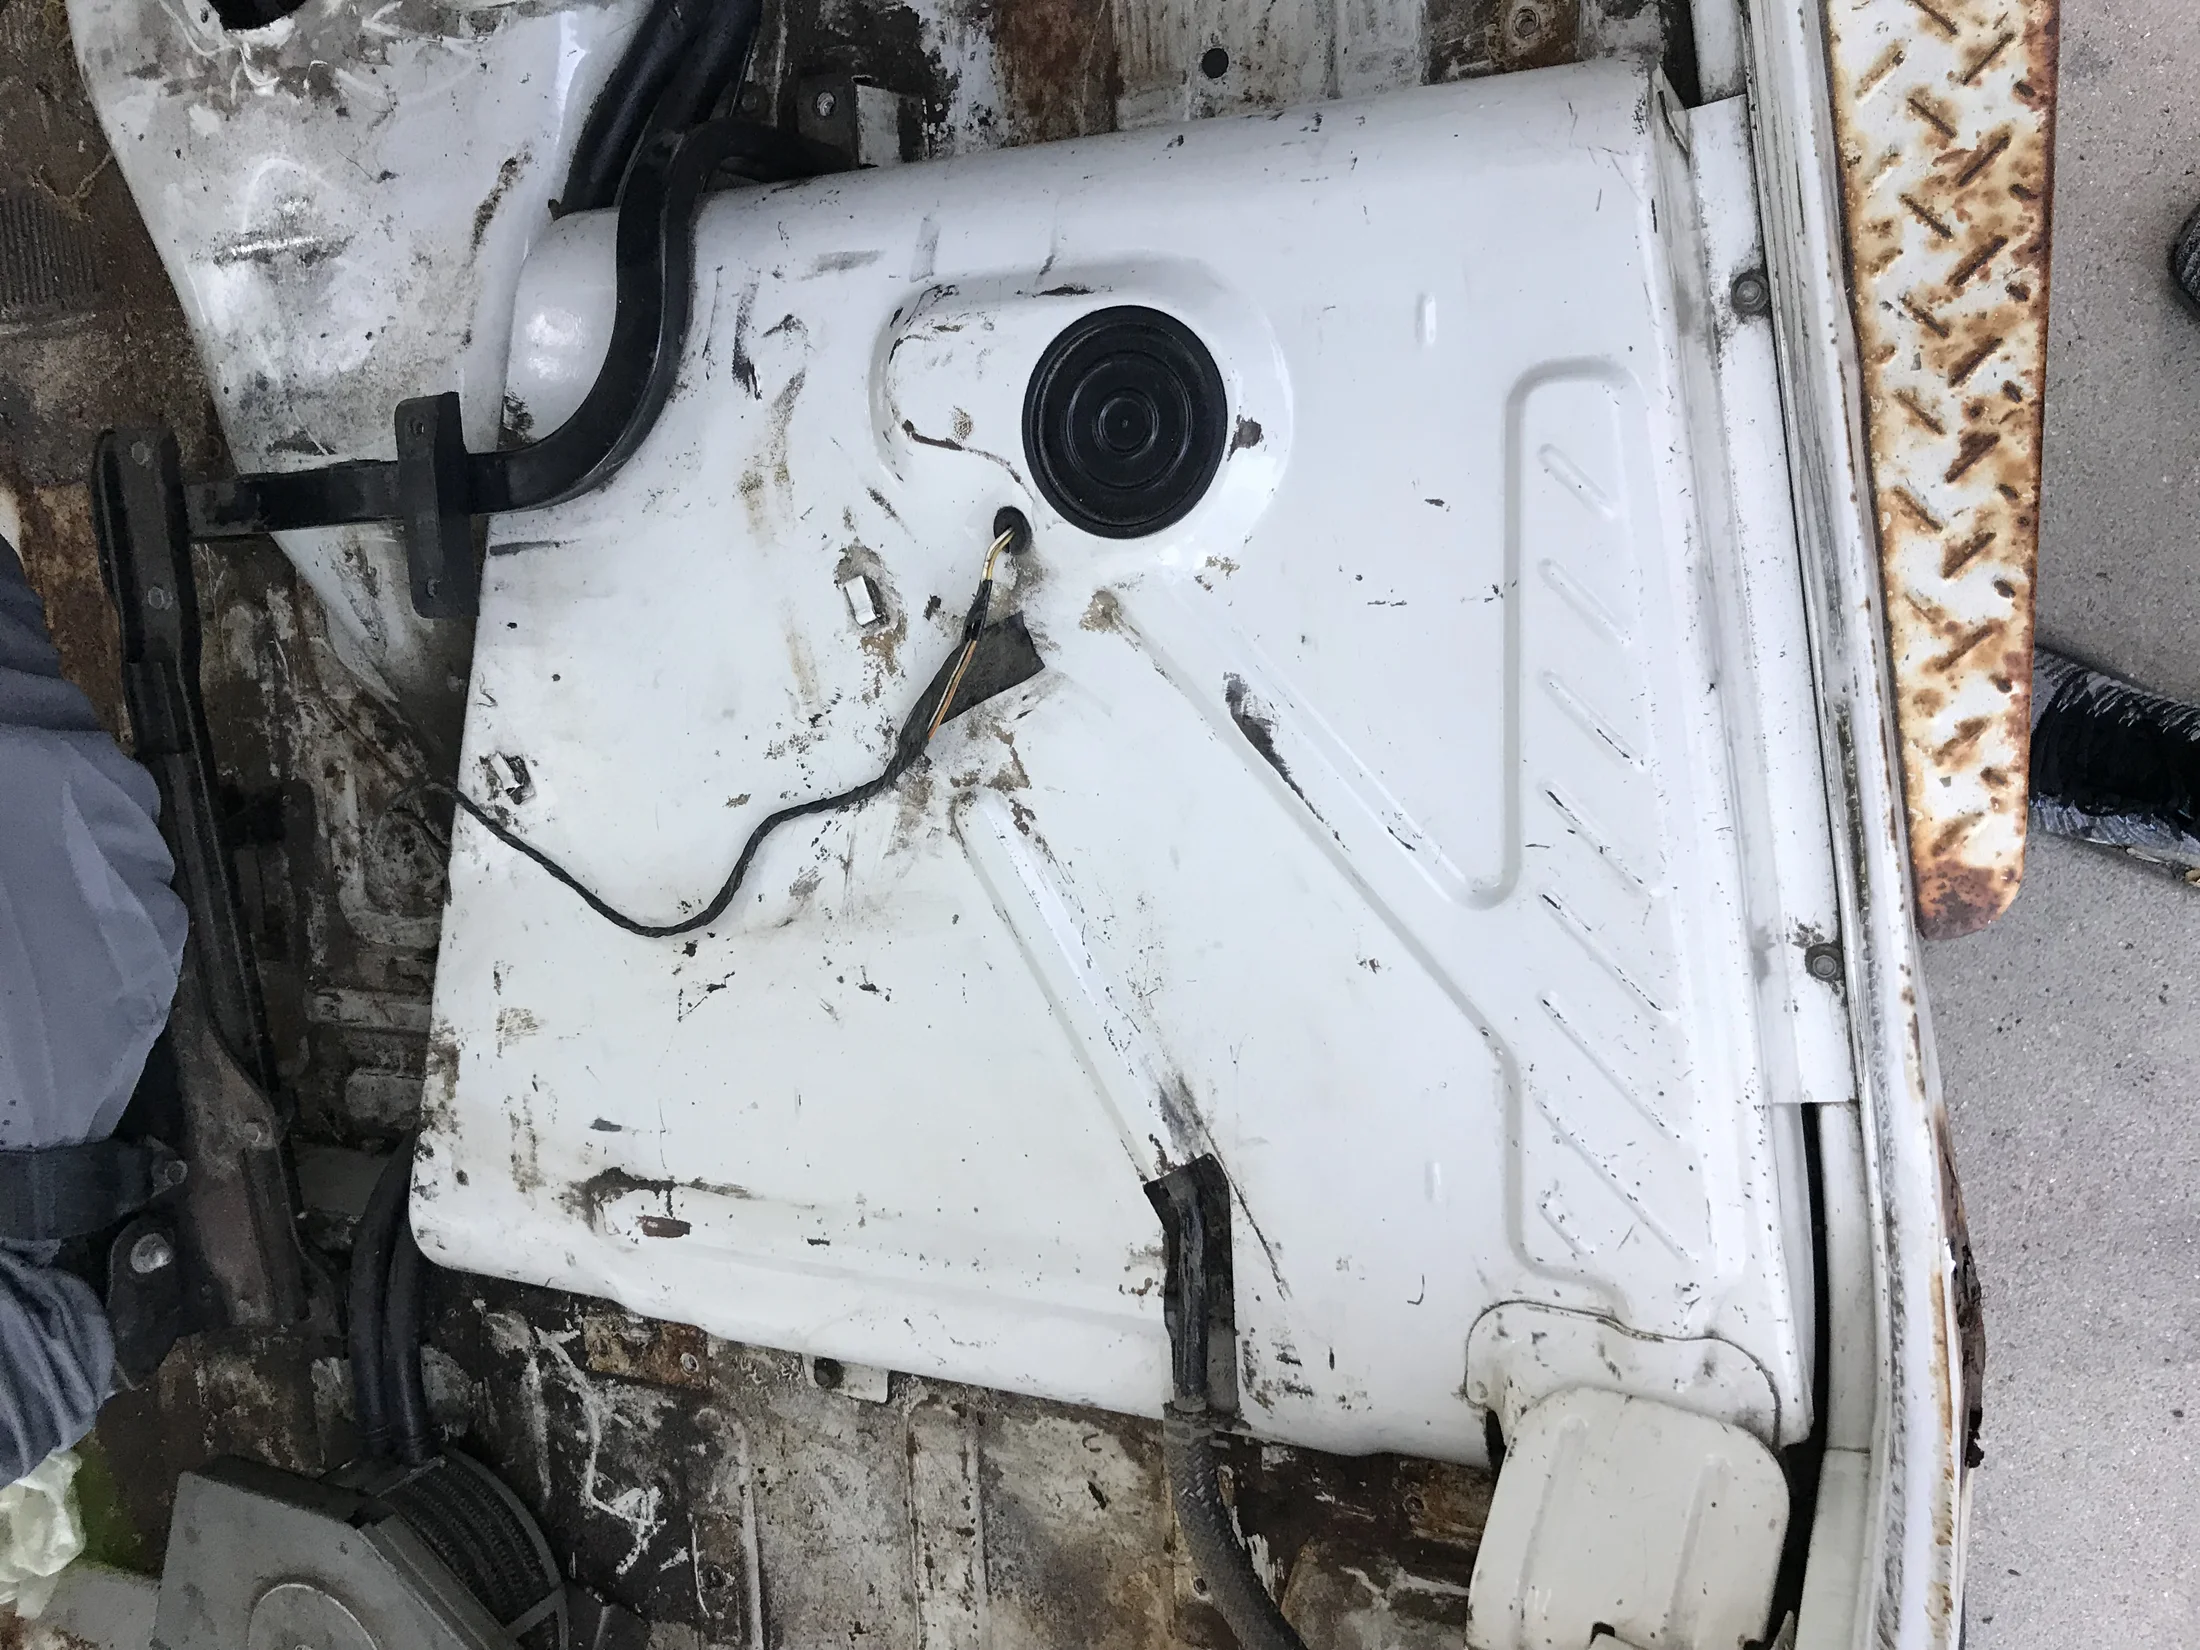
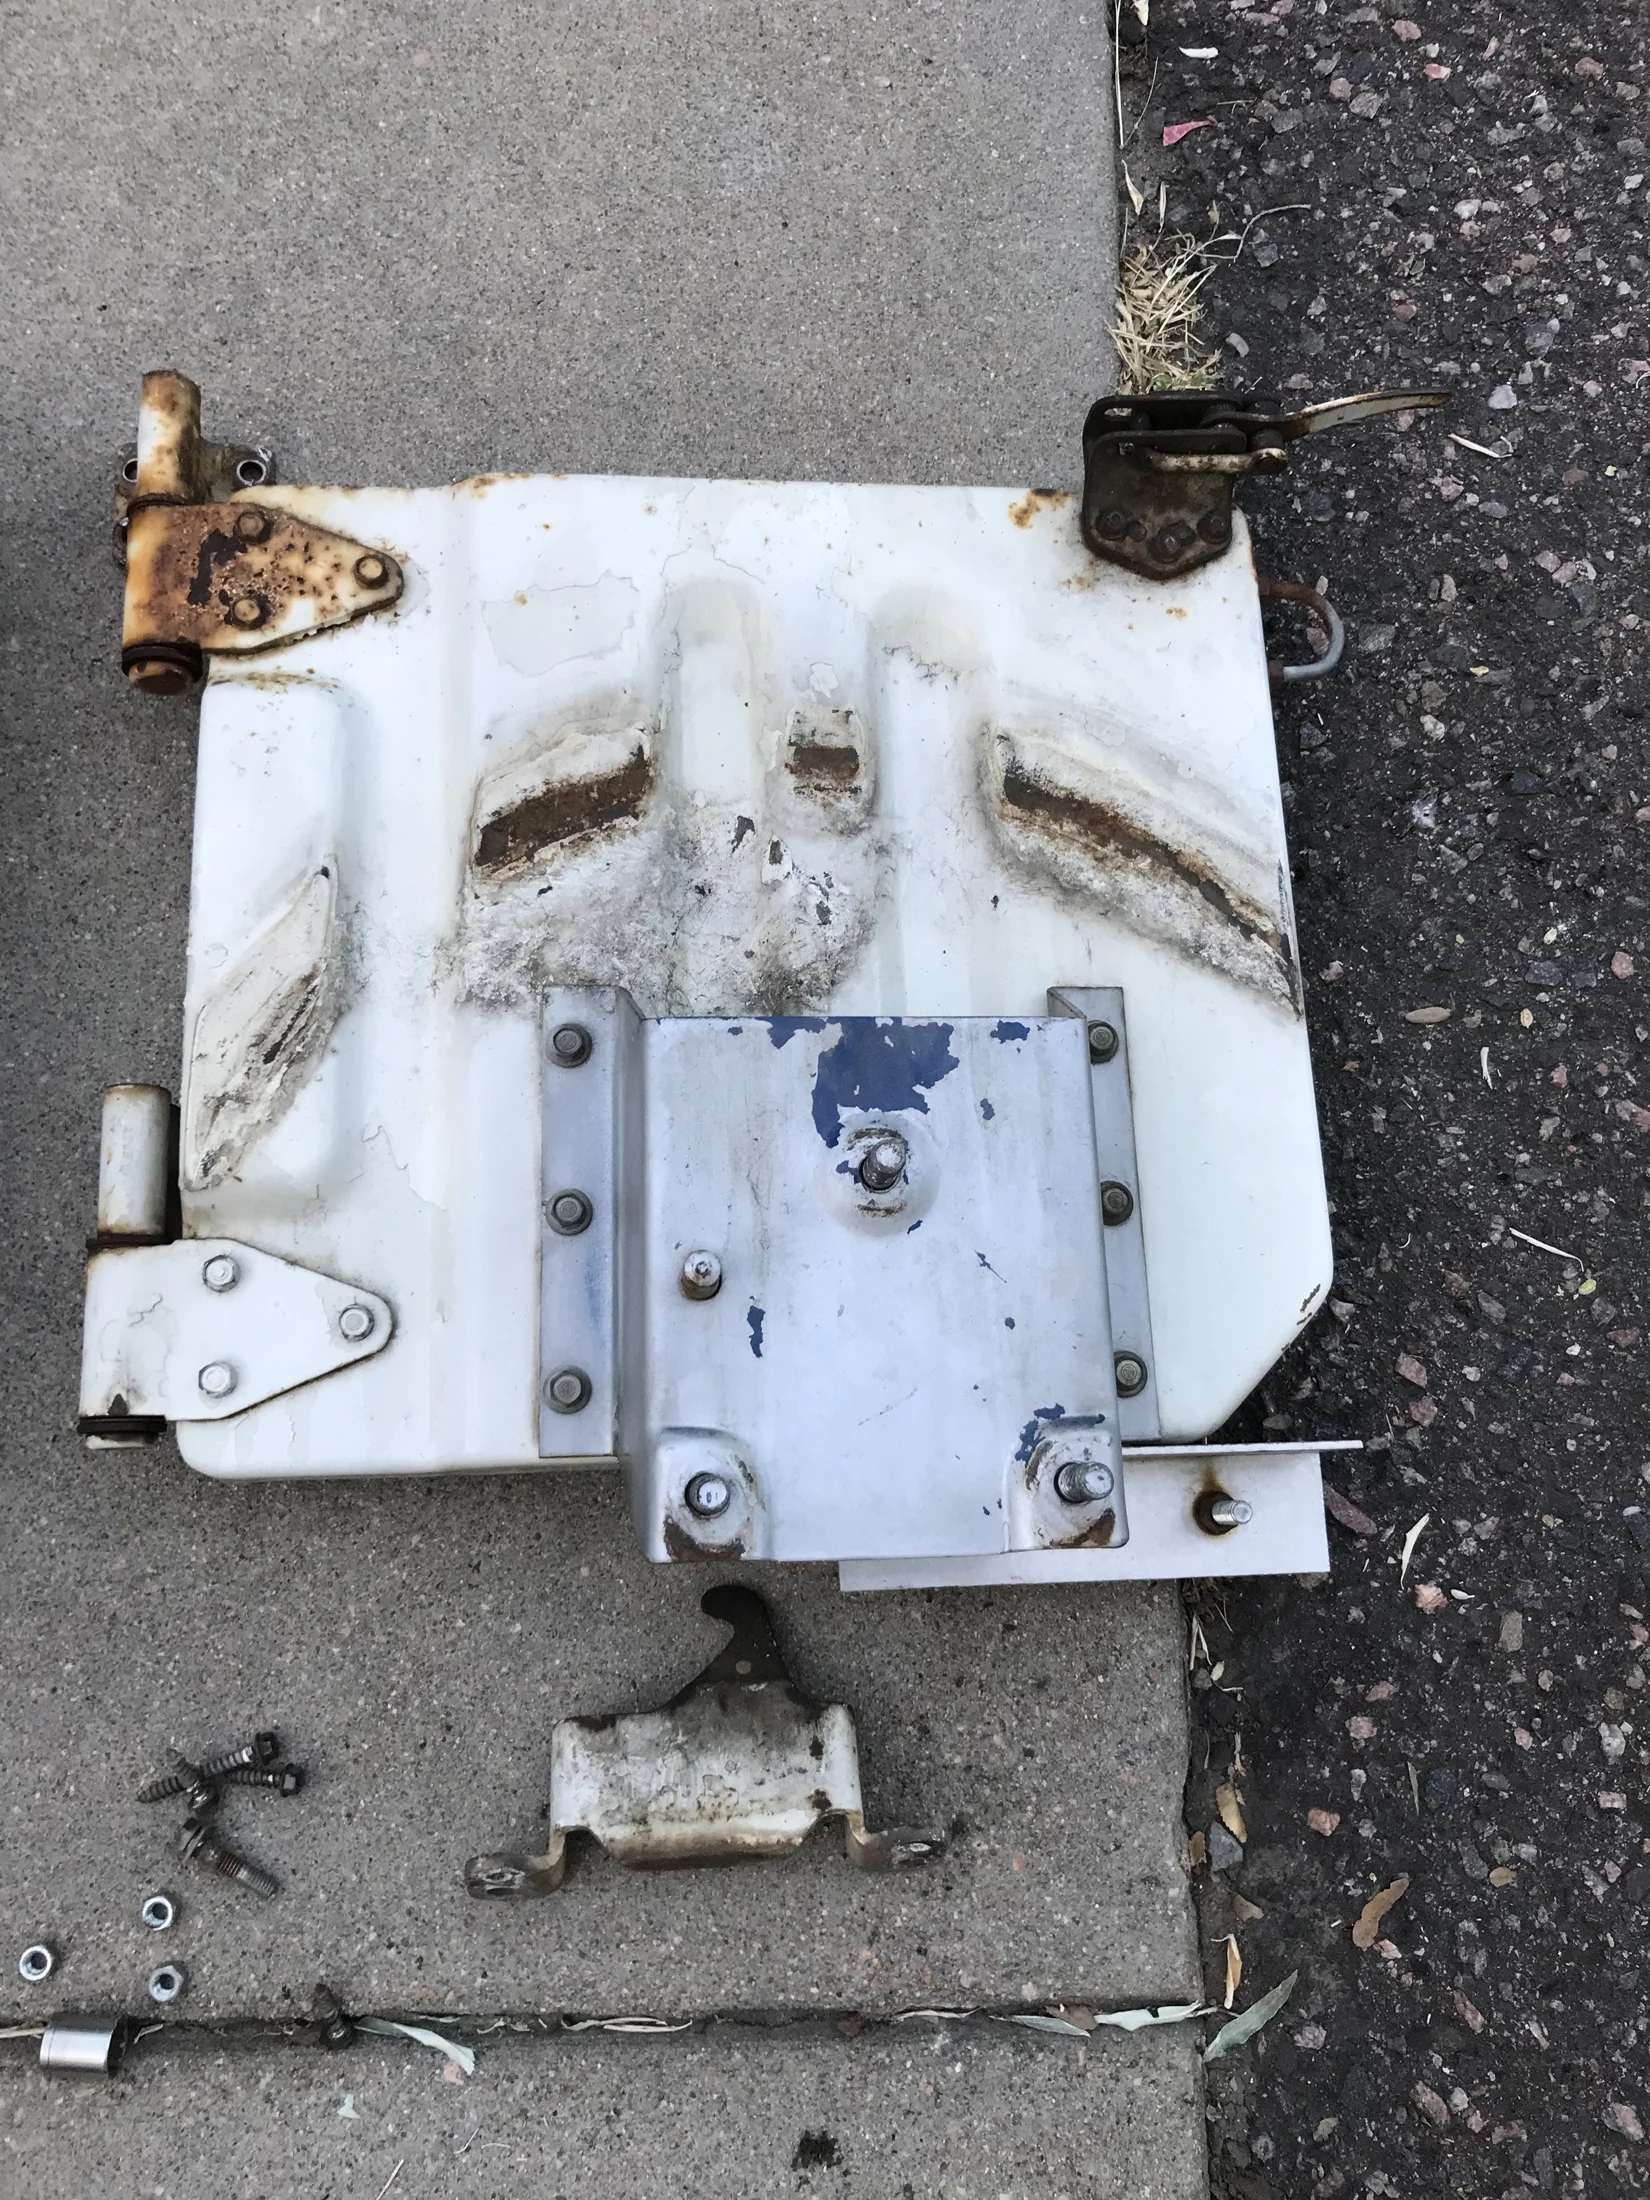
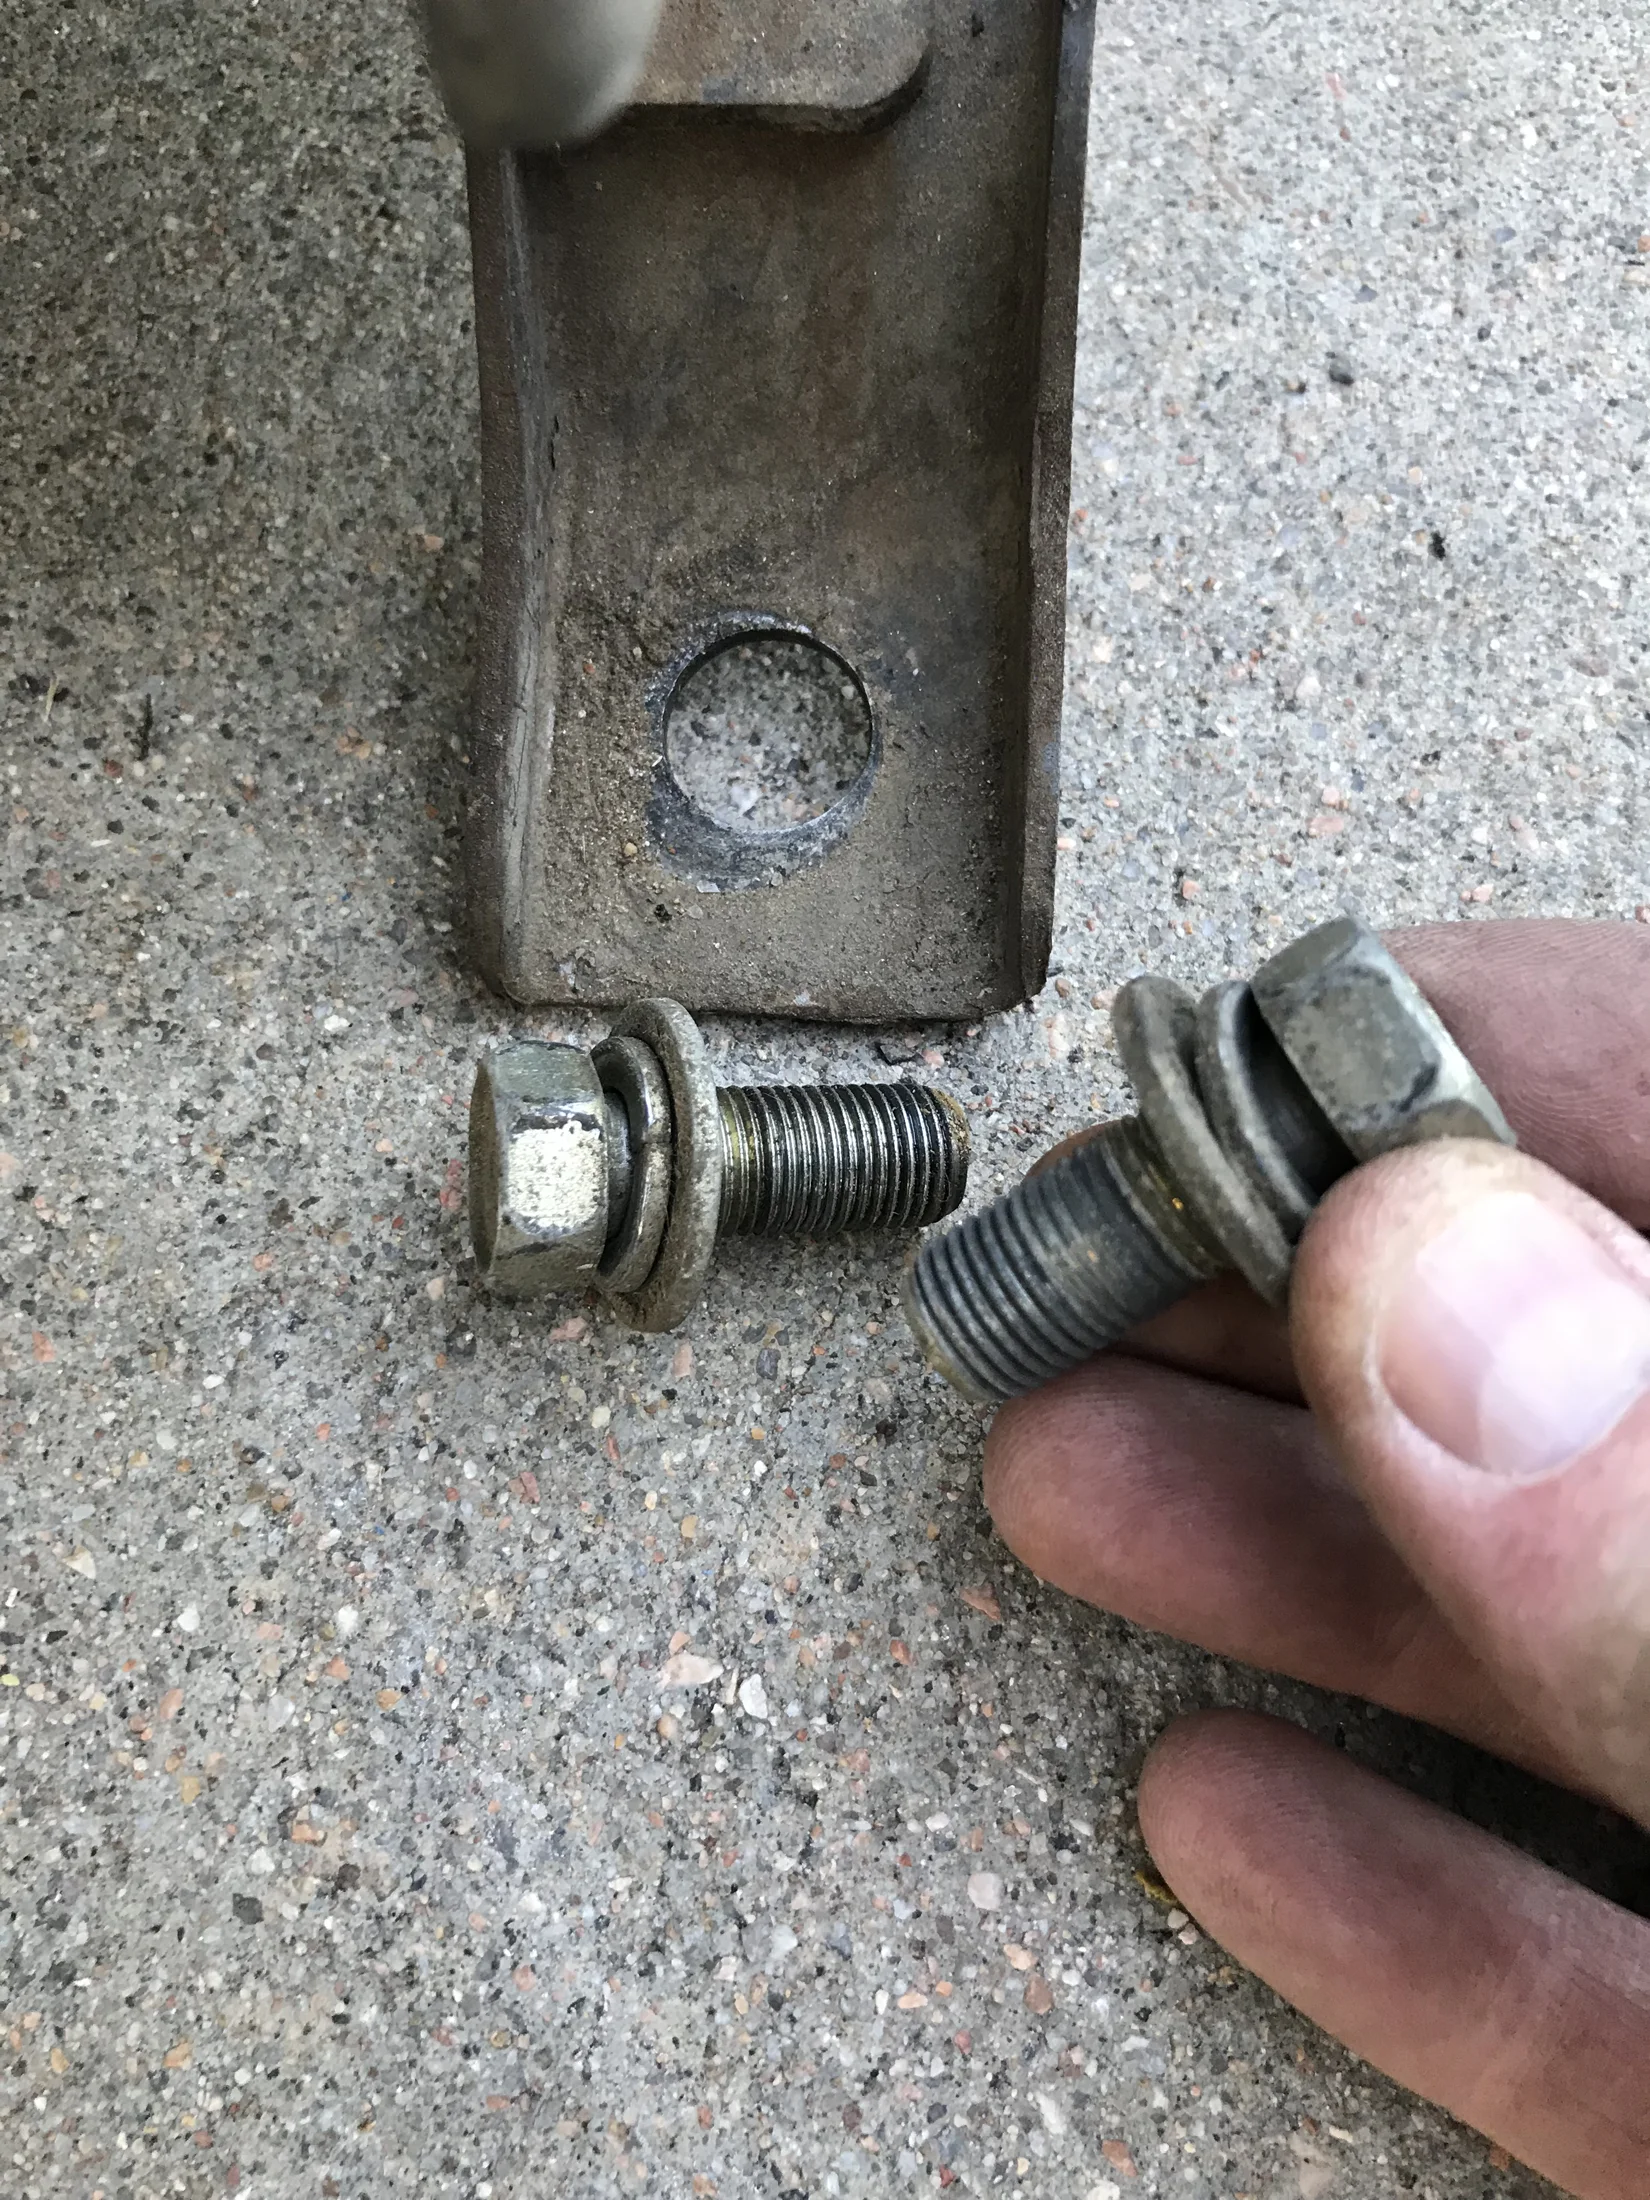
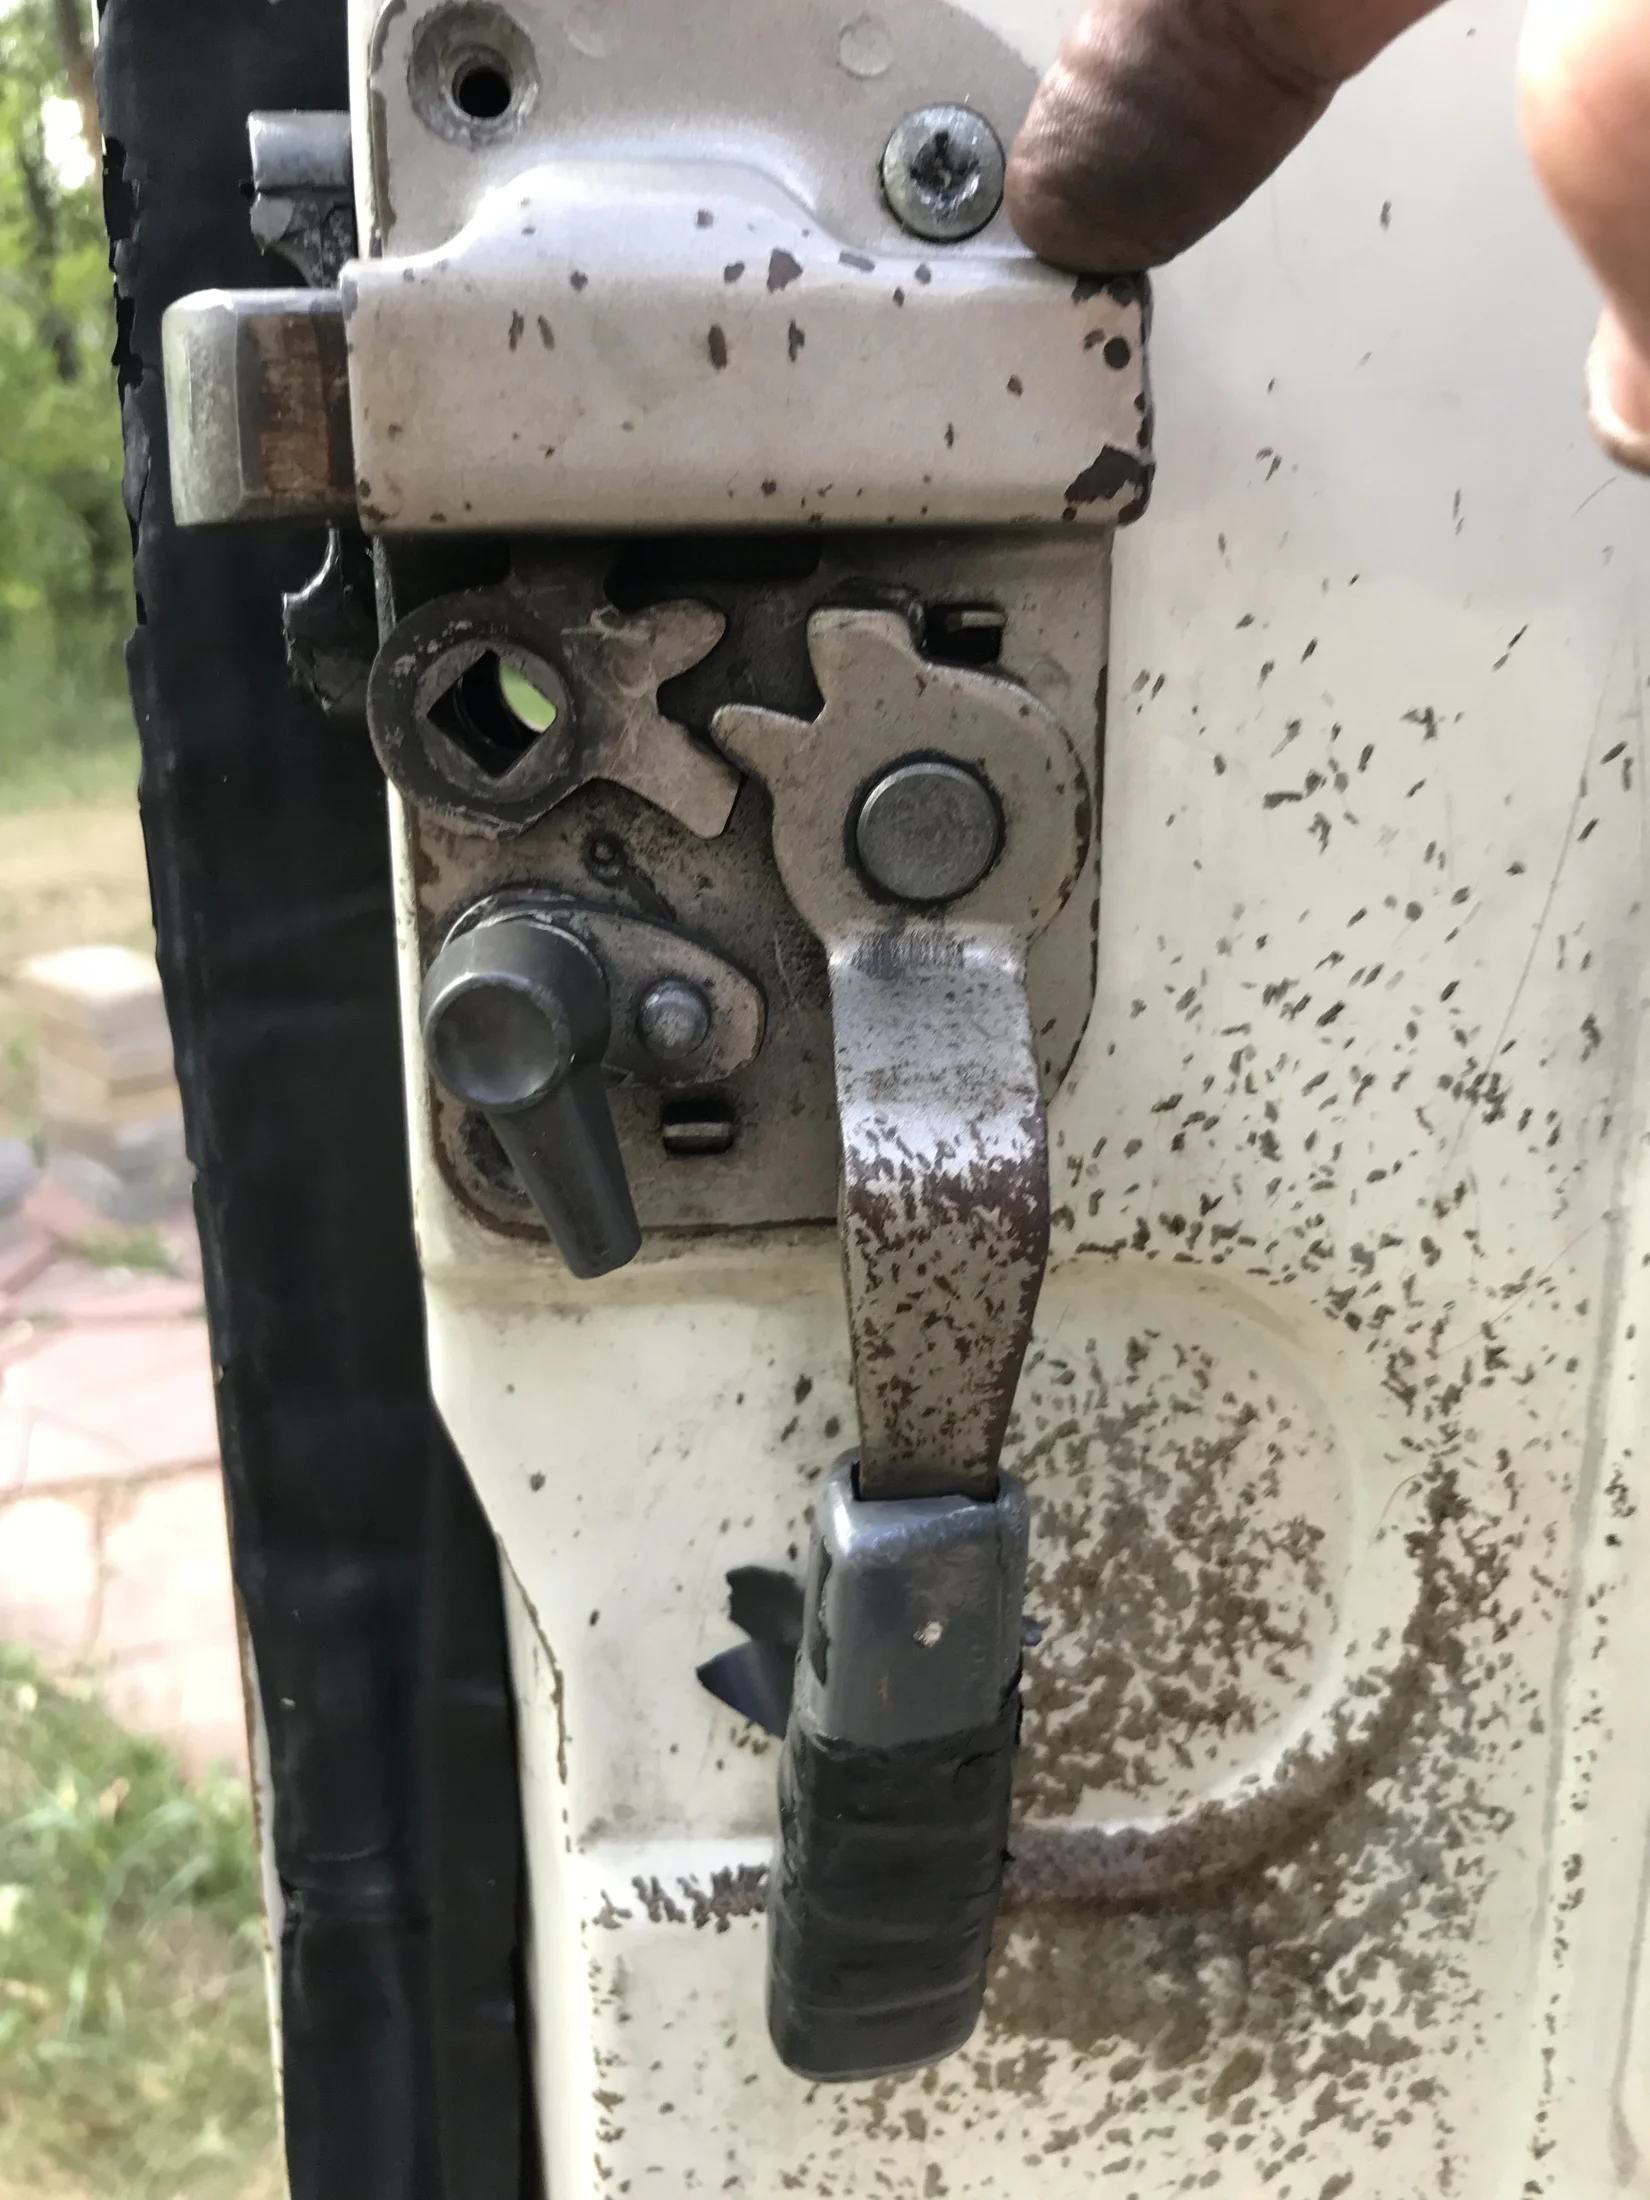
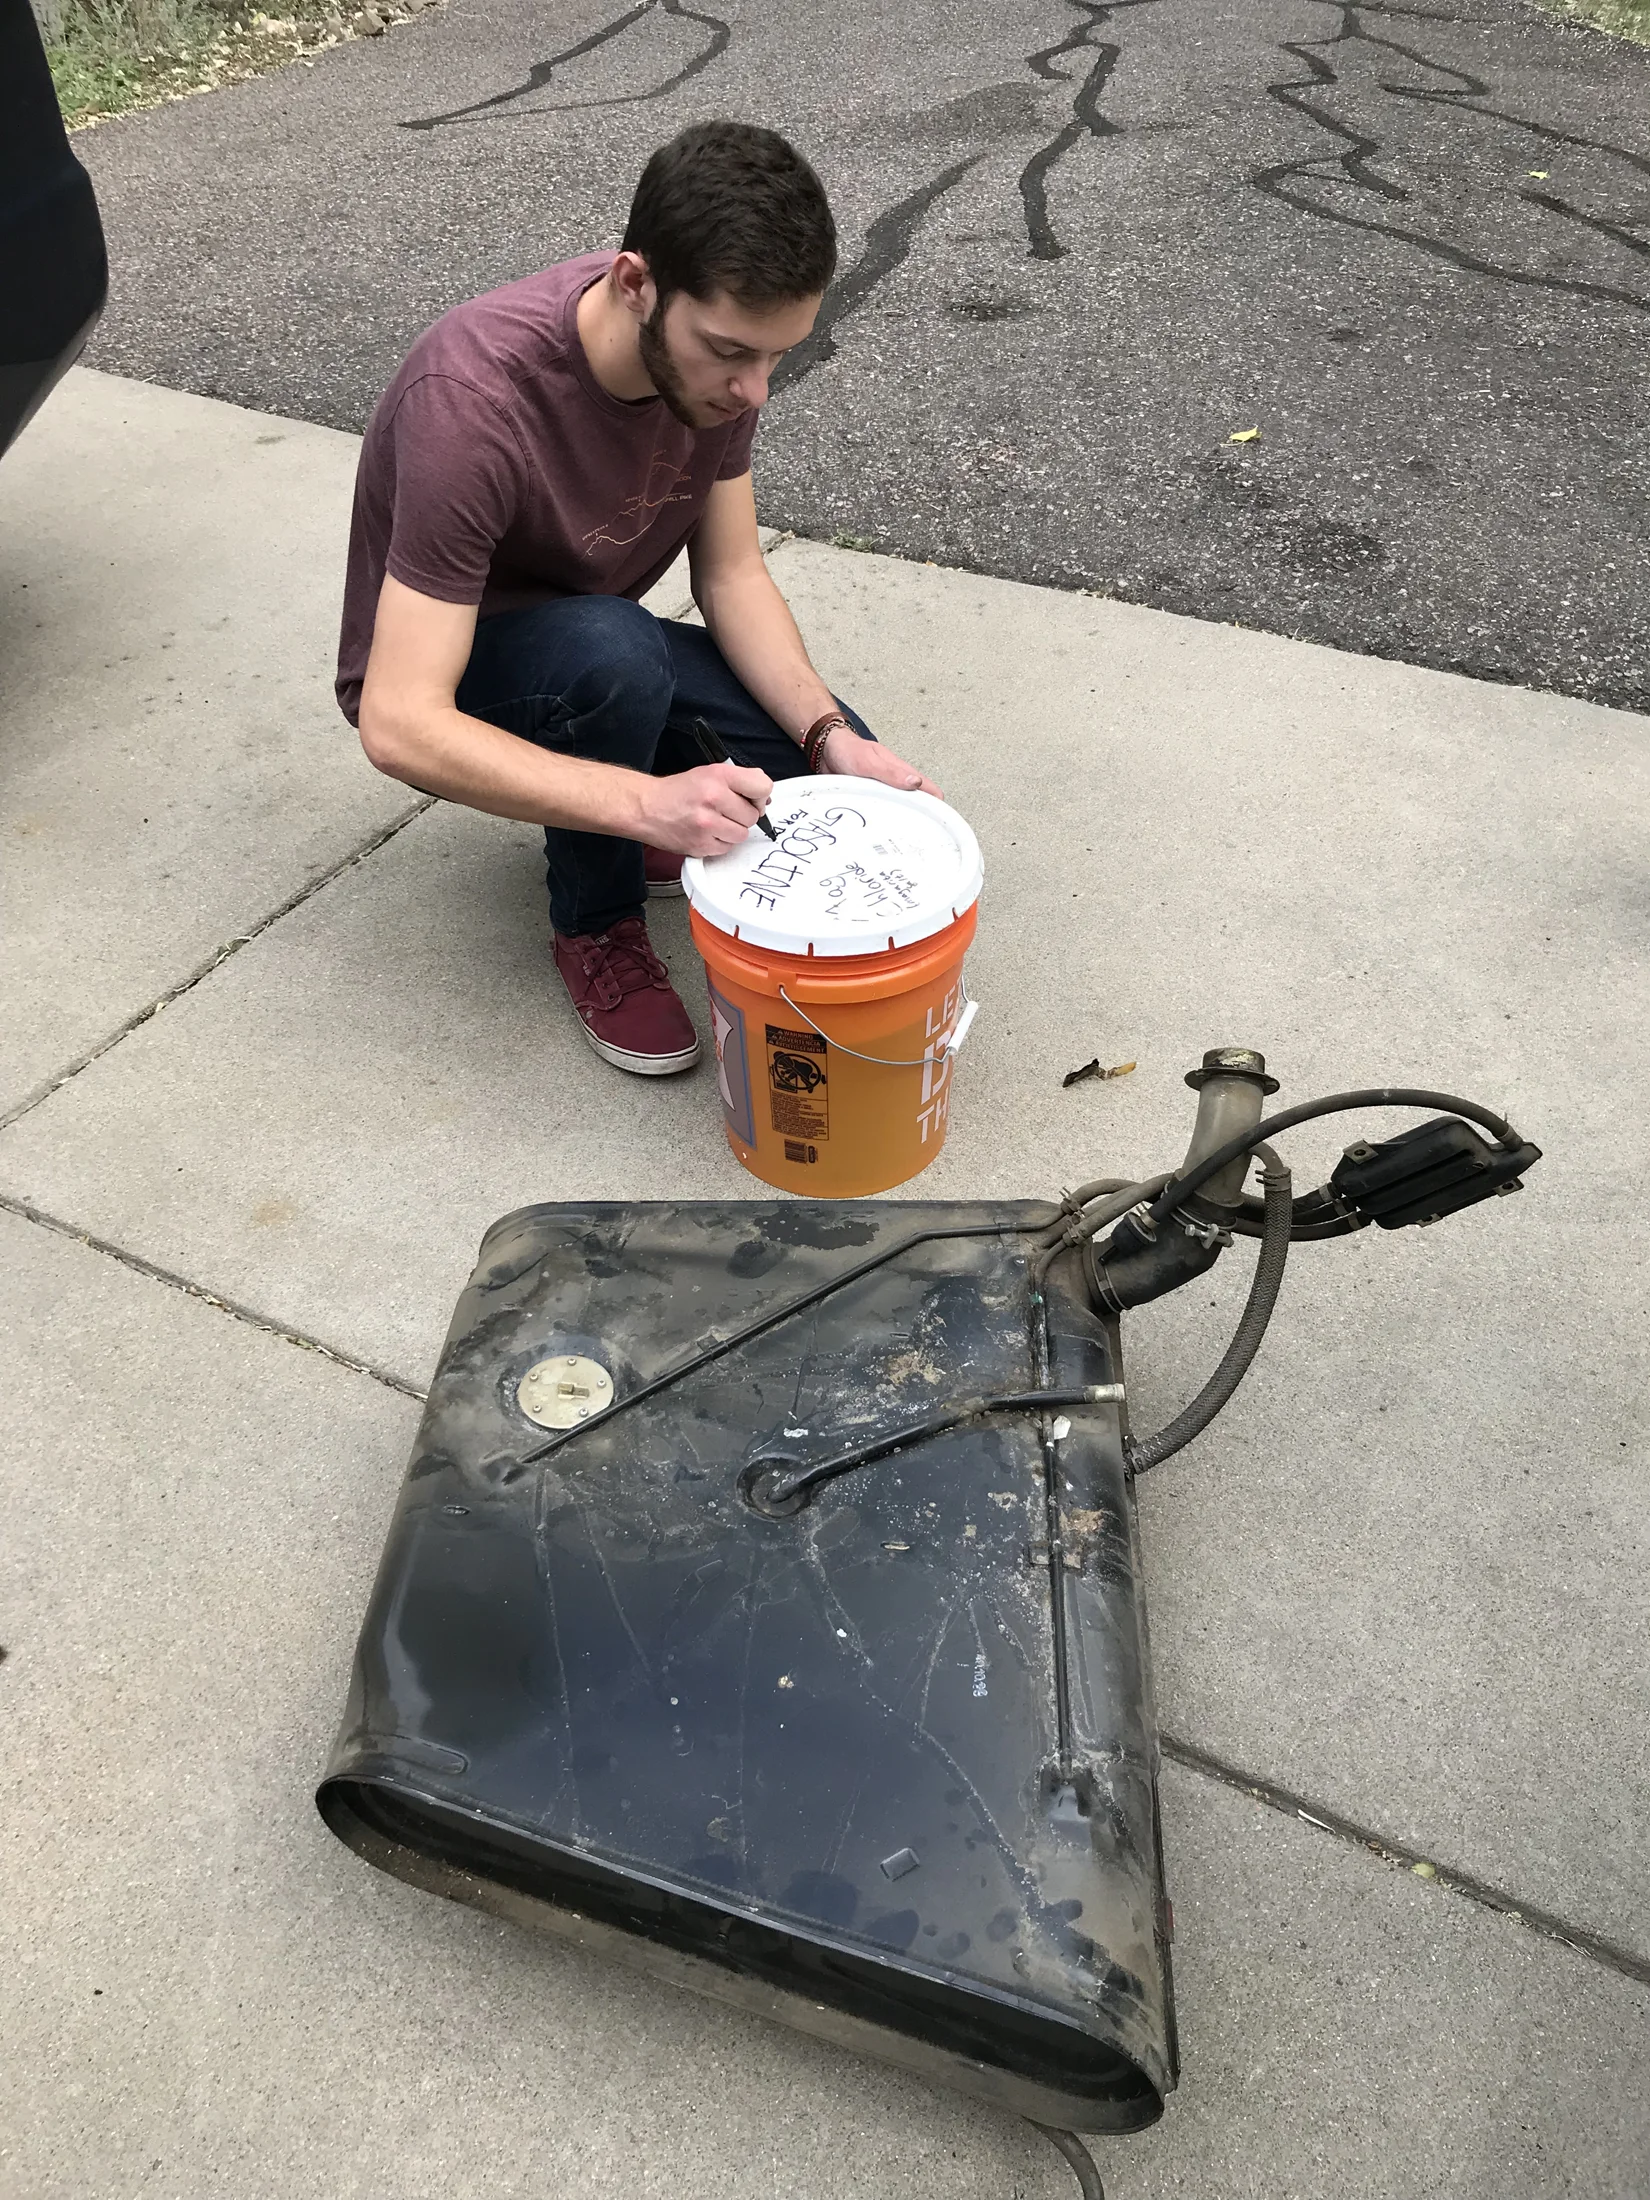
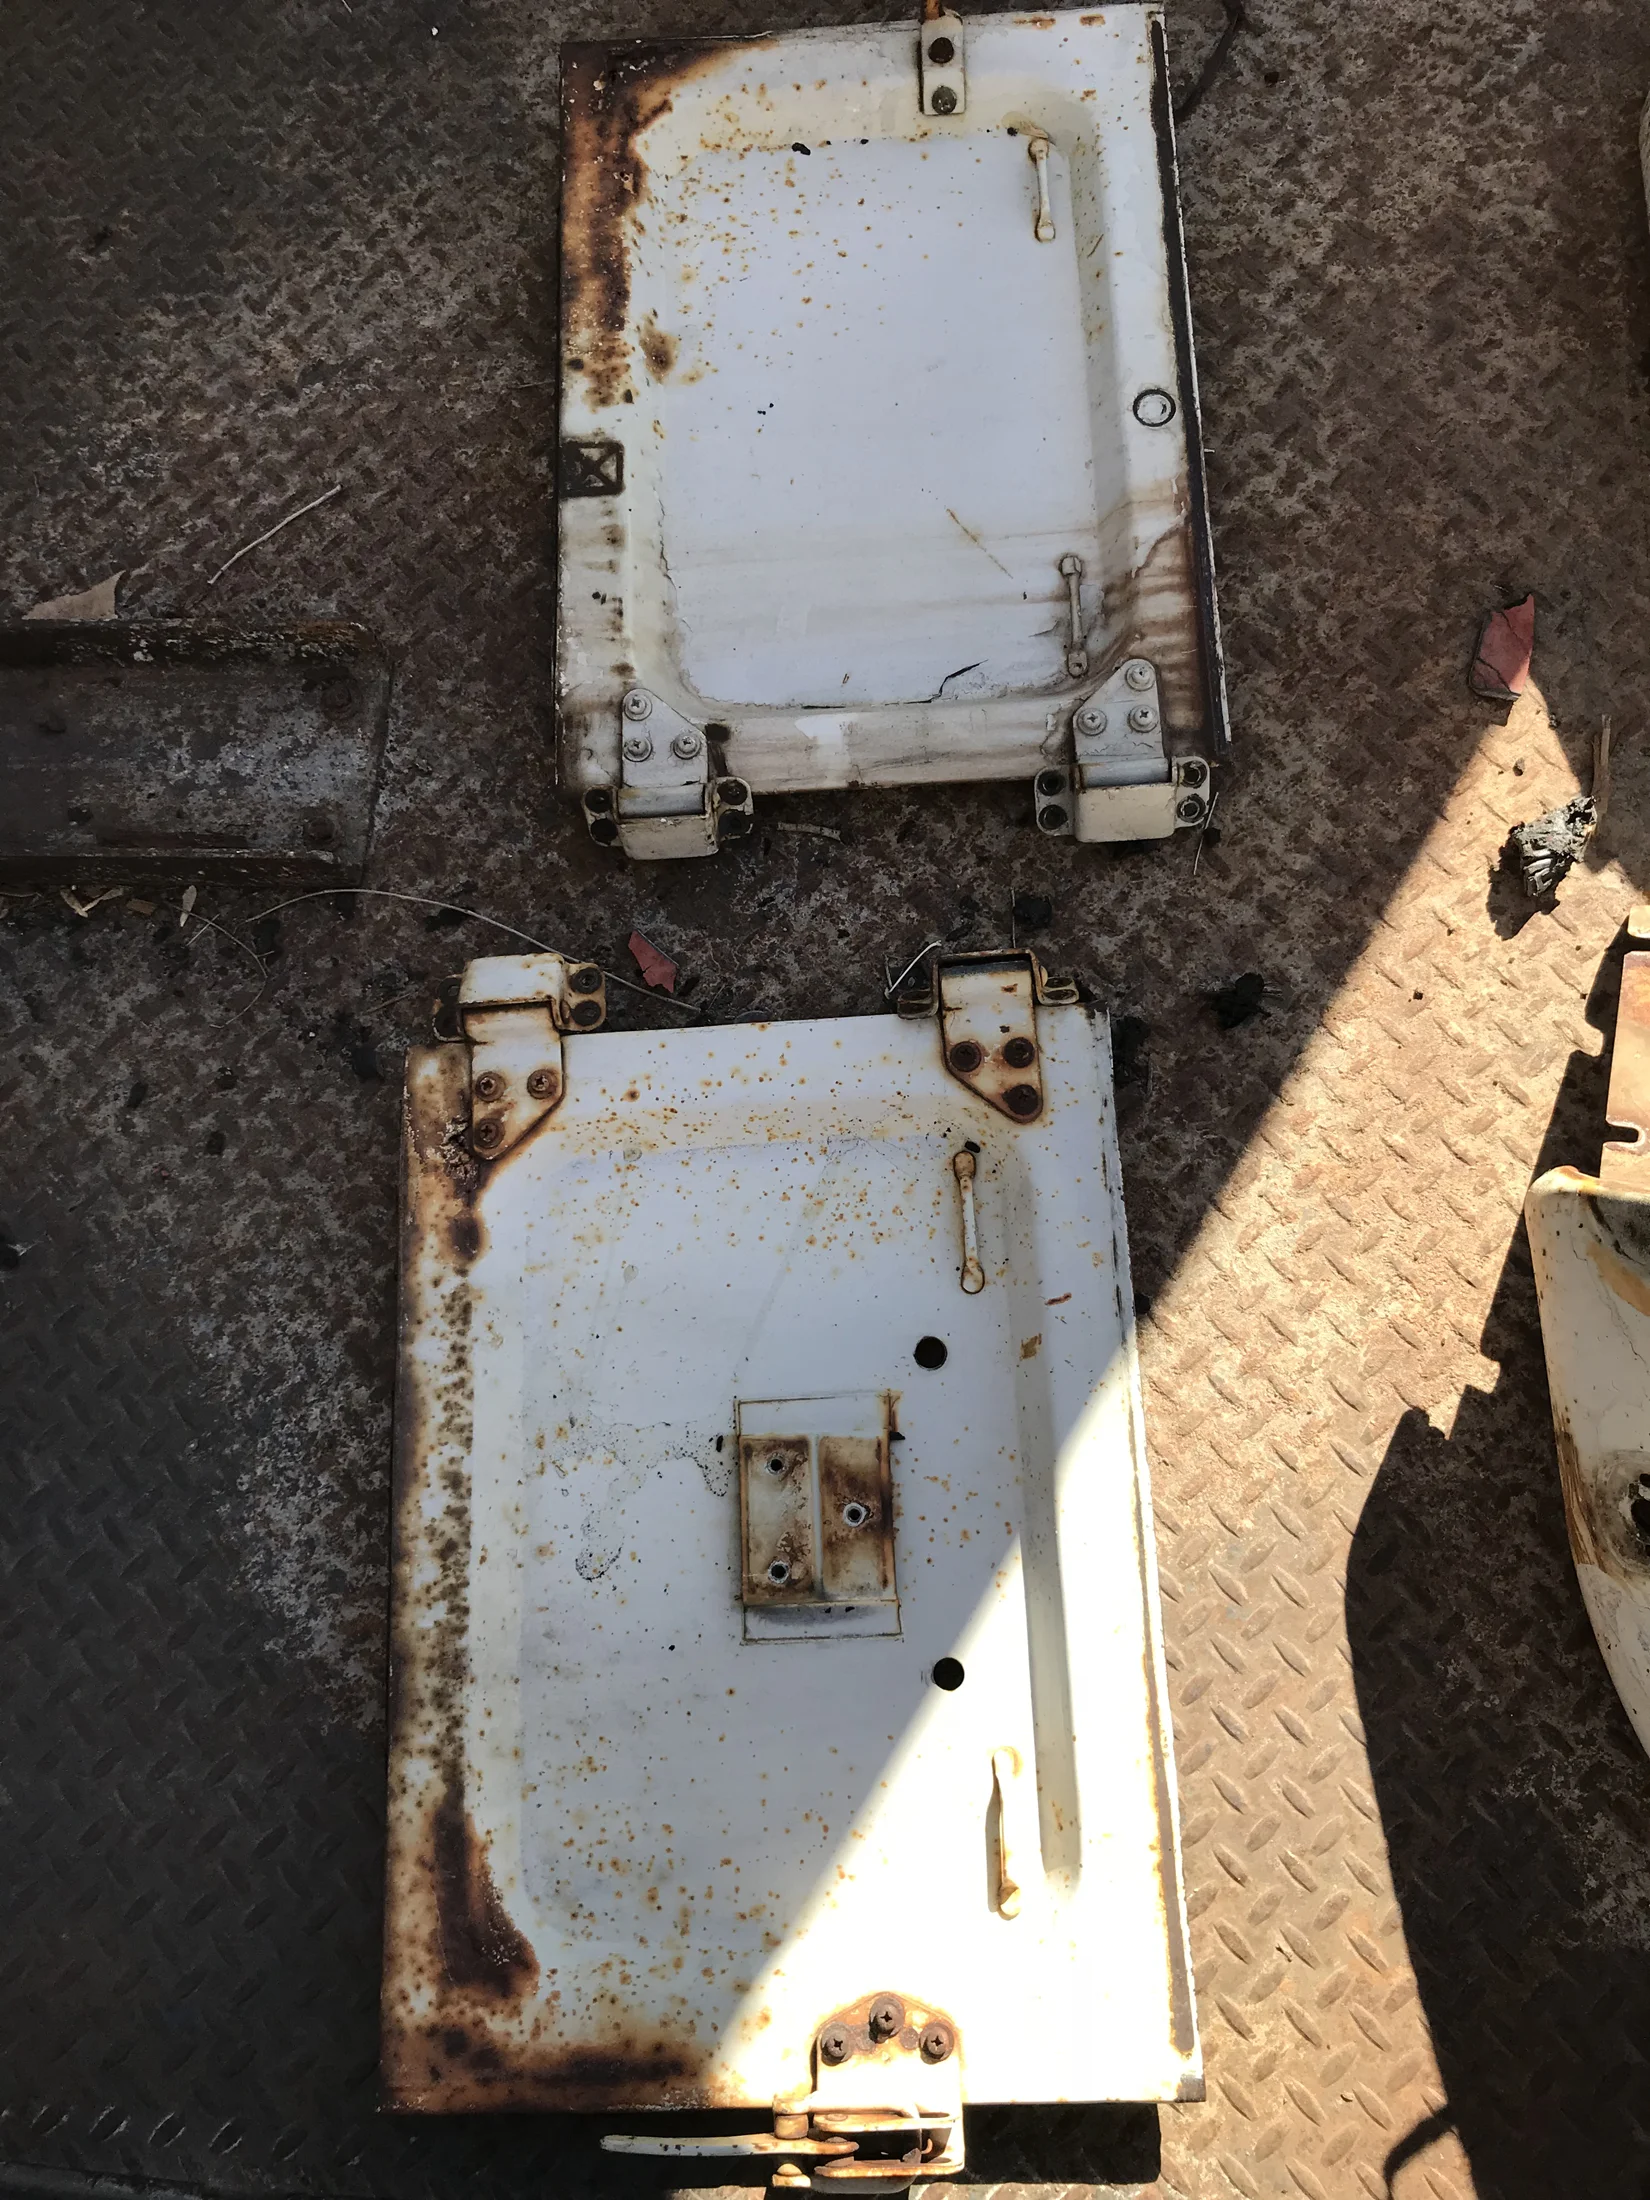
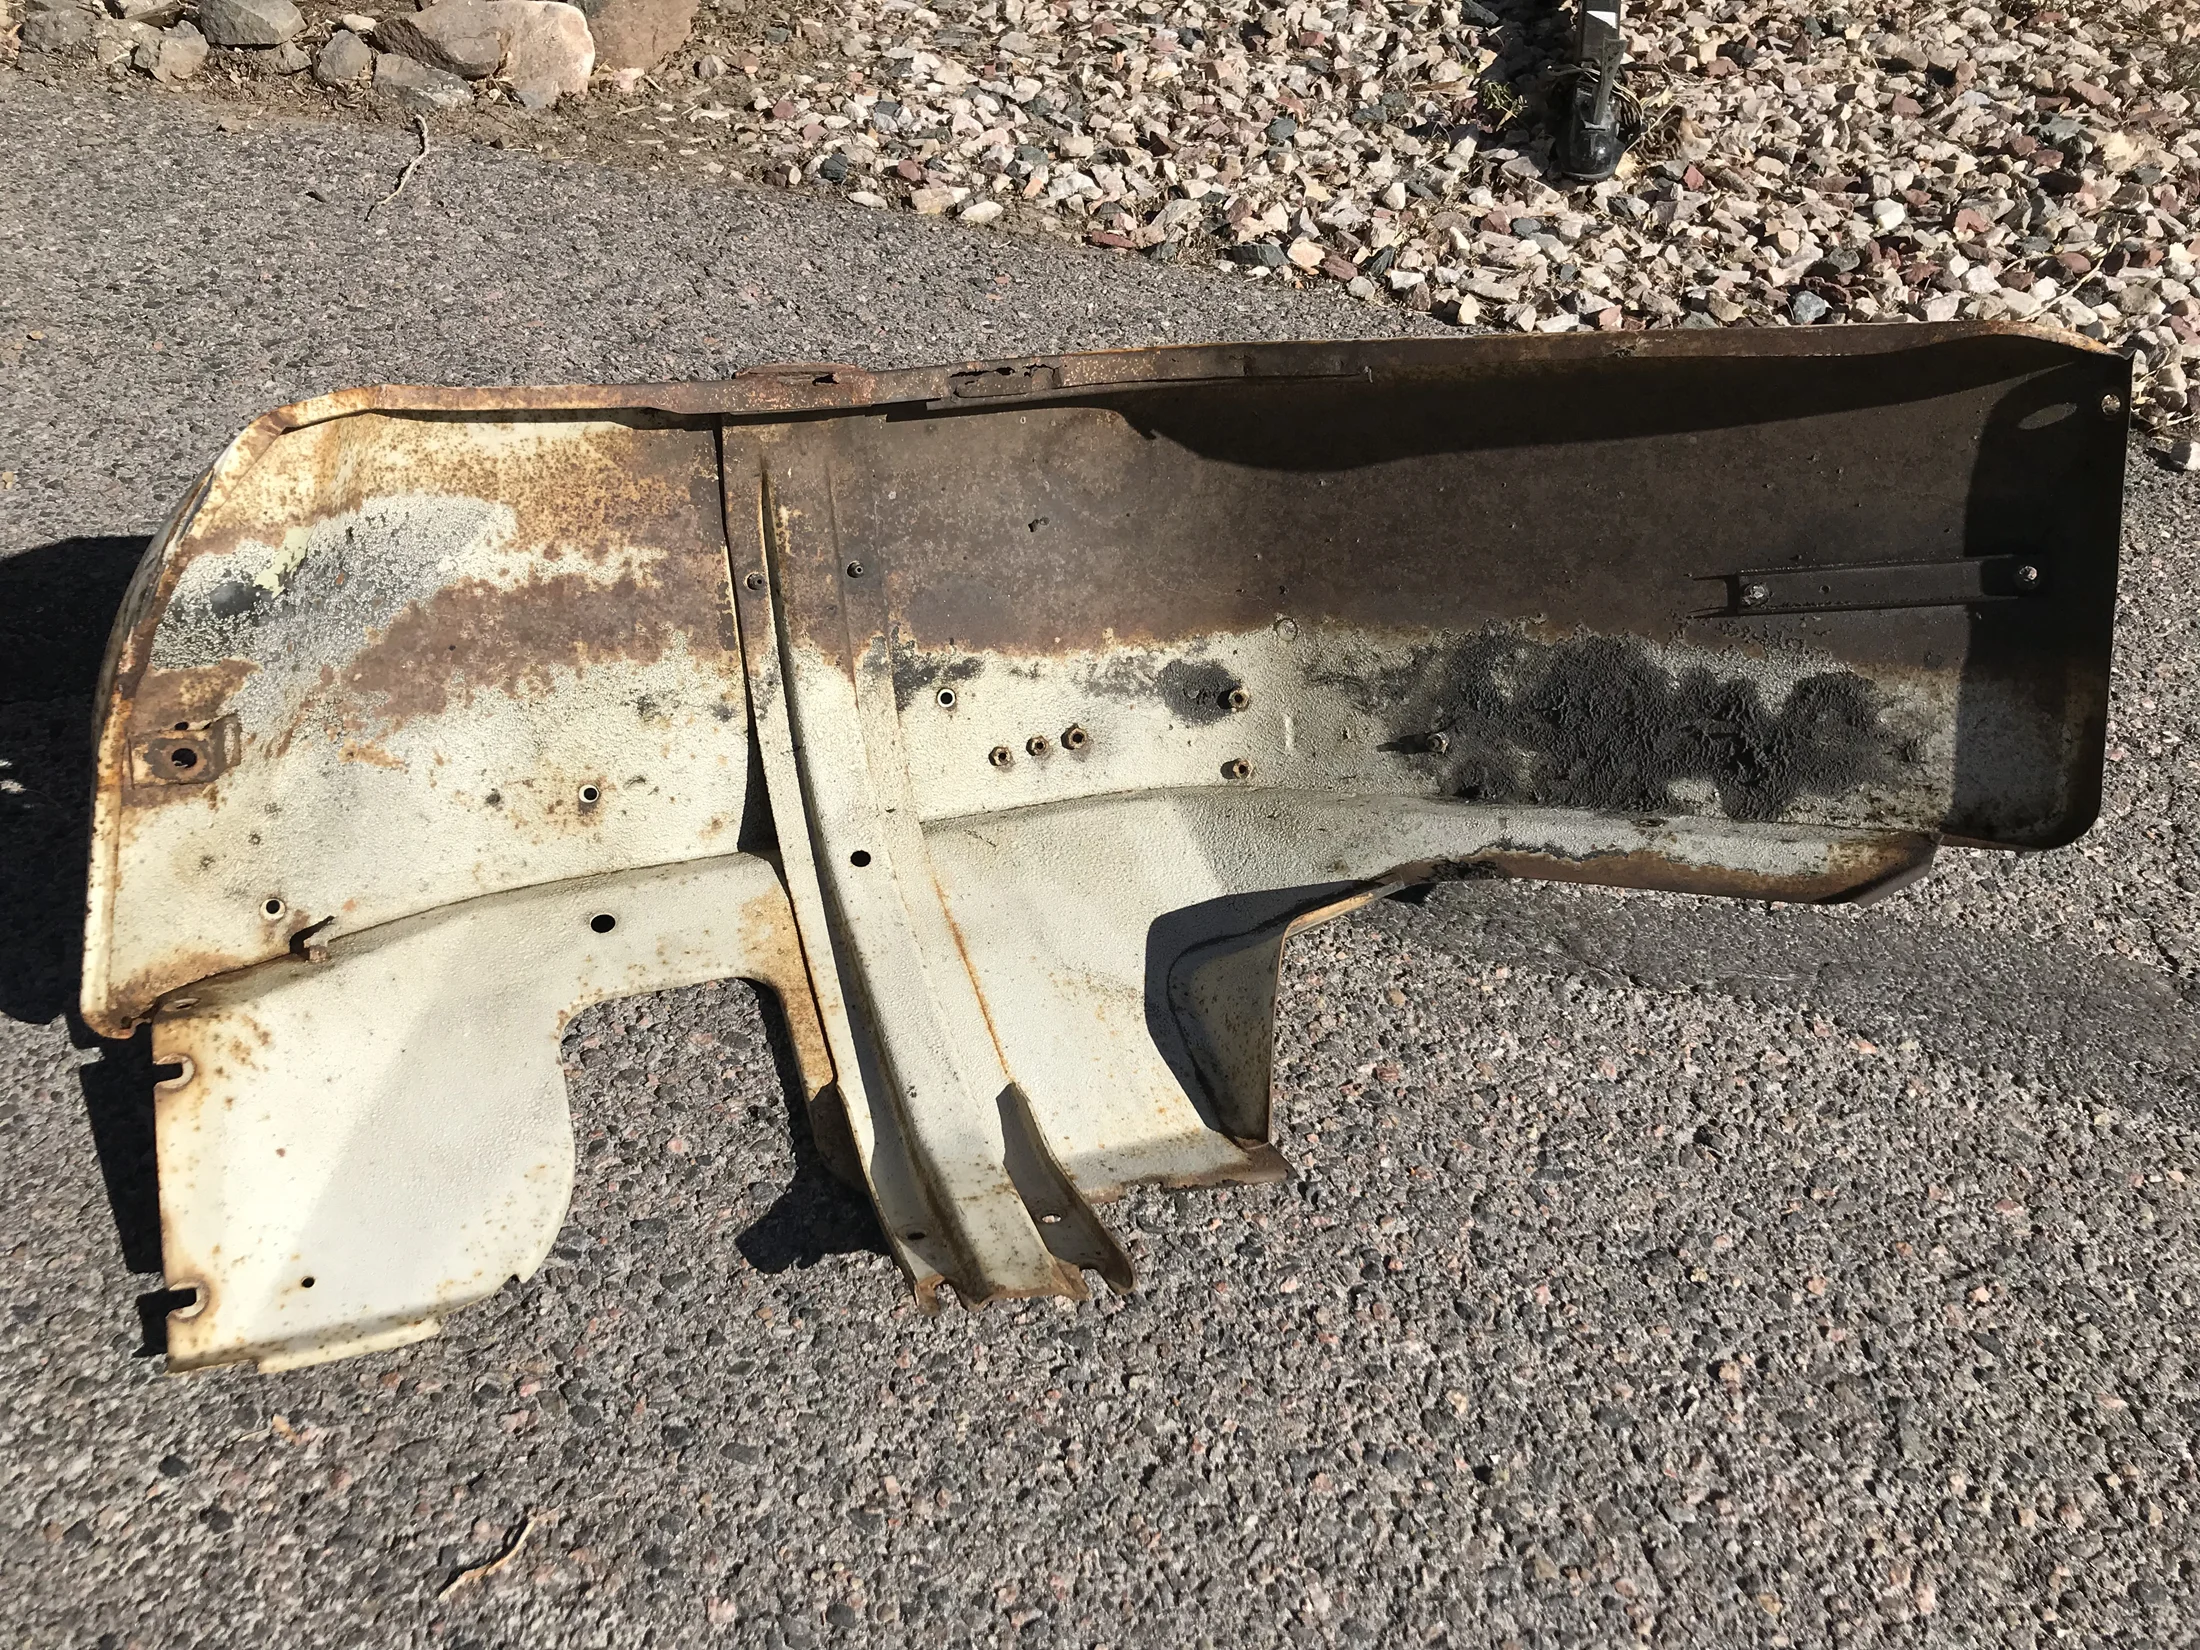
All pieces, large and small, destroyed or intact, were bagged, and labeled, and many photographs were taken. My iCloud pics now are dominated by, in order of quantity, odd pictures of screws, and unidentifiable metal brackets and hoses, beer, and rock outcrops, followed by pictures of my cats and, finally, loved ones.
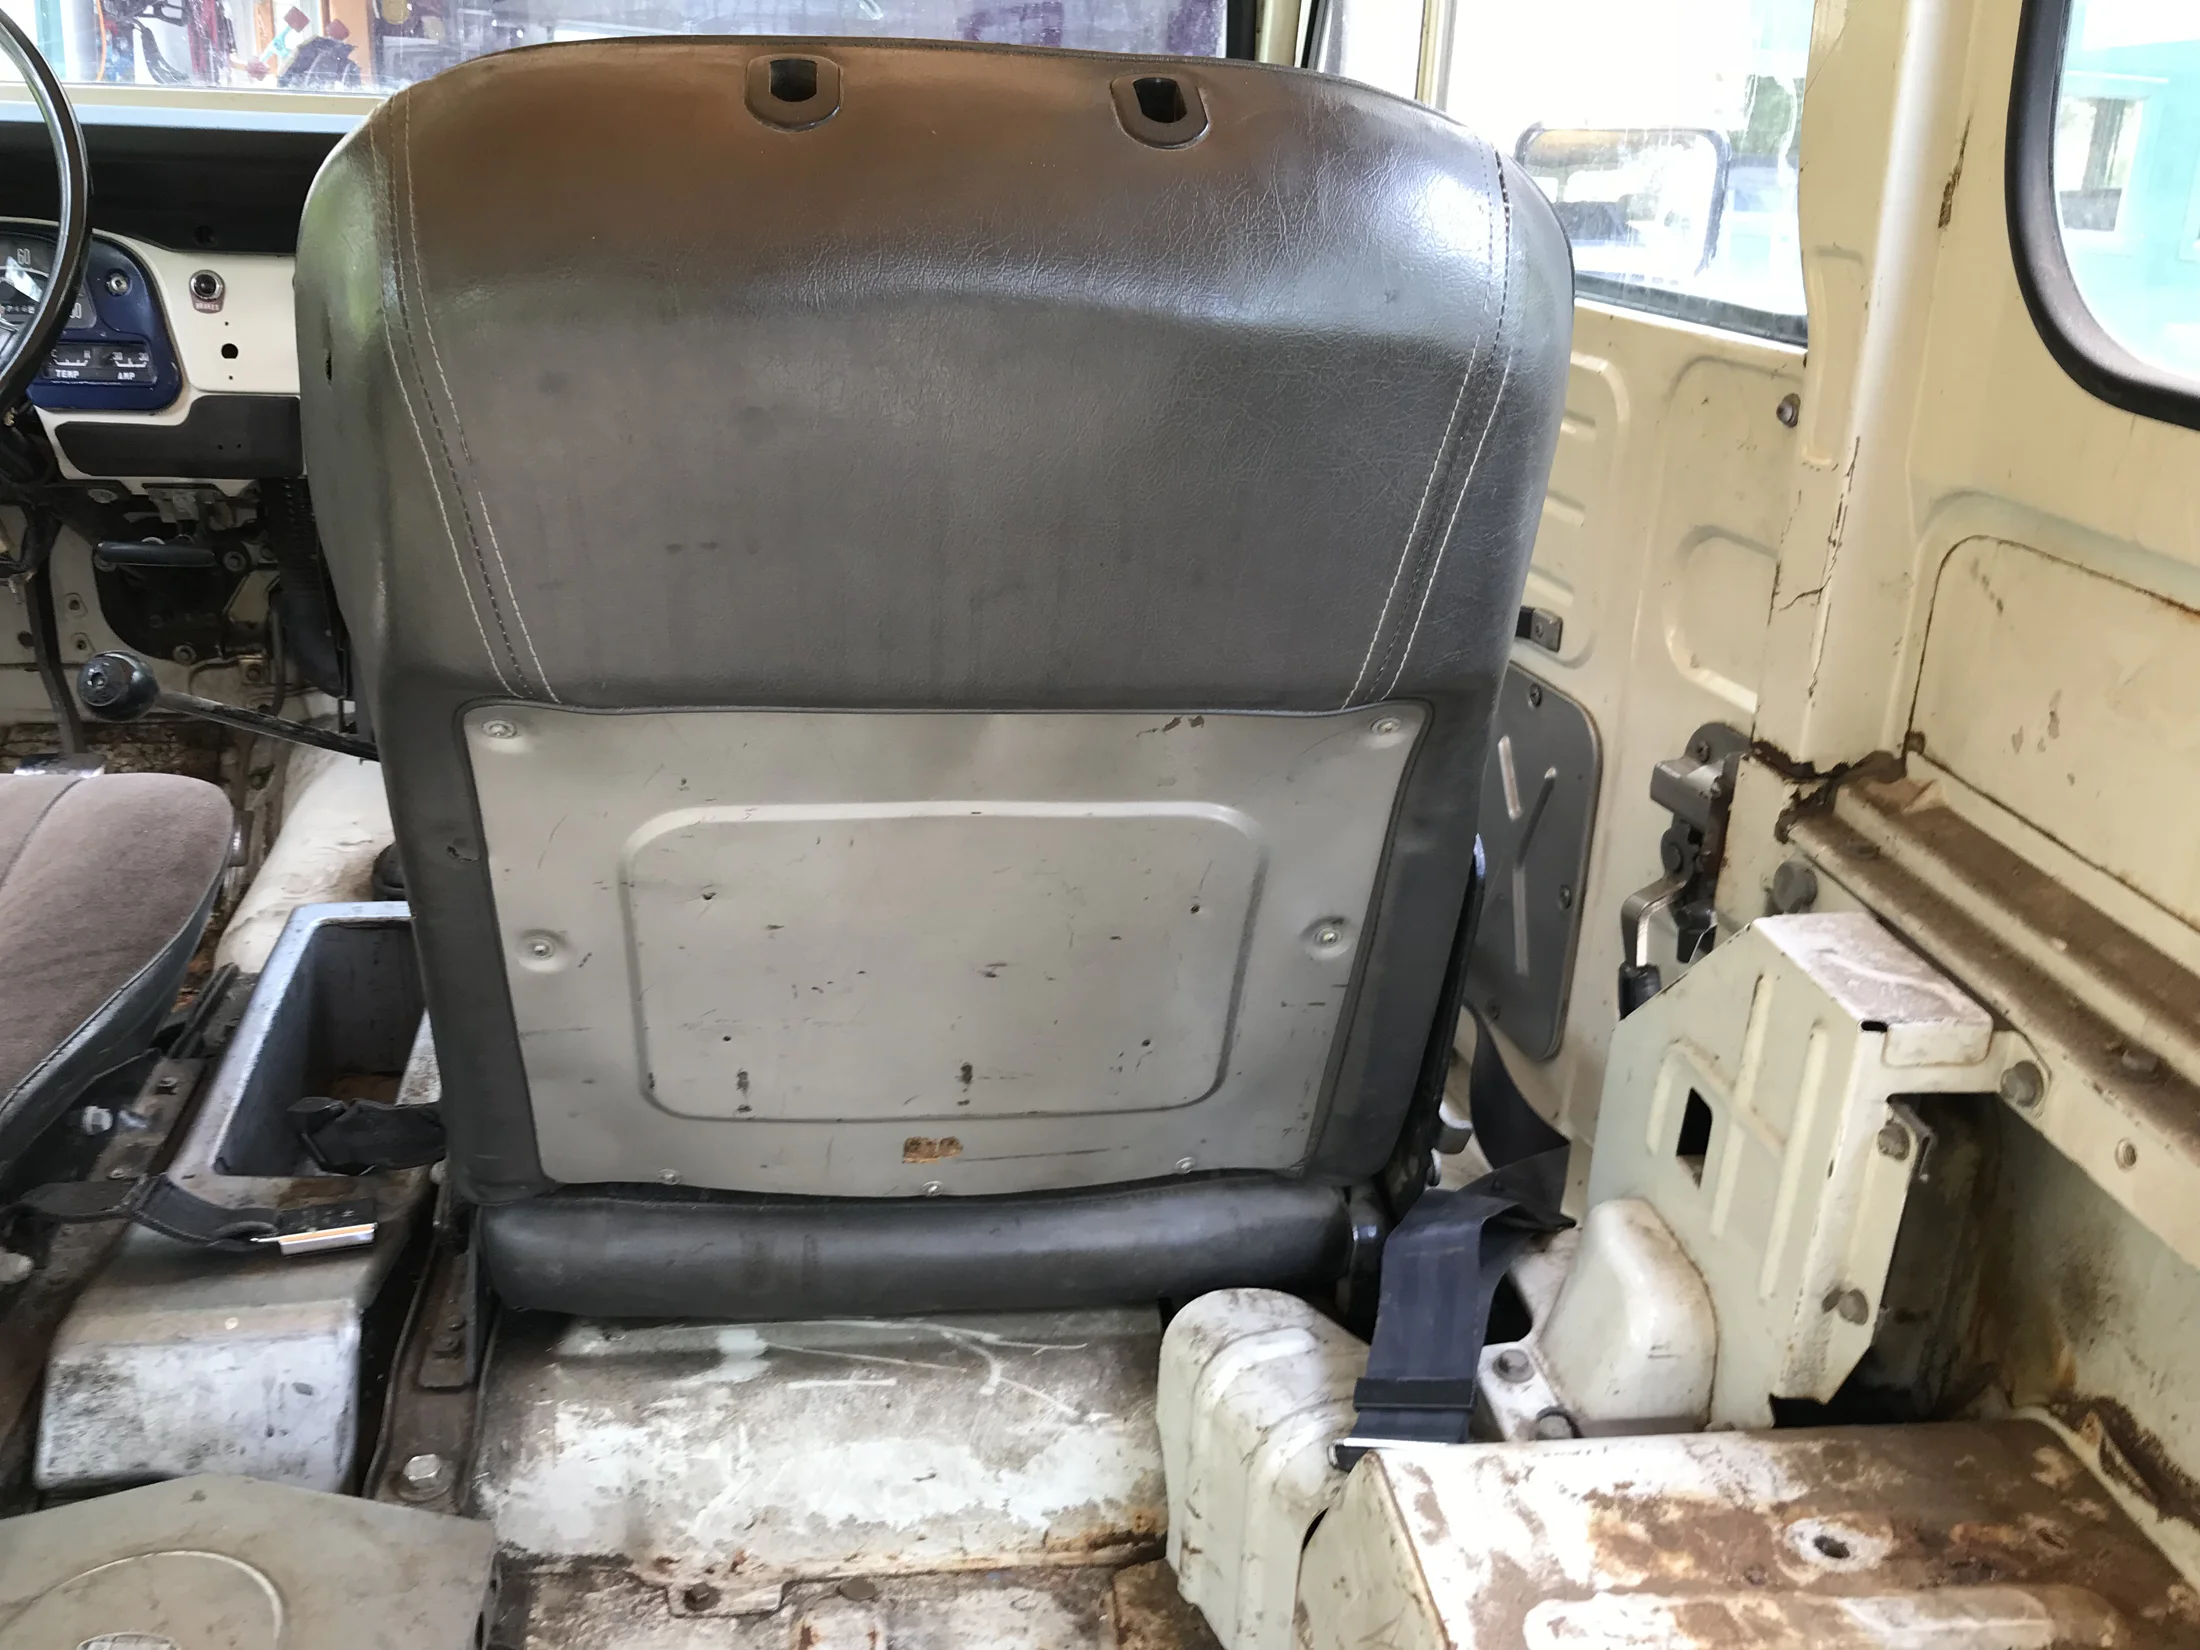
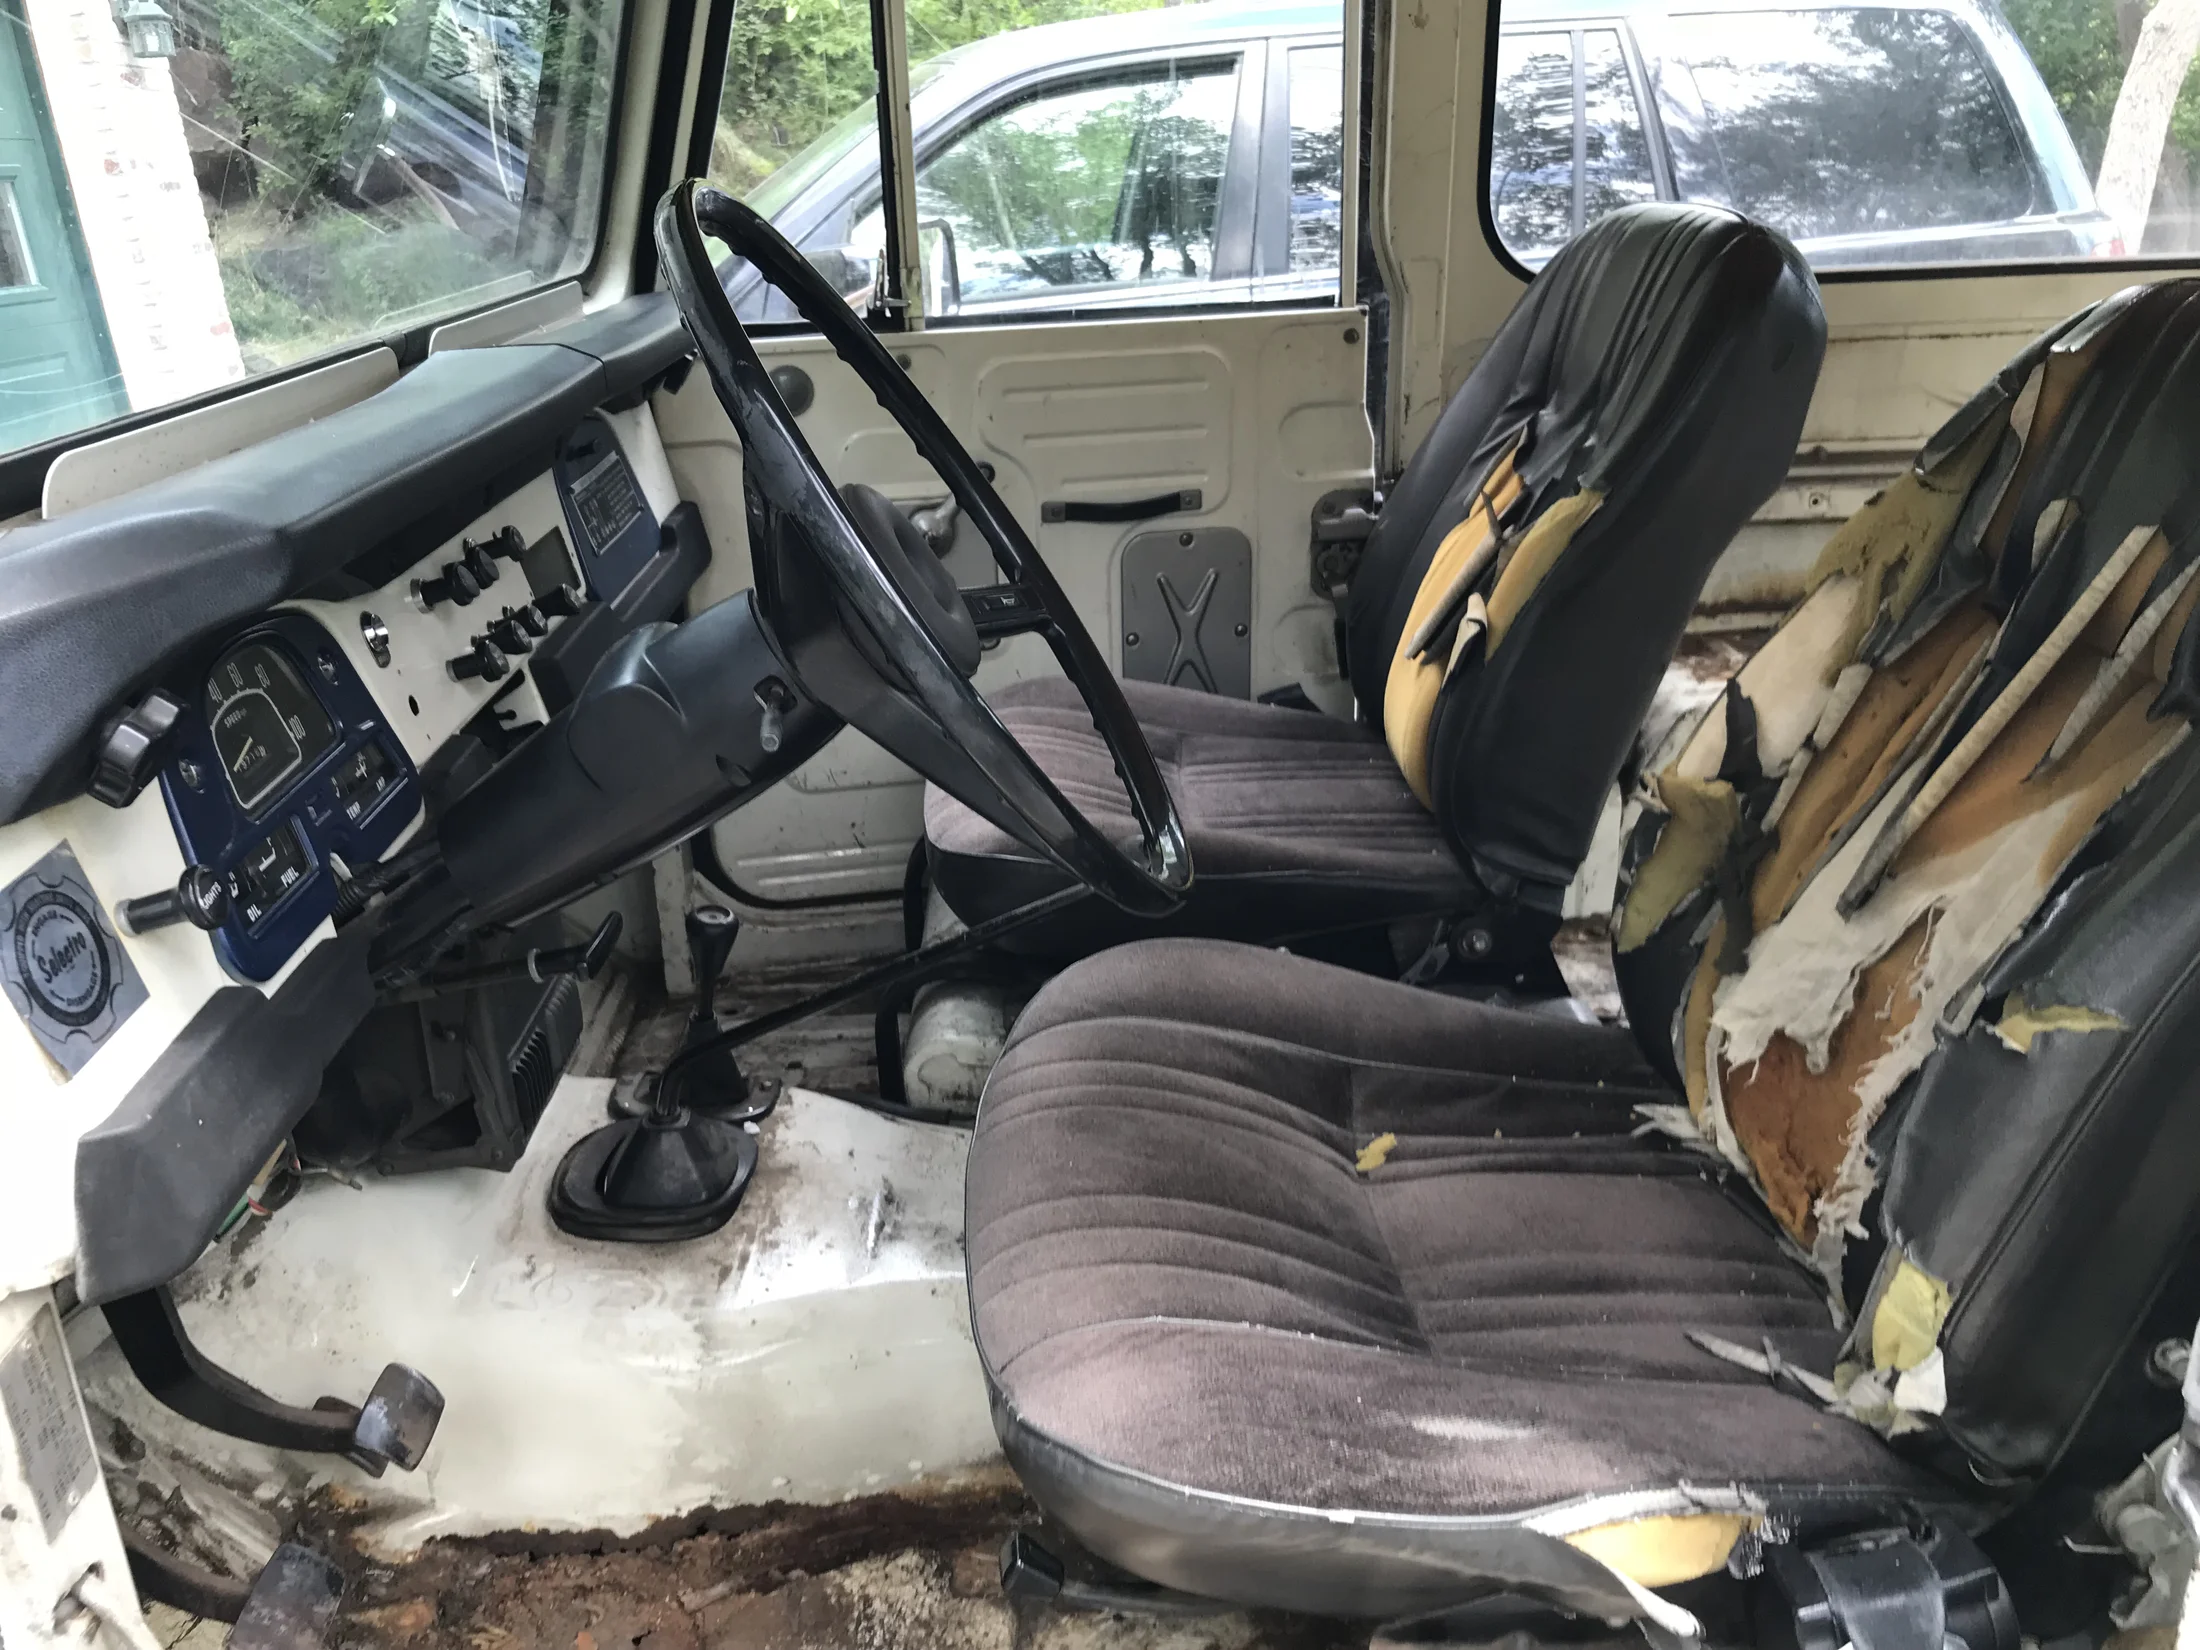
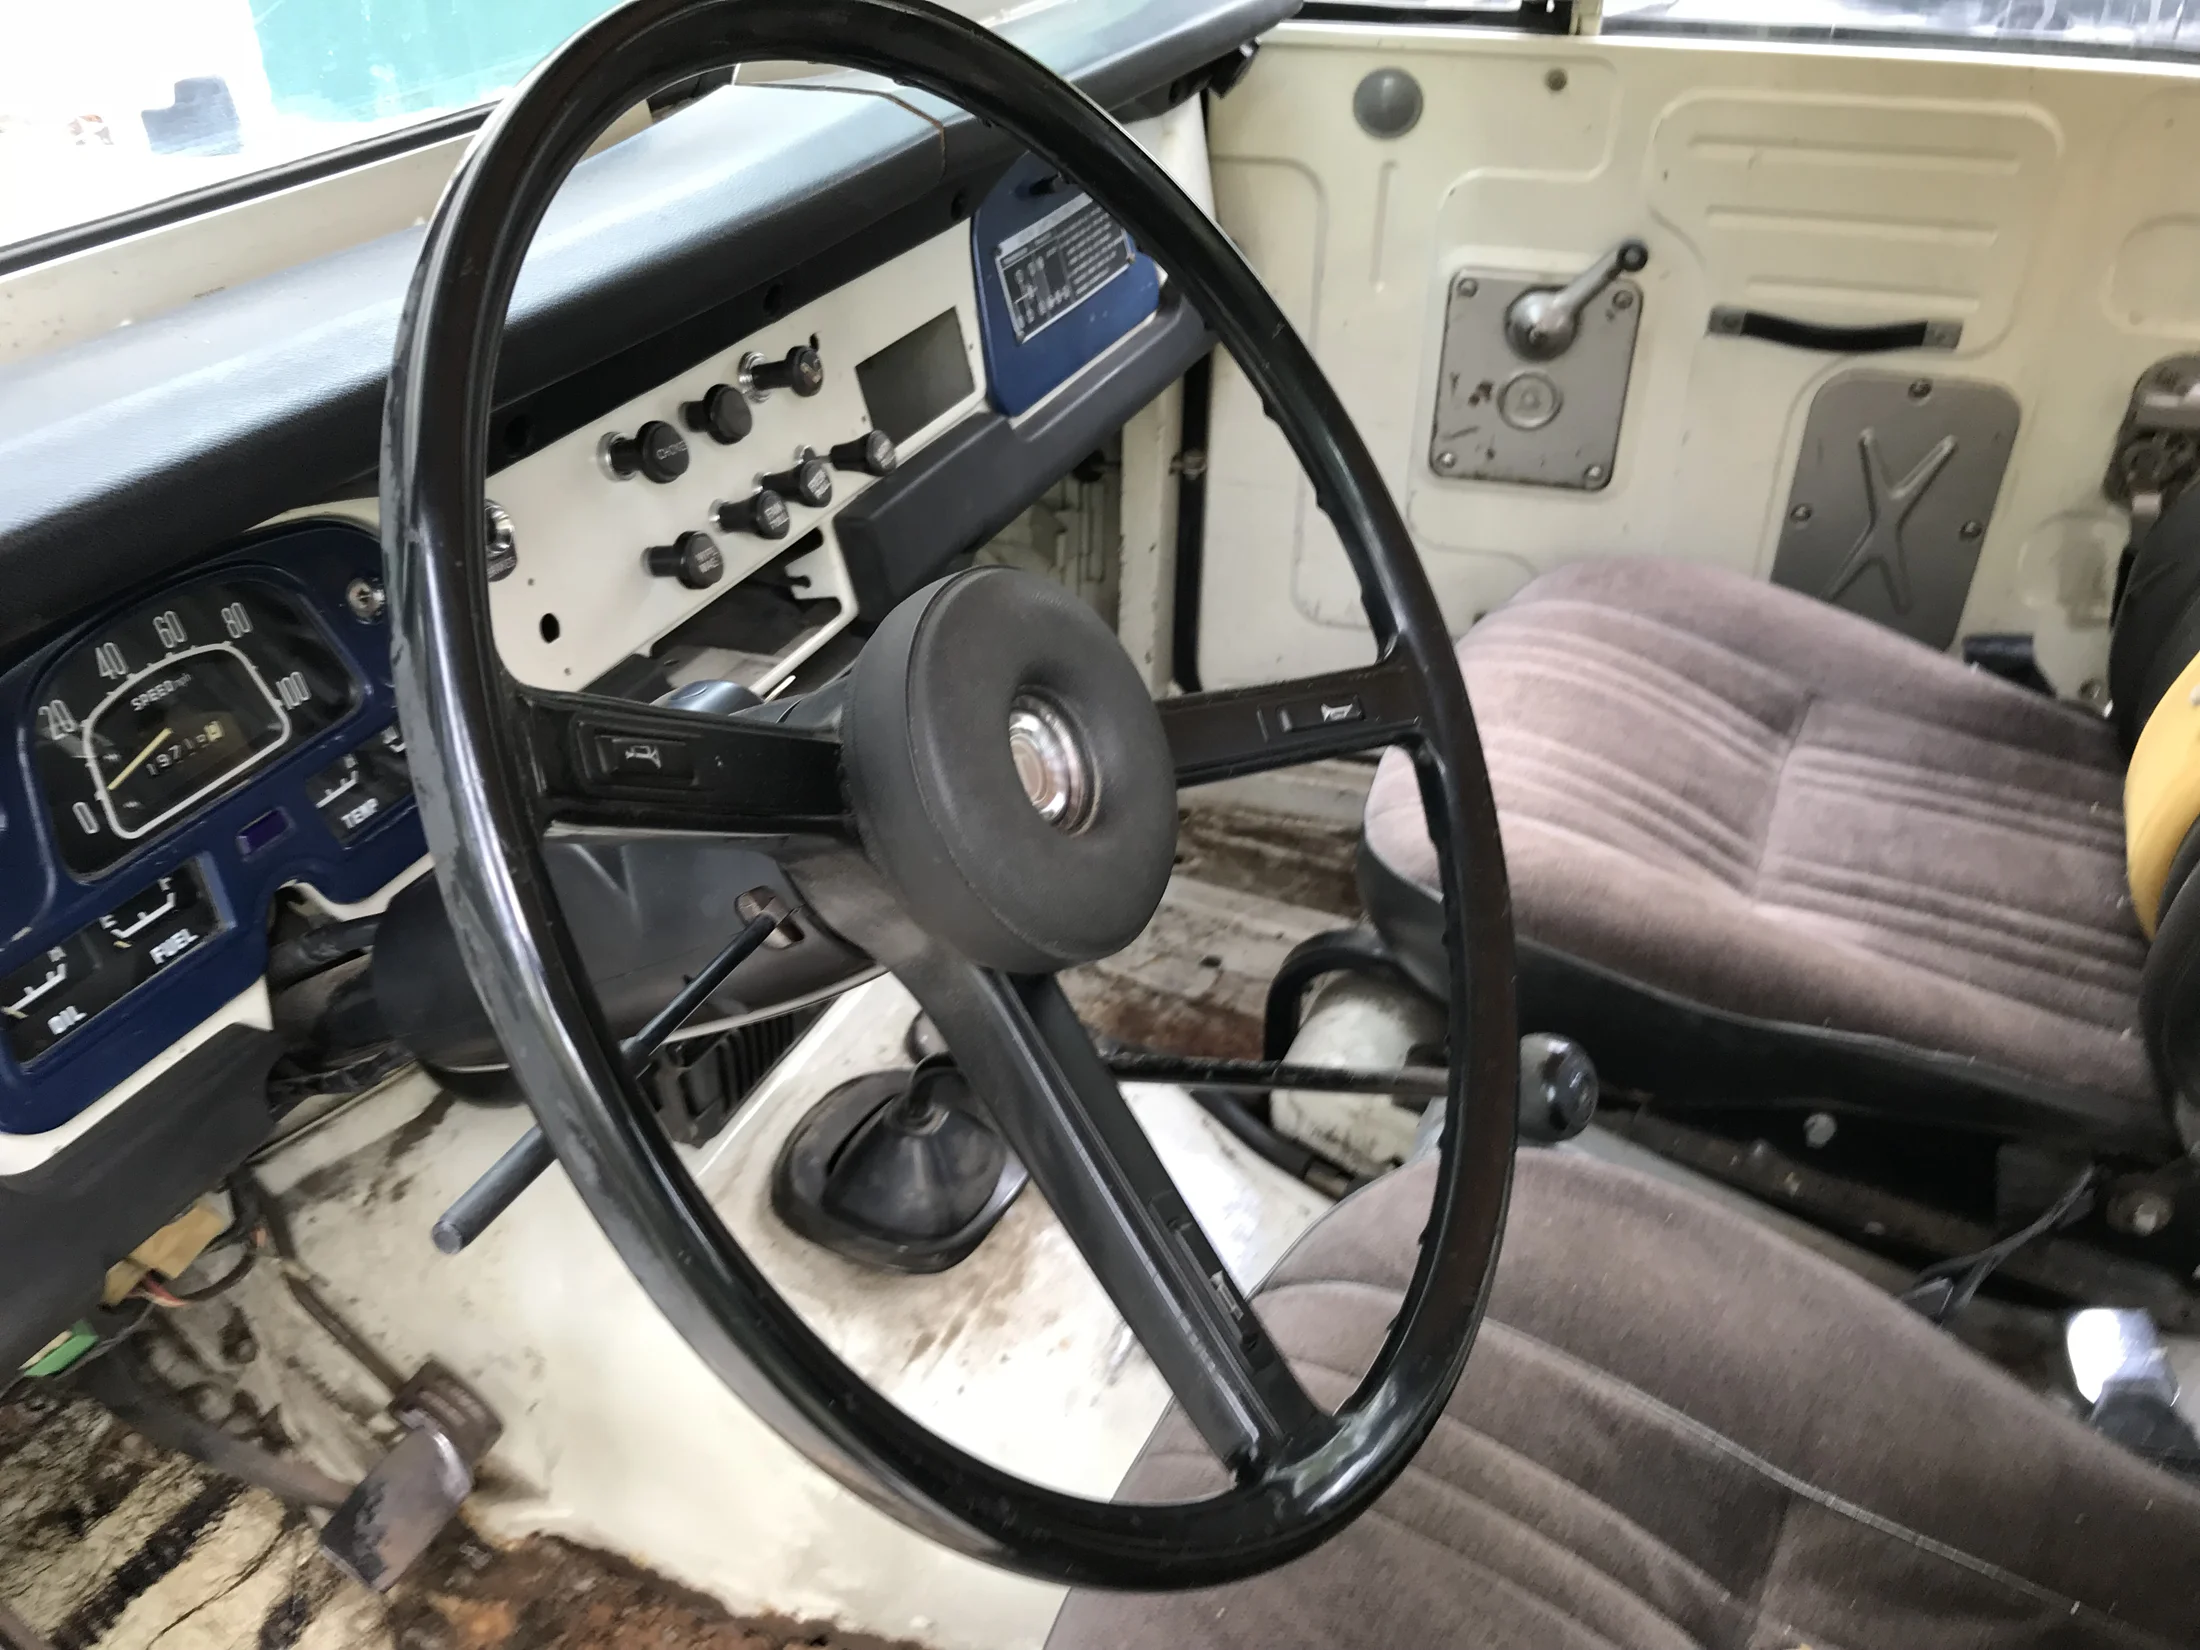
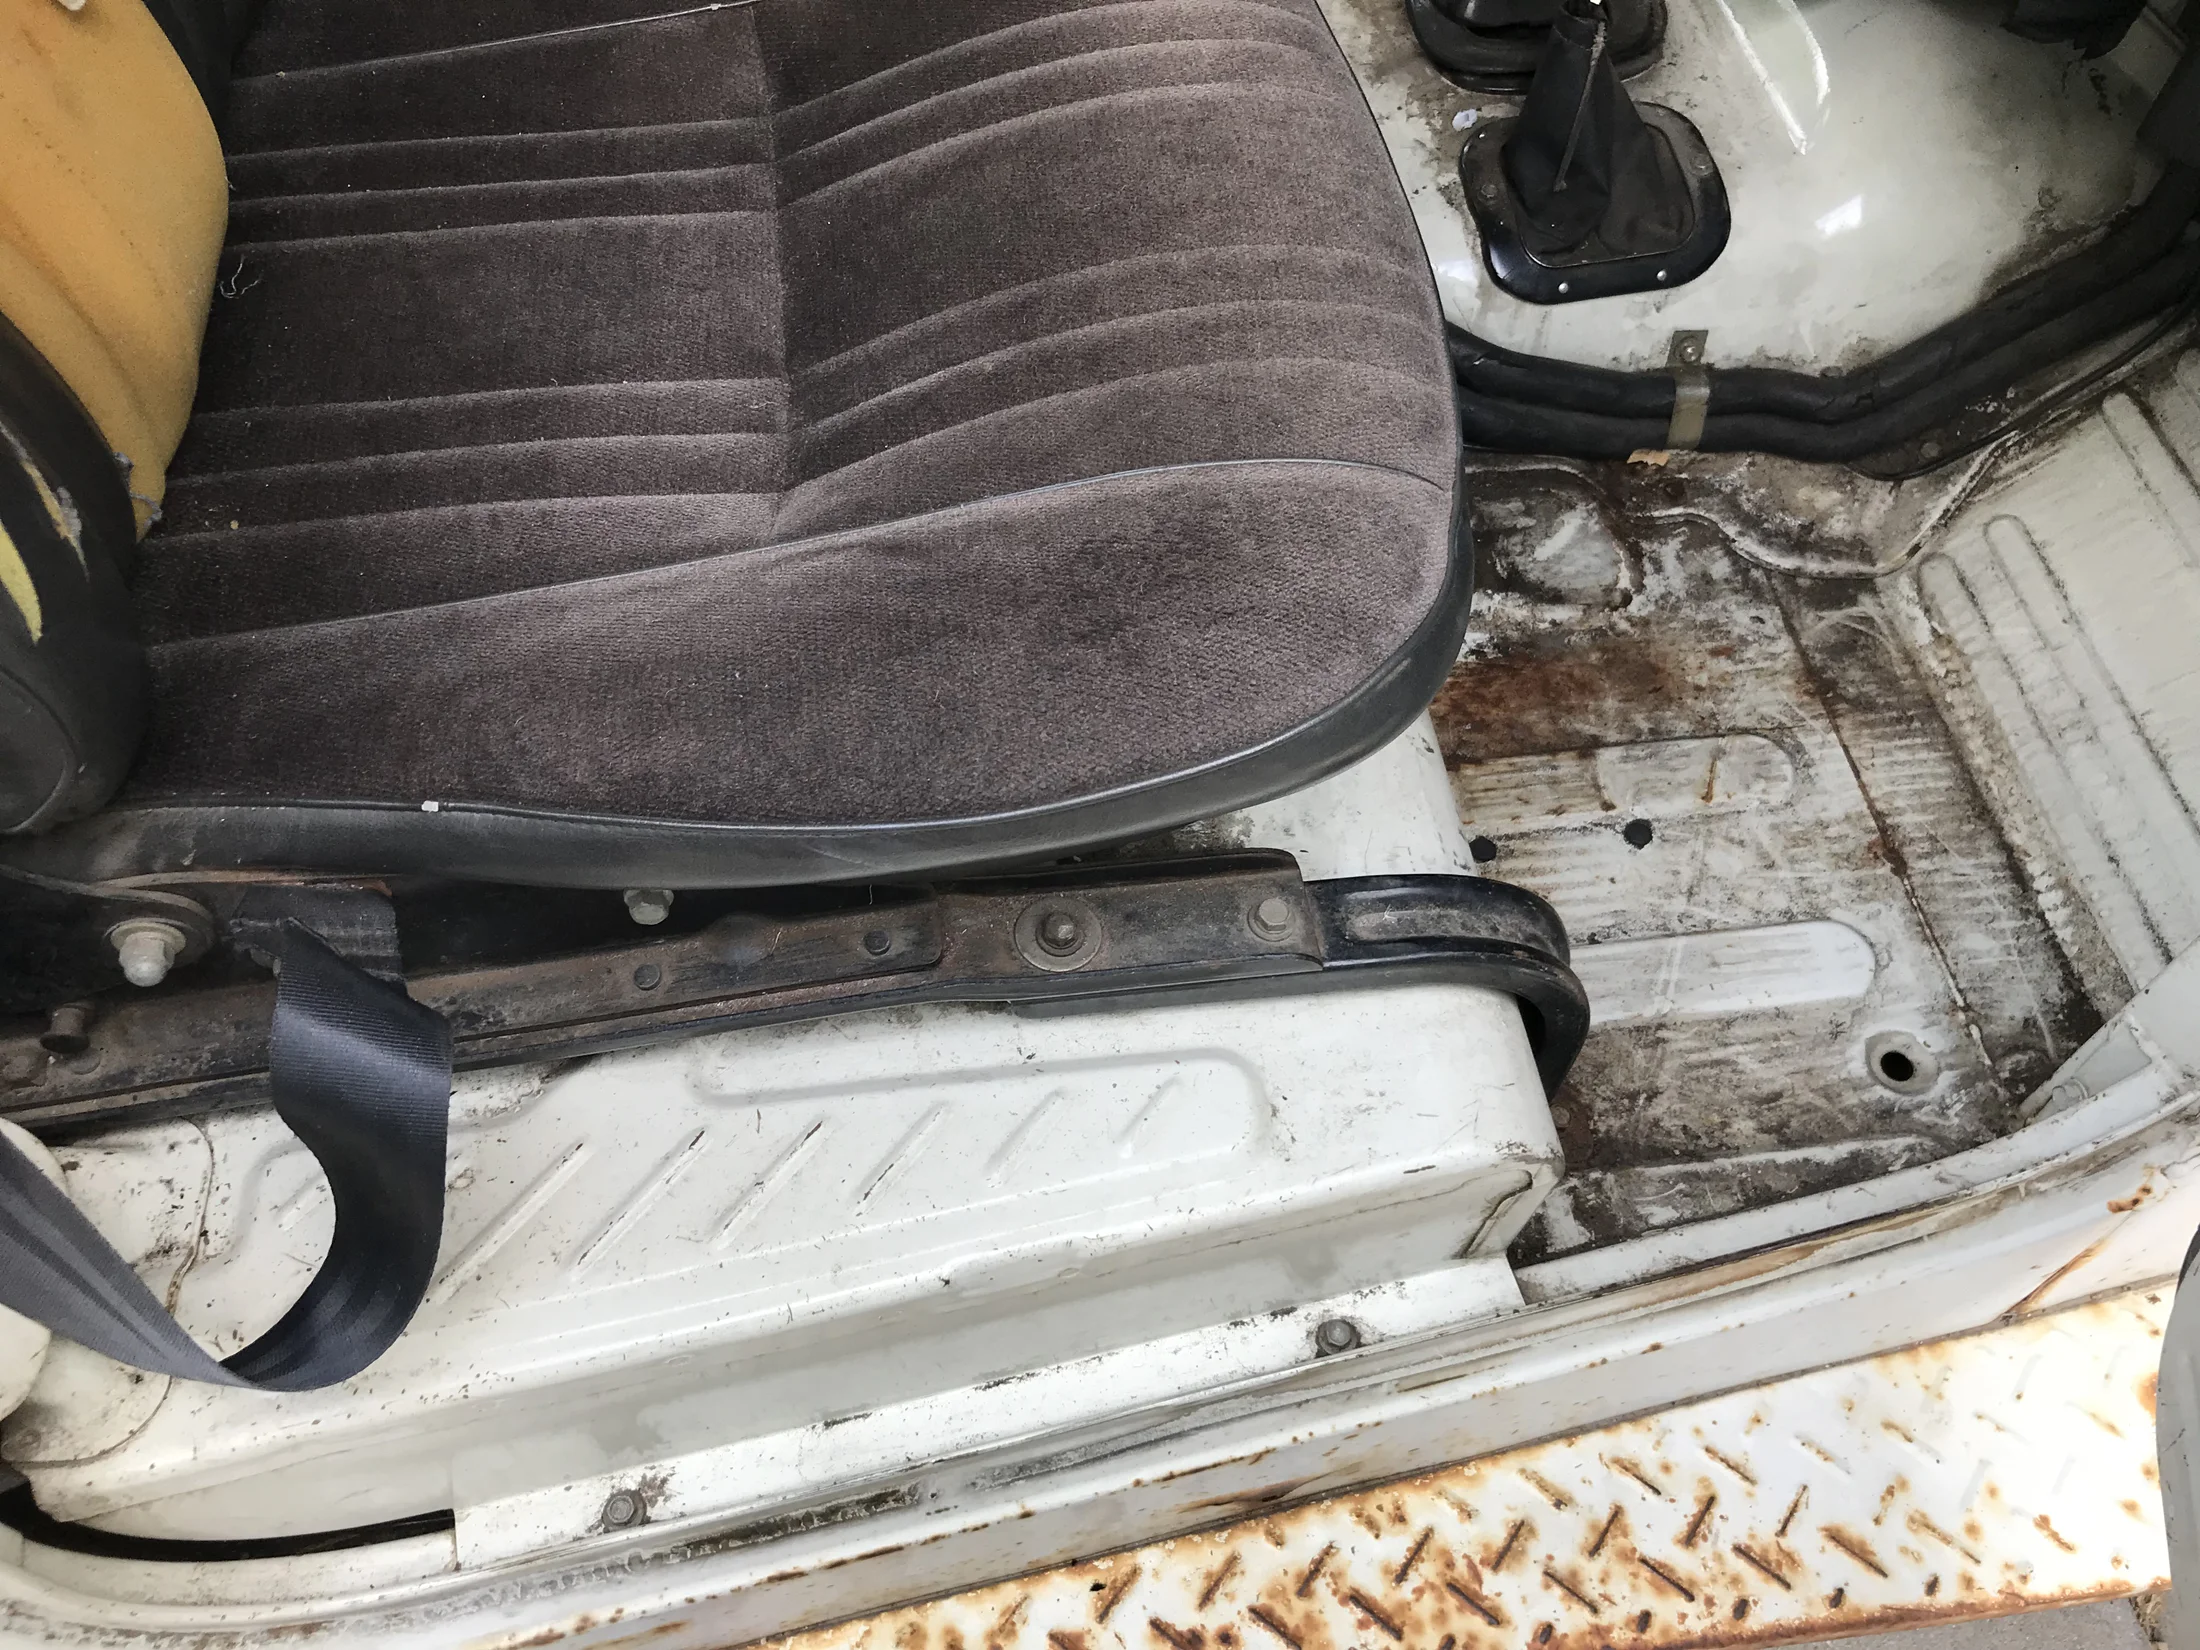
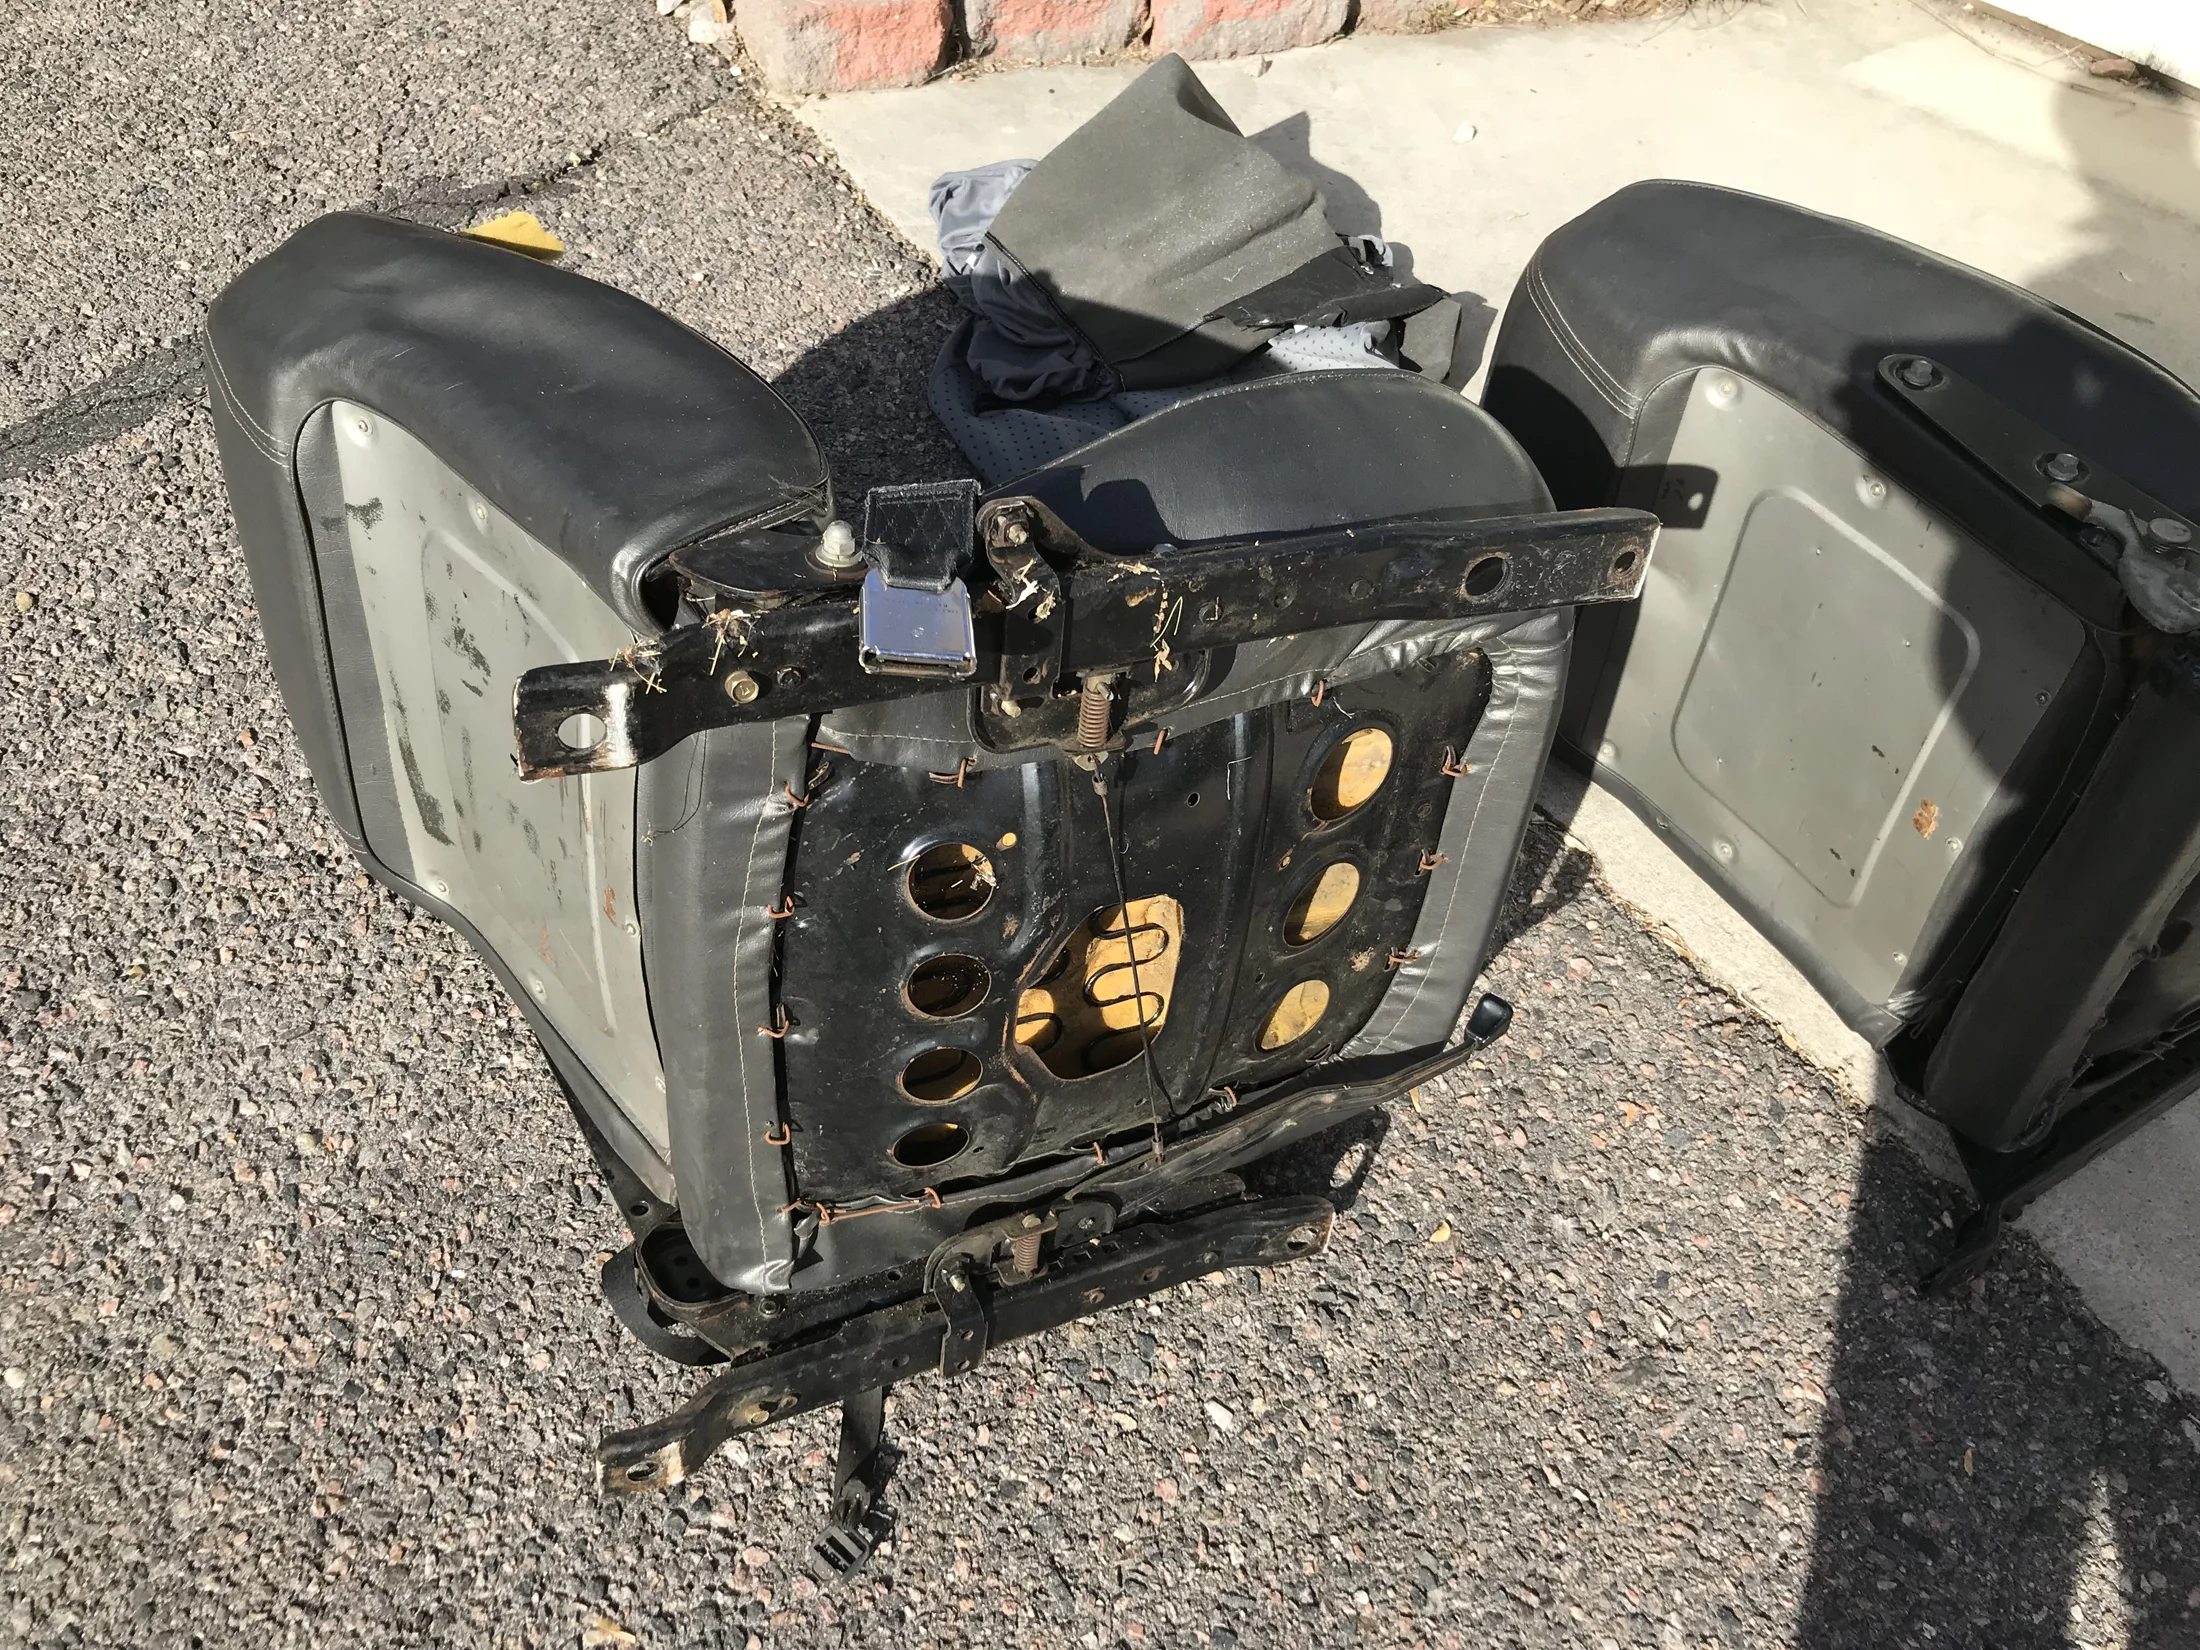
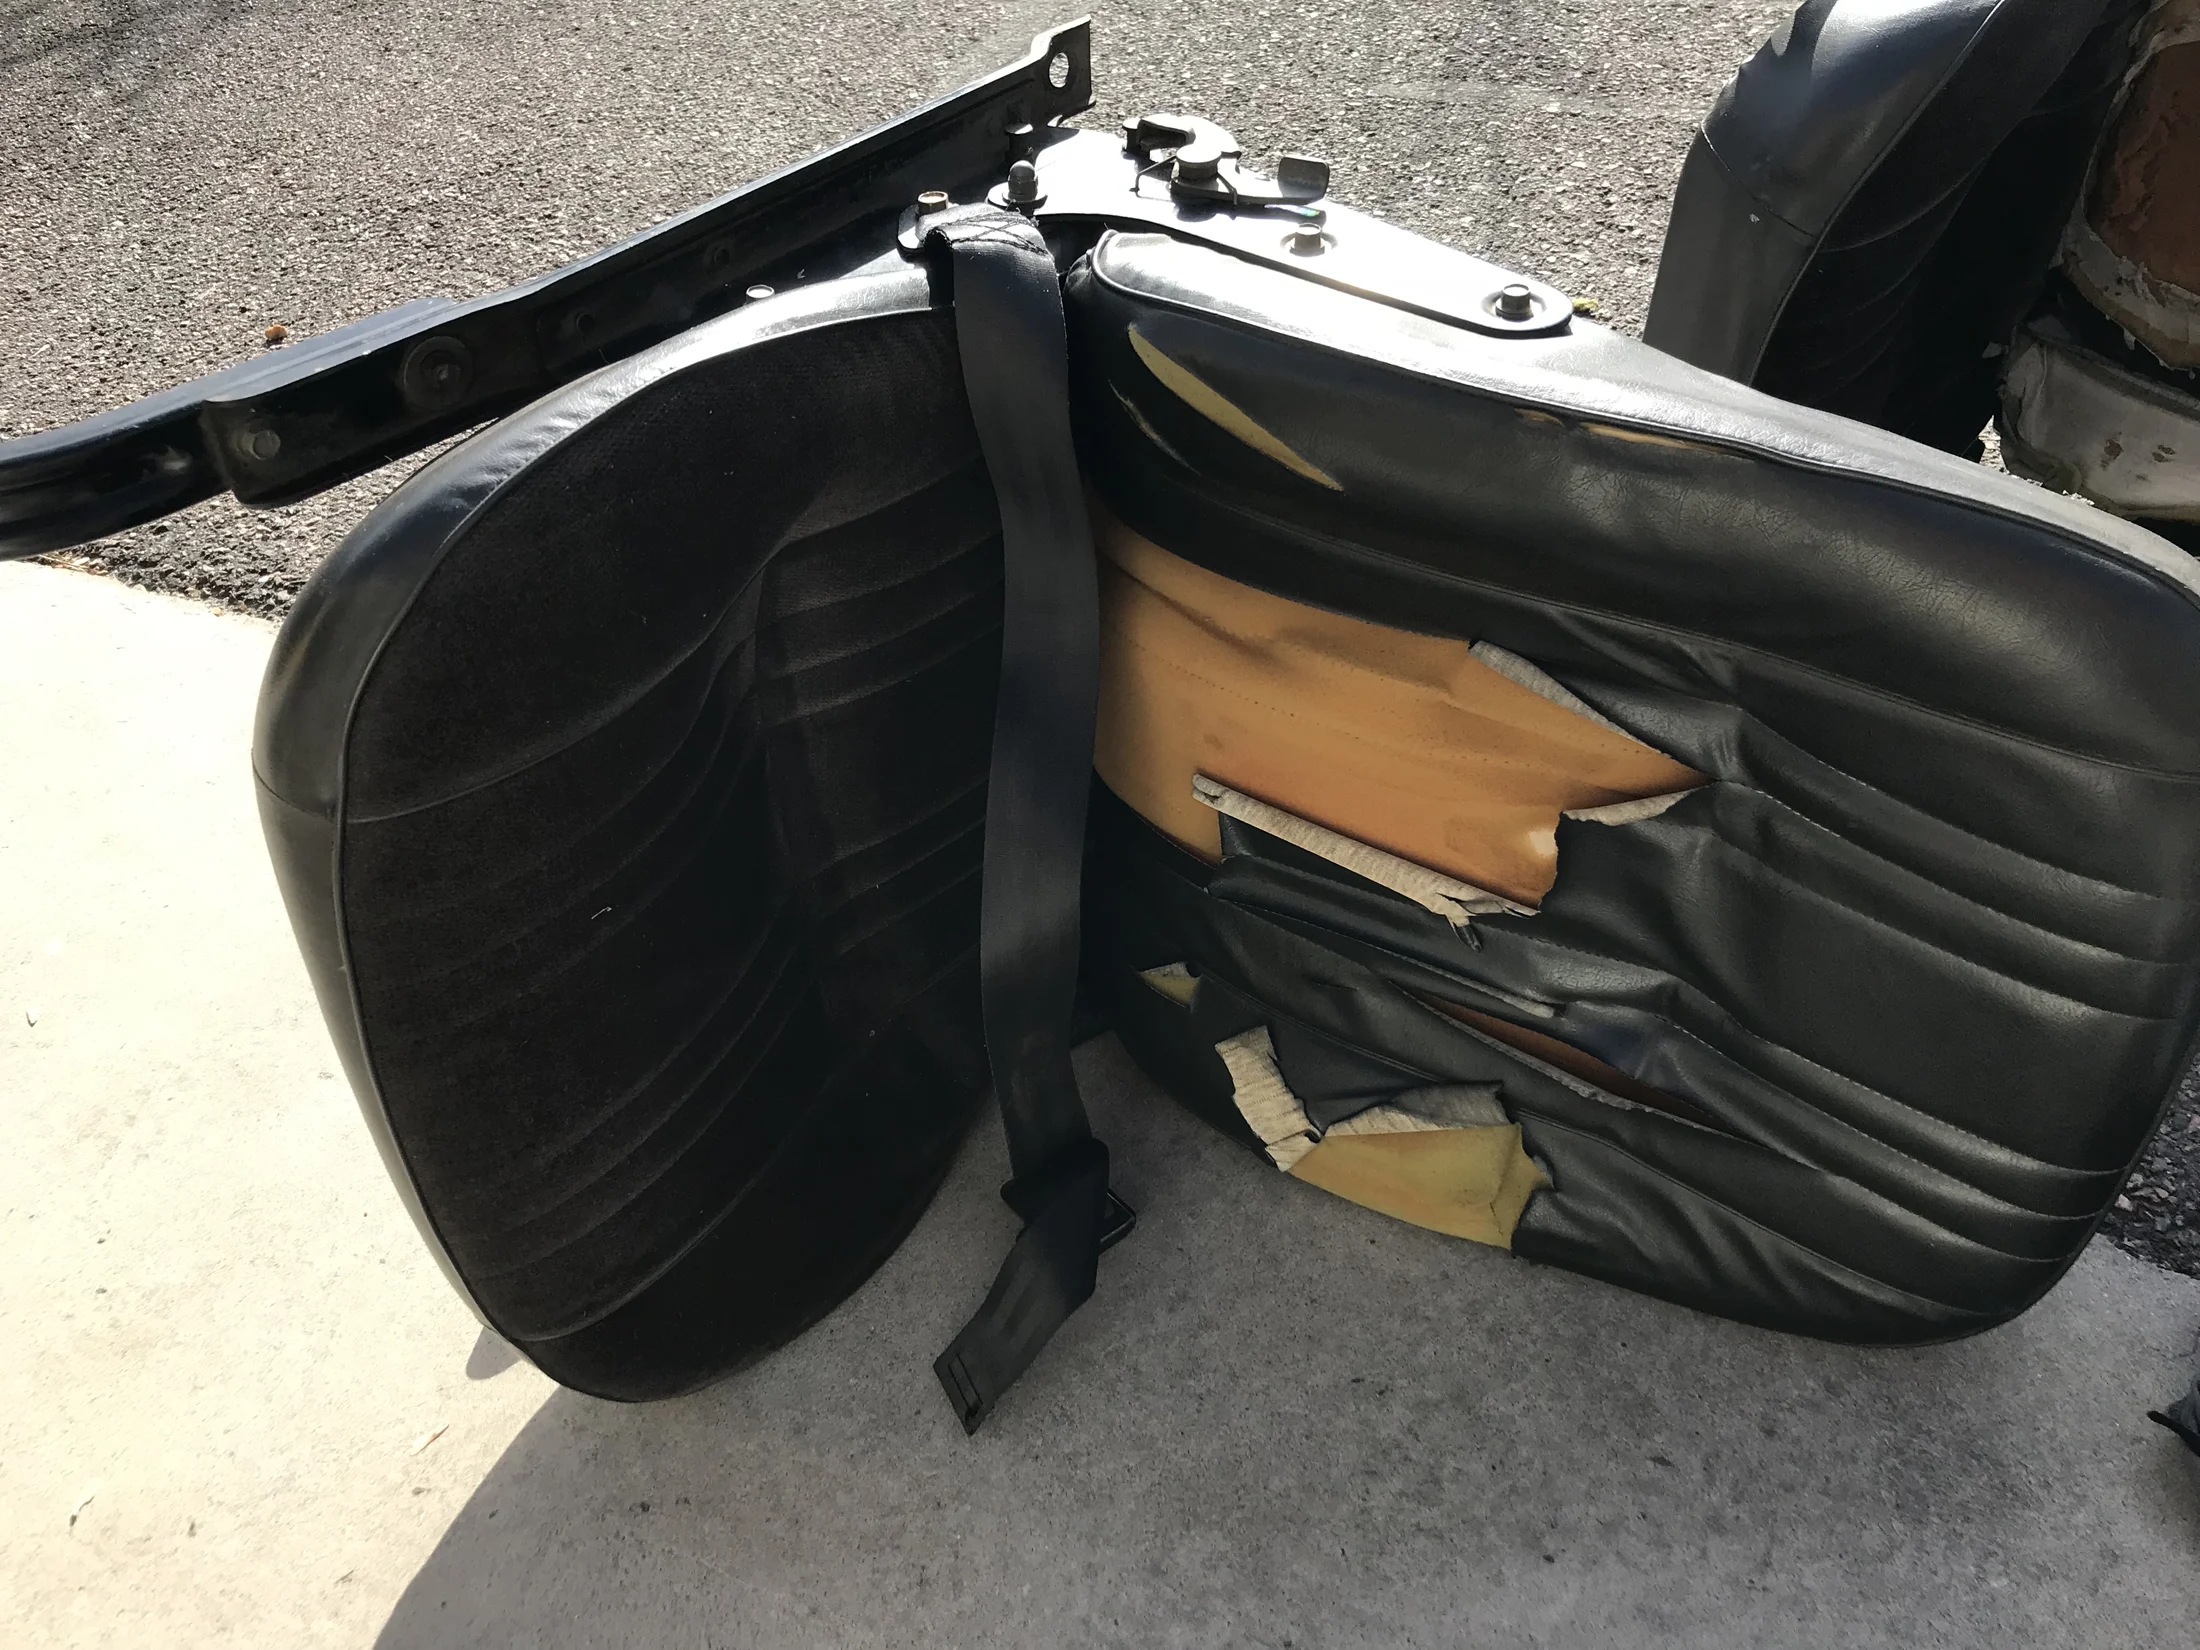
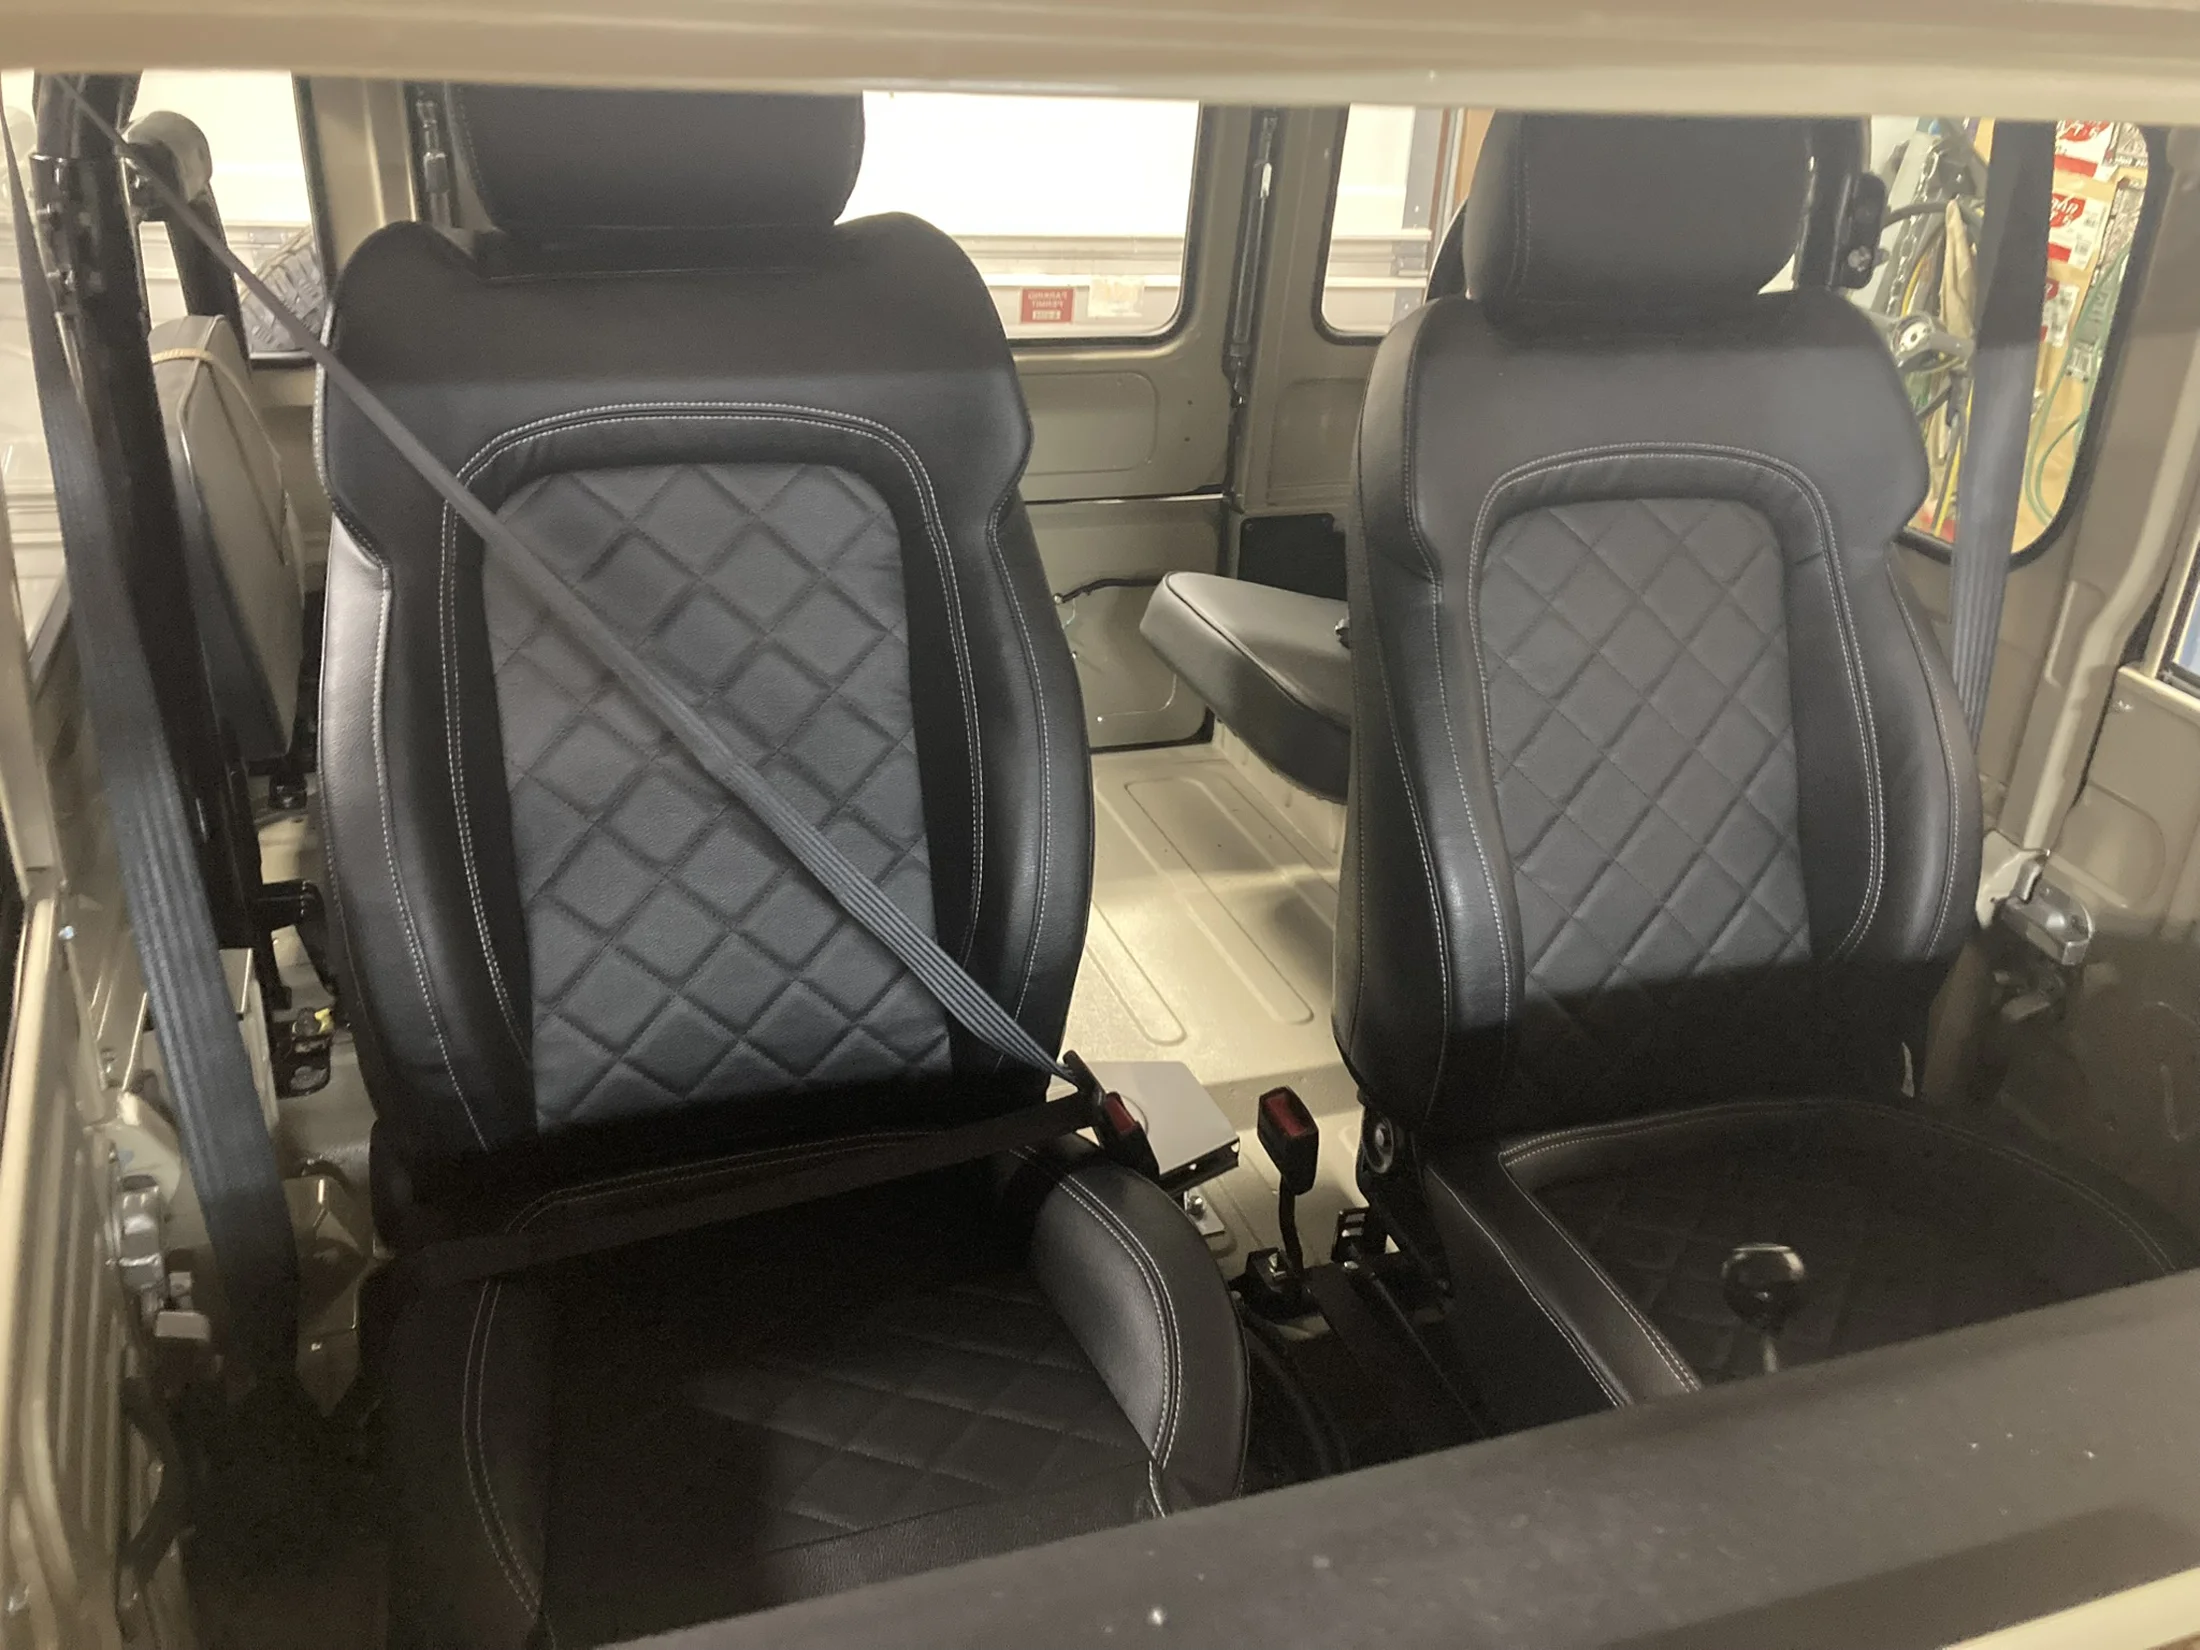
I sold the front seats and the brackets.
This was the first of many stupid things I did. I should have kept them in retrospect. But I was confident in my hubris. Anyway, I did keep the rear jump seats, thank goodness, and restored those. They turned out really nicely.
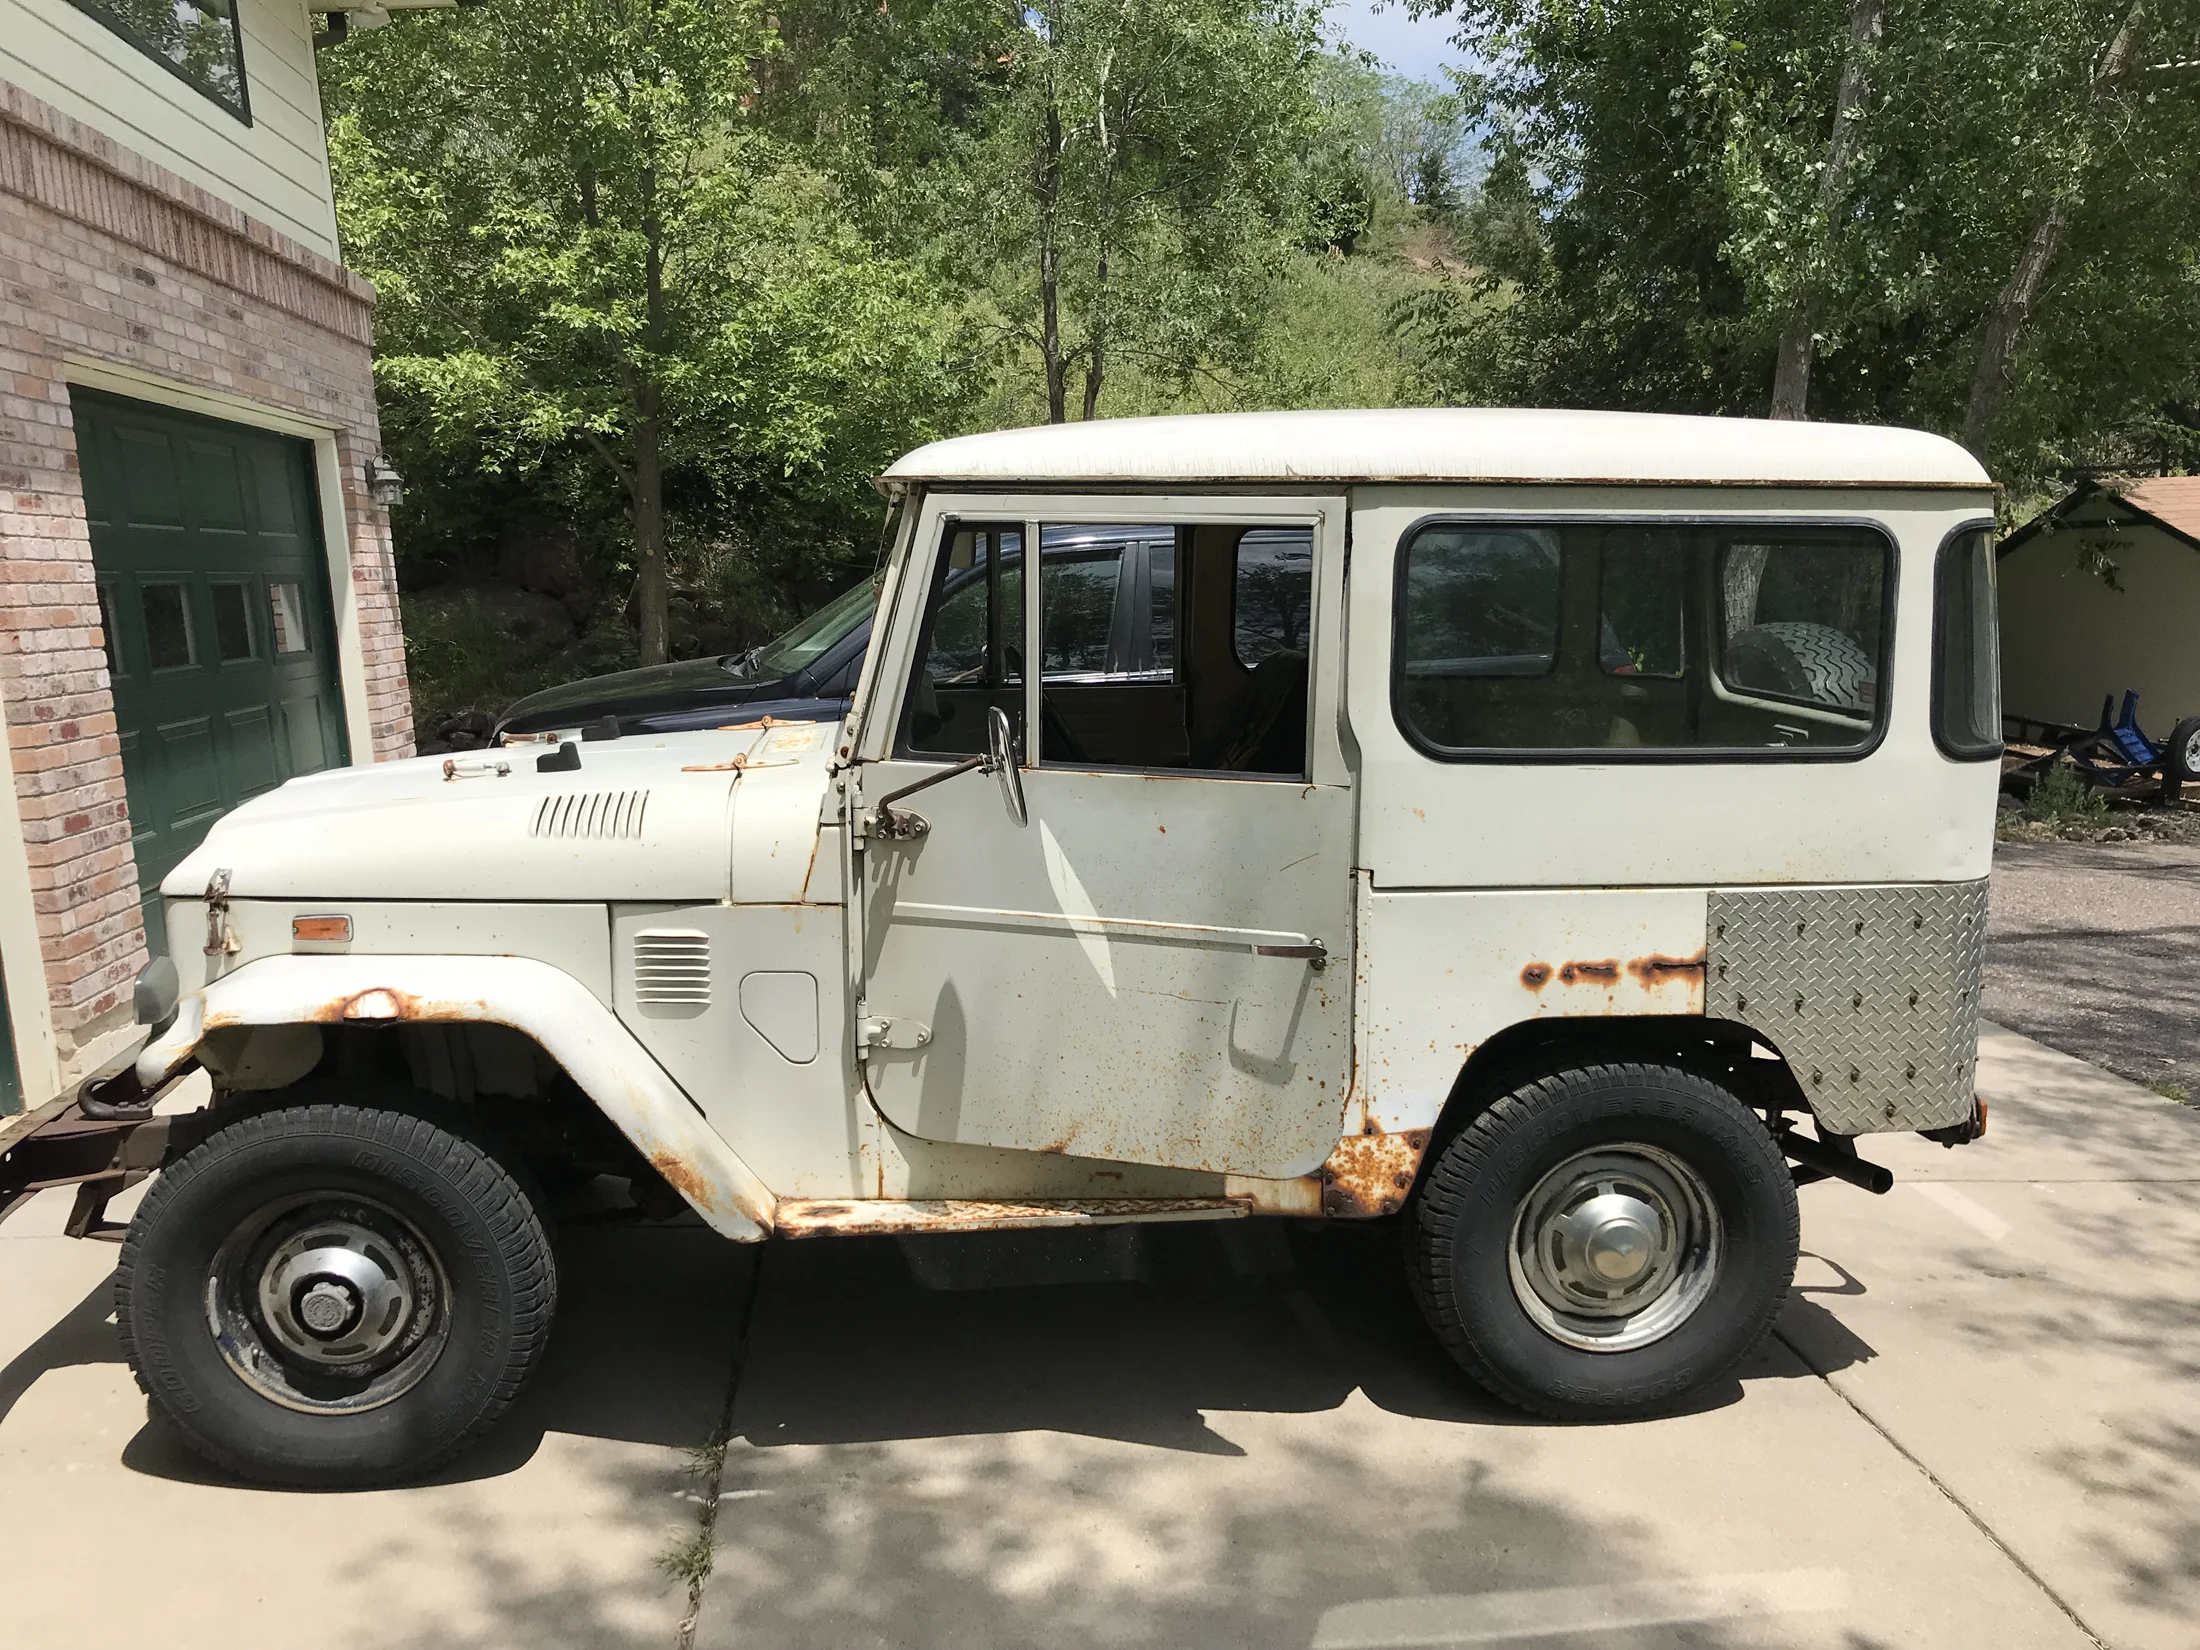
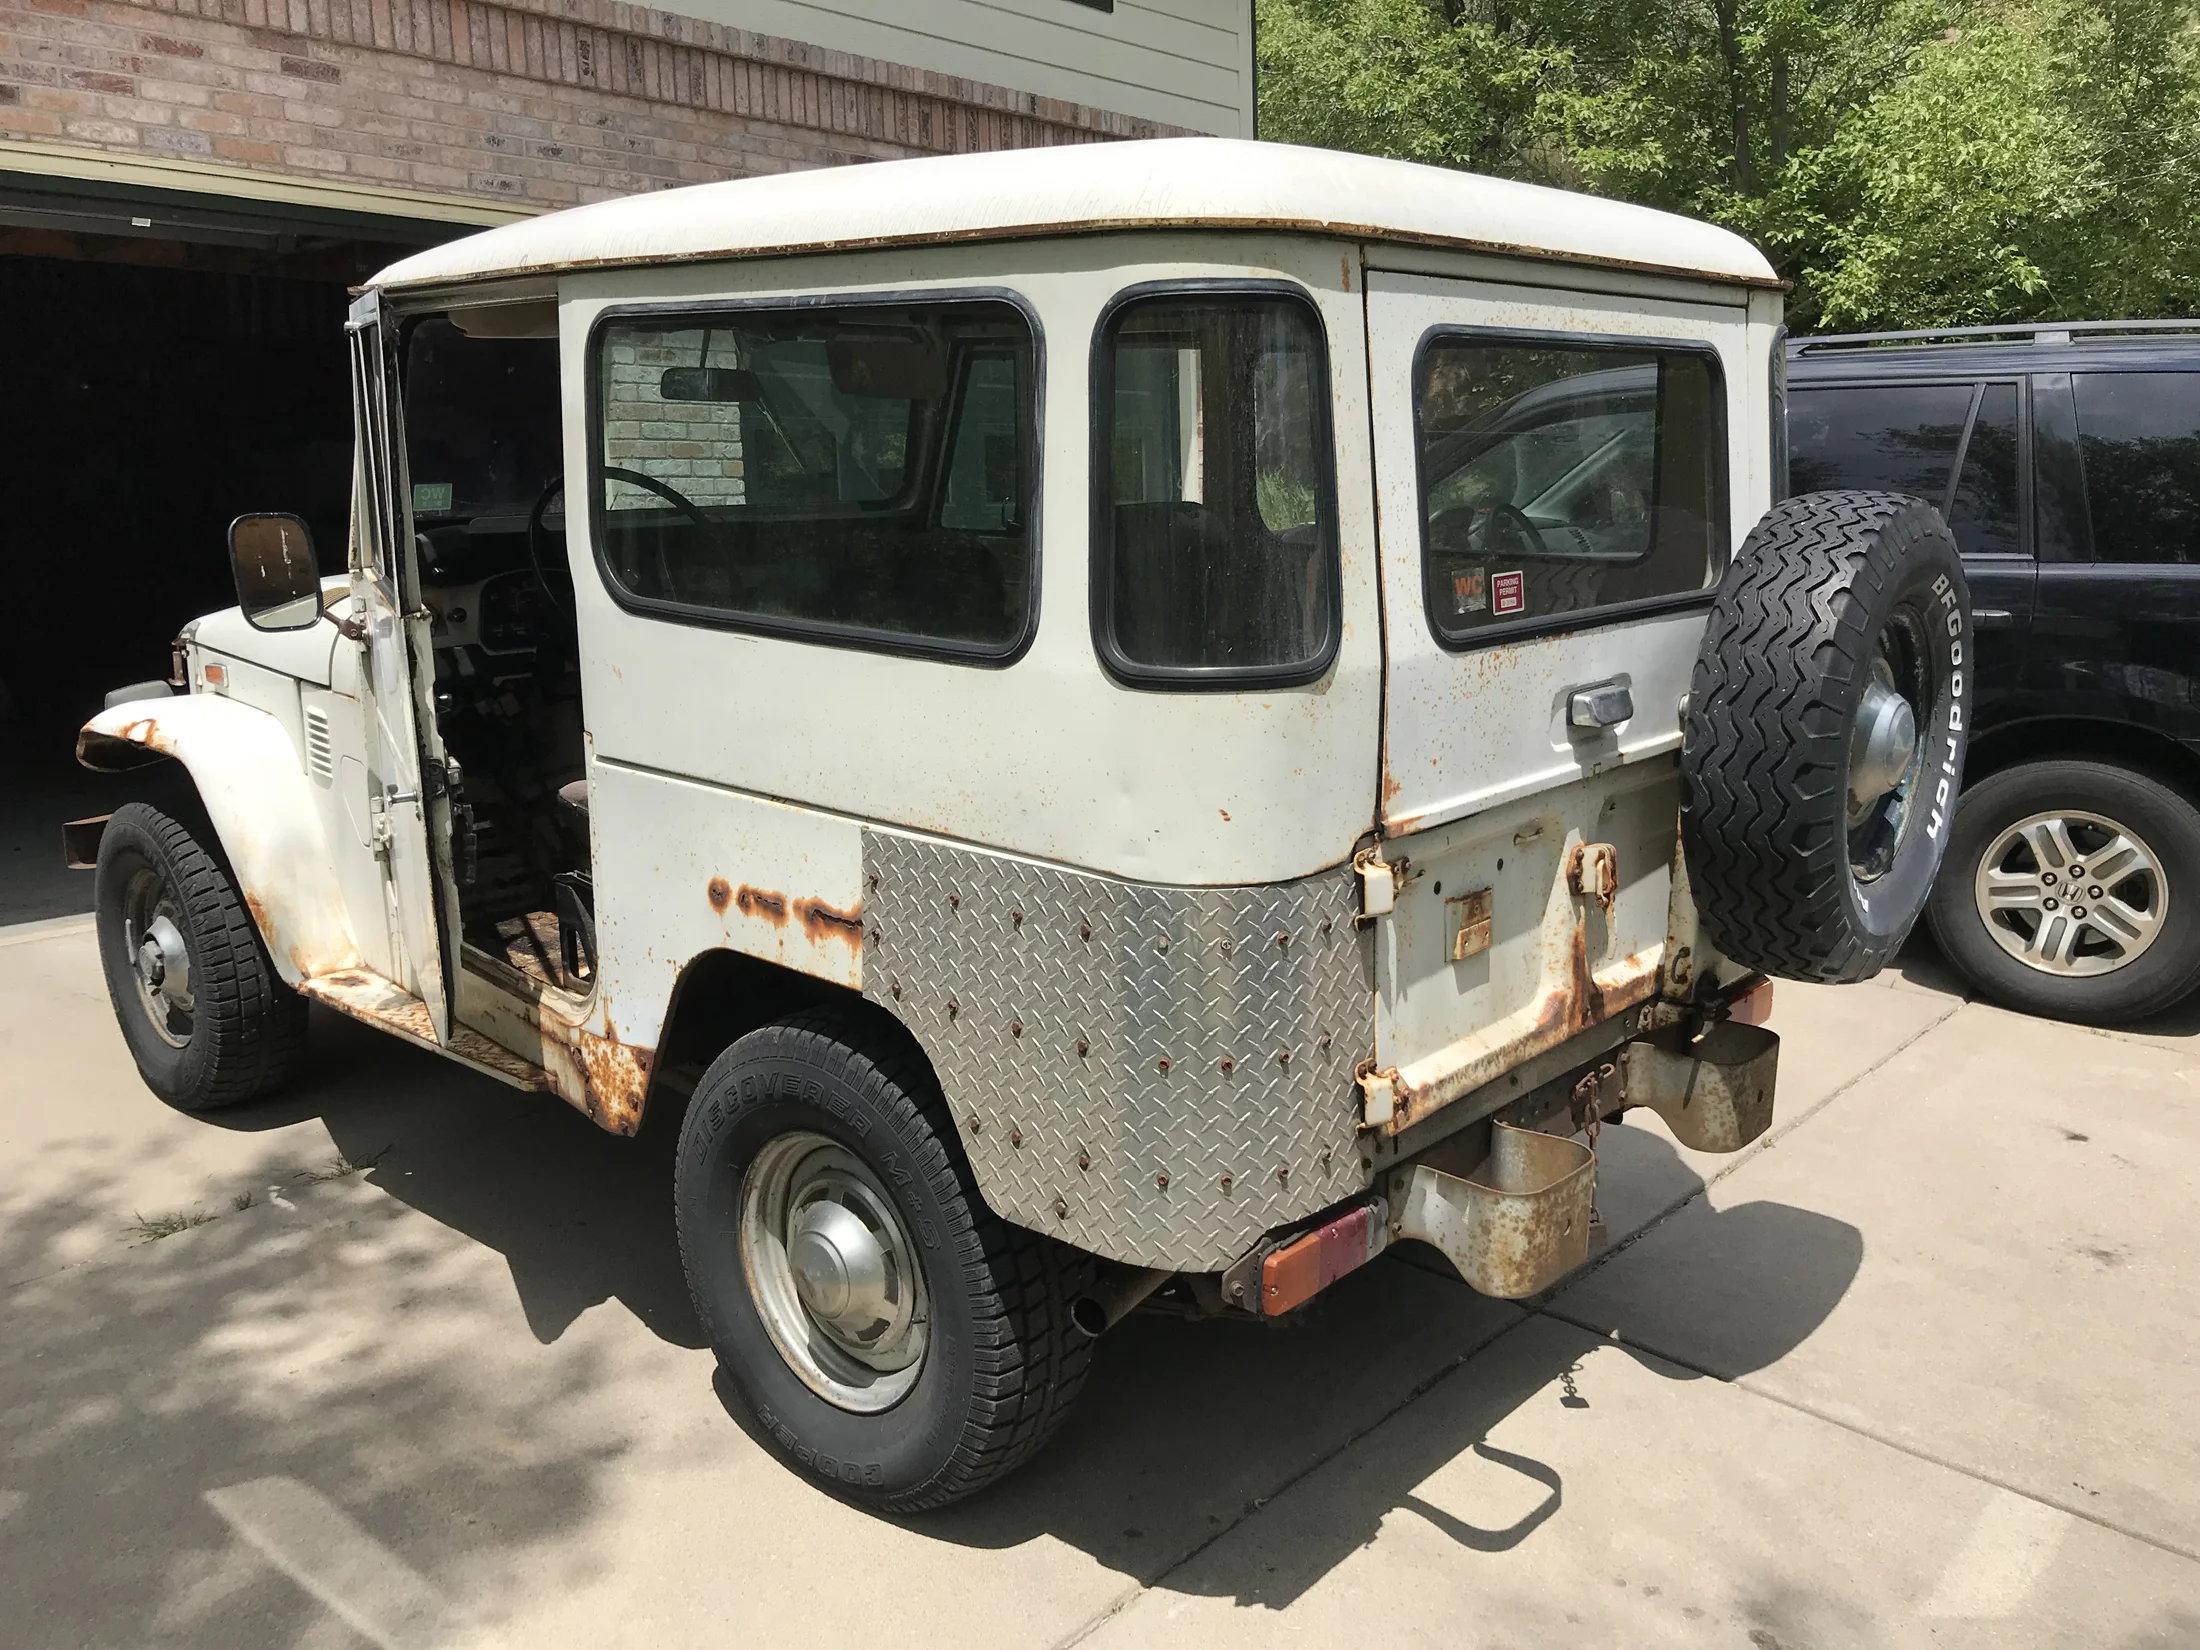
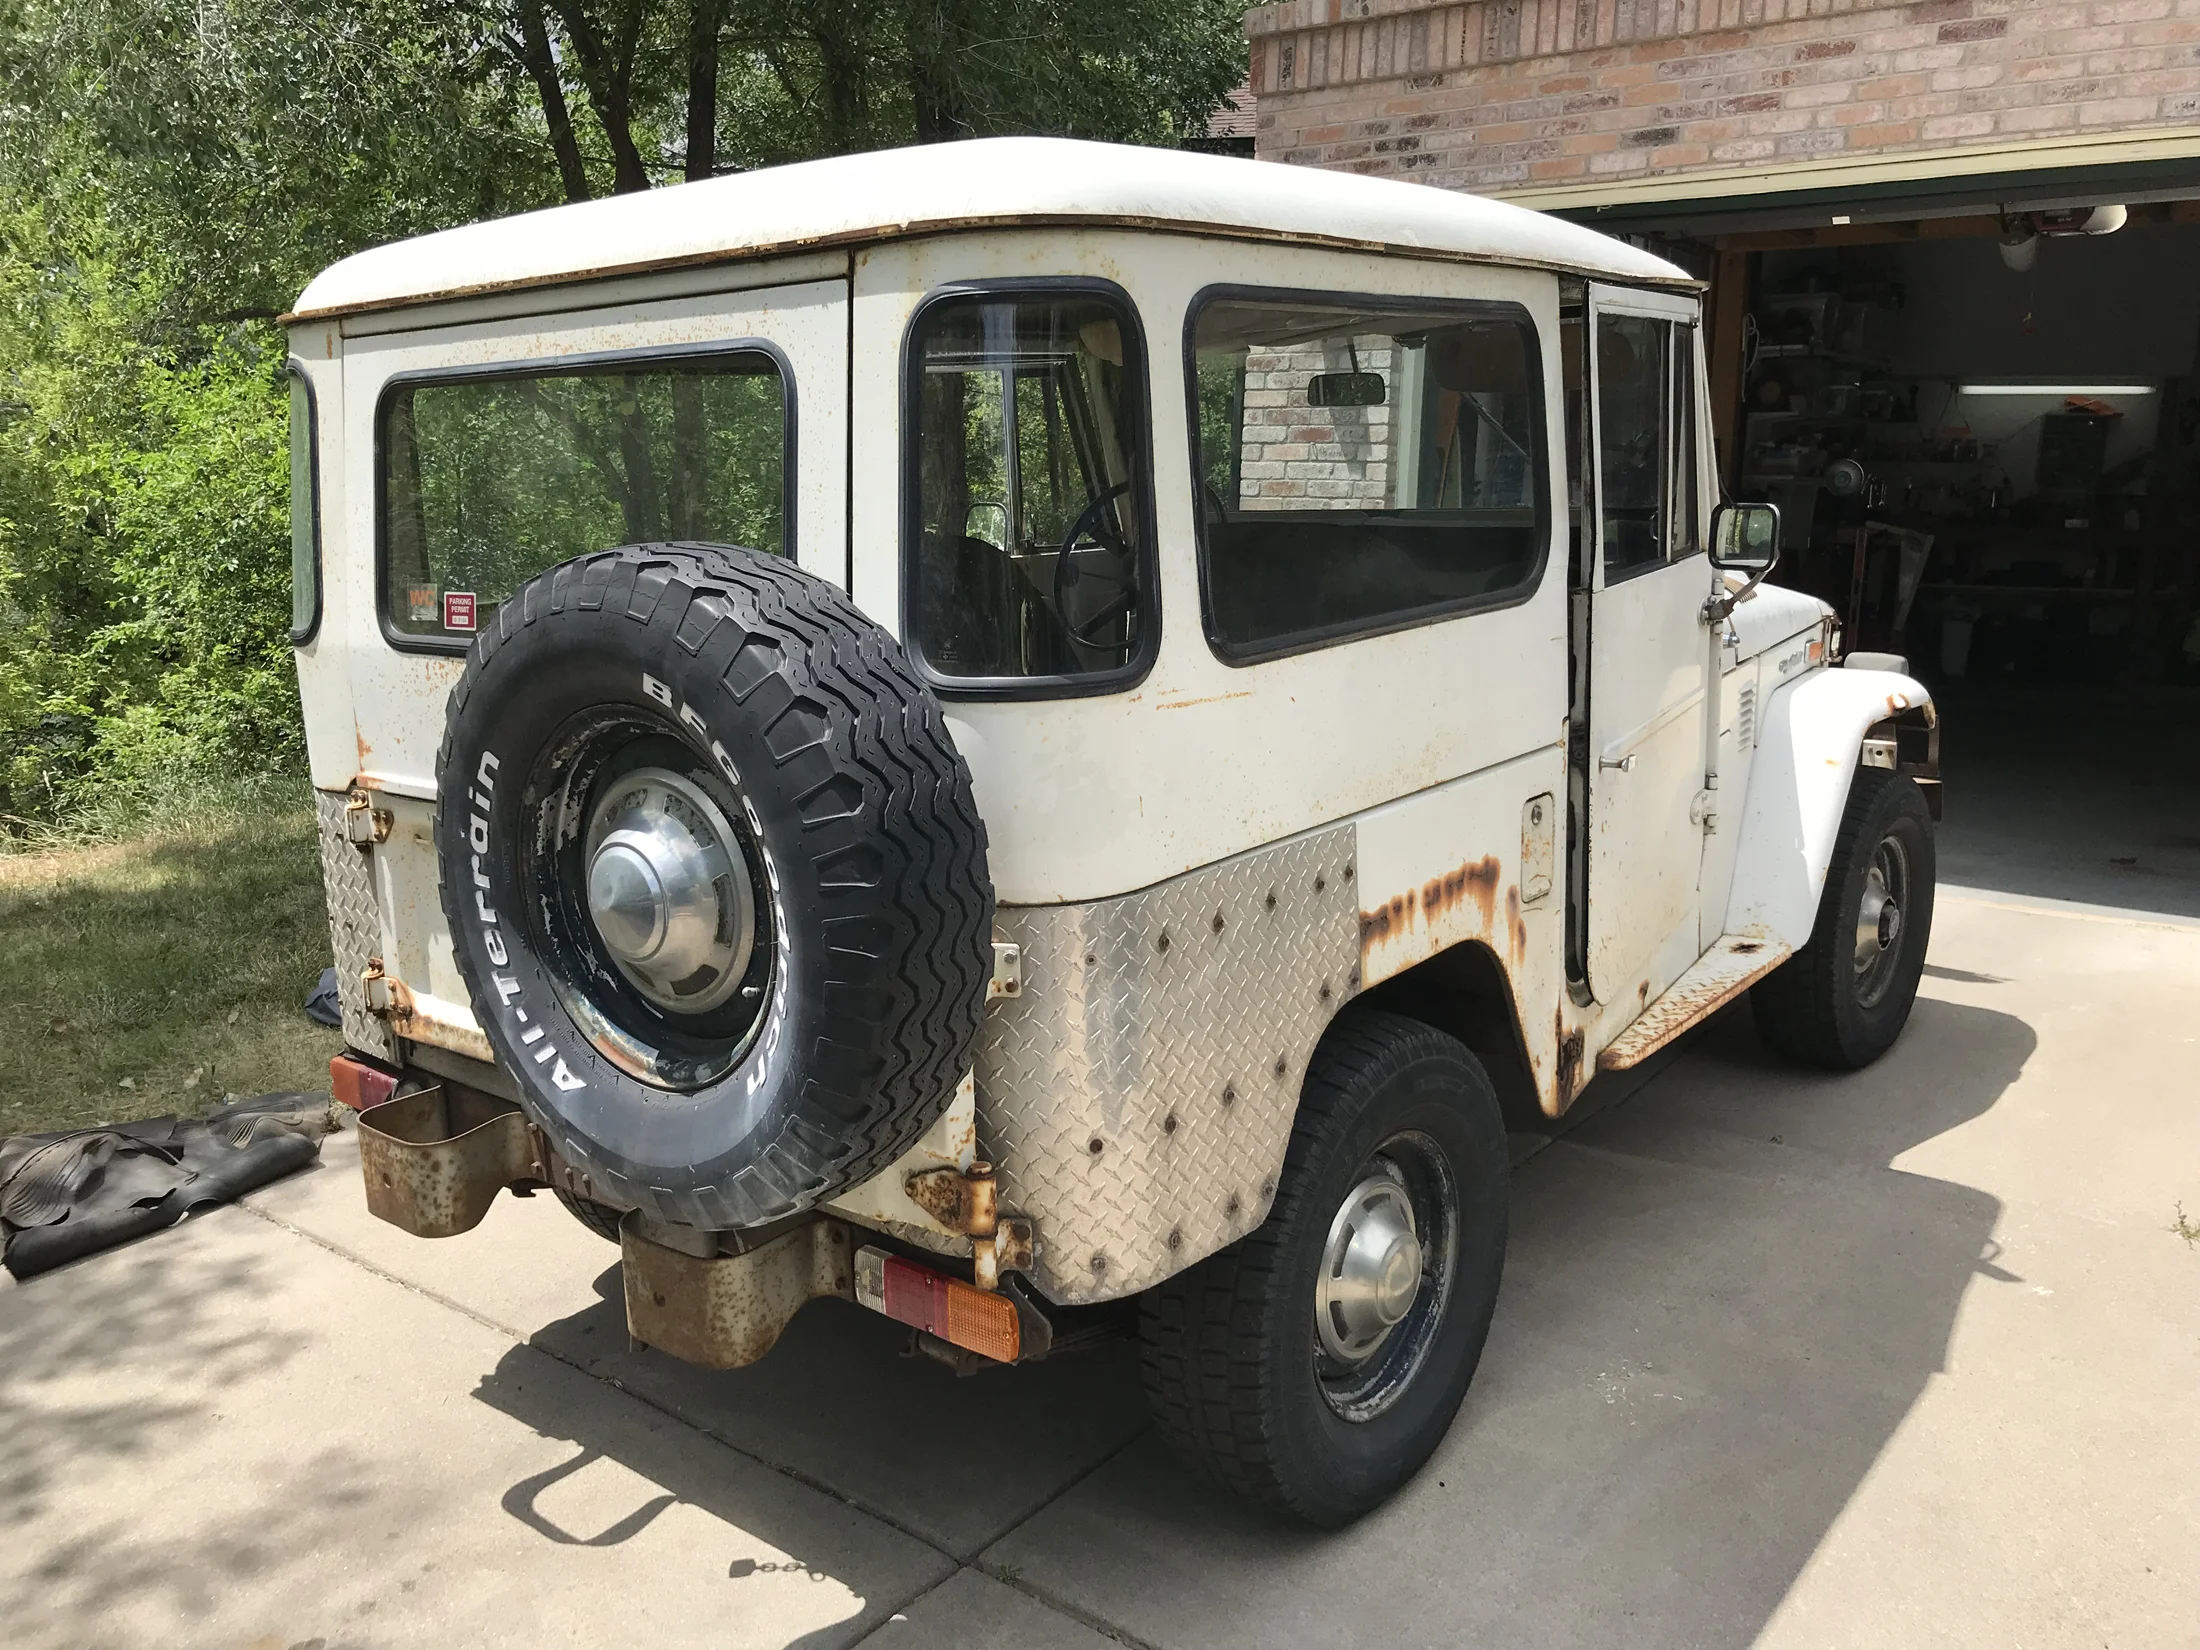
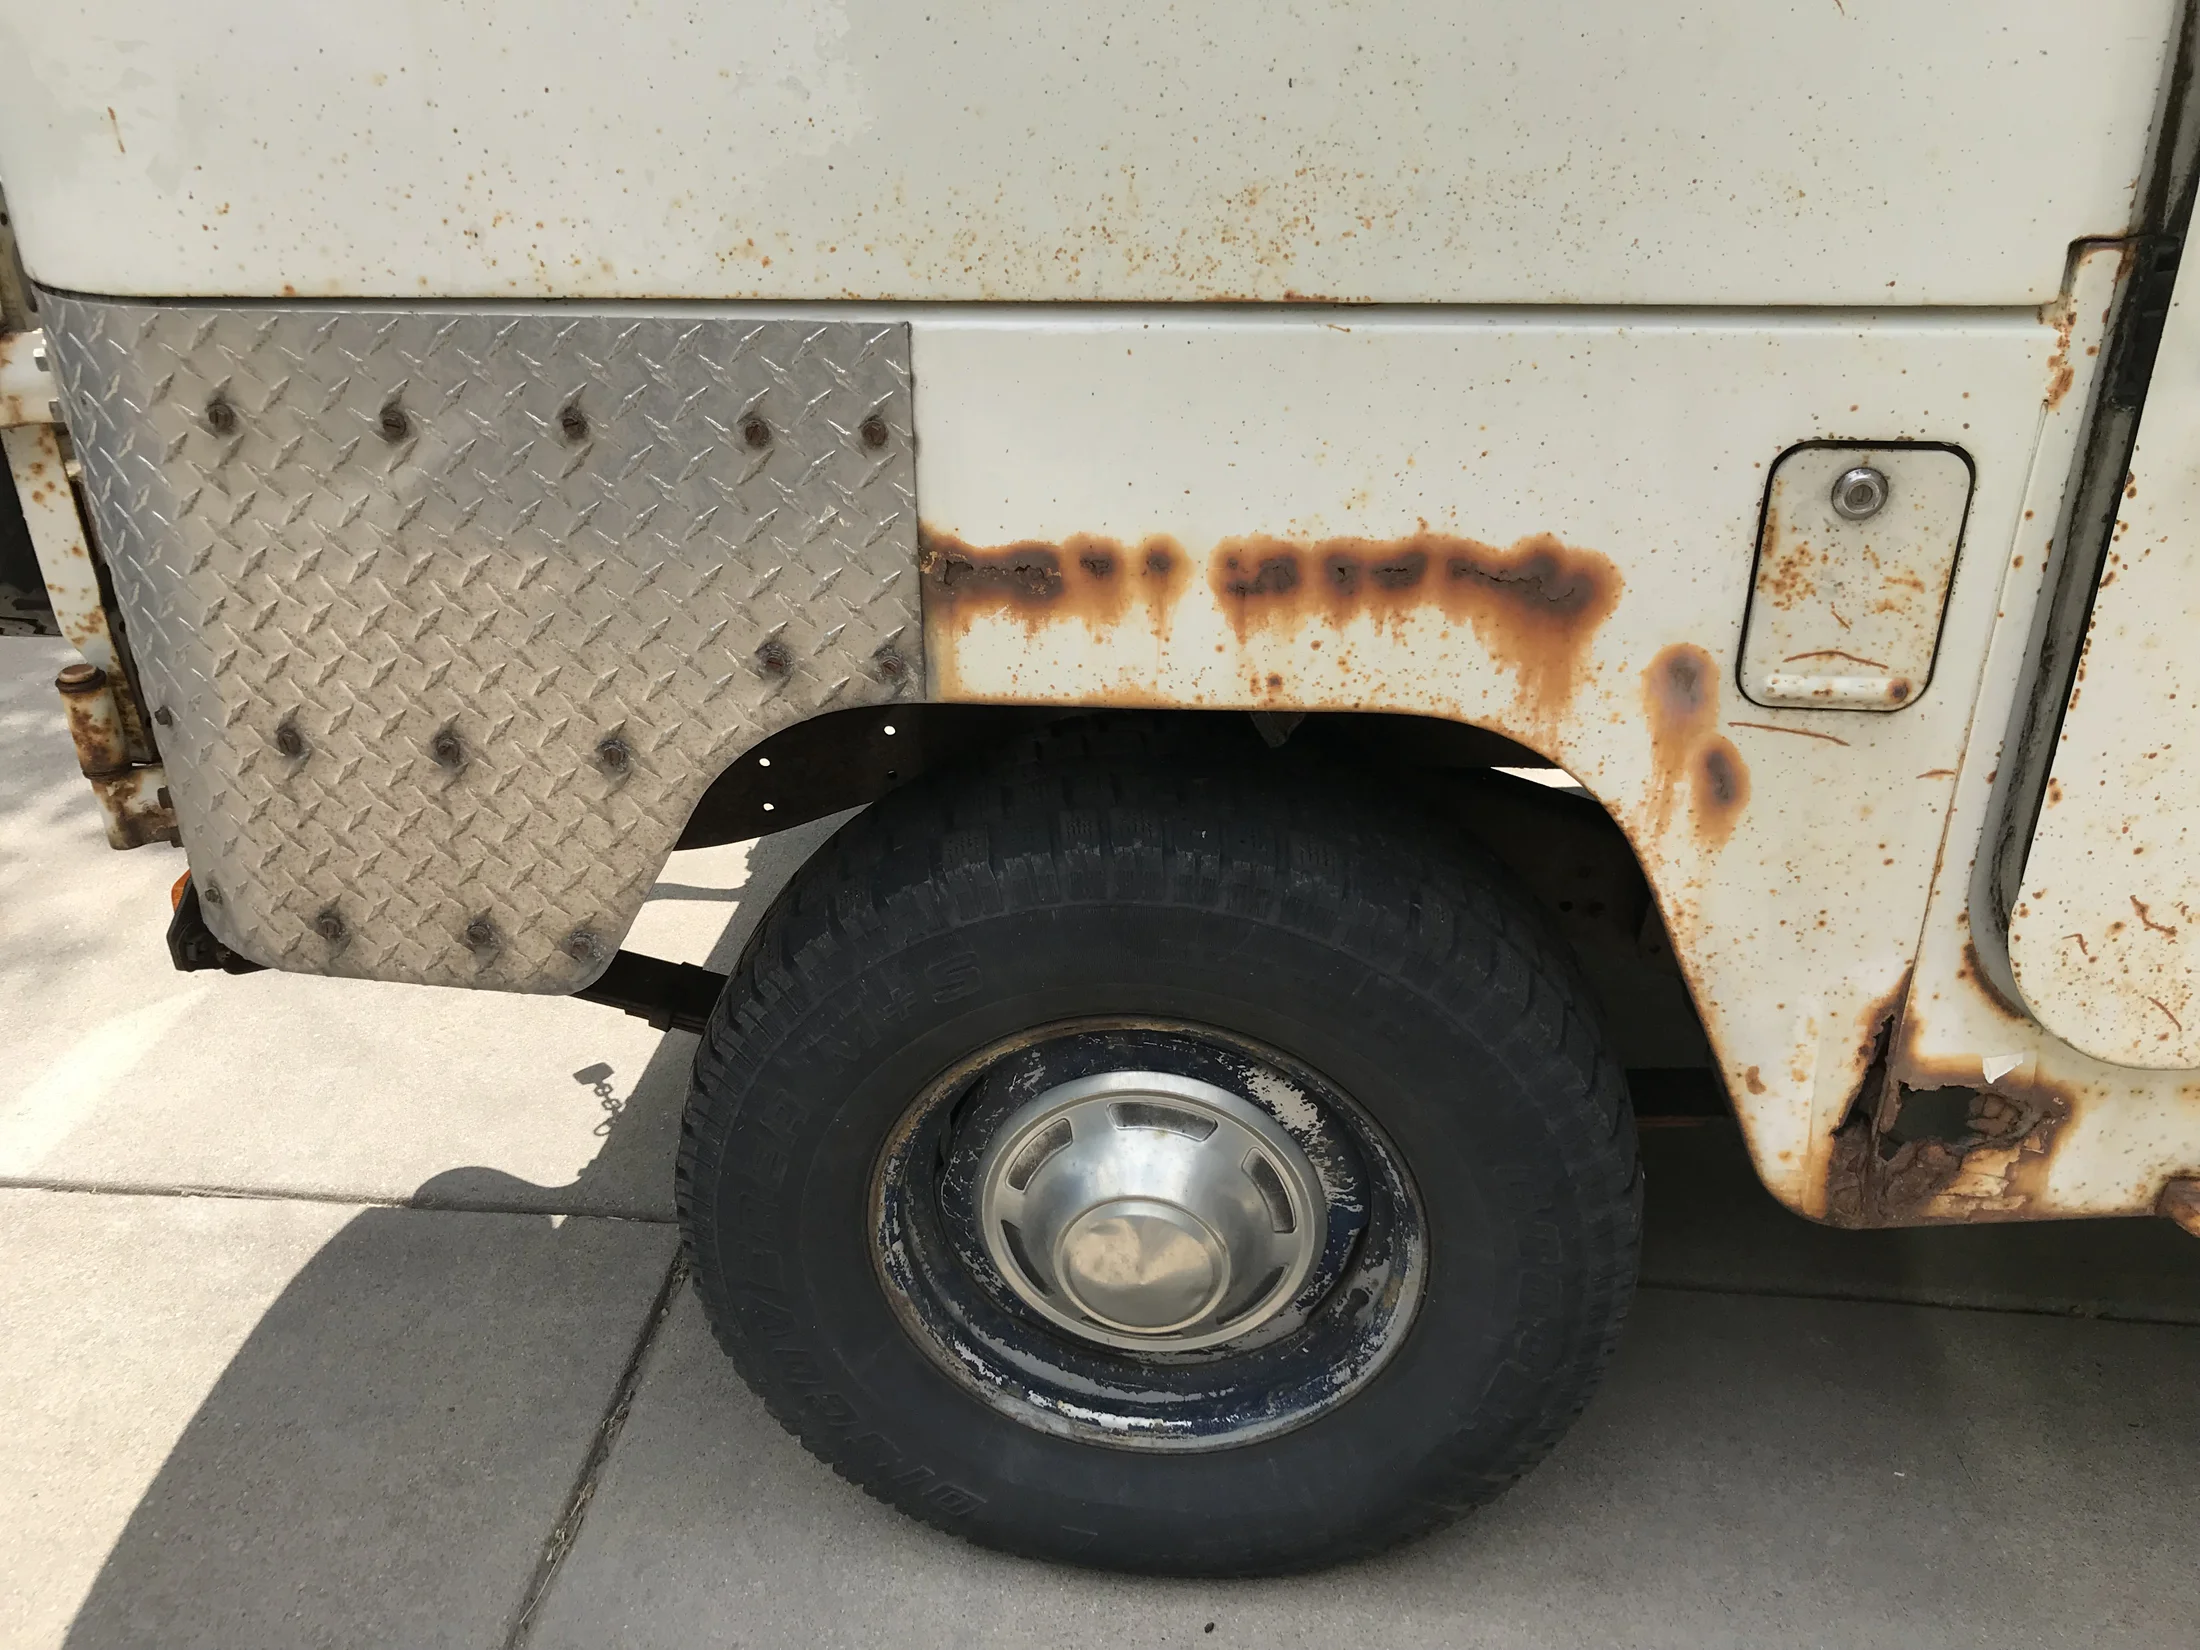
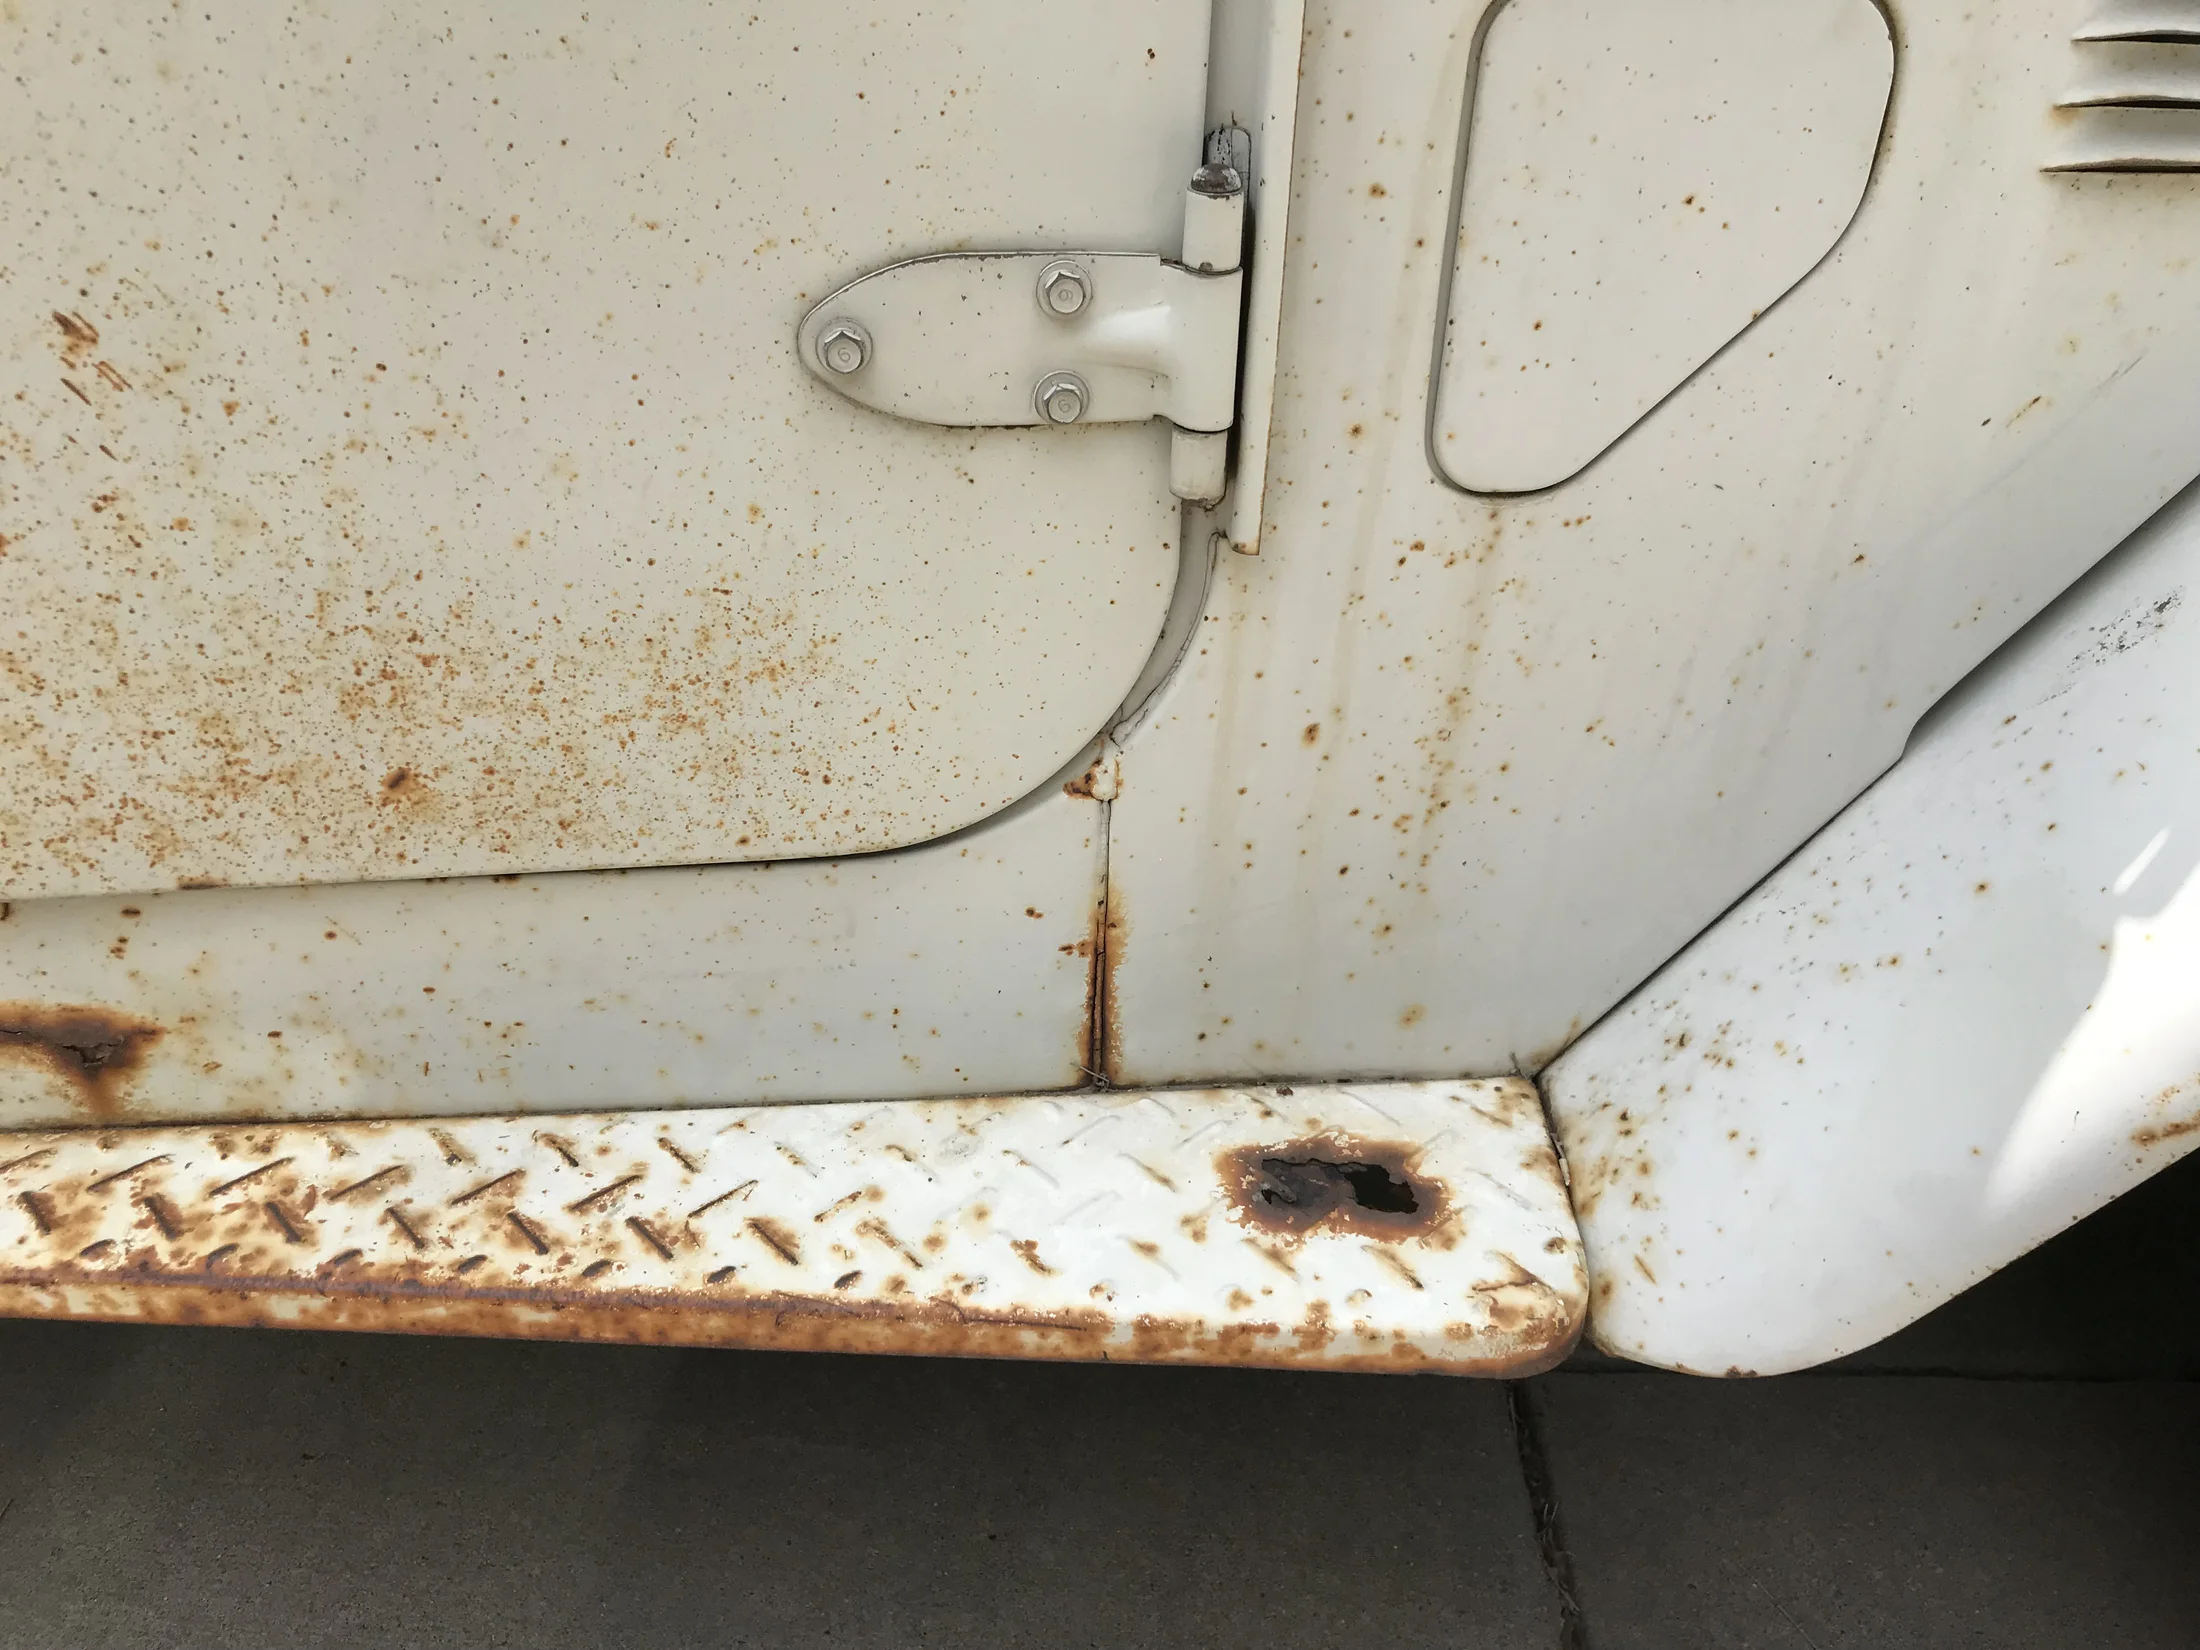
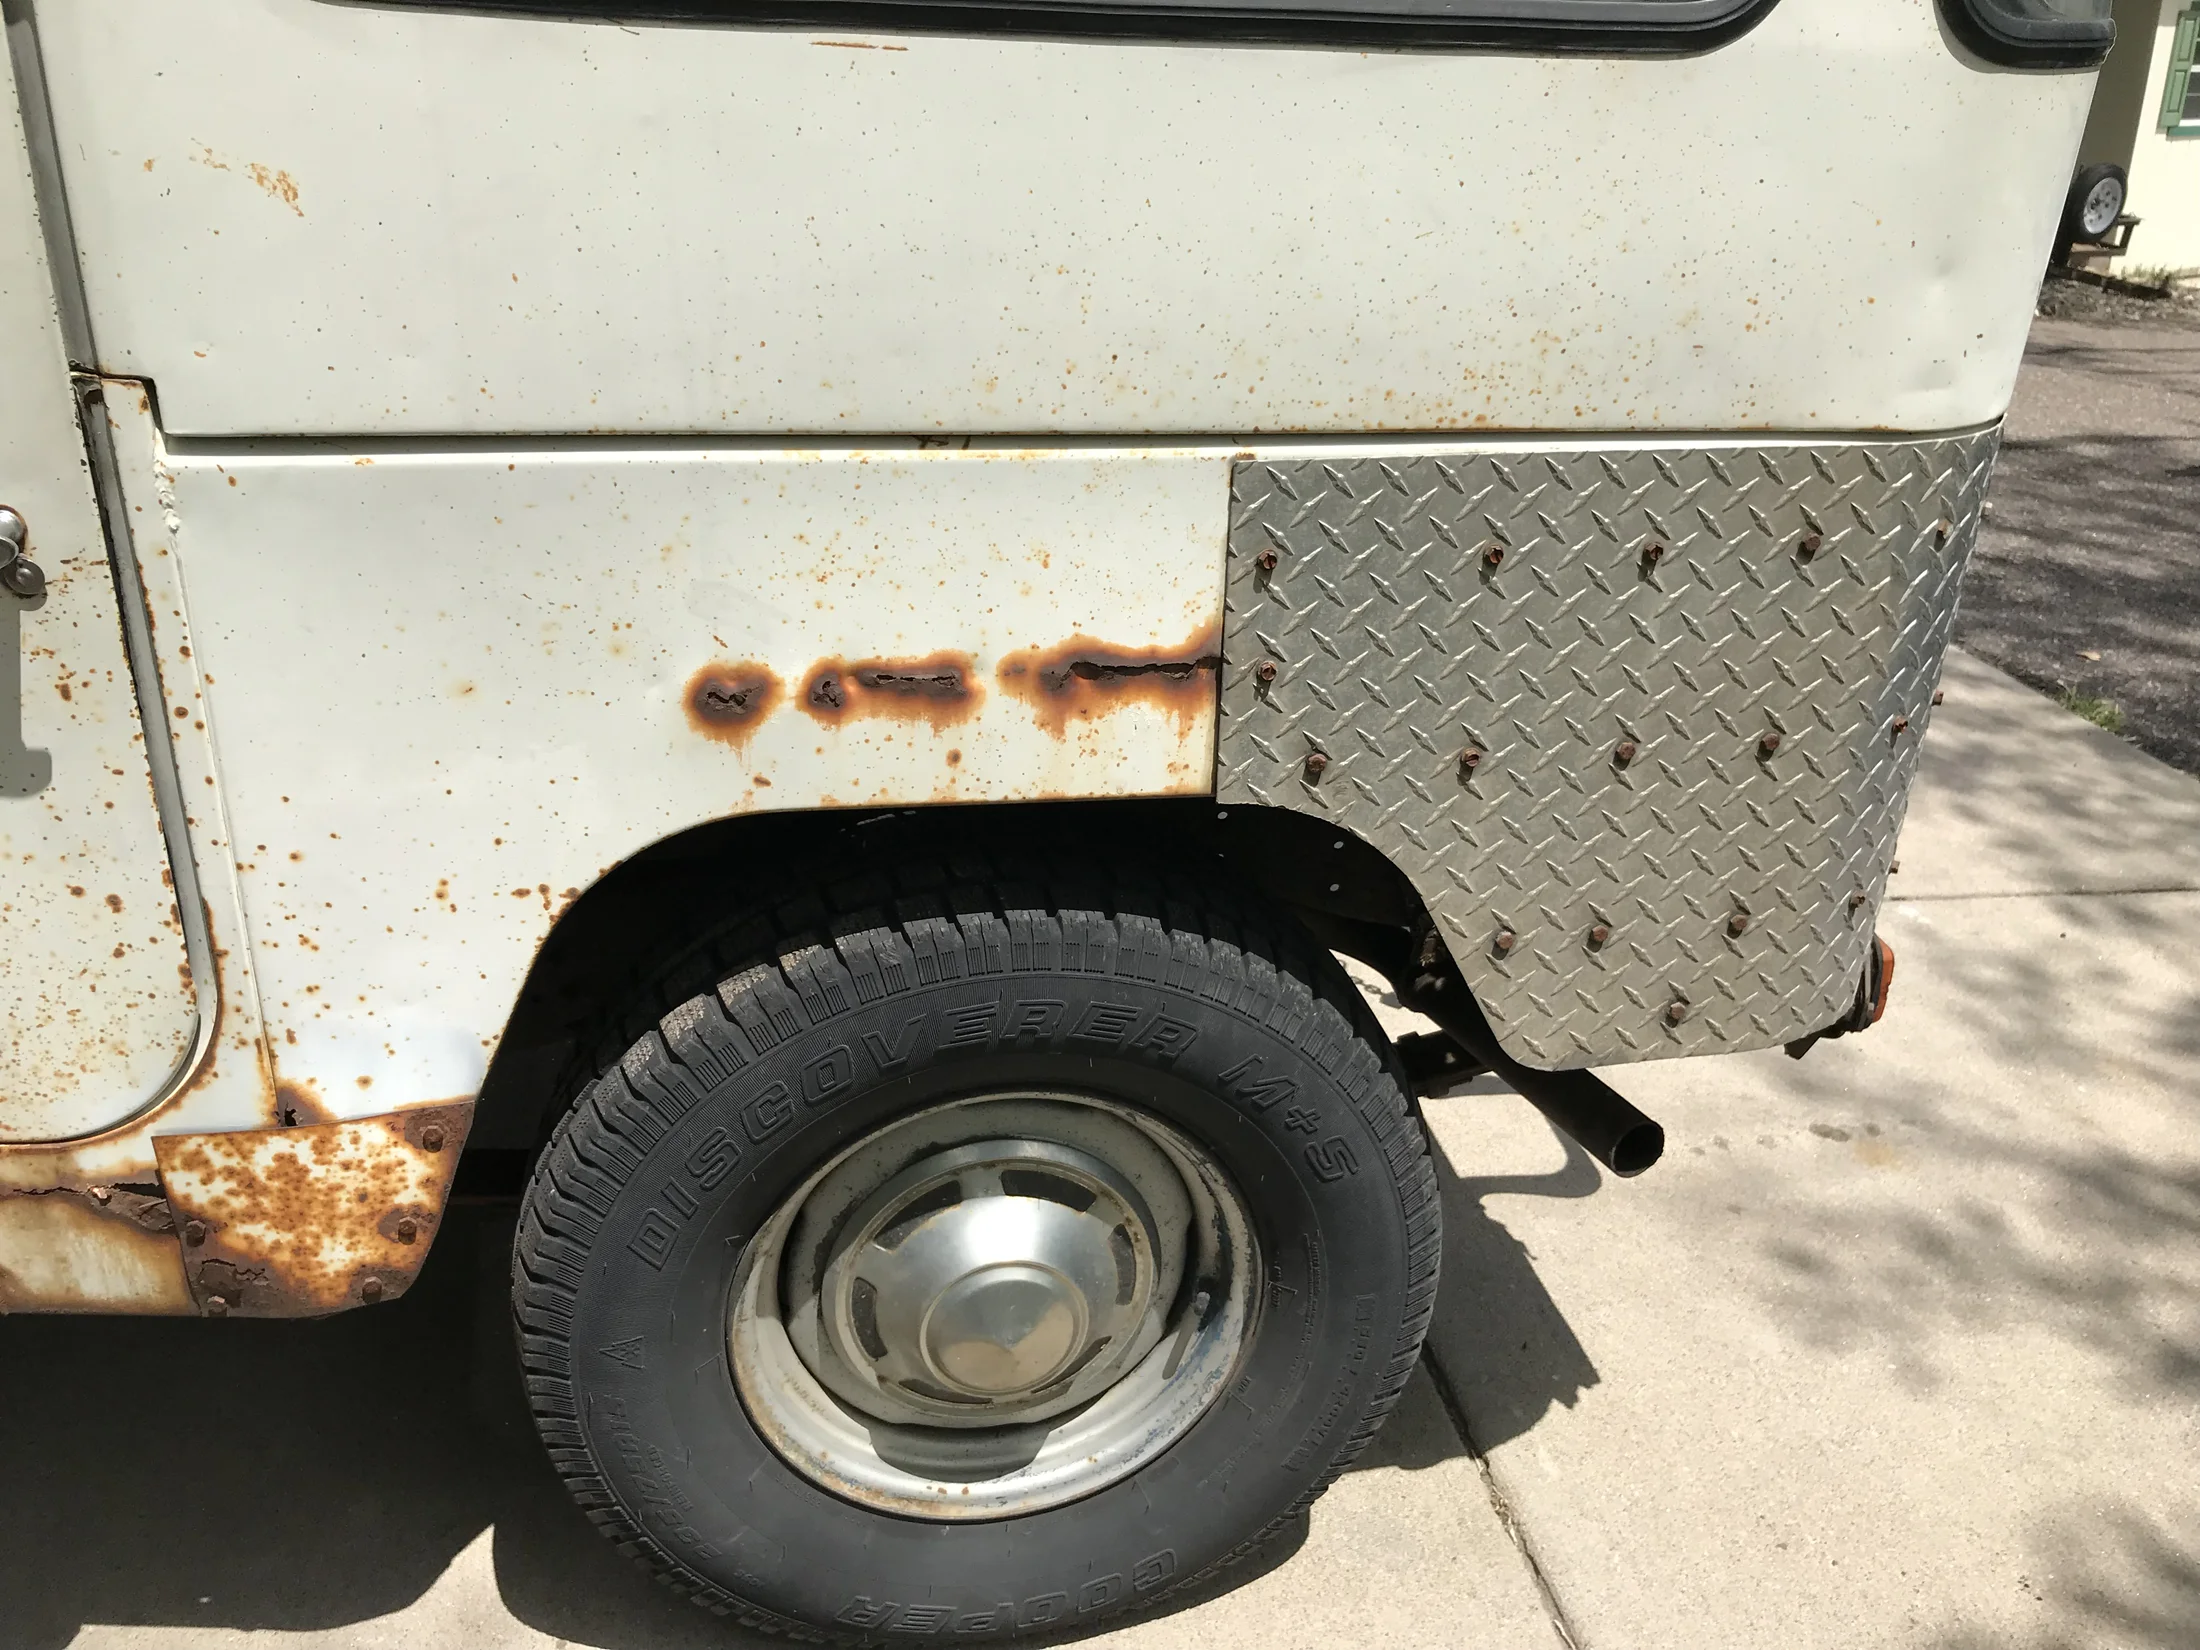
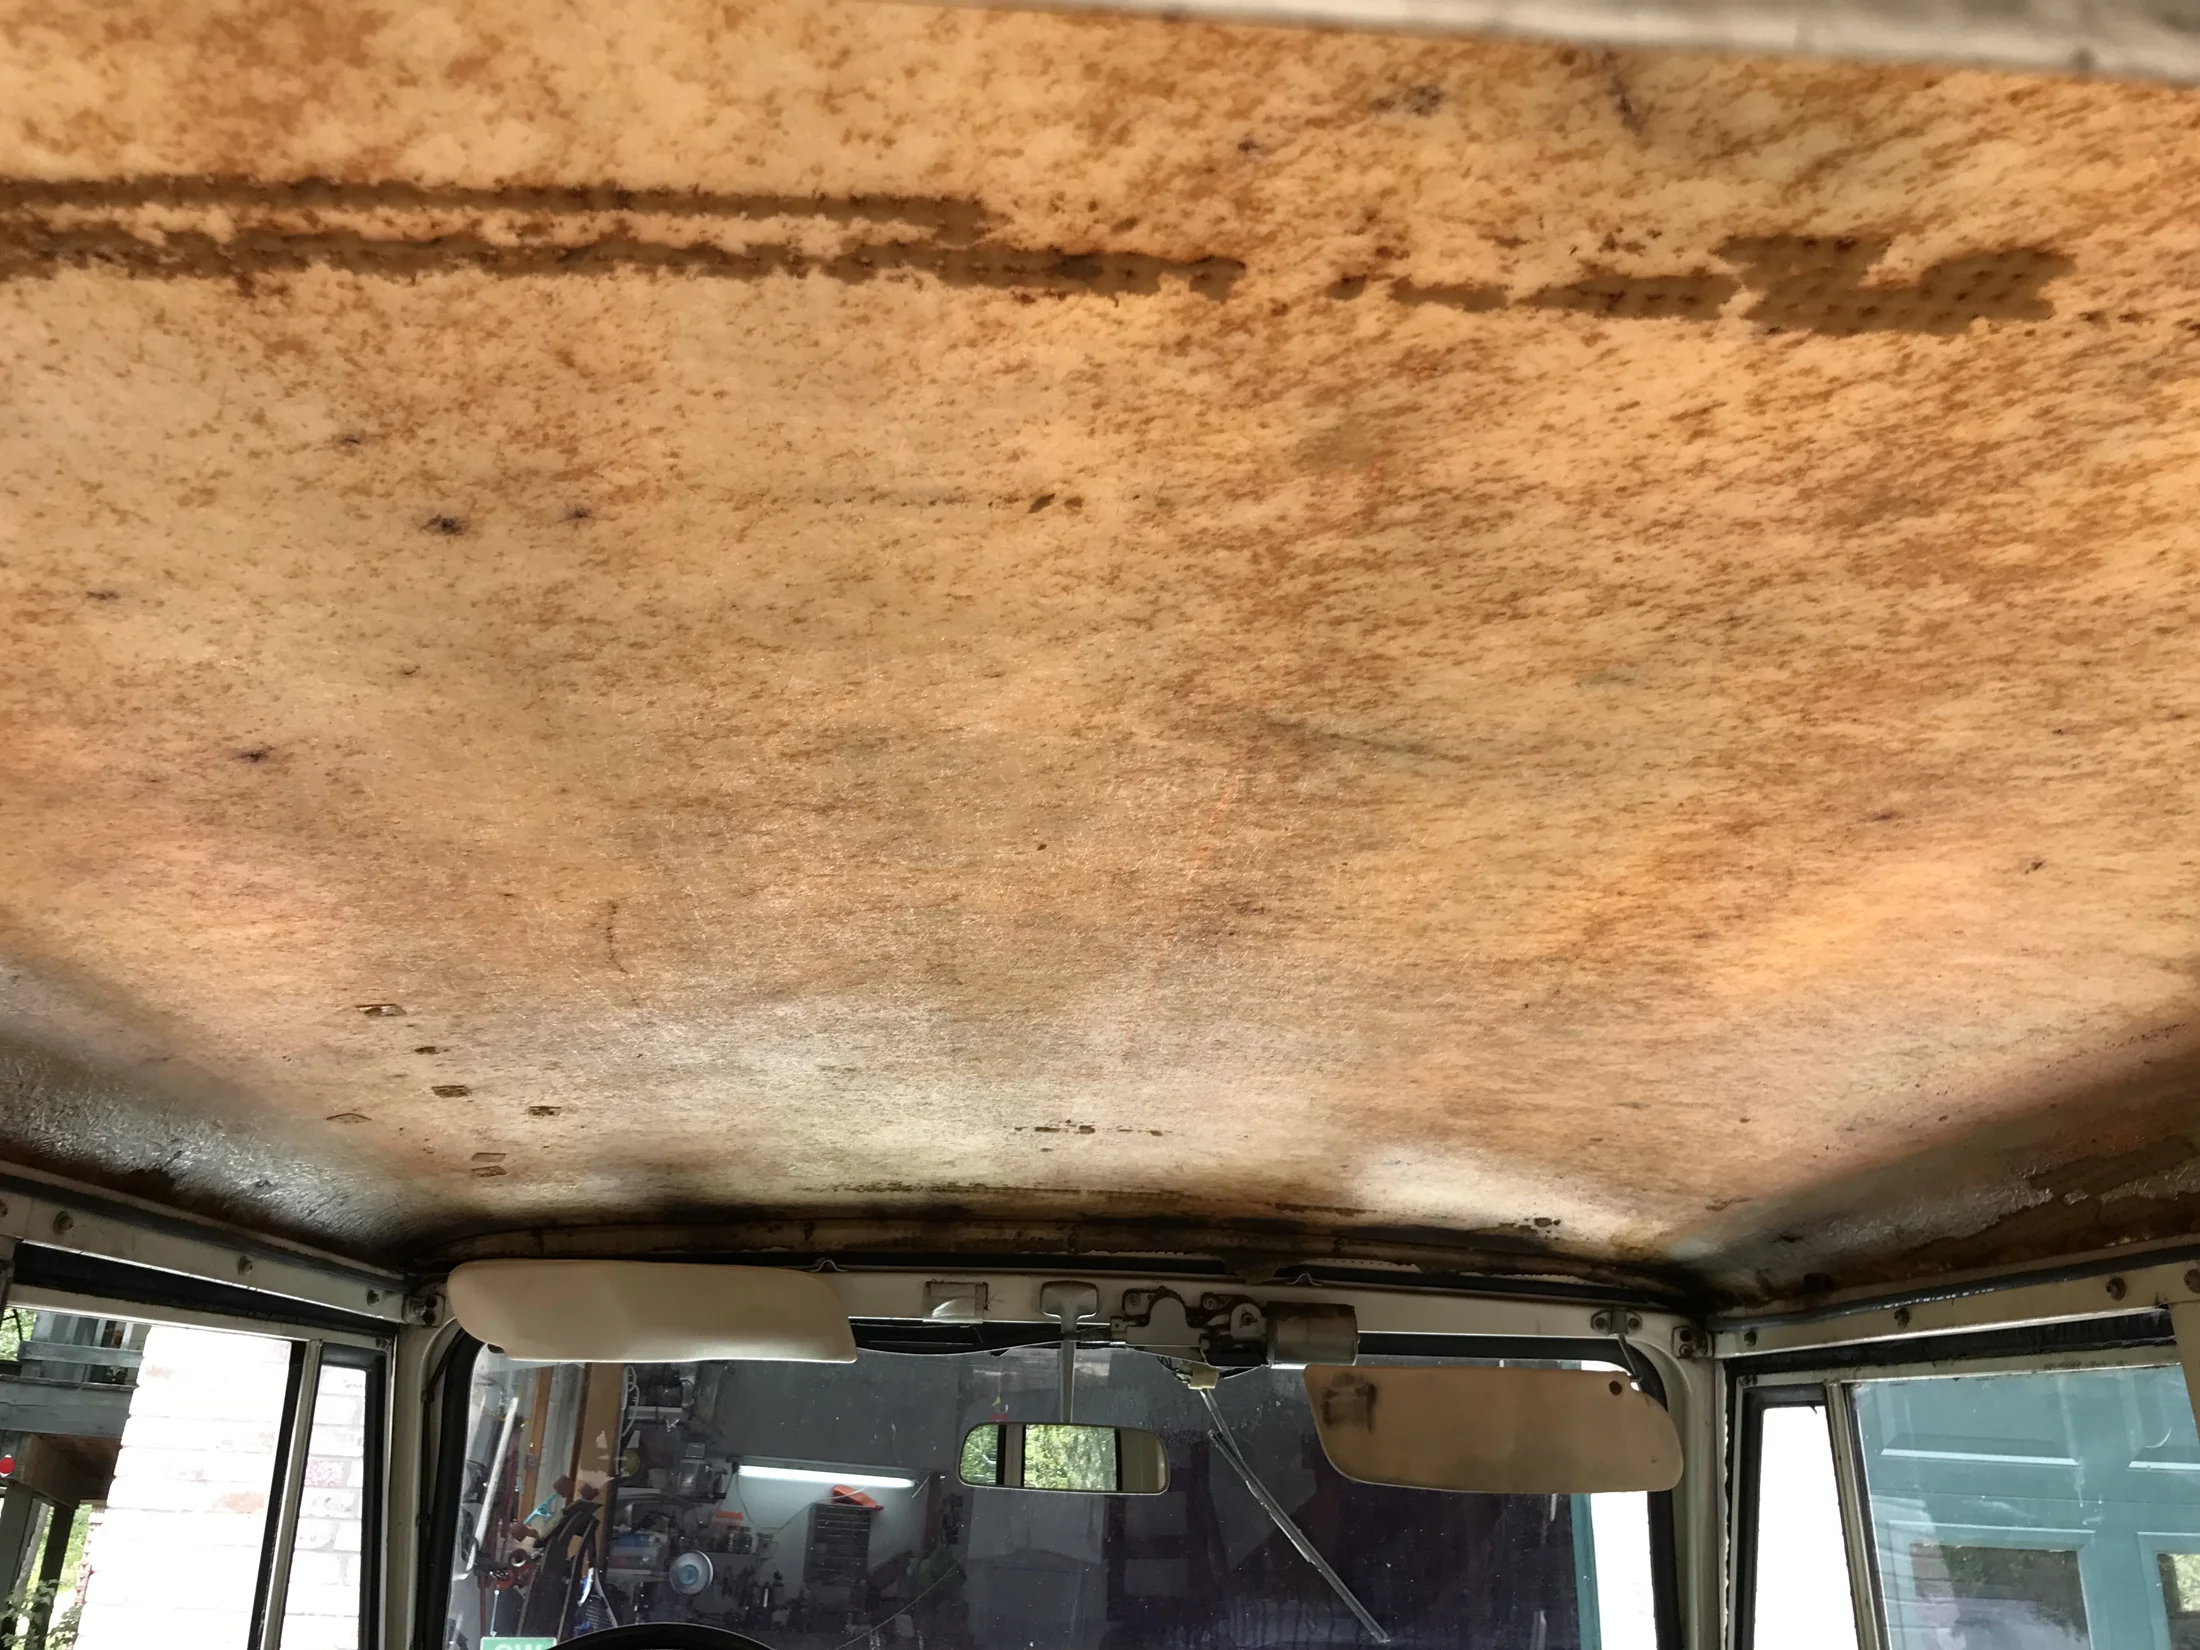
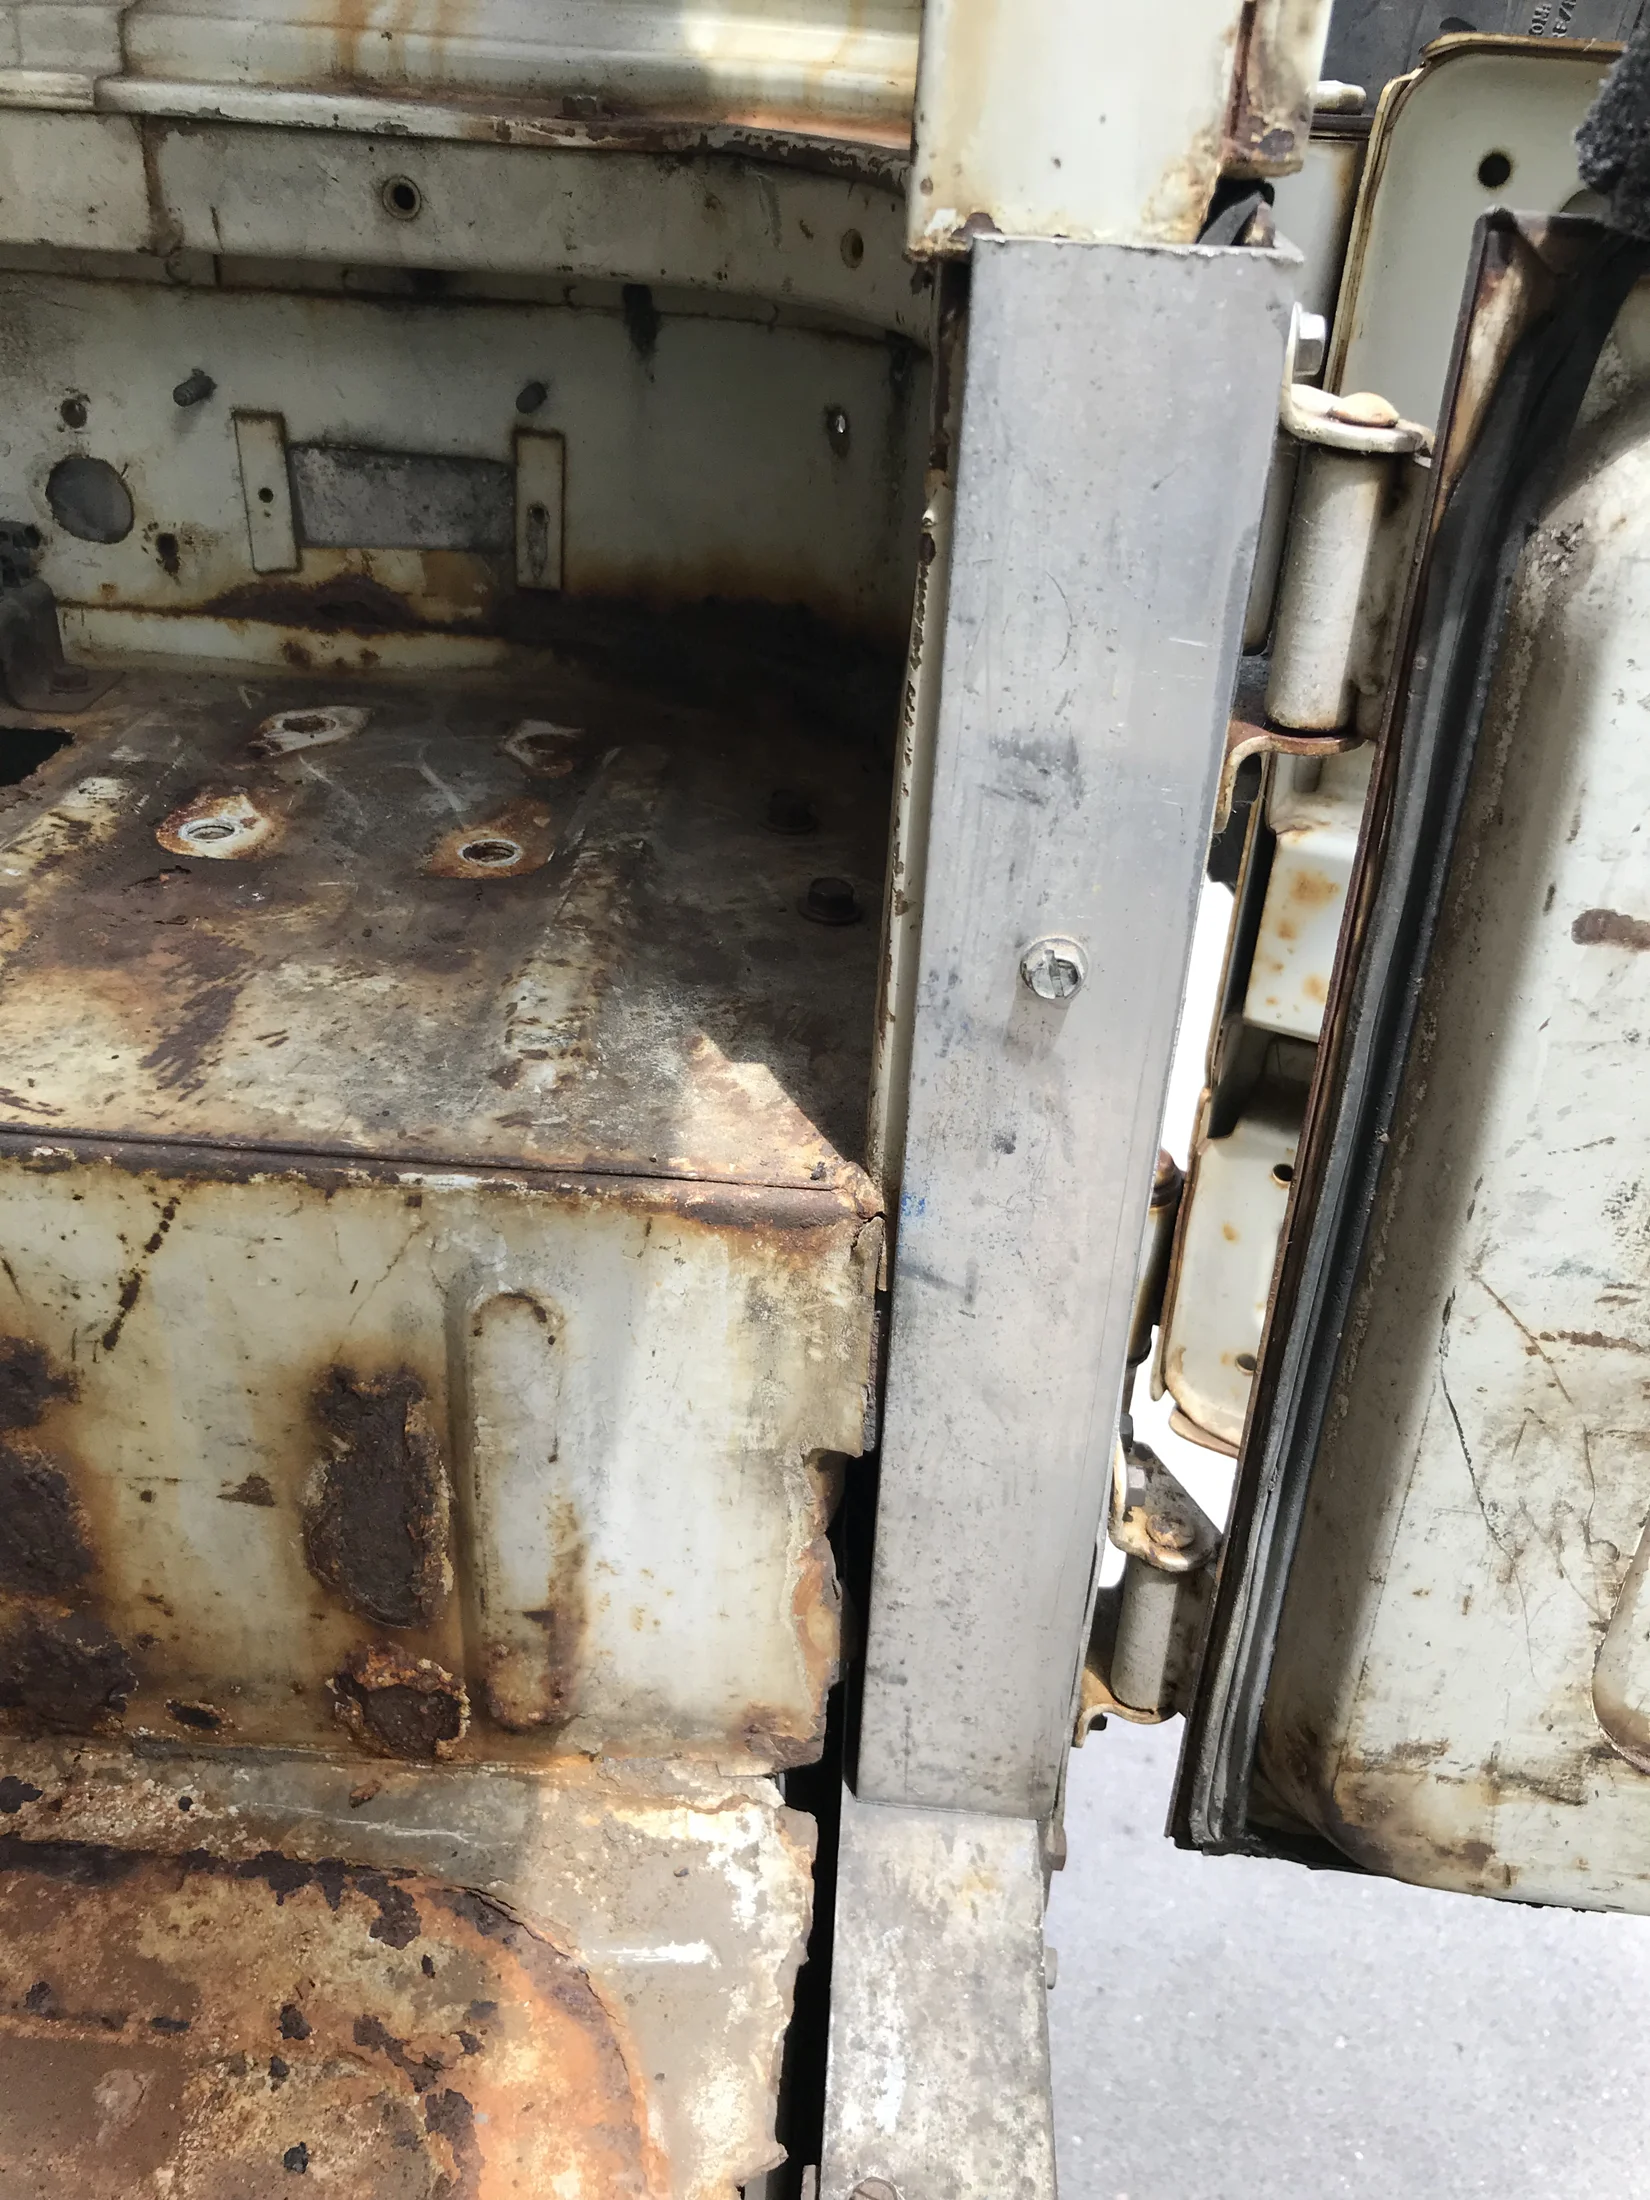
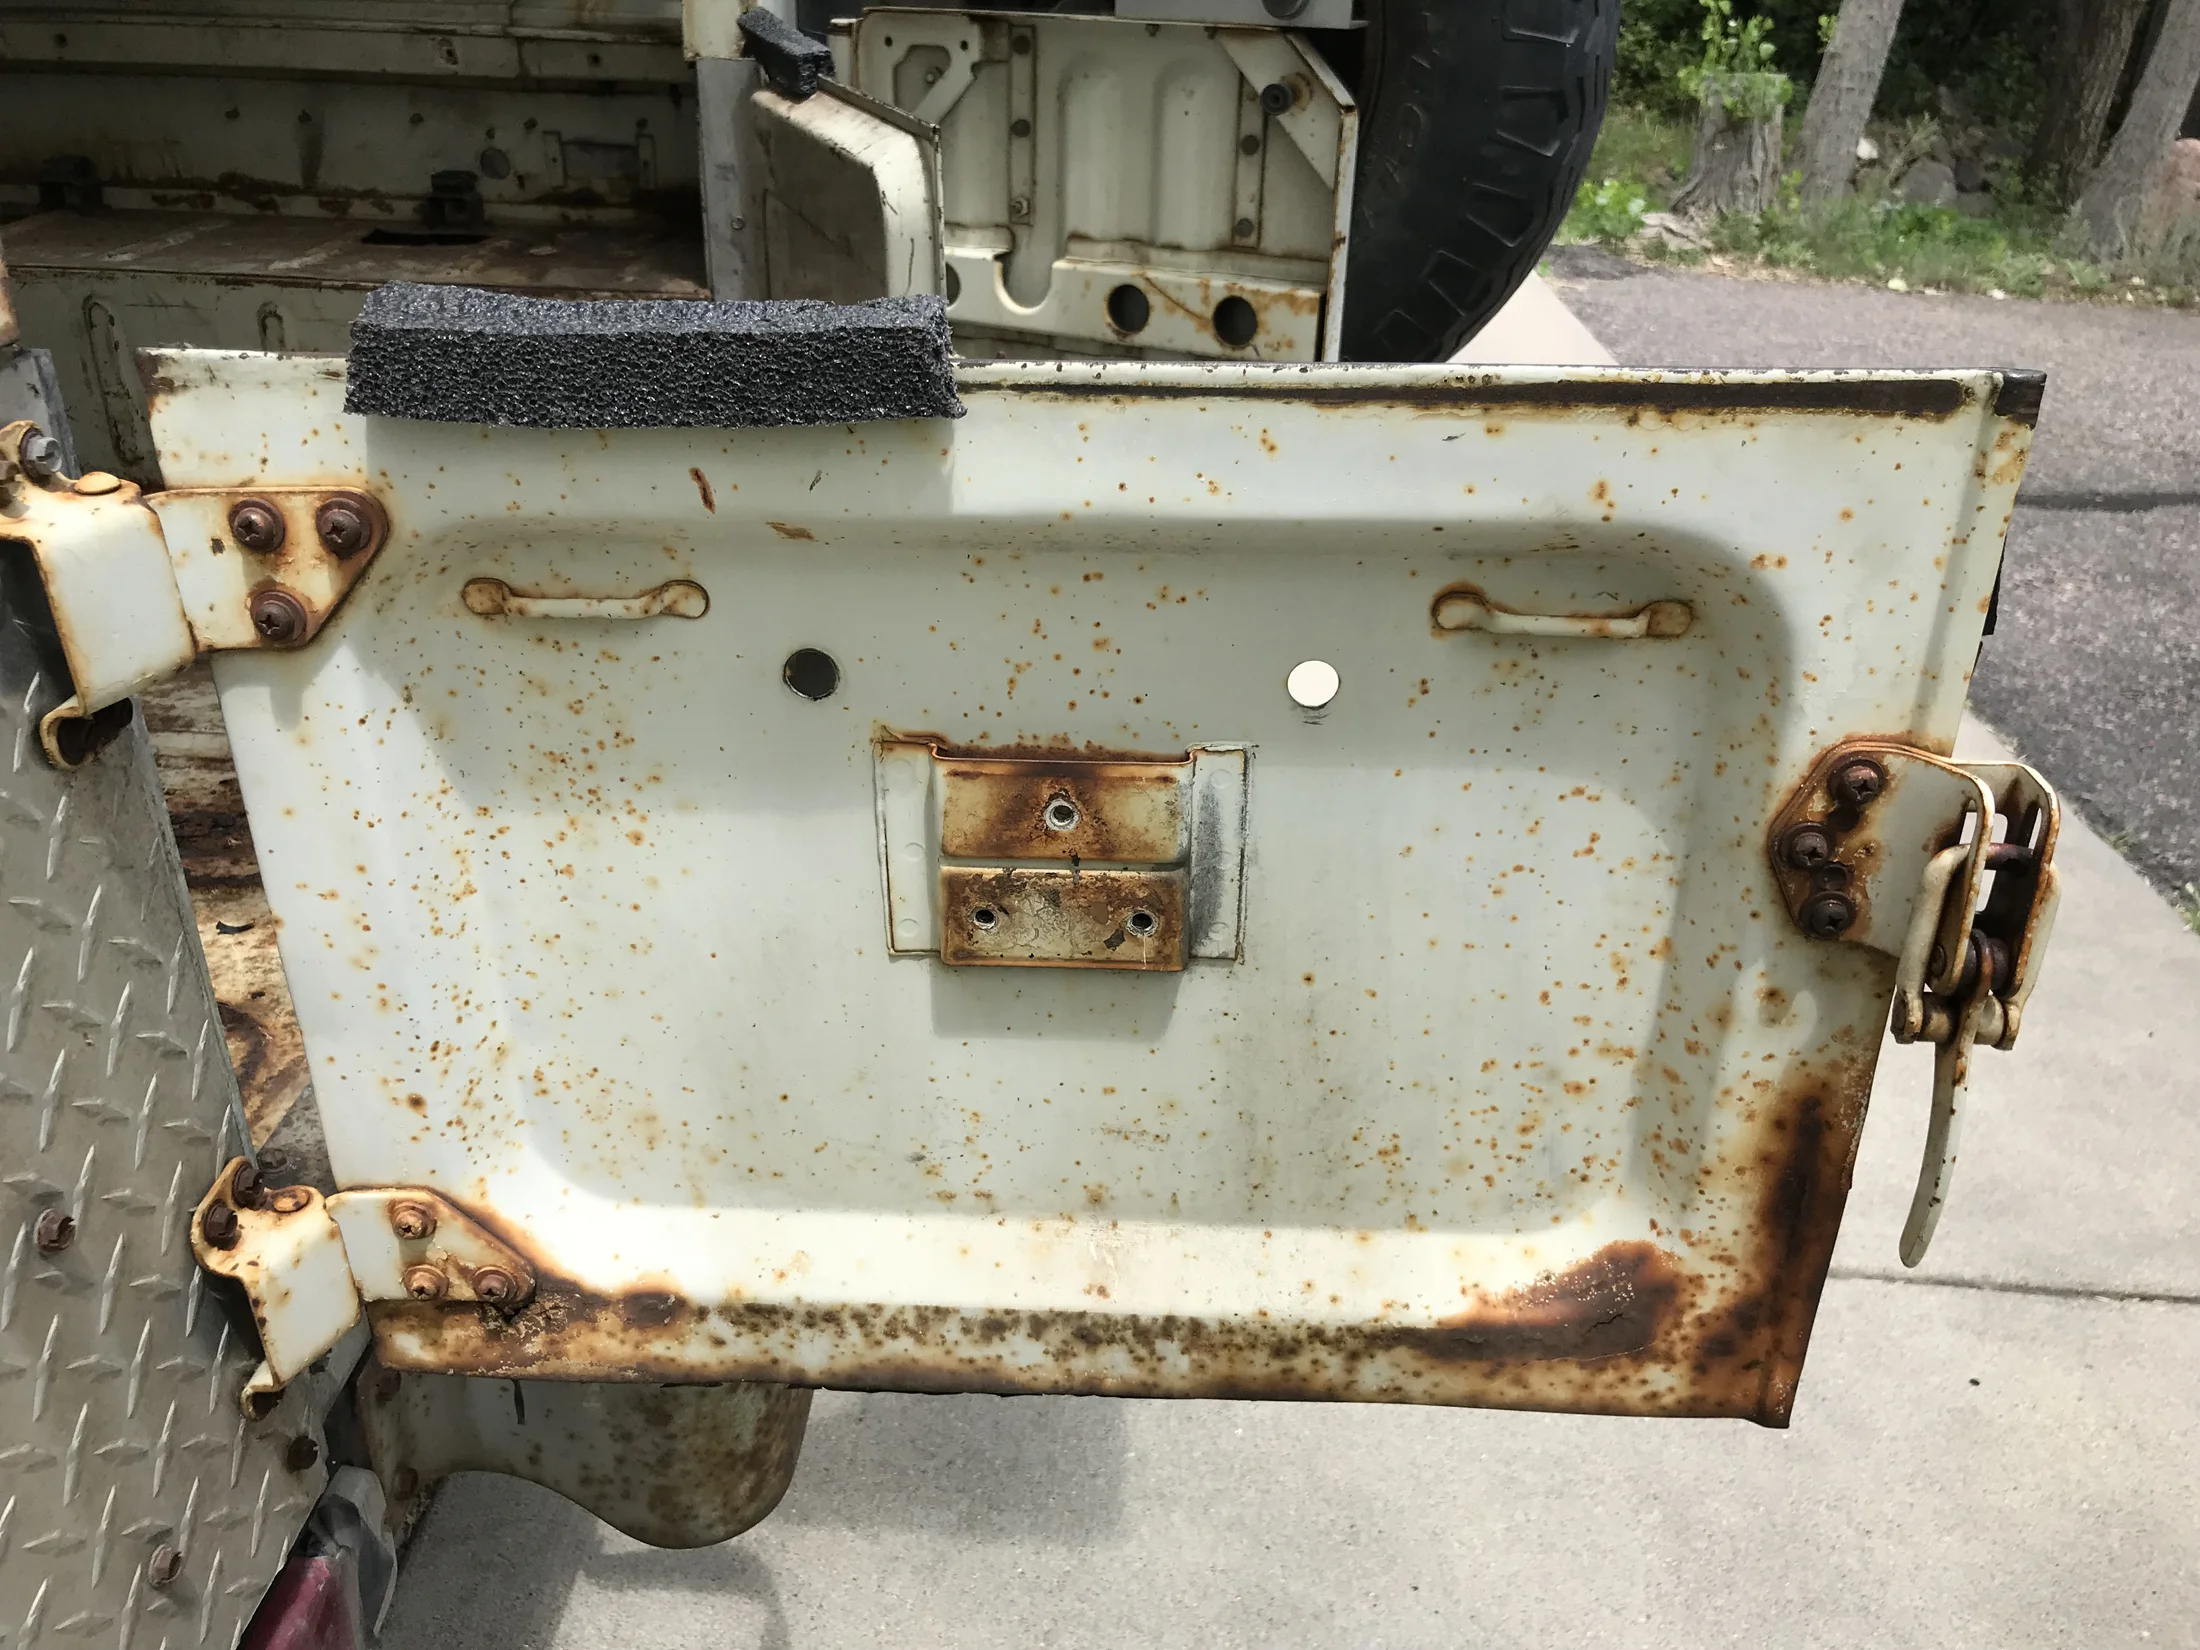
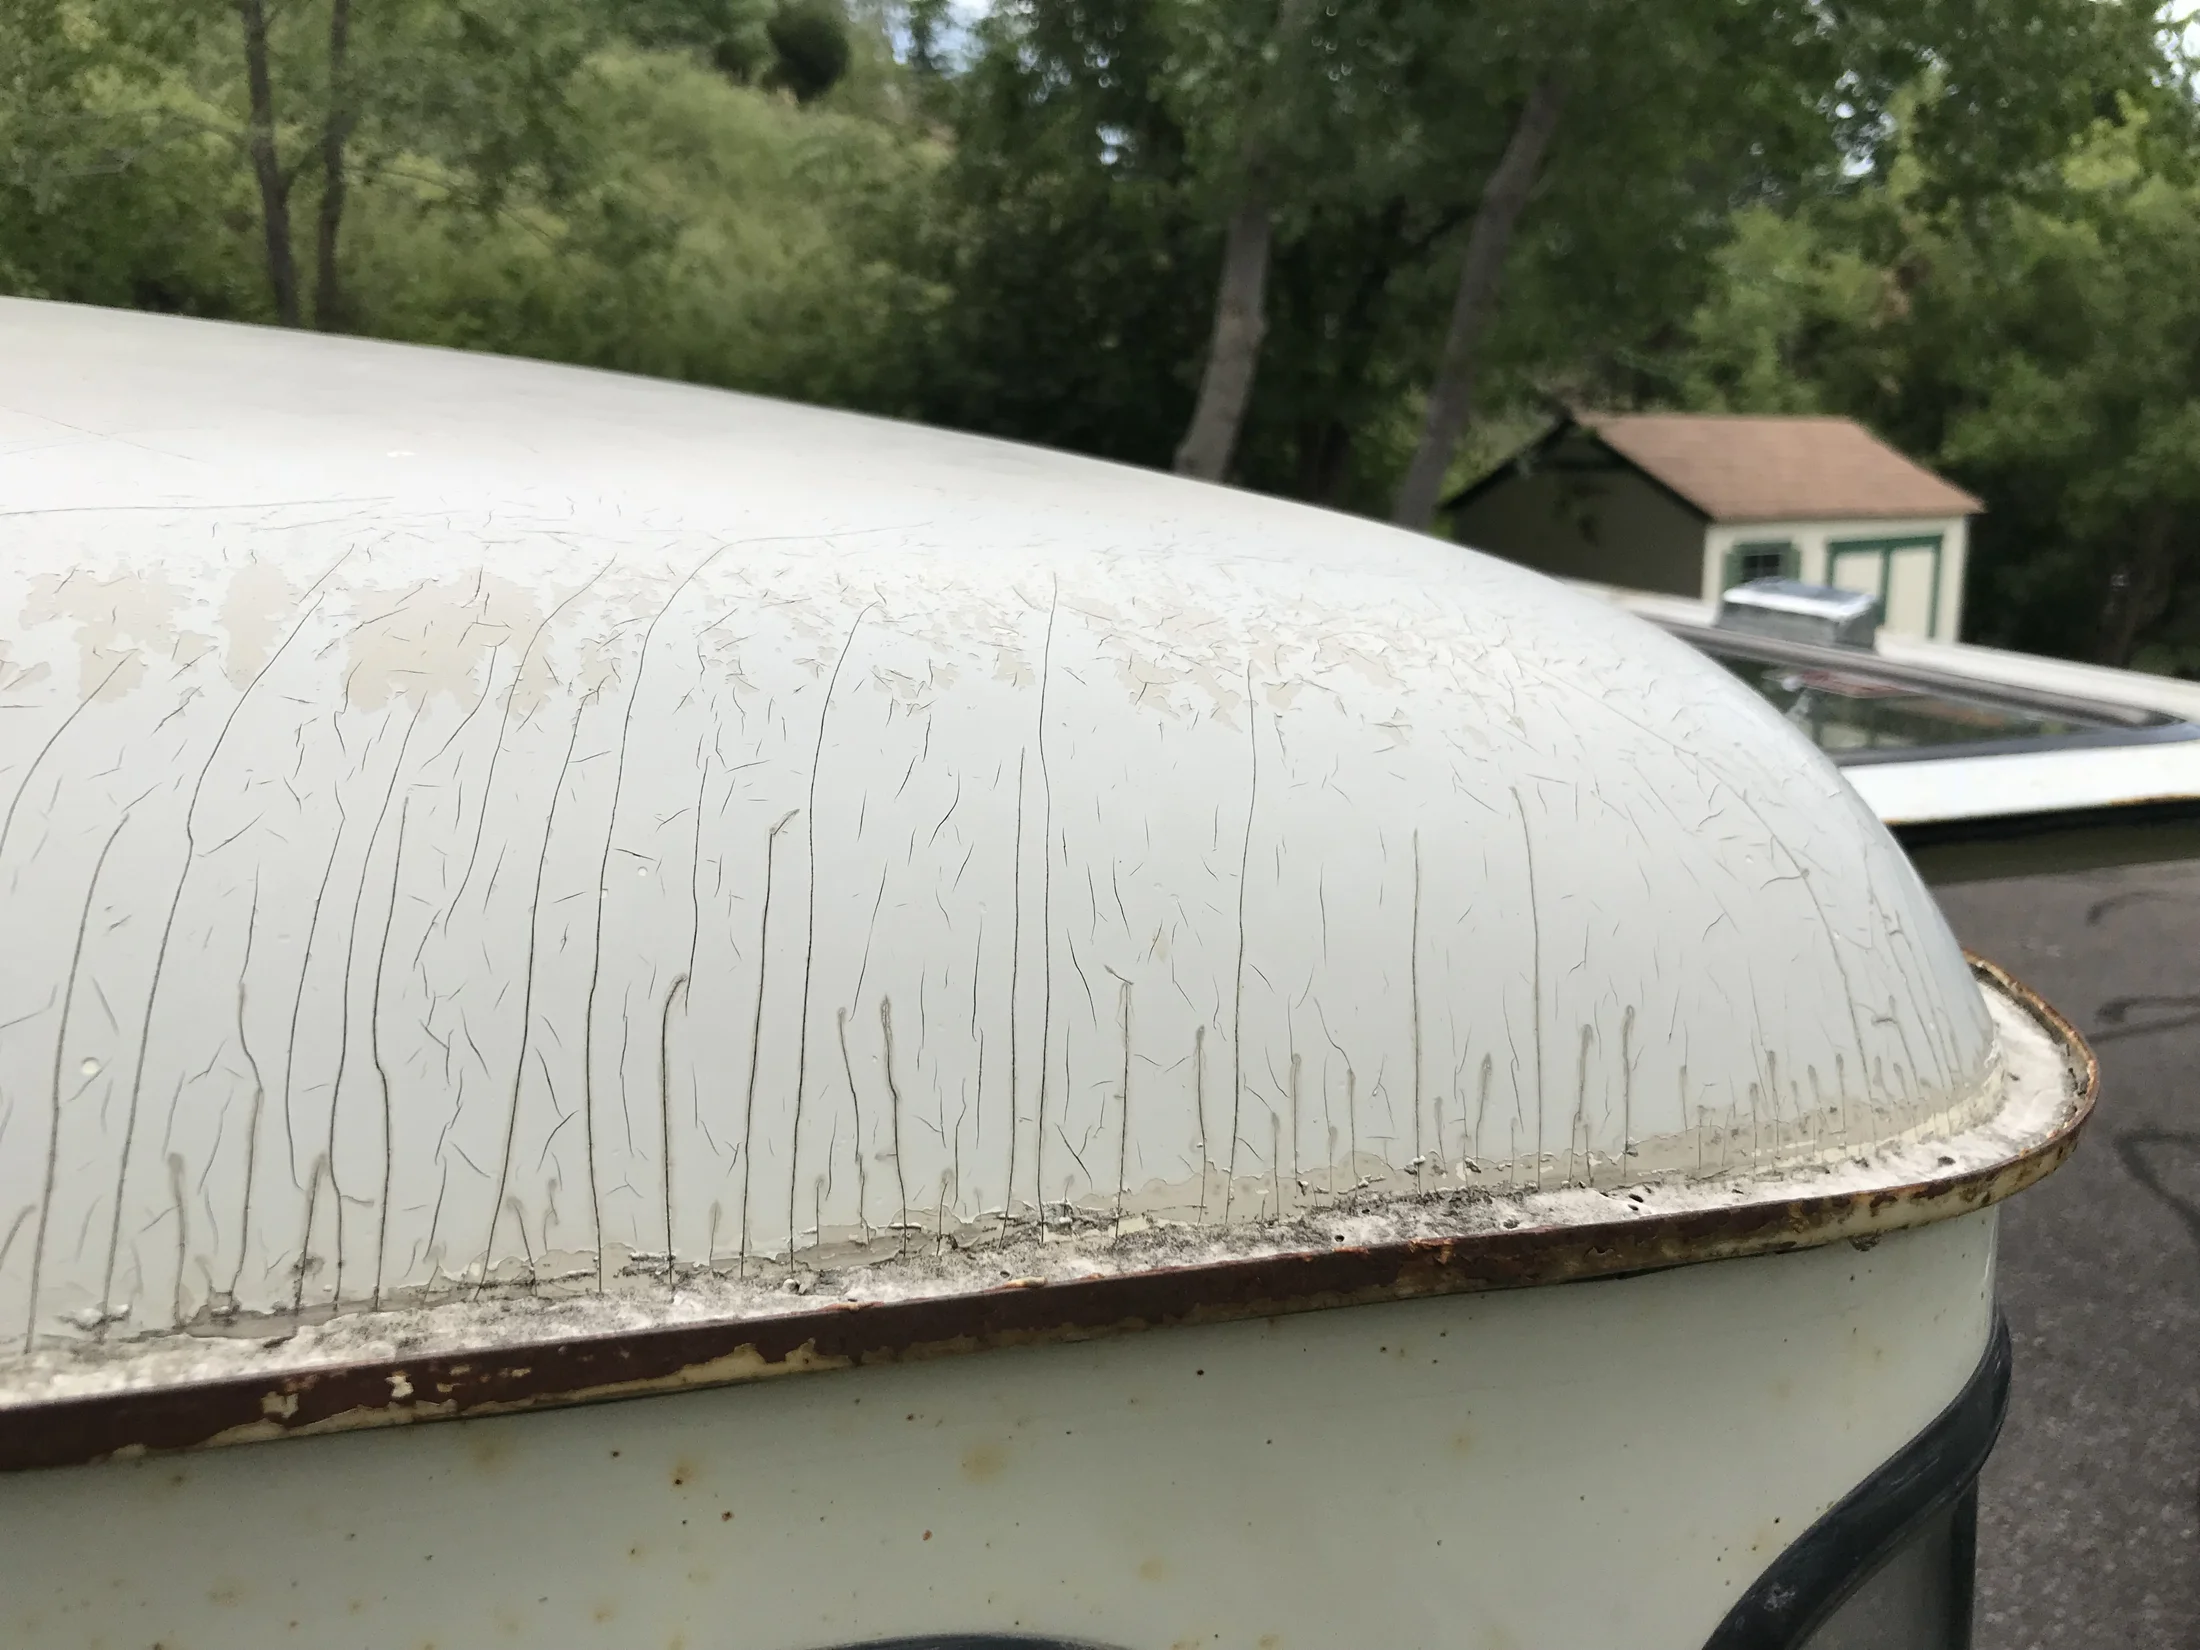
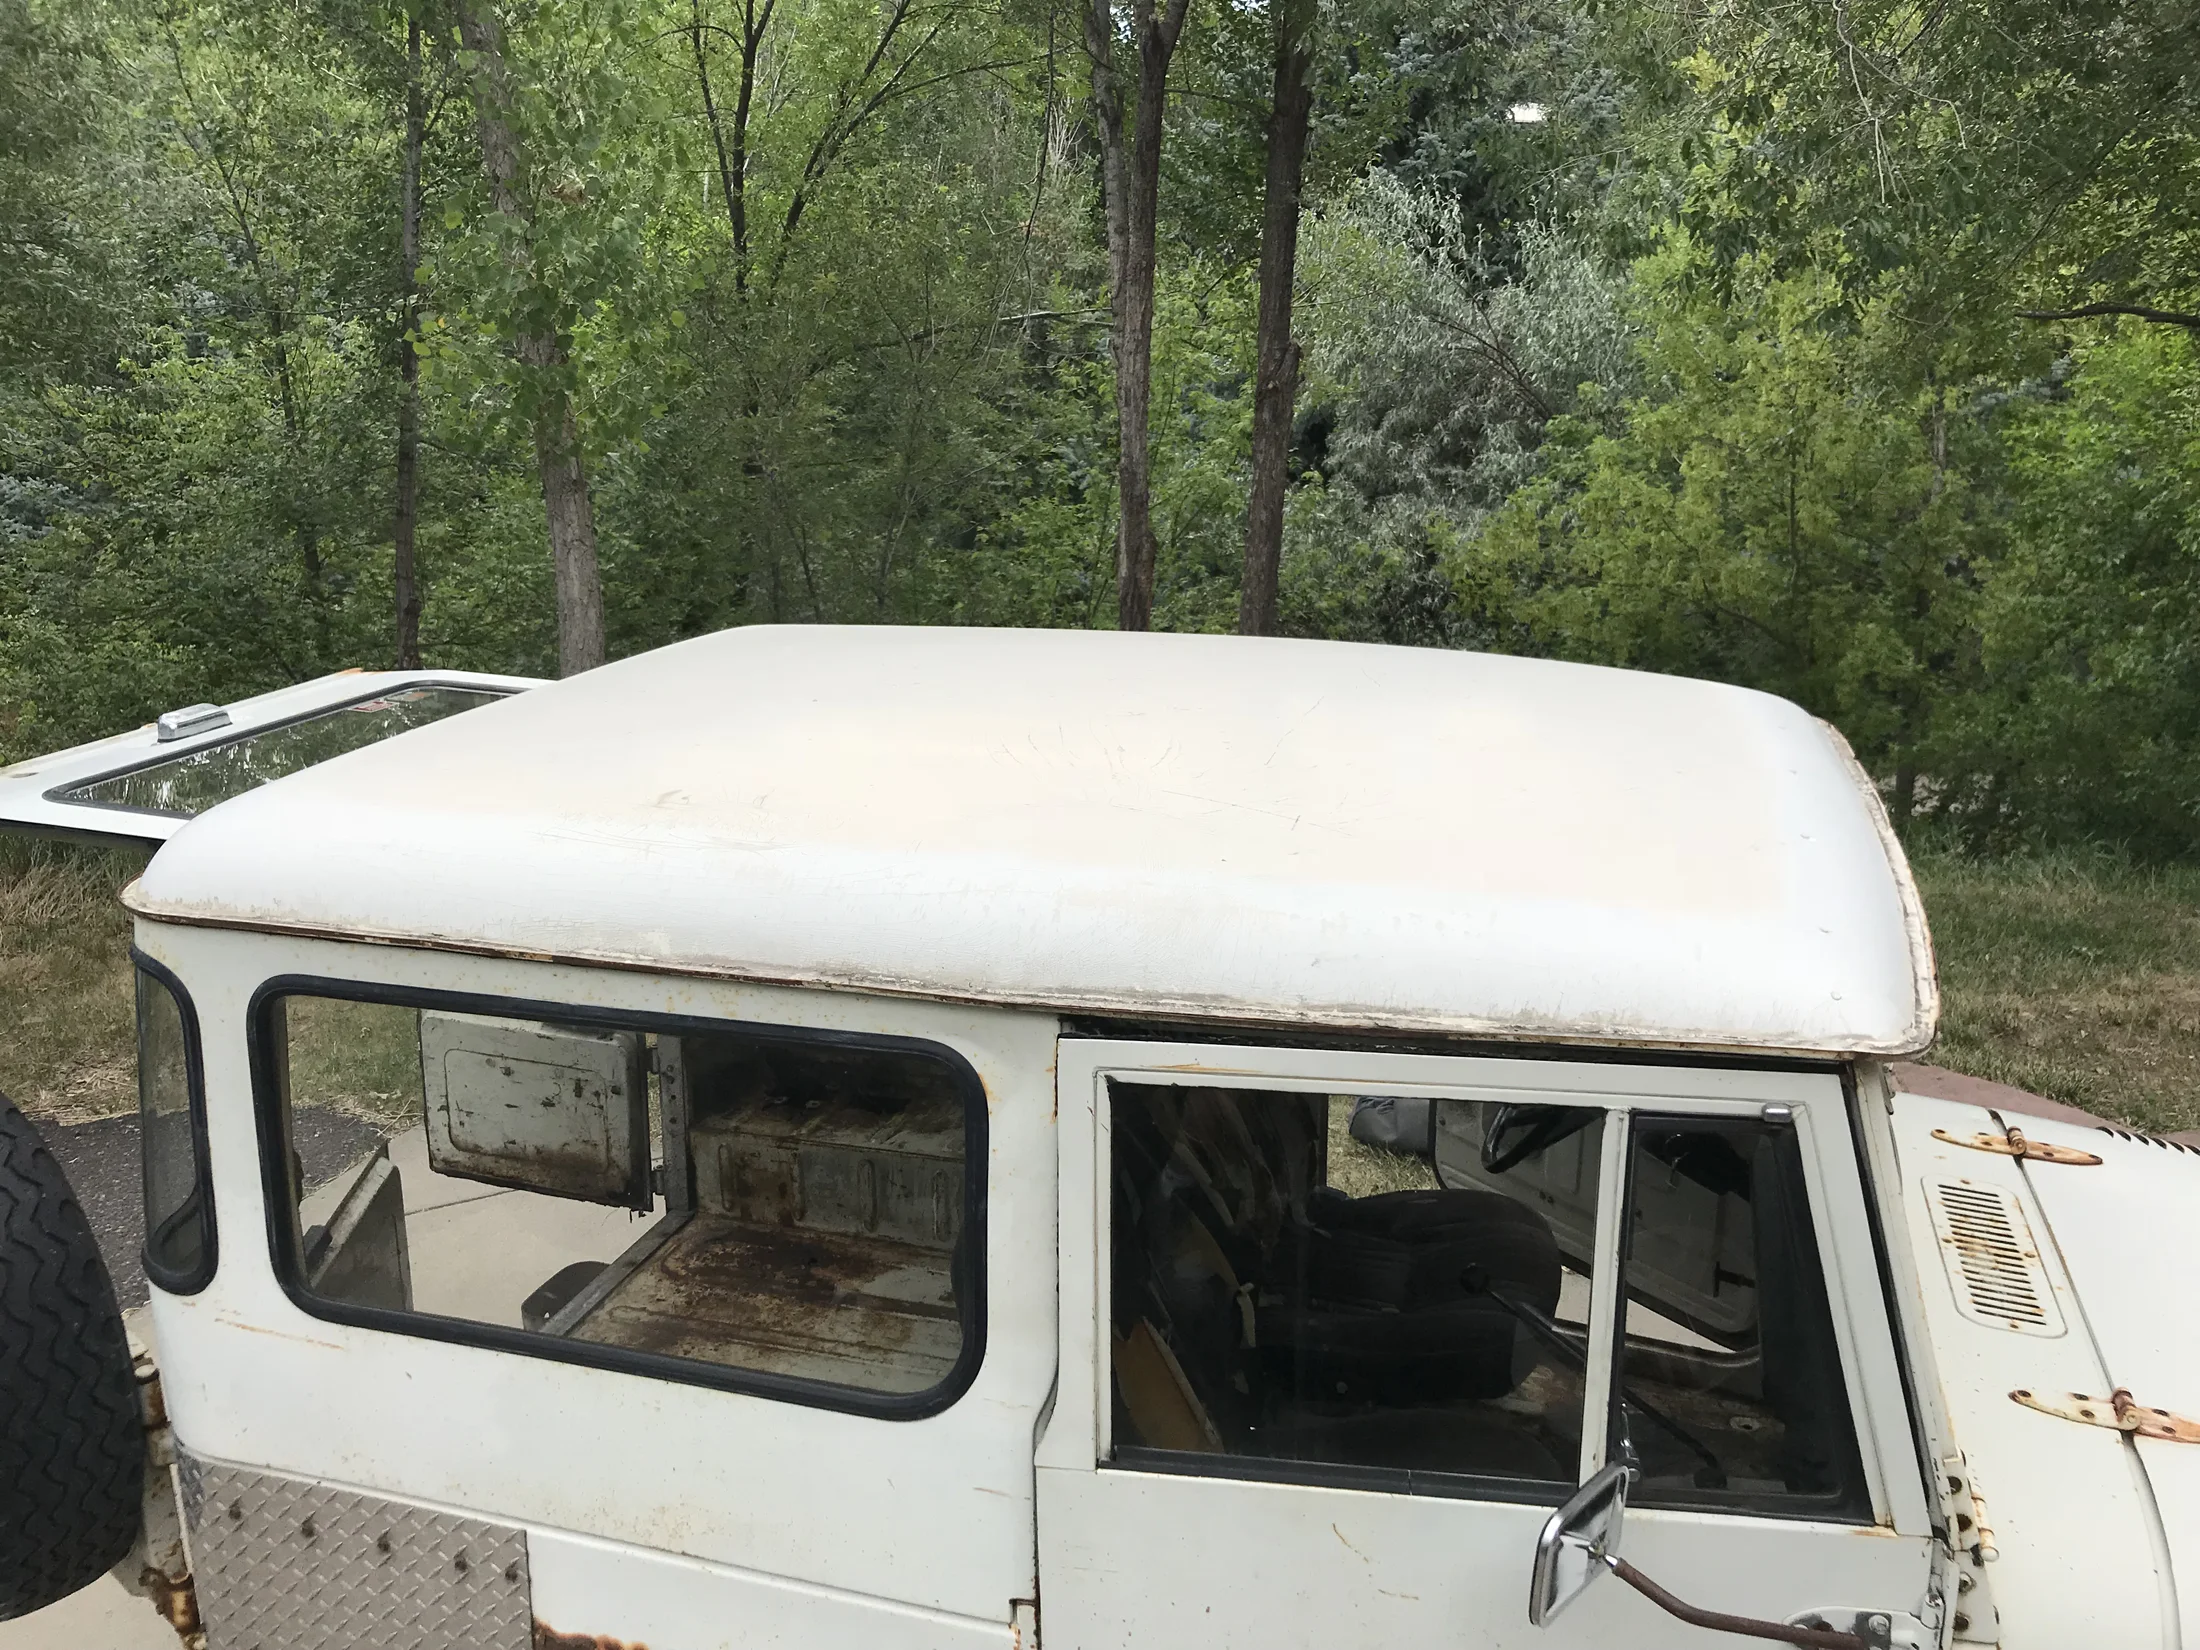
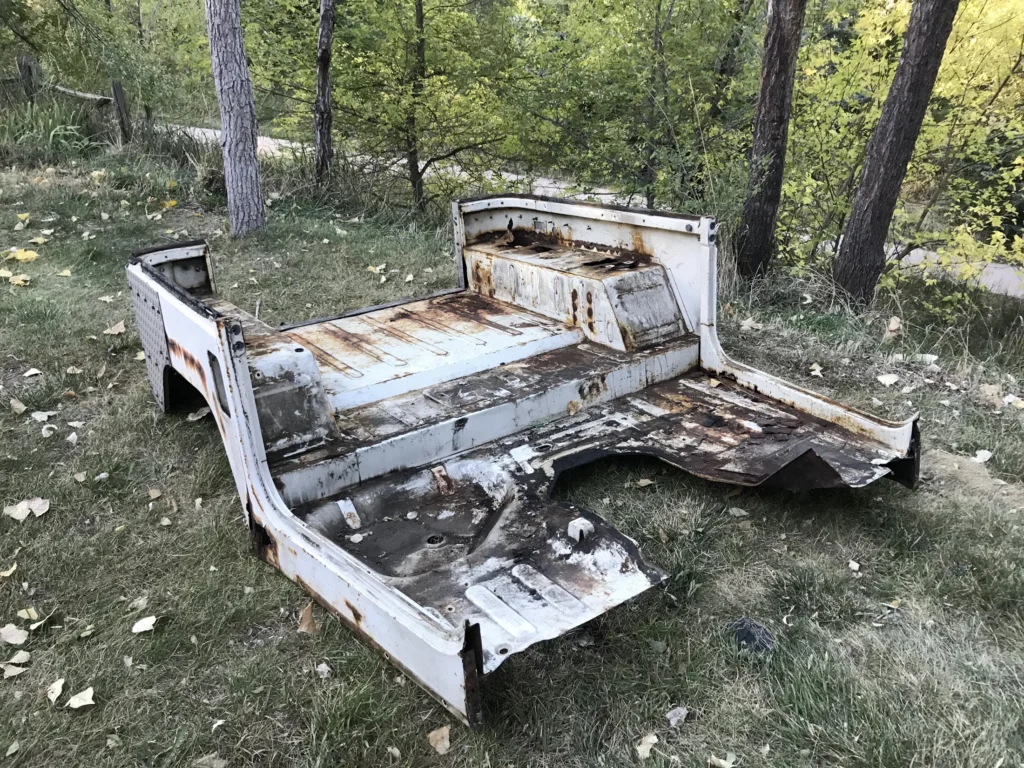
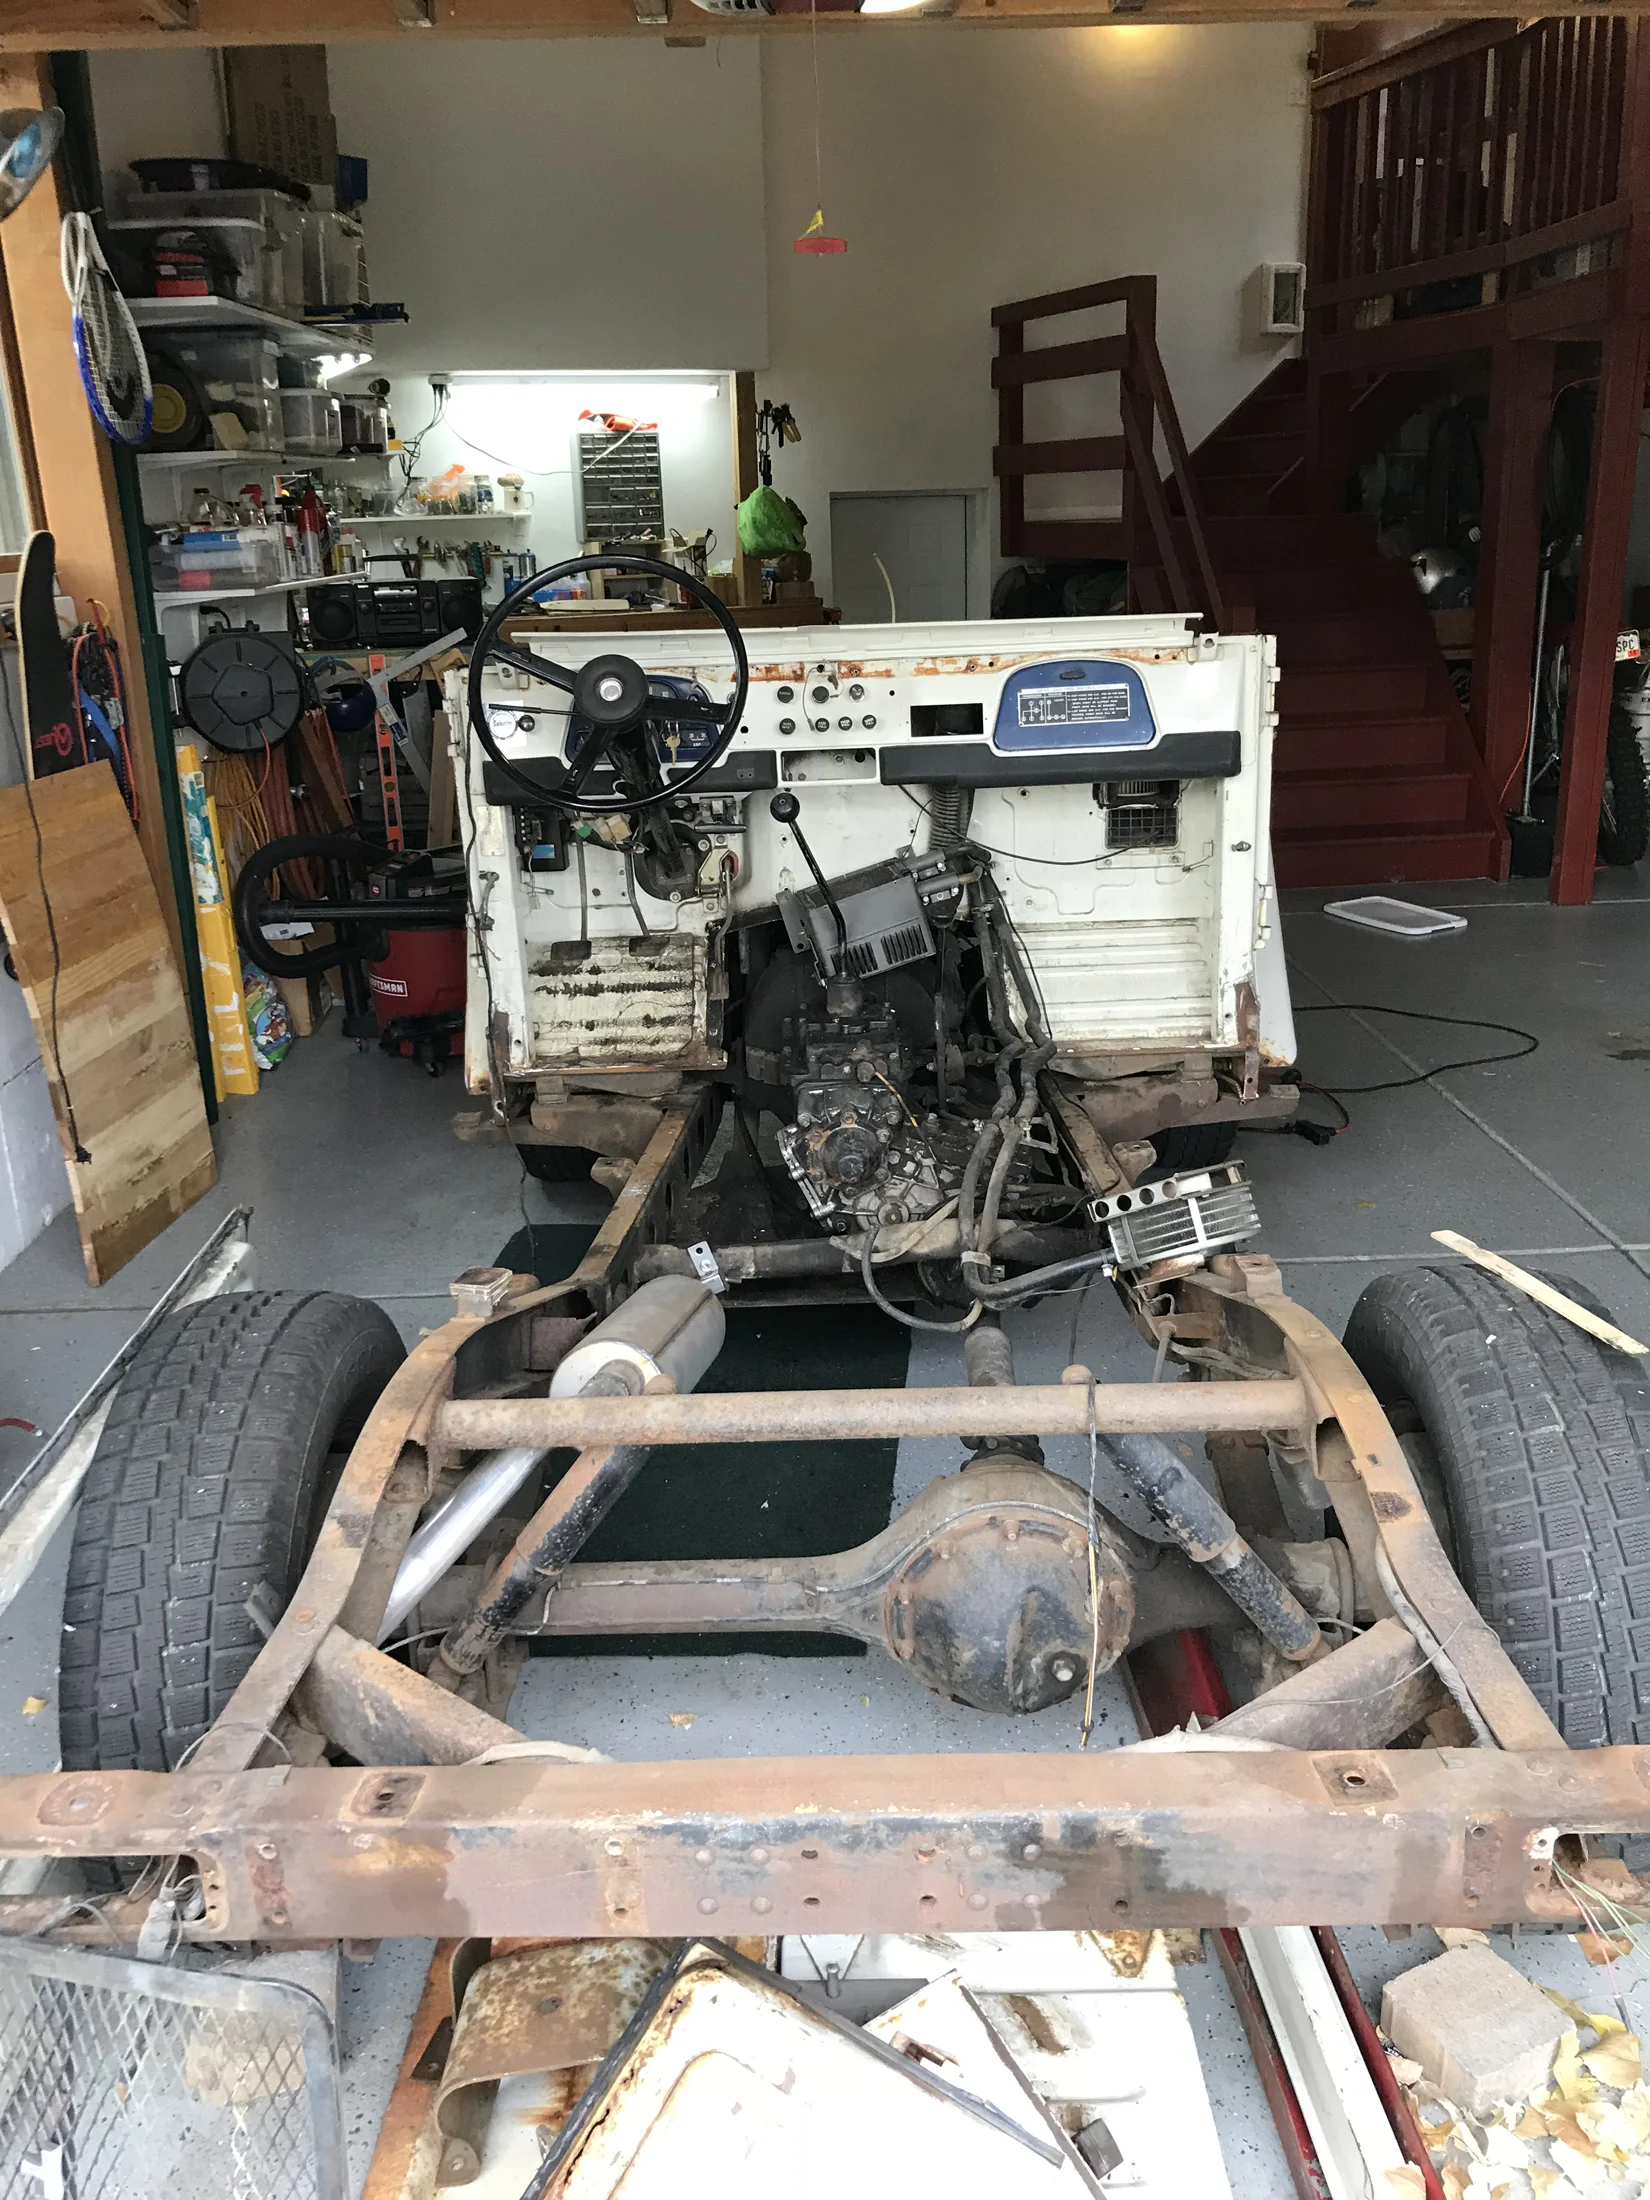
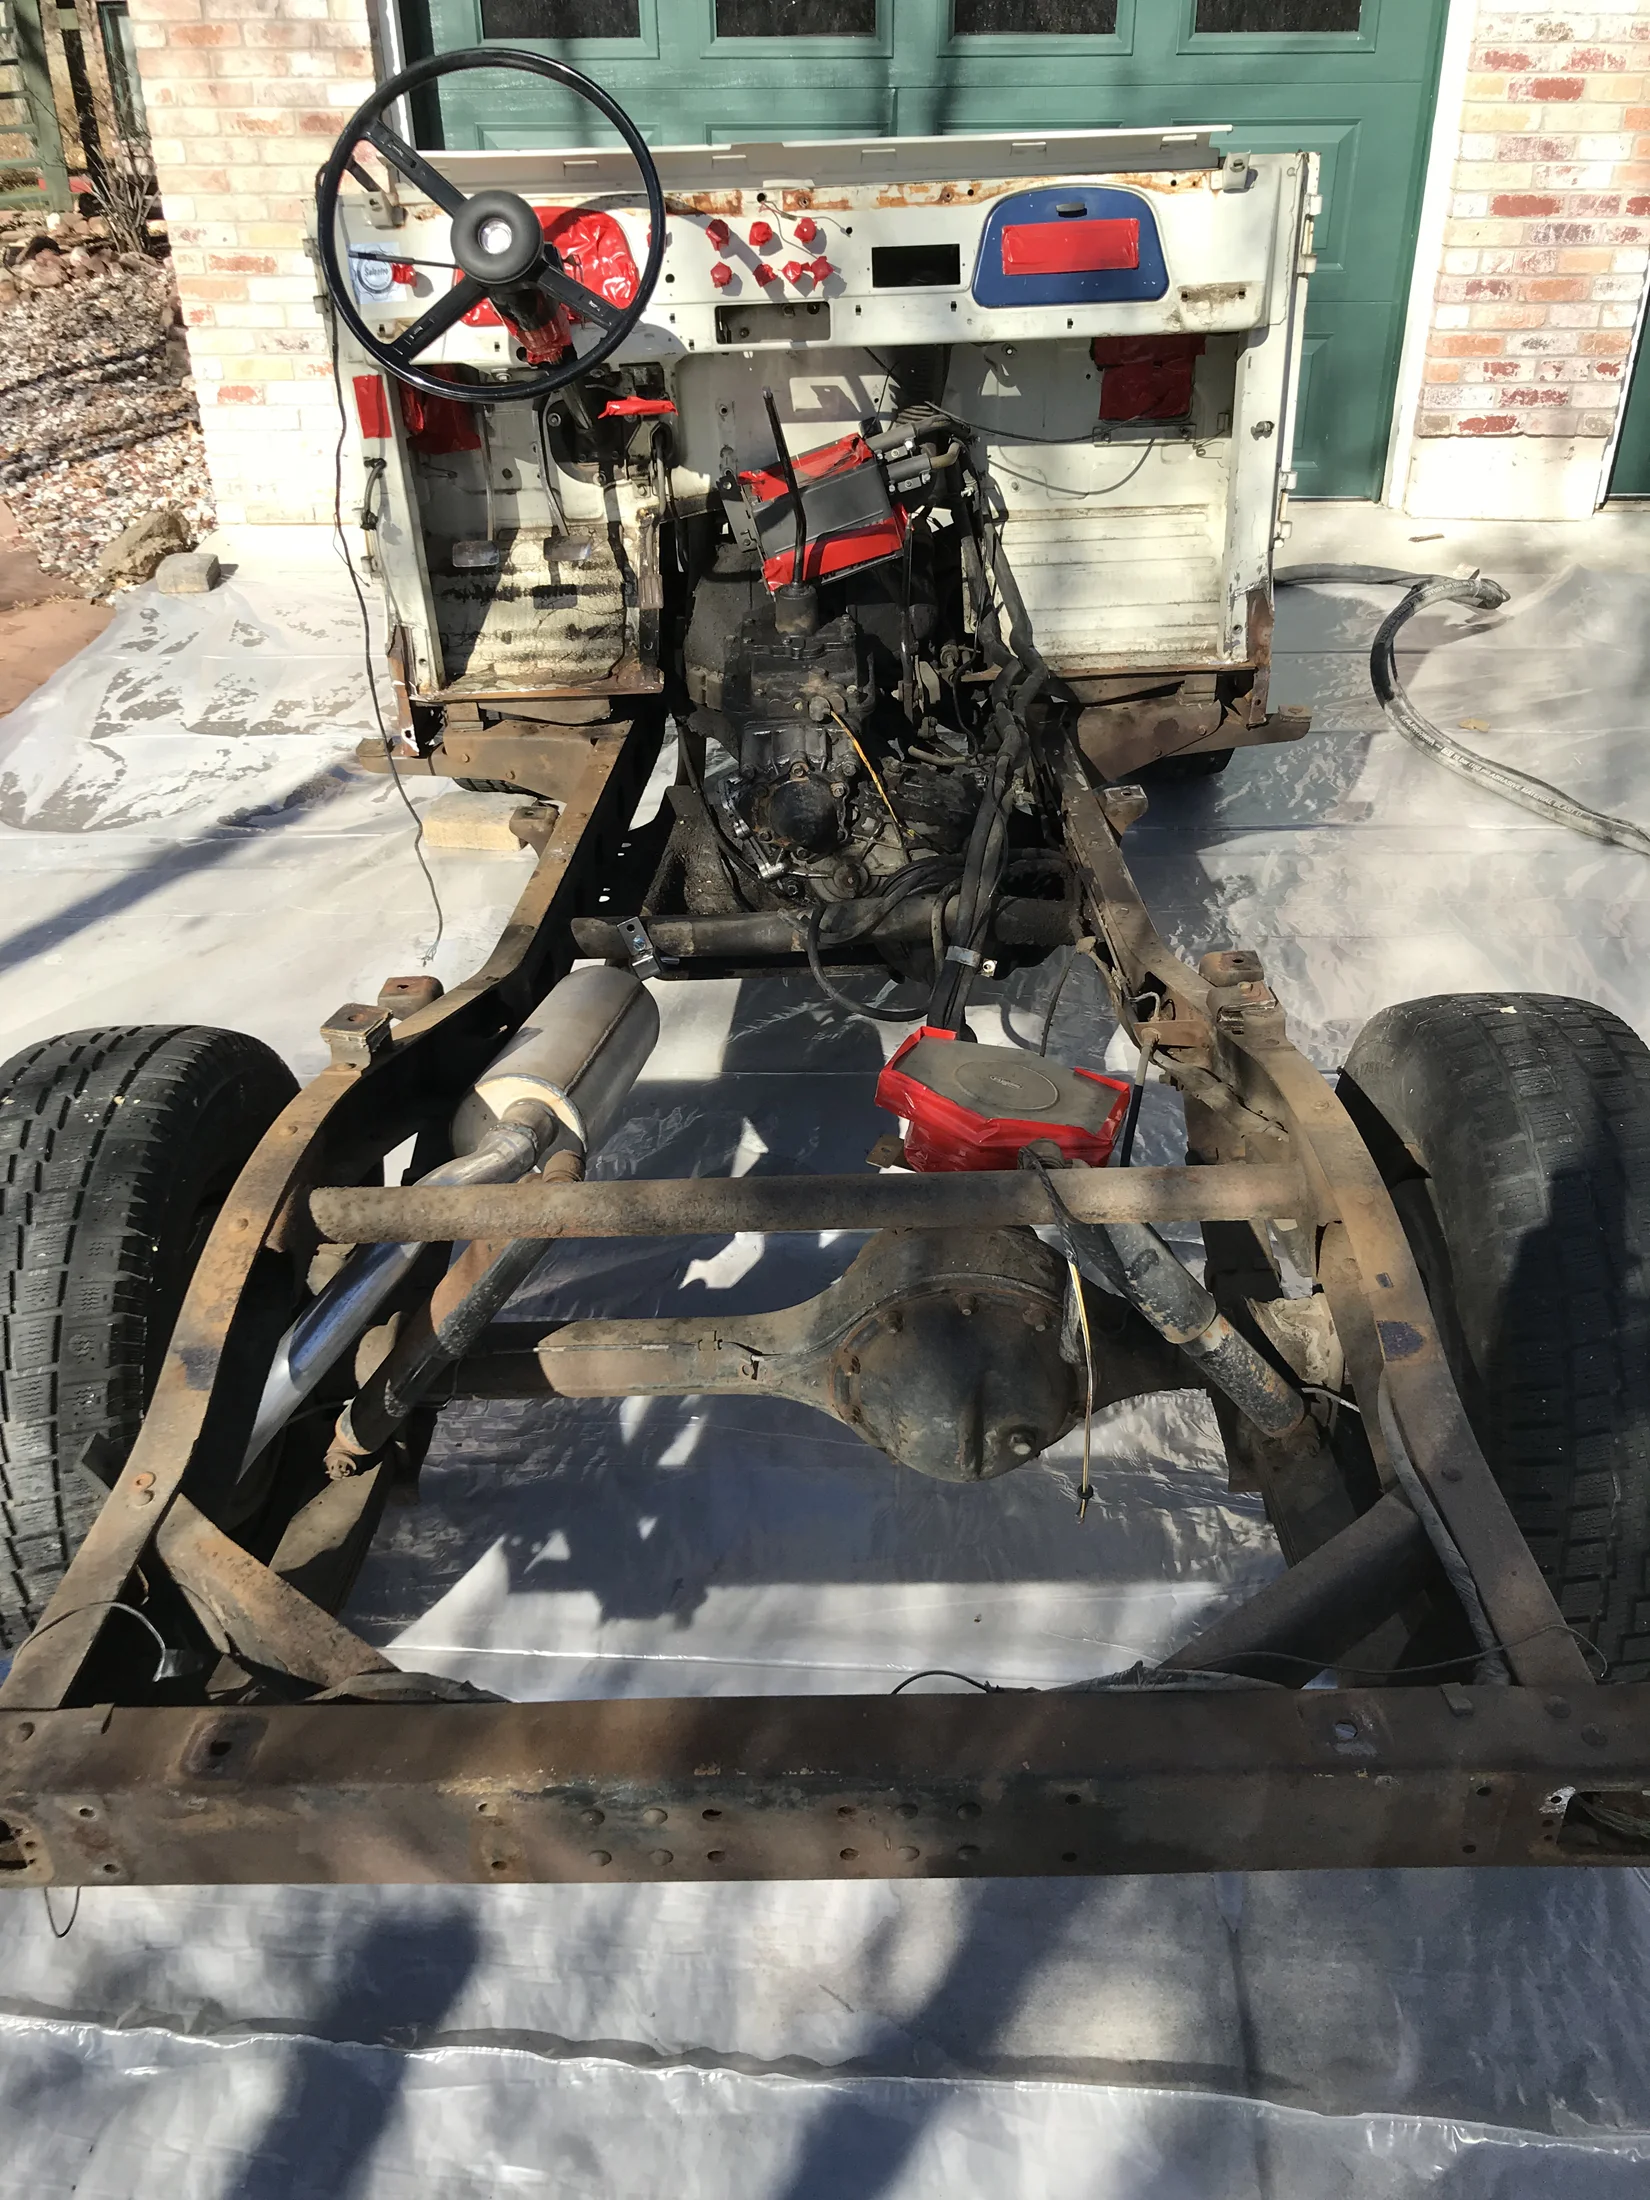
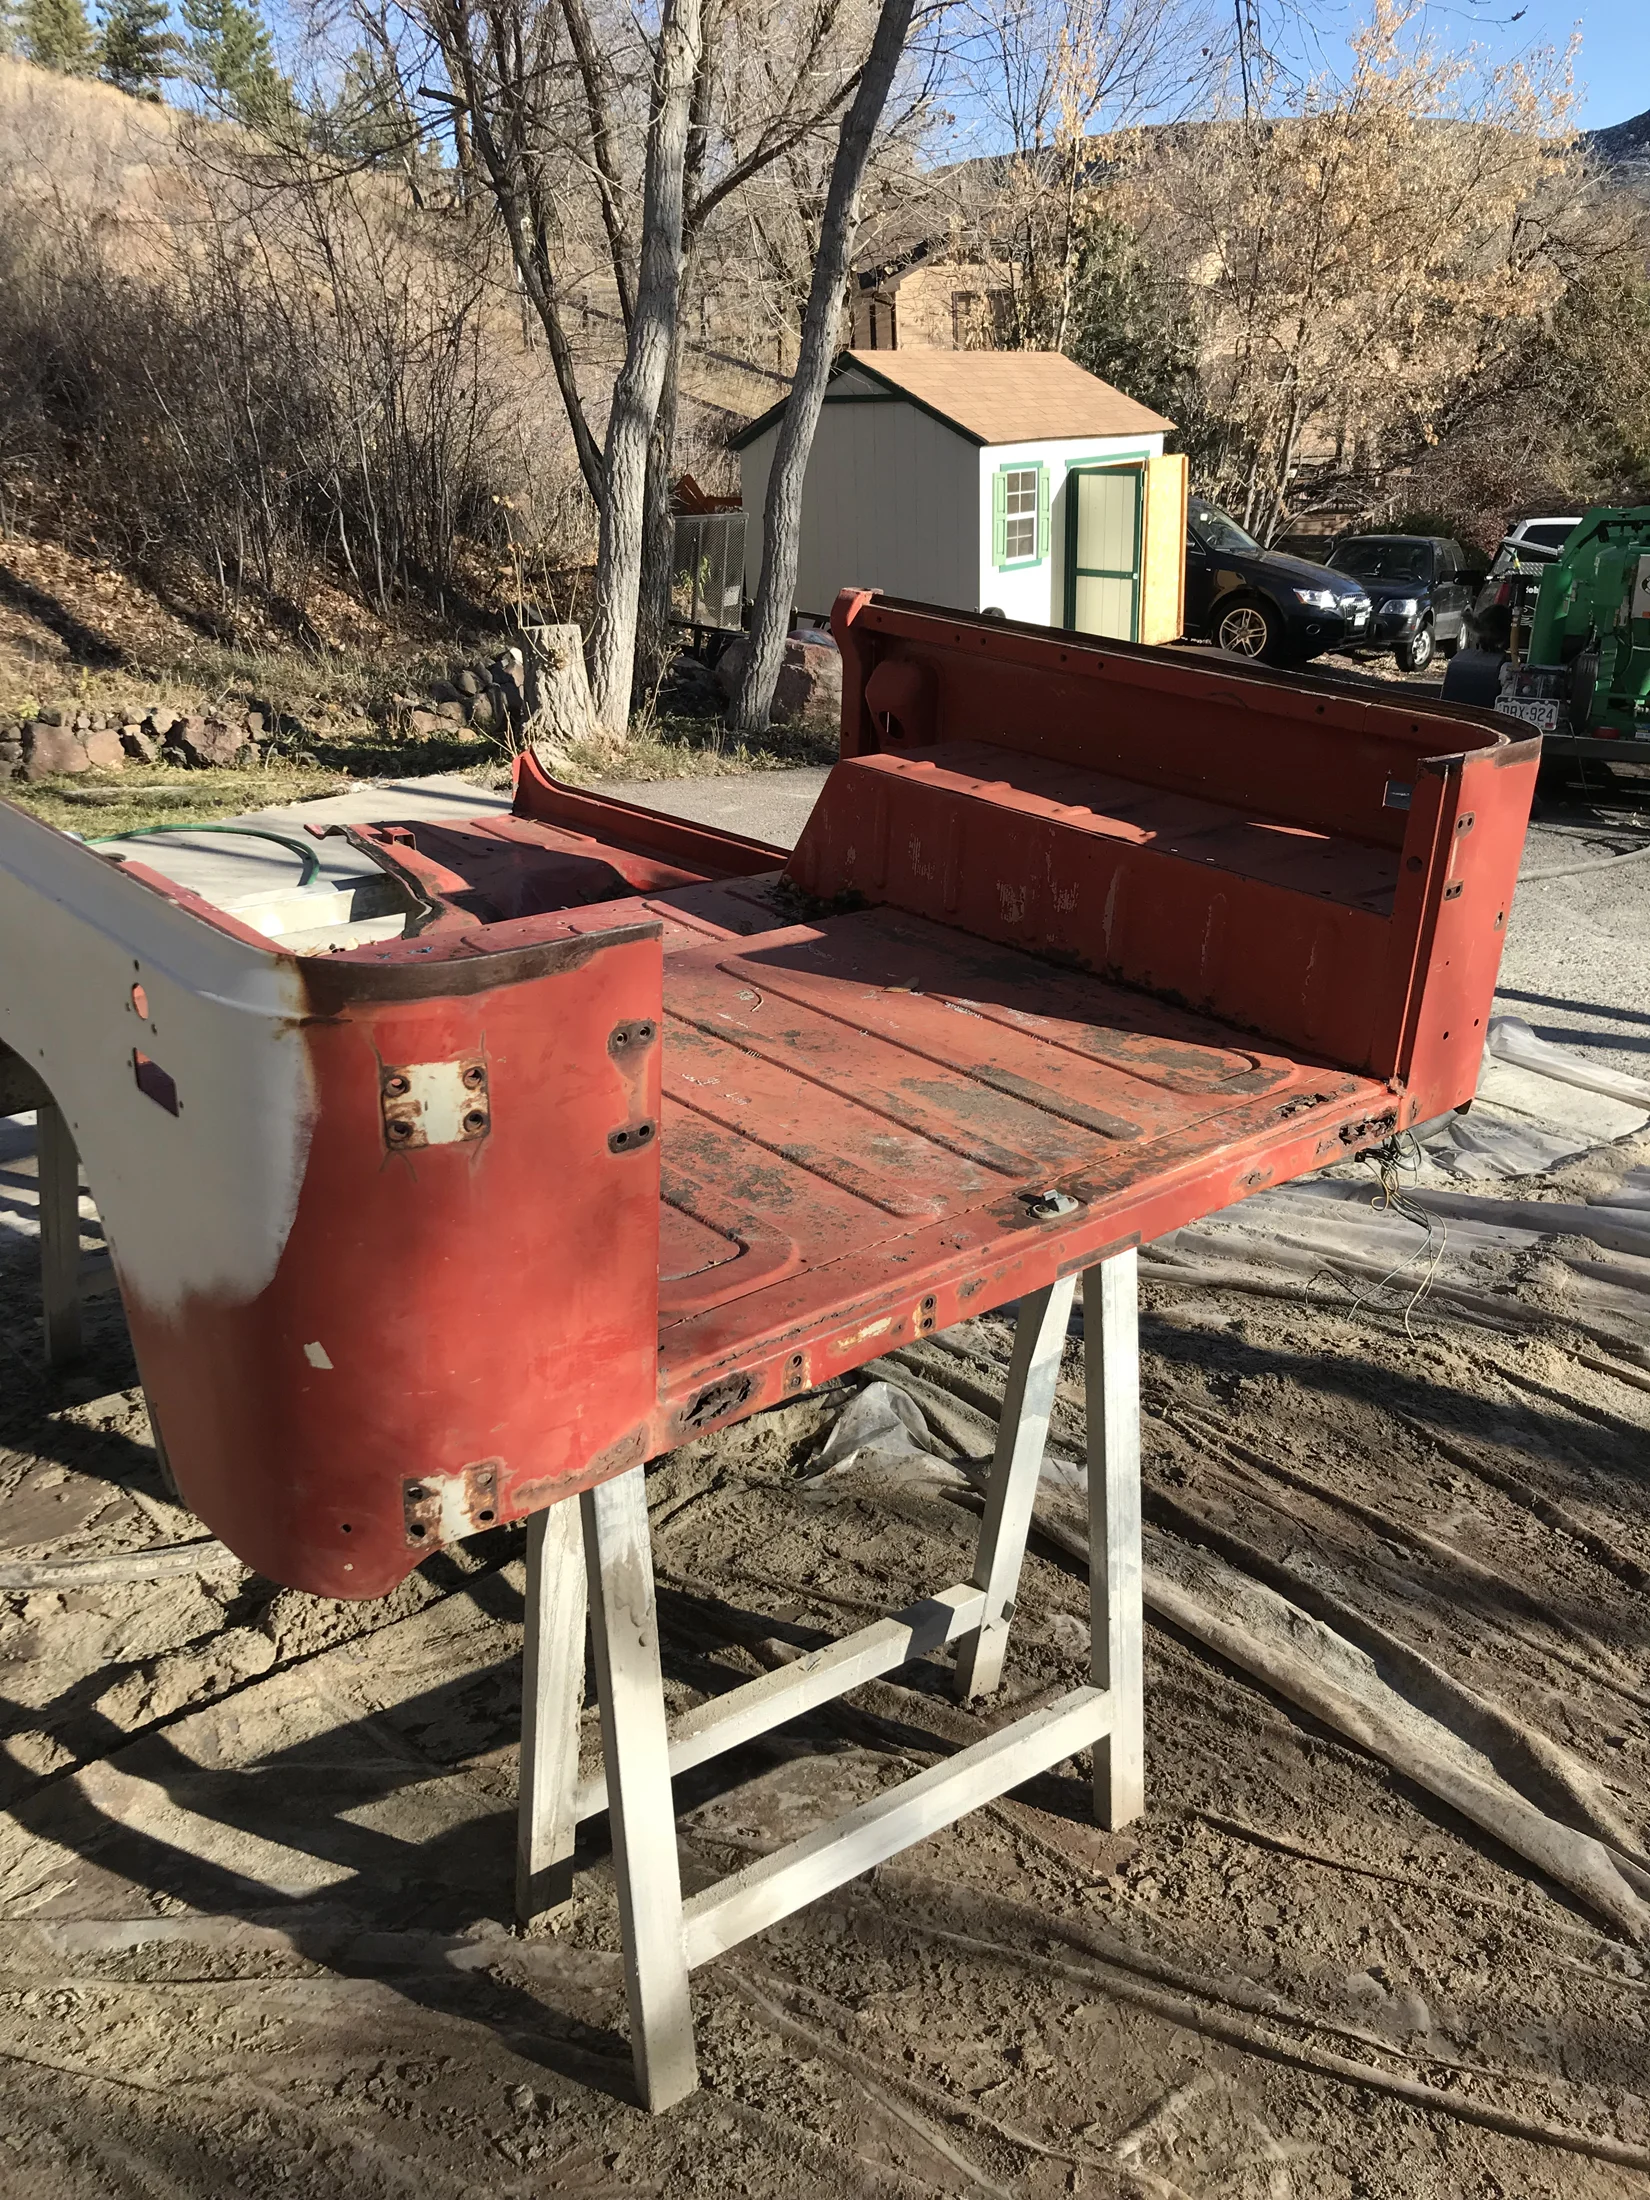
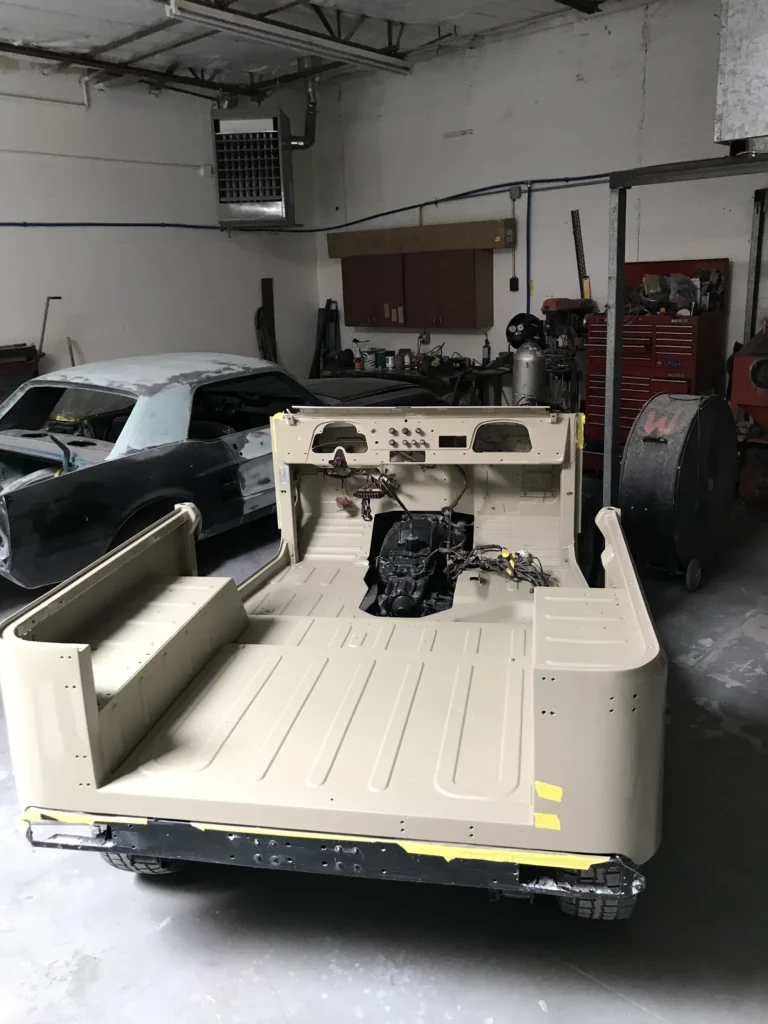
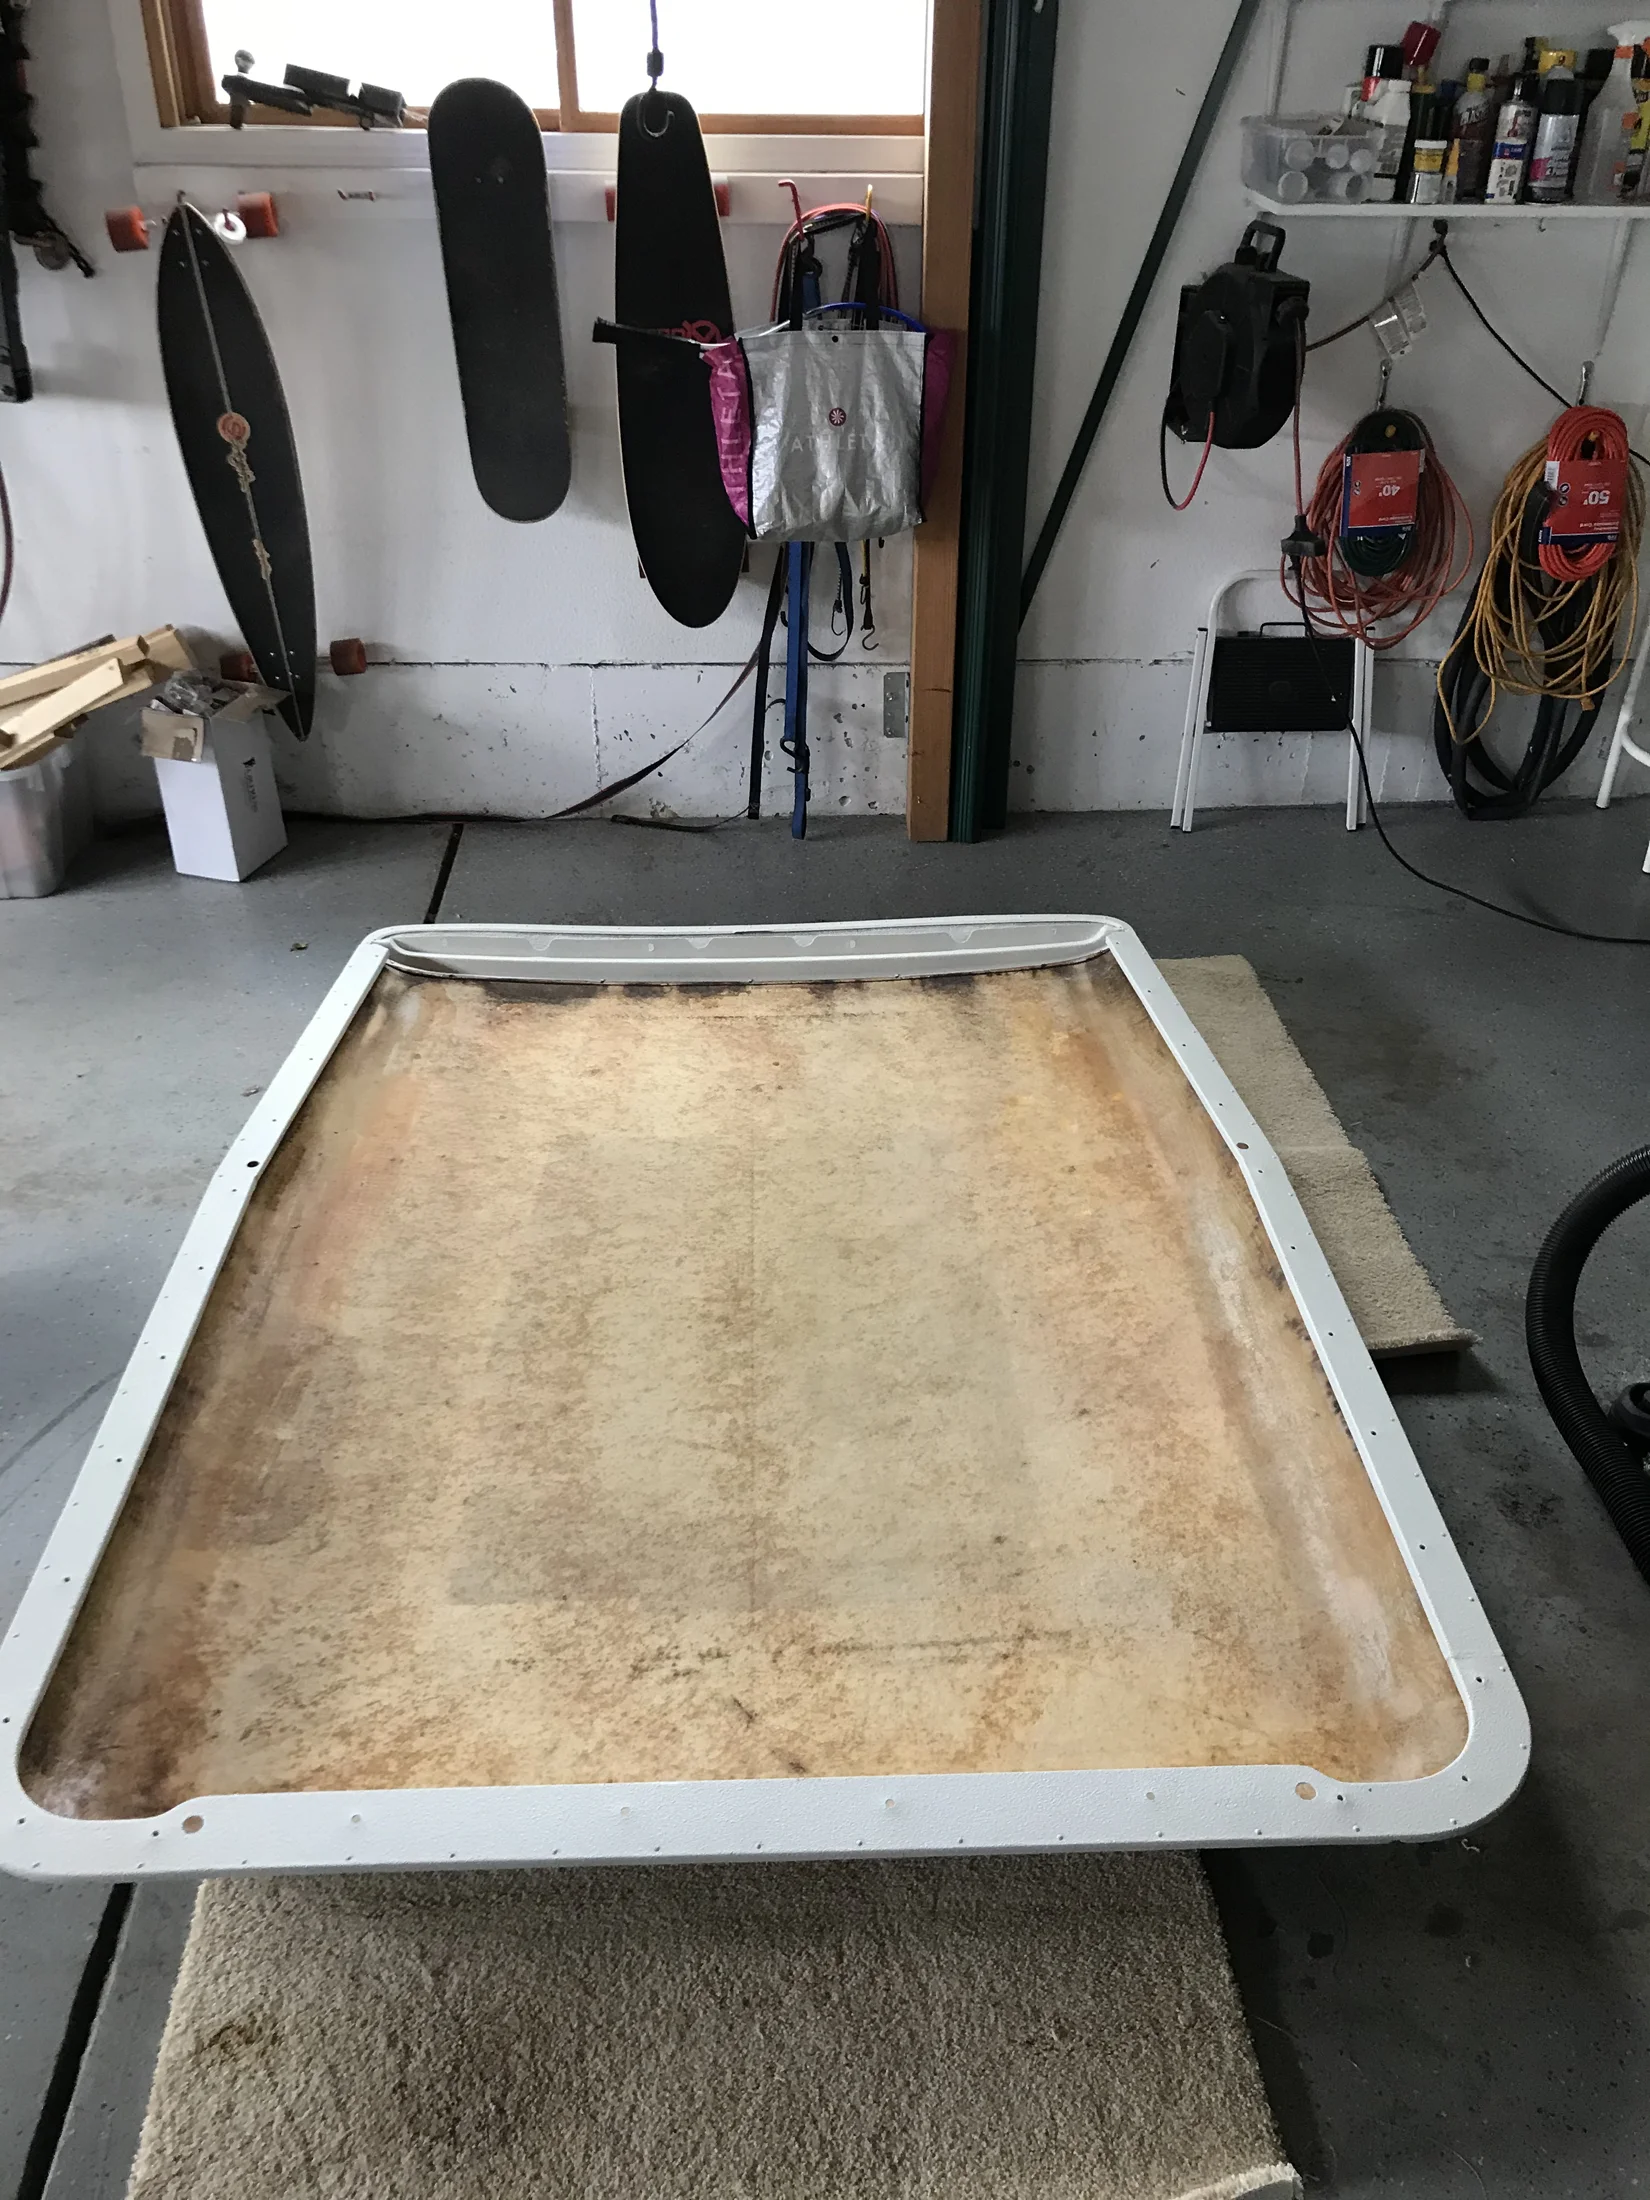
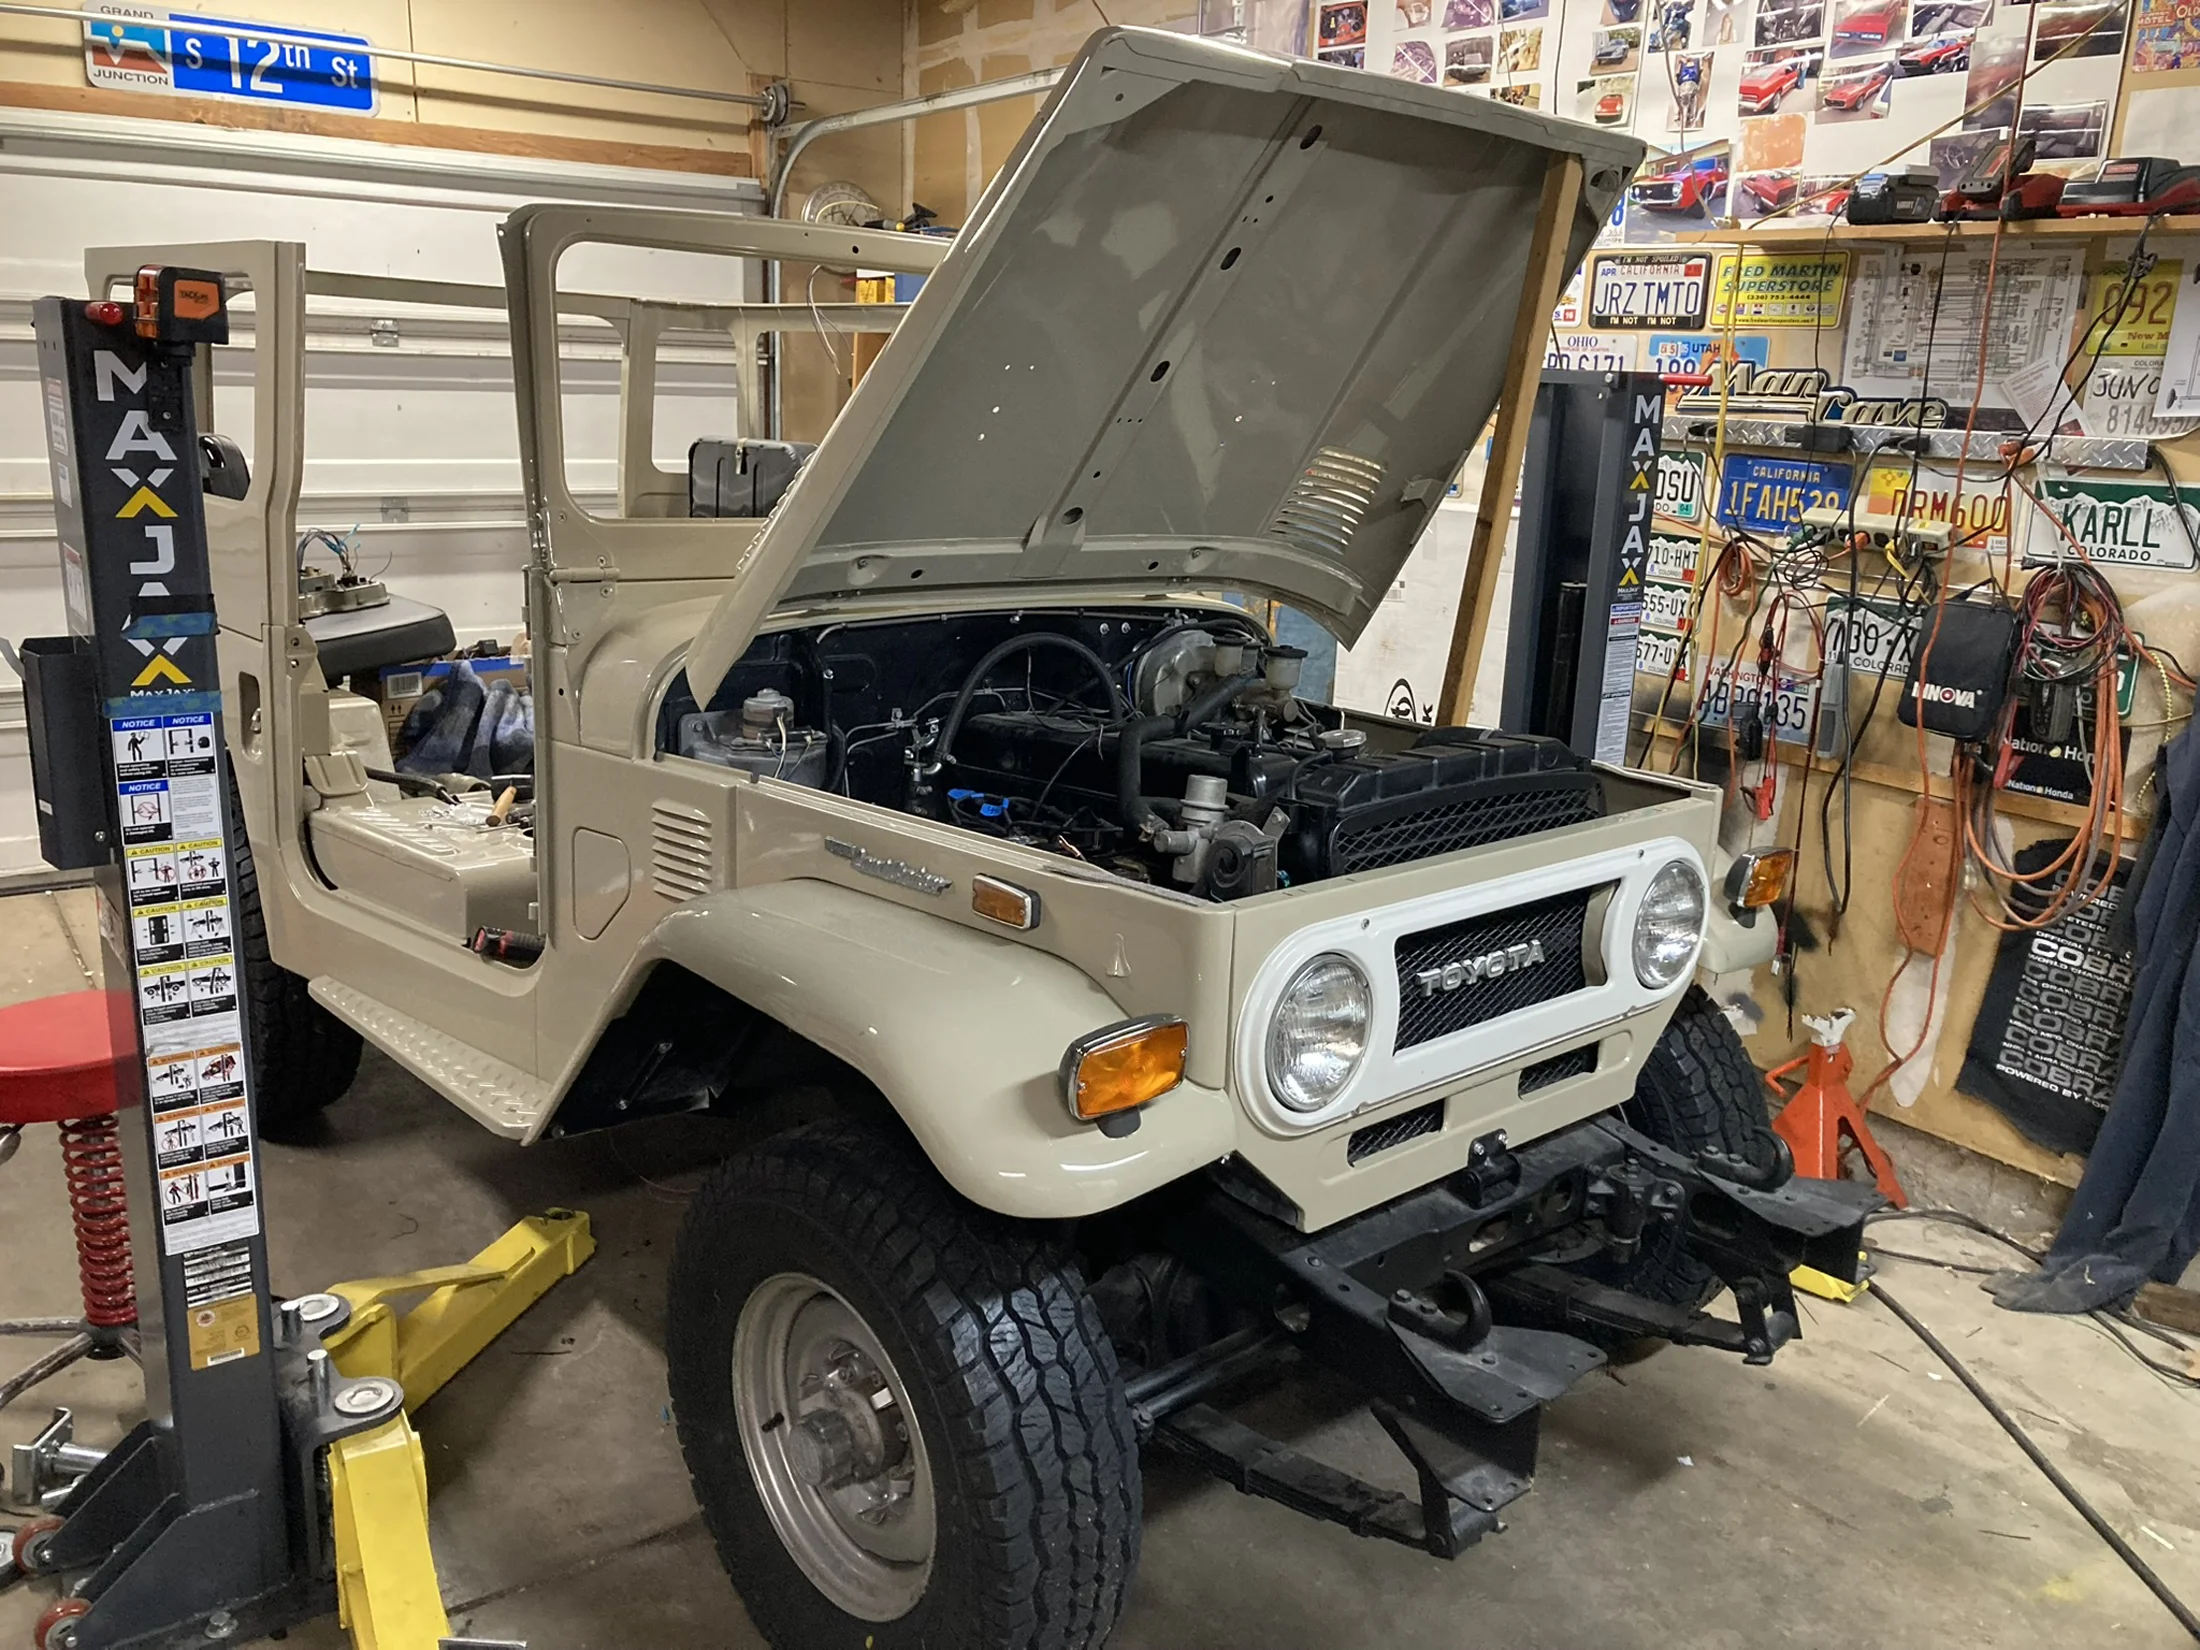
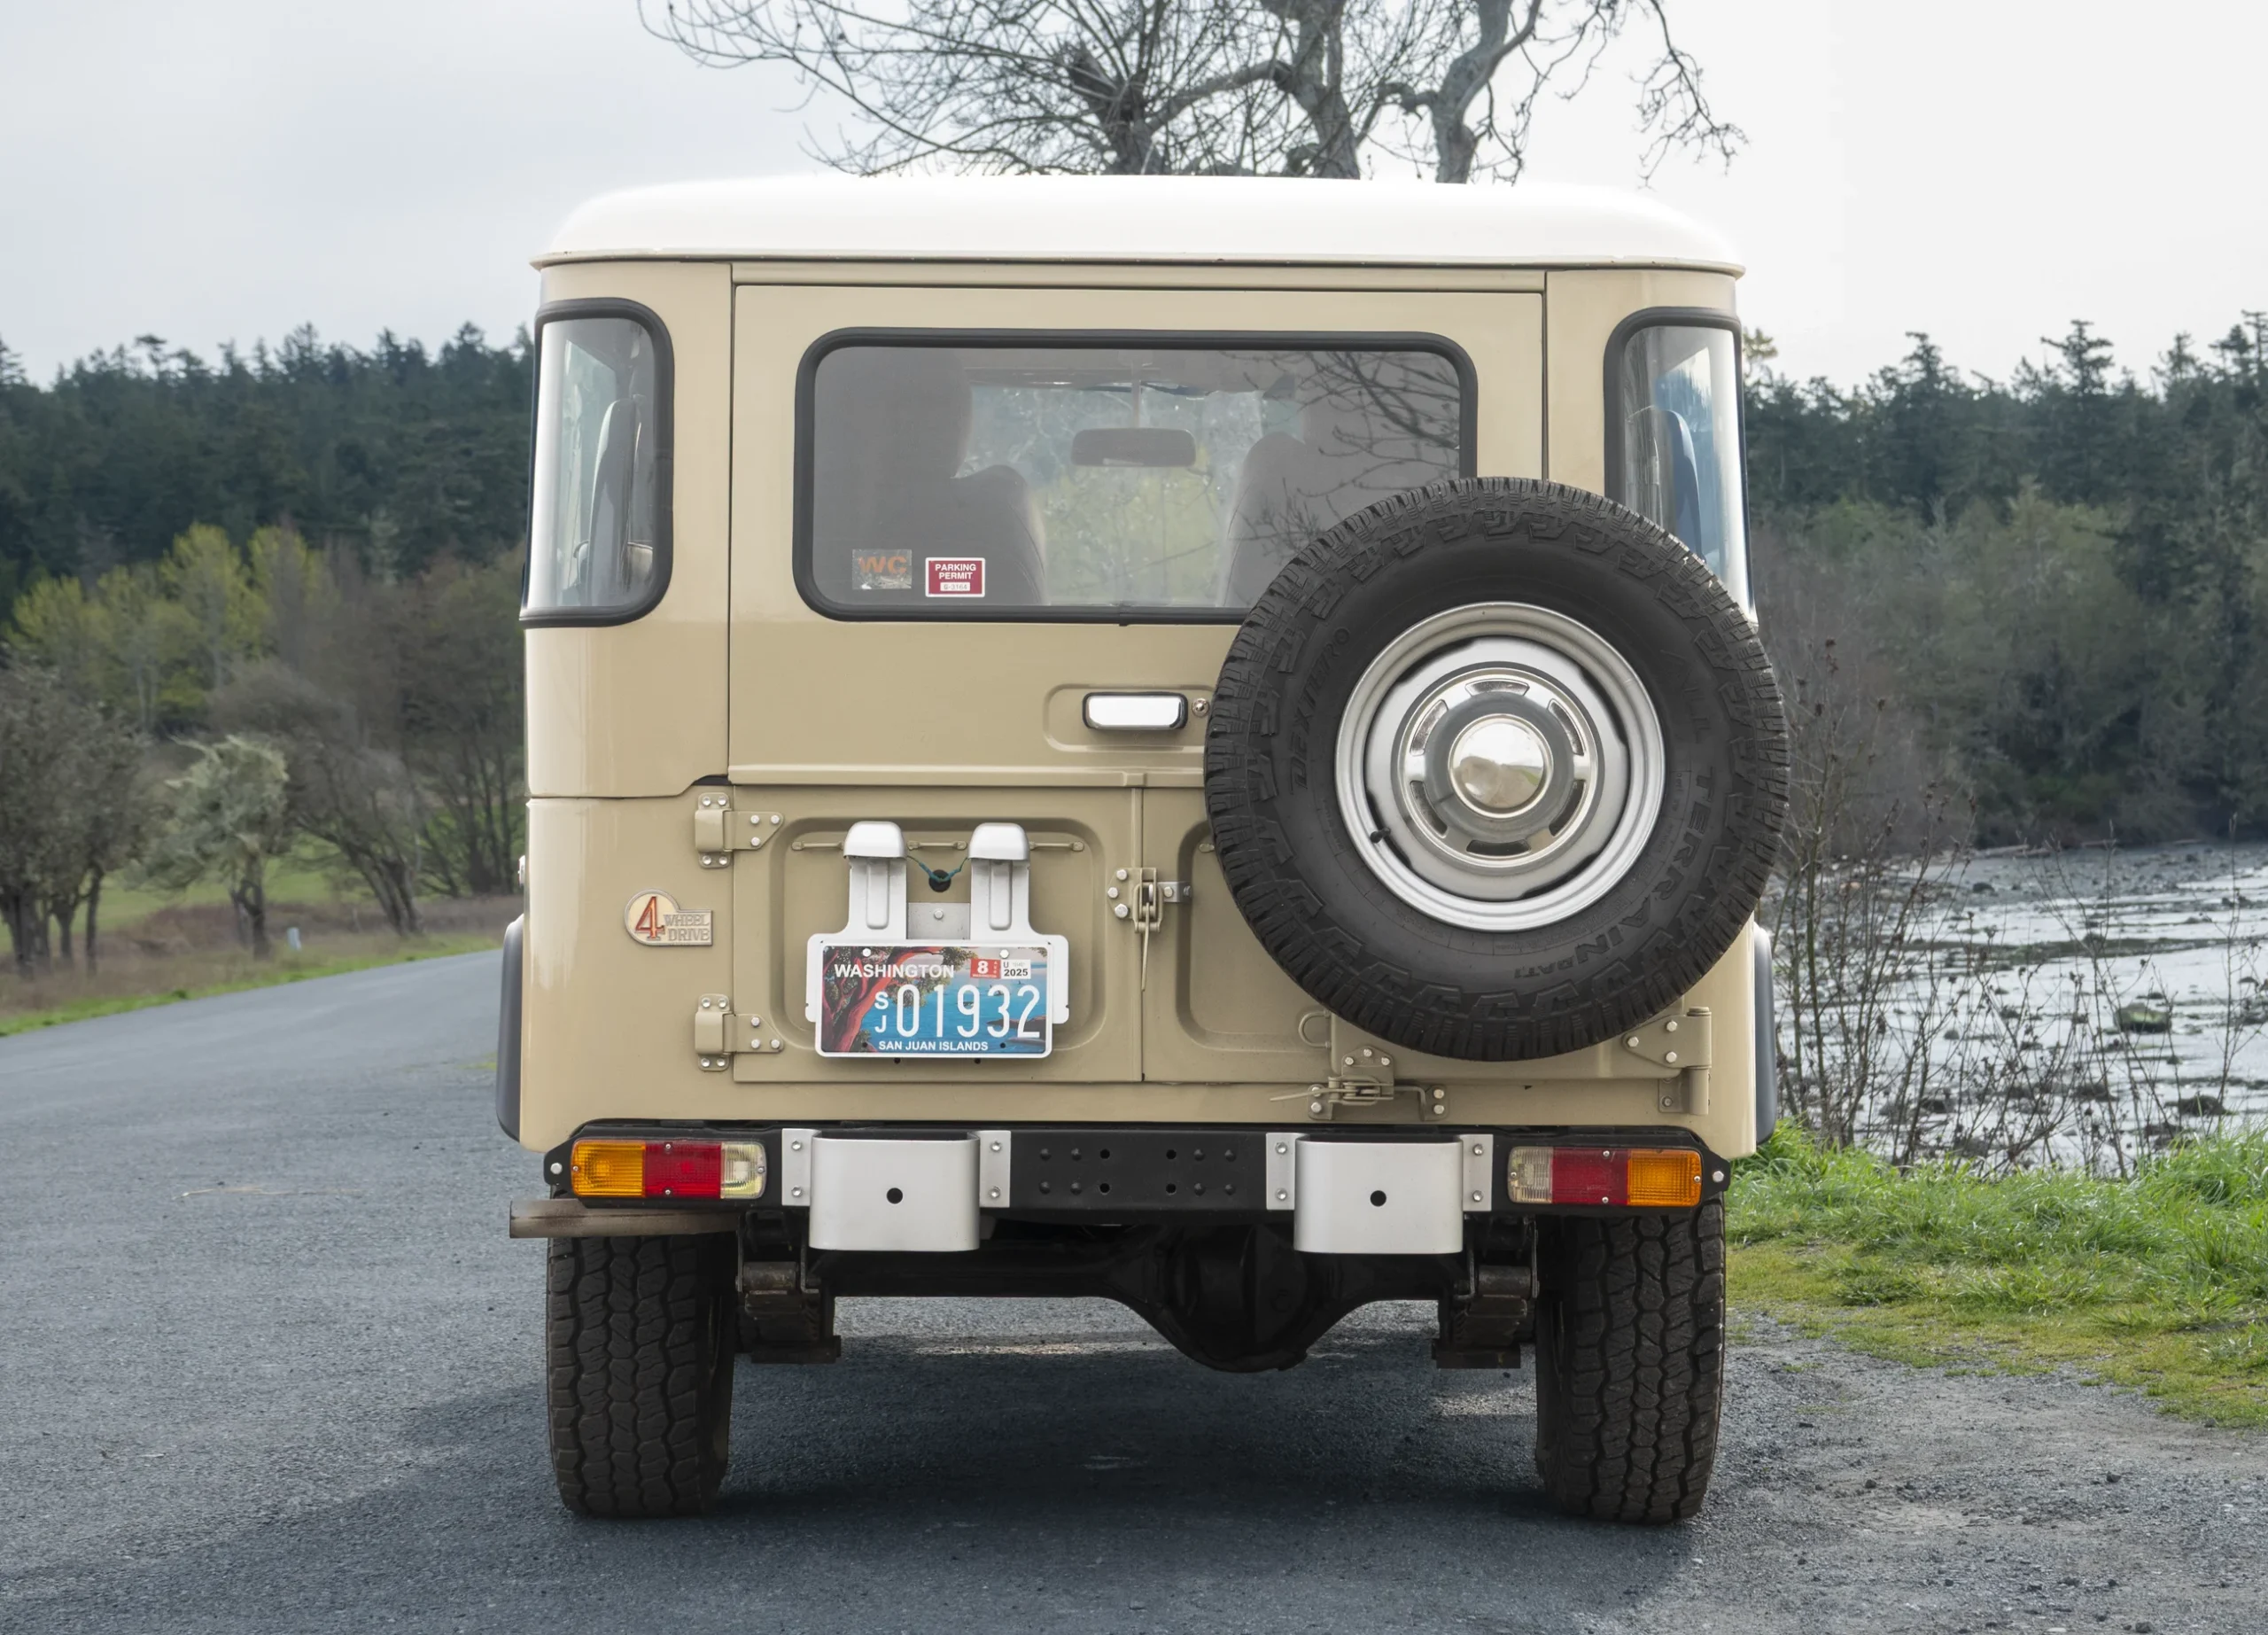
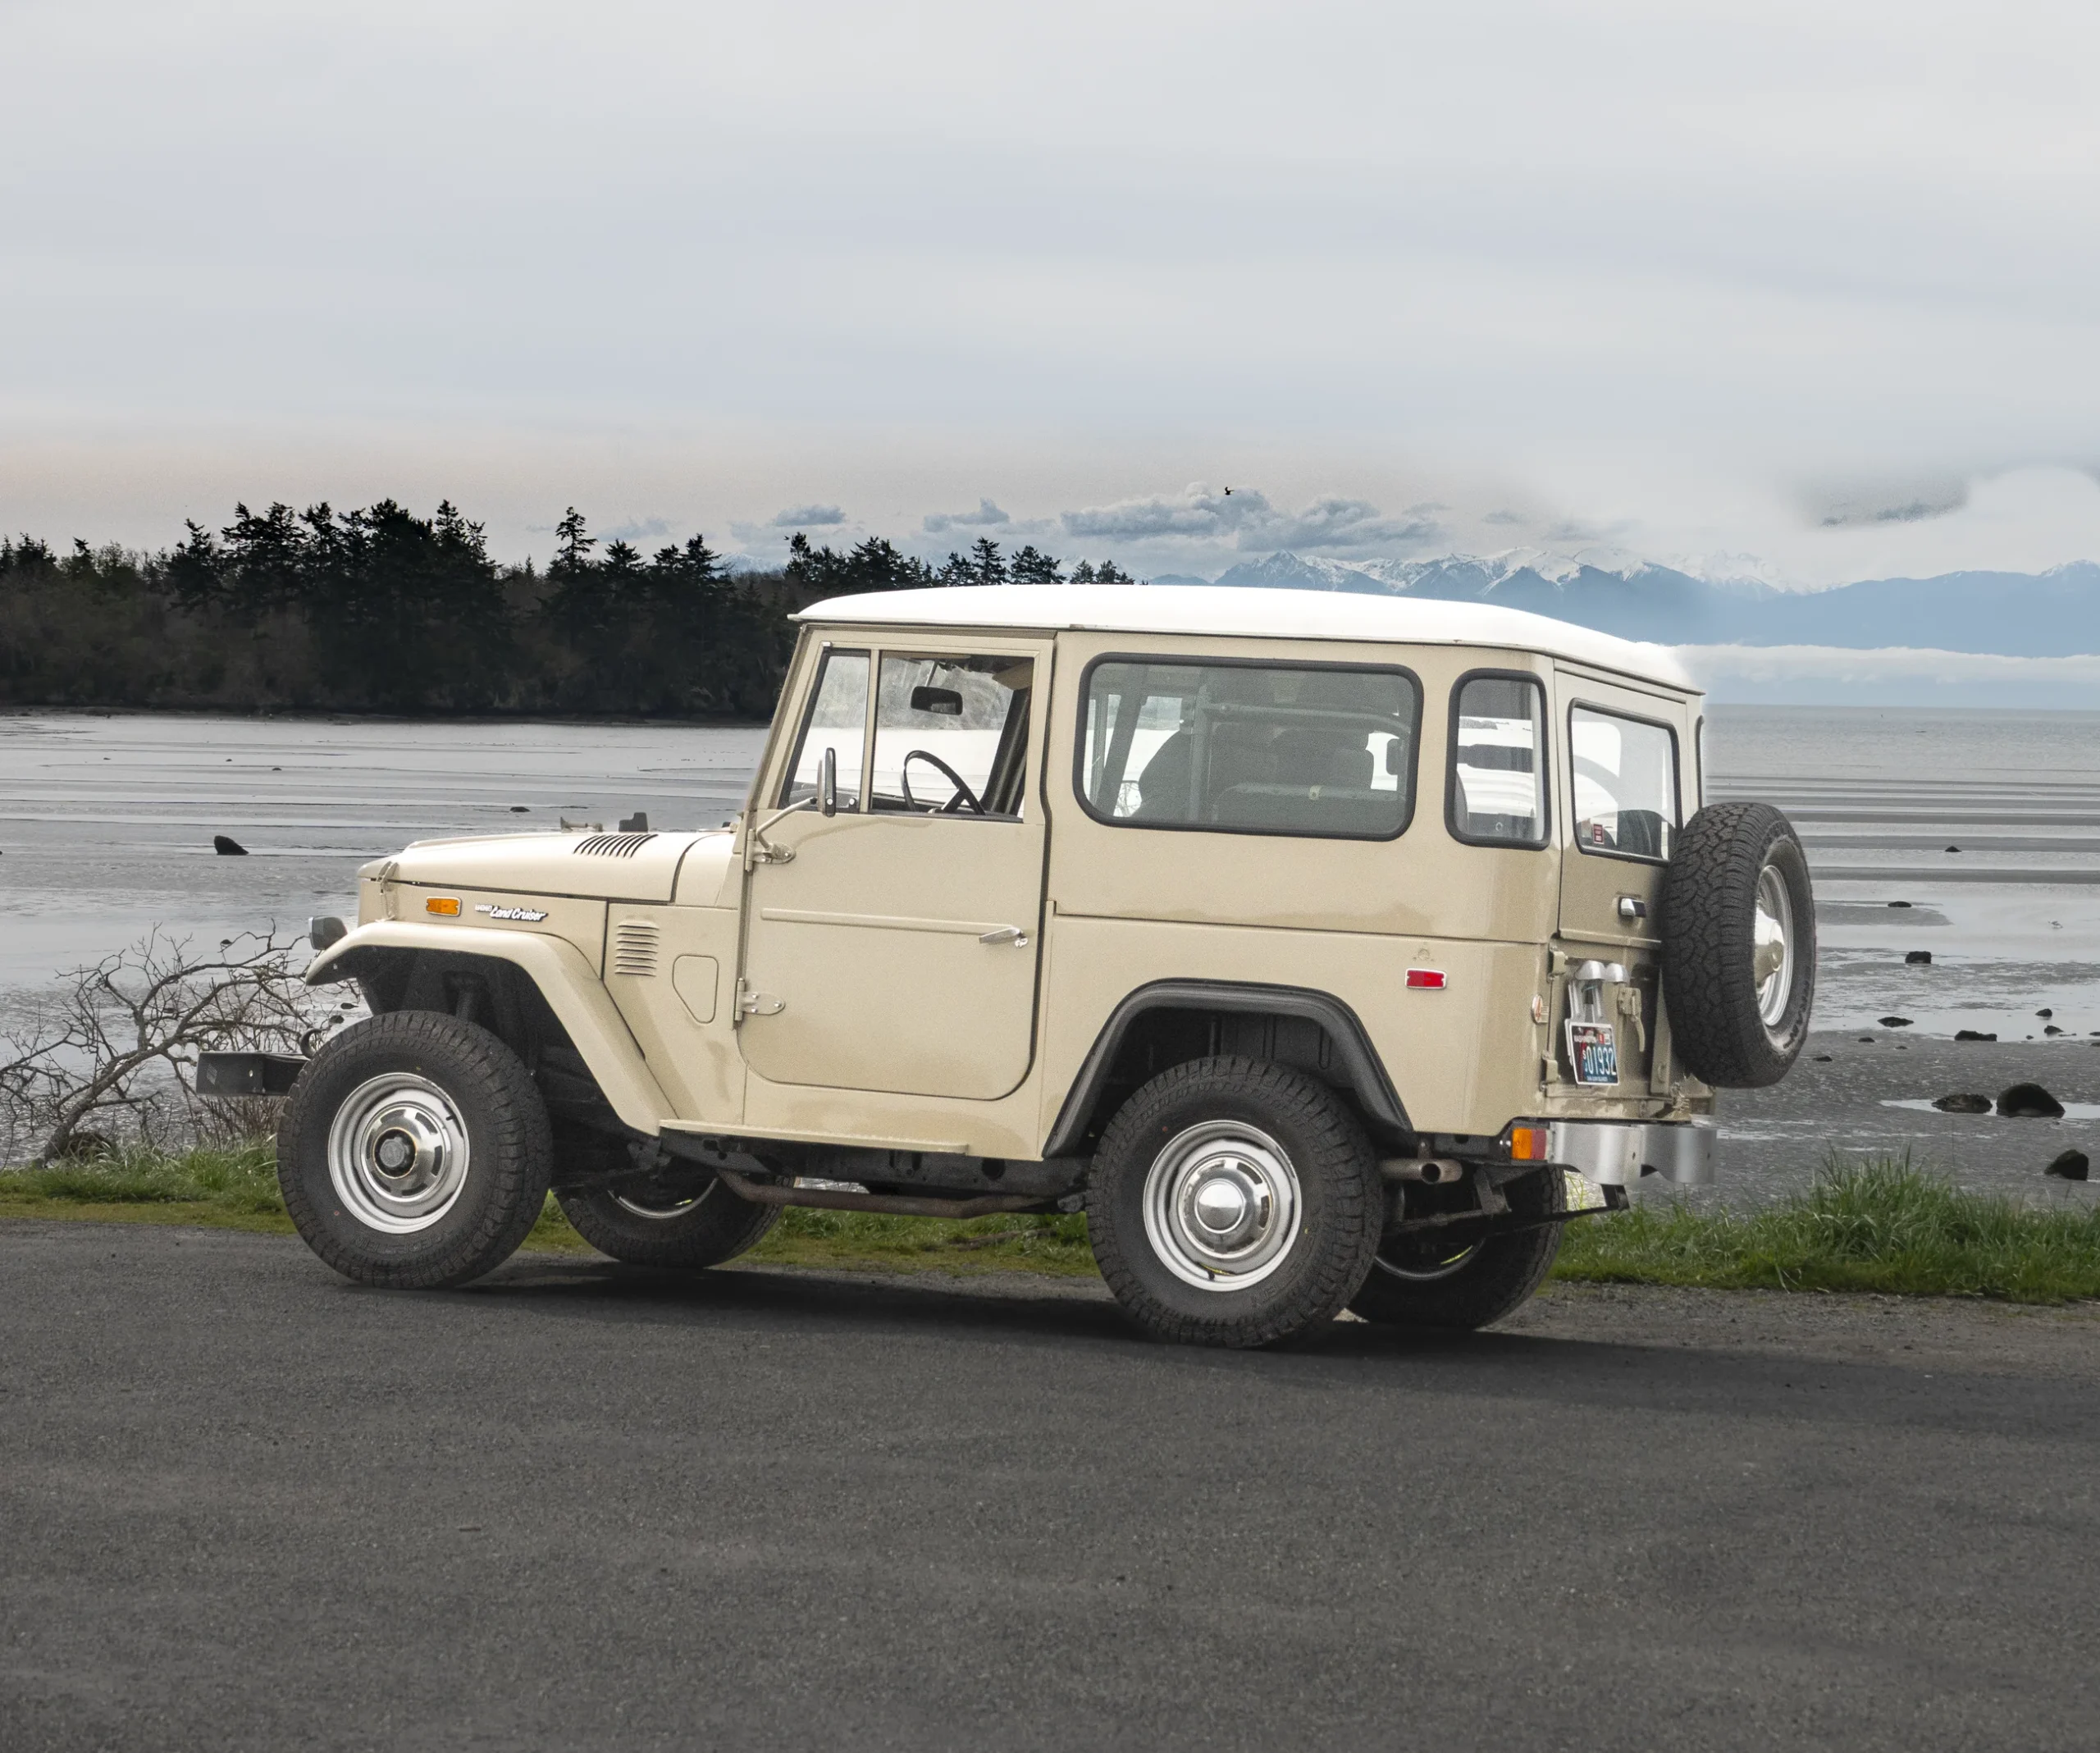
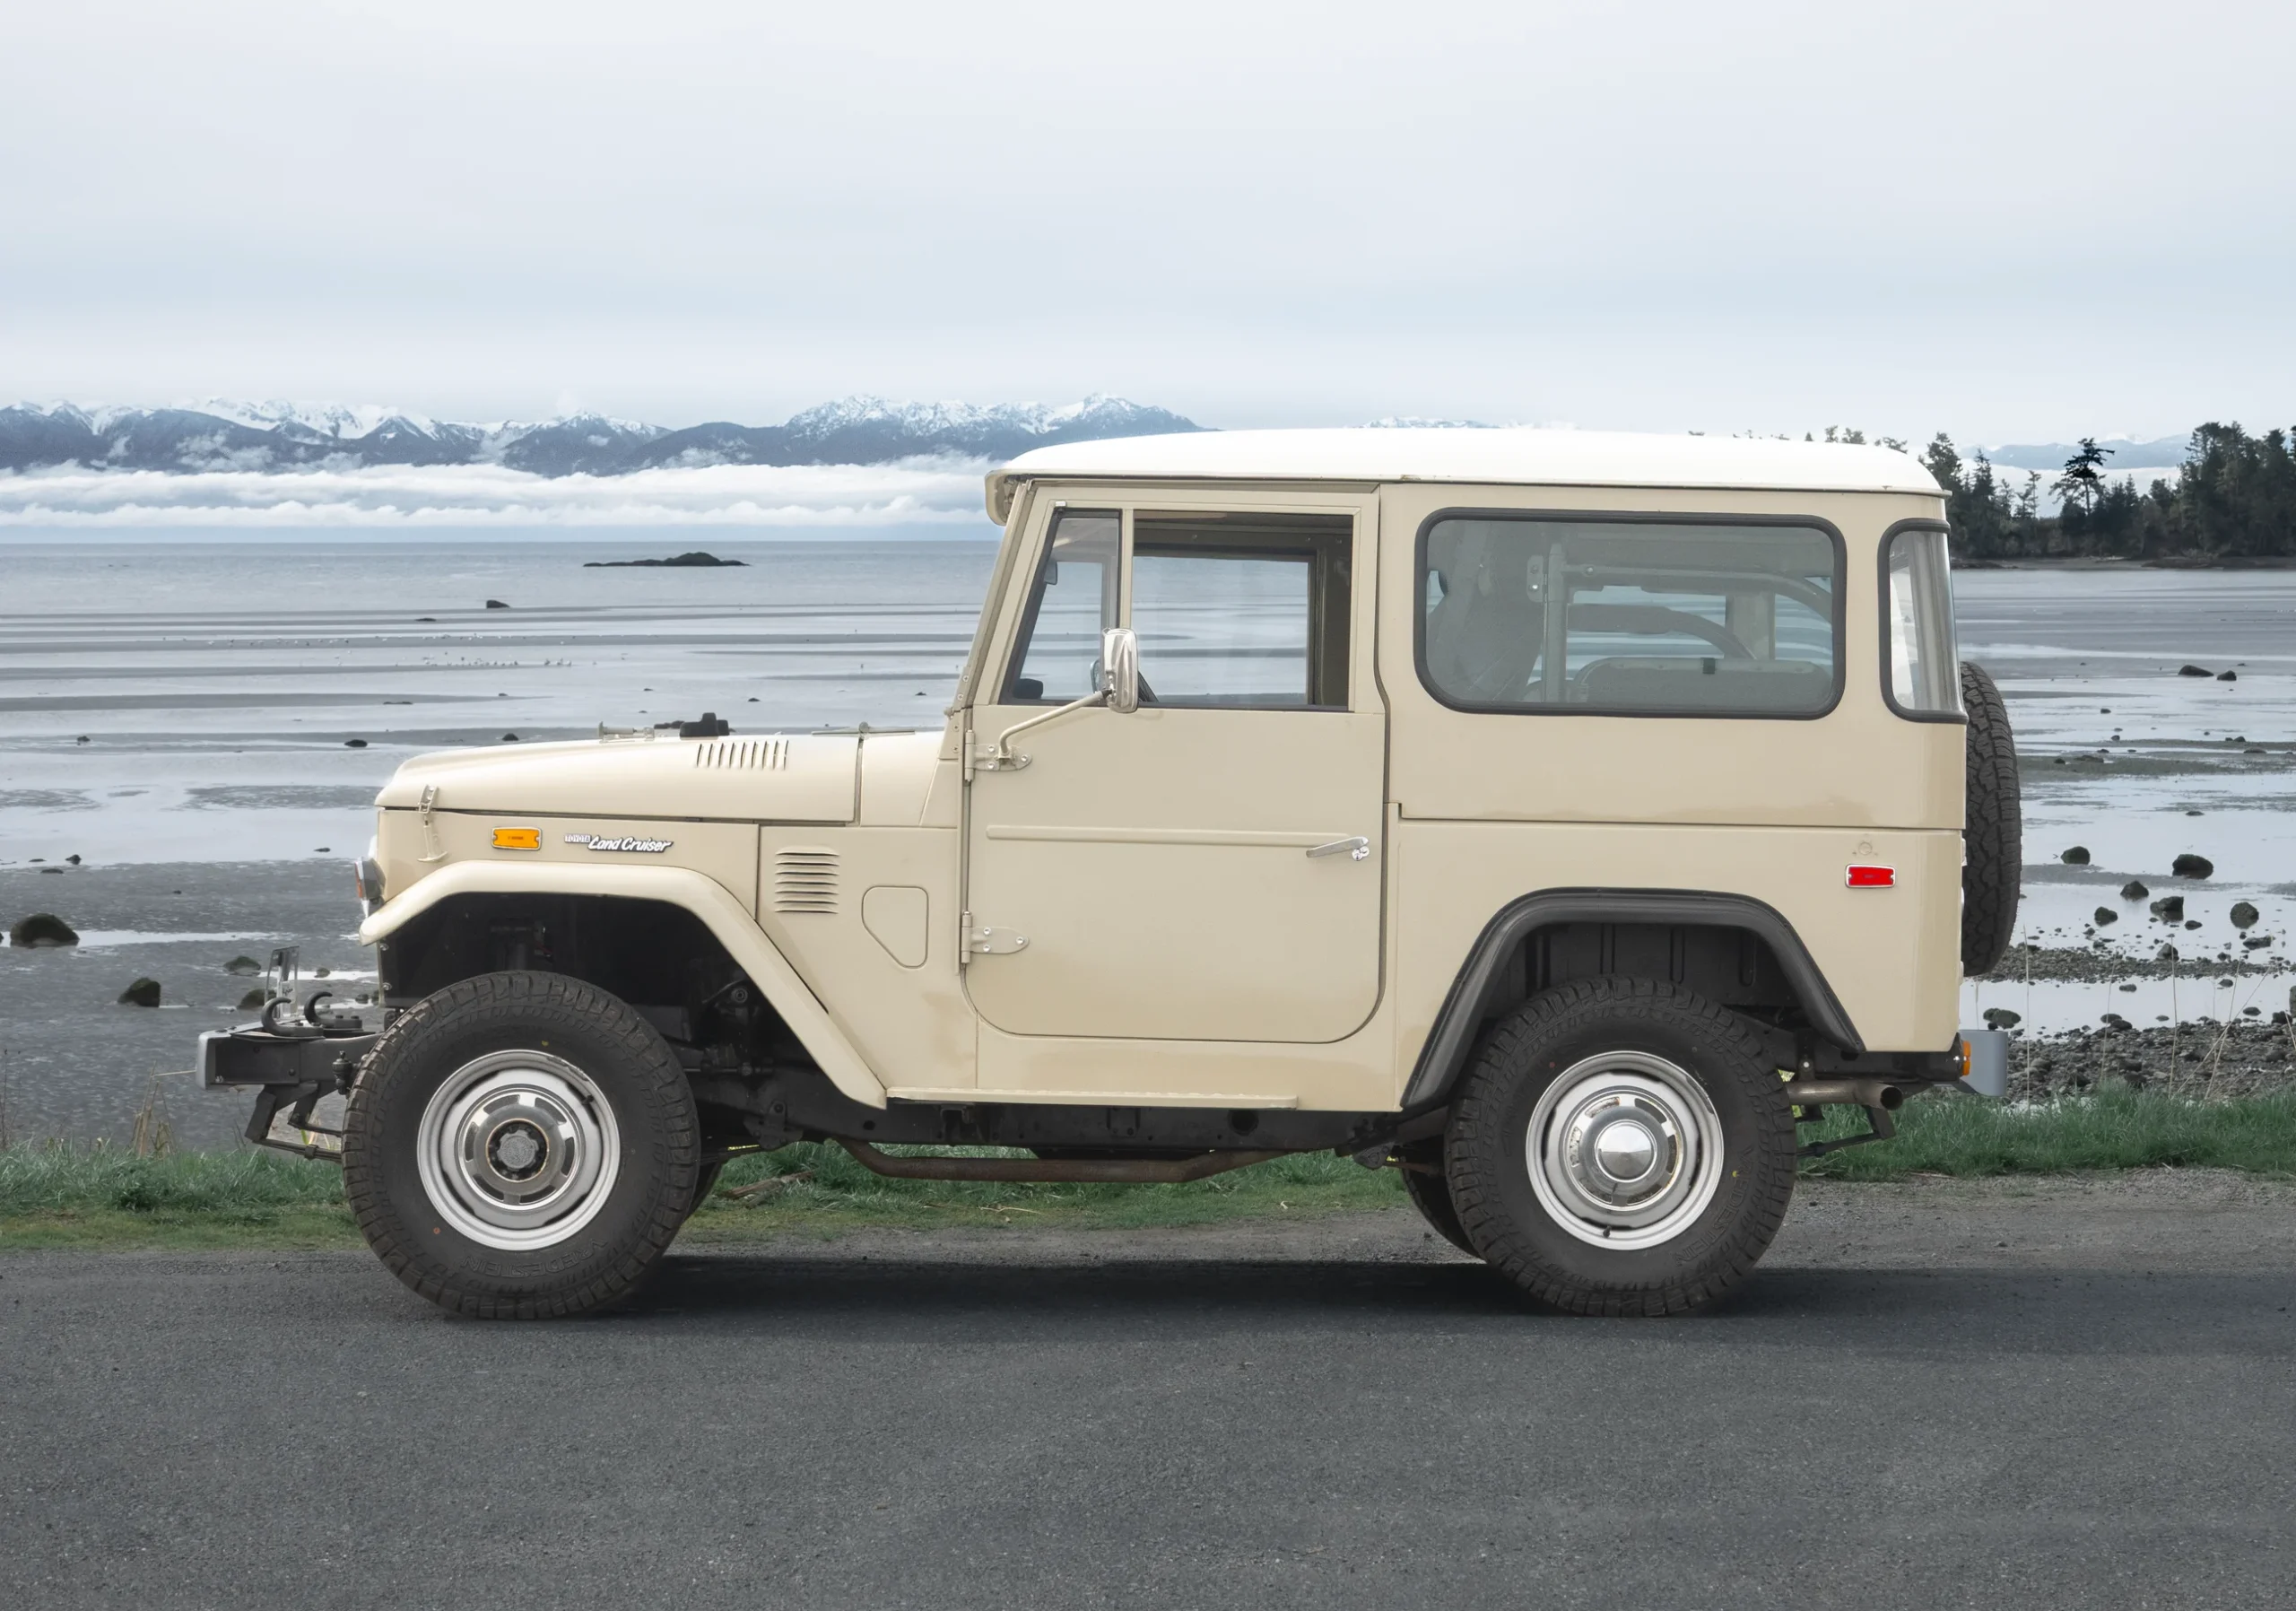
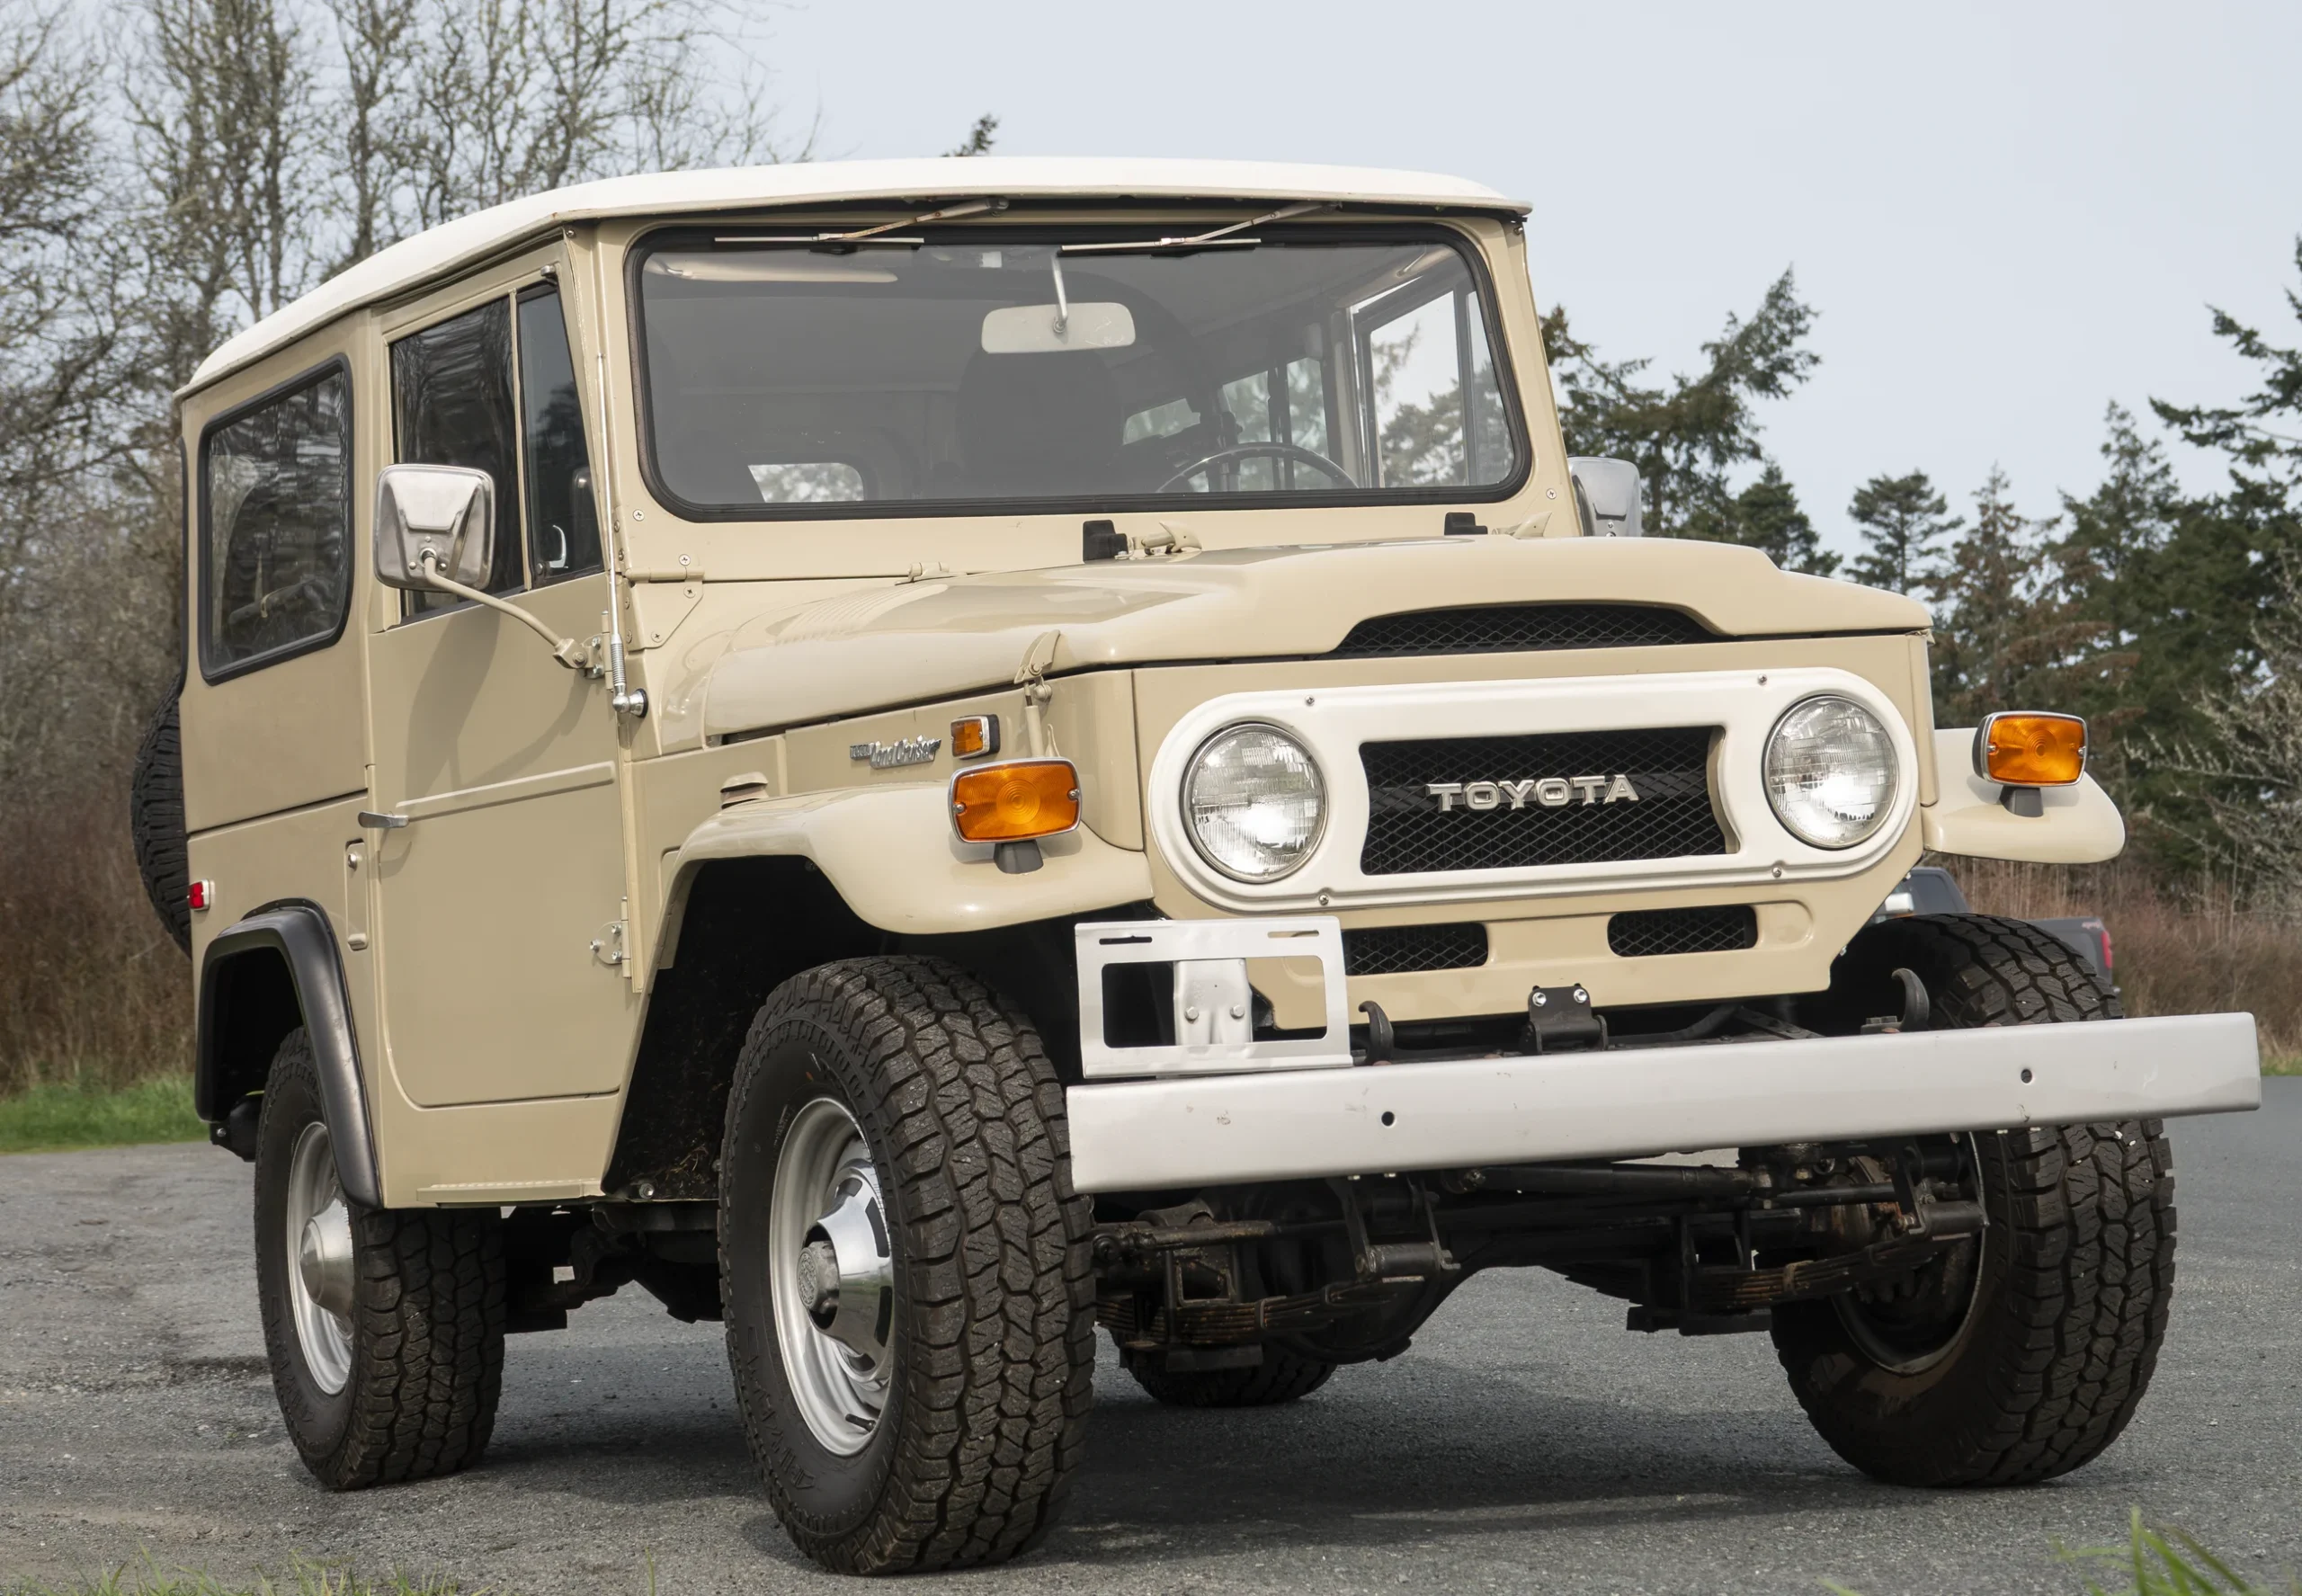
As Owen and I started work on the guts of the tub, it became apparent that I would need a new one due to the extensive rust…so after researching to the ends of the earth…the various options, types of tubs, used and new, Owen and I ended up trekking to rural New Mexico to pick up a tub cut out of a 1975 FJ. It was in much better shape than my current one at least and would be solid enough to strip and repaint without filler.
Sidebar – The downside of being ignorant is that one does not always know we are ignorant, a.k.a. the Dunning Krueger Effect. The research I conducted indicated that the 1975 and 1974 tubs were identical. Stay tuned for more exciting news on this below!
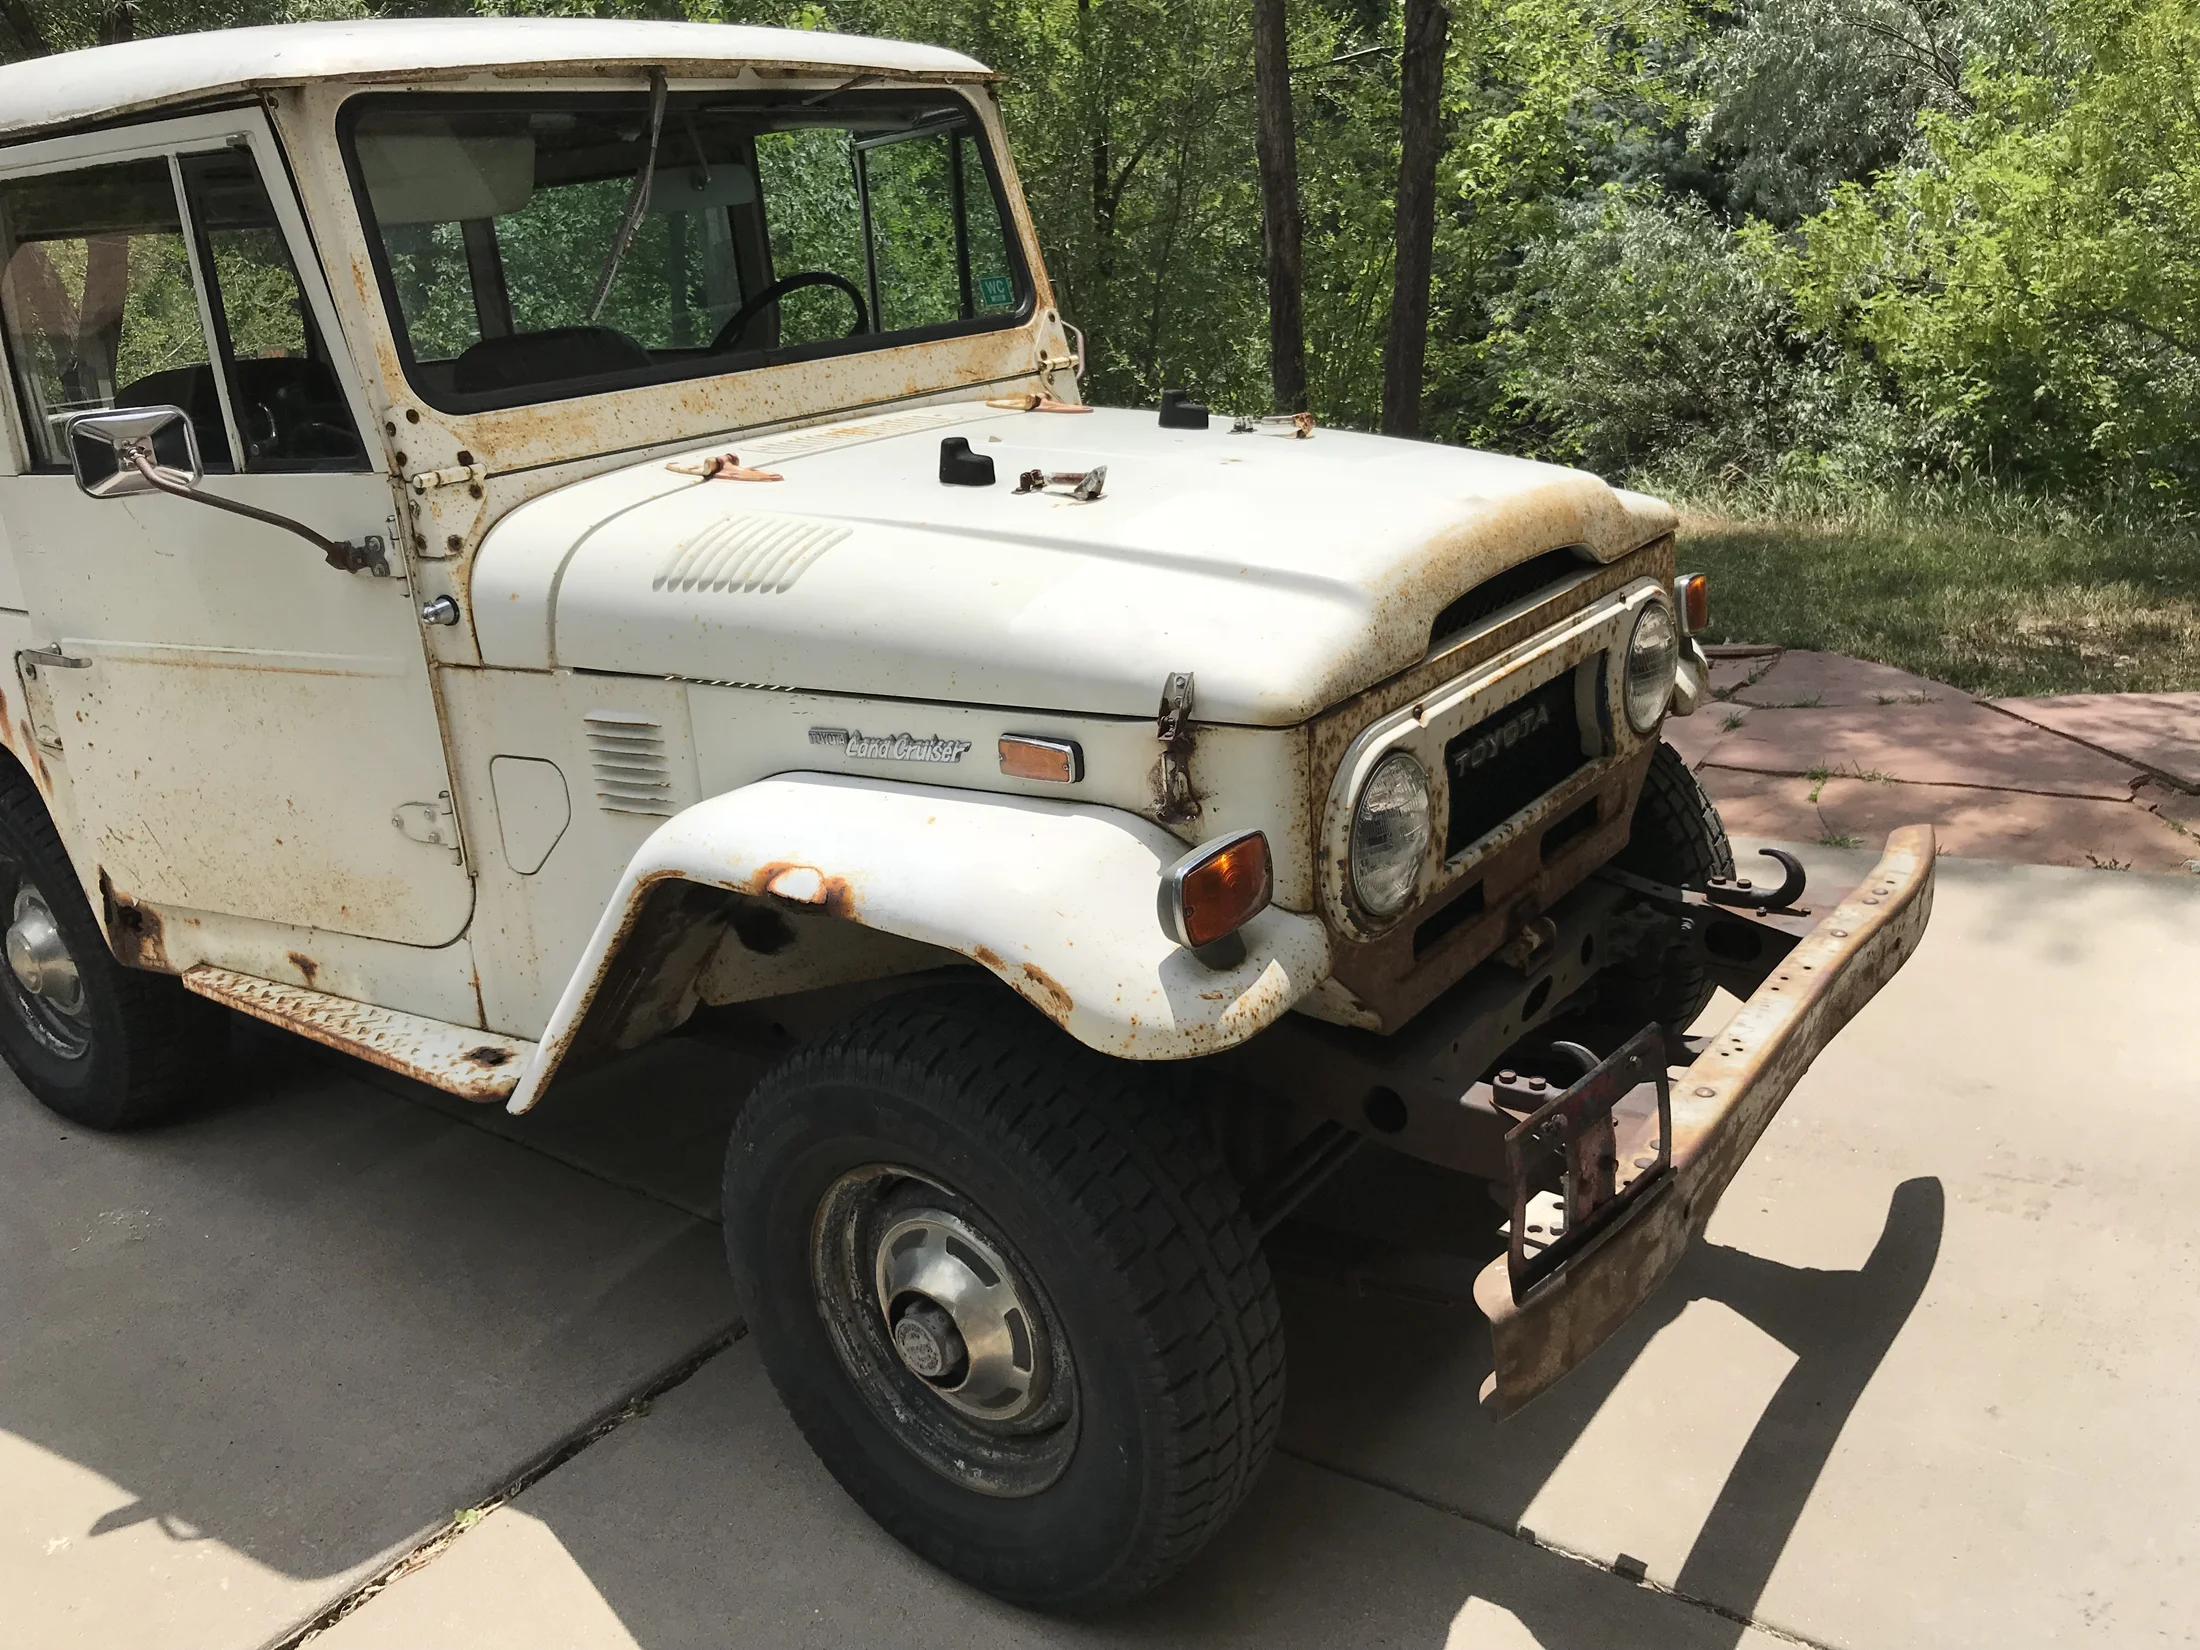
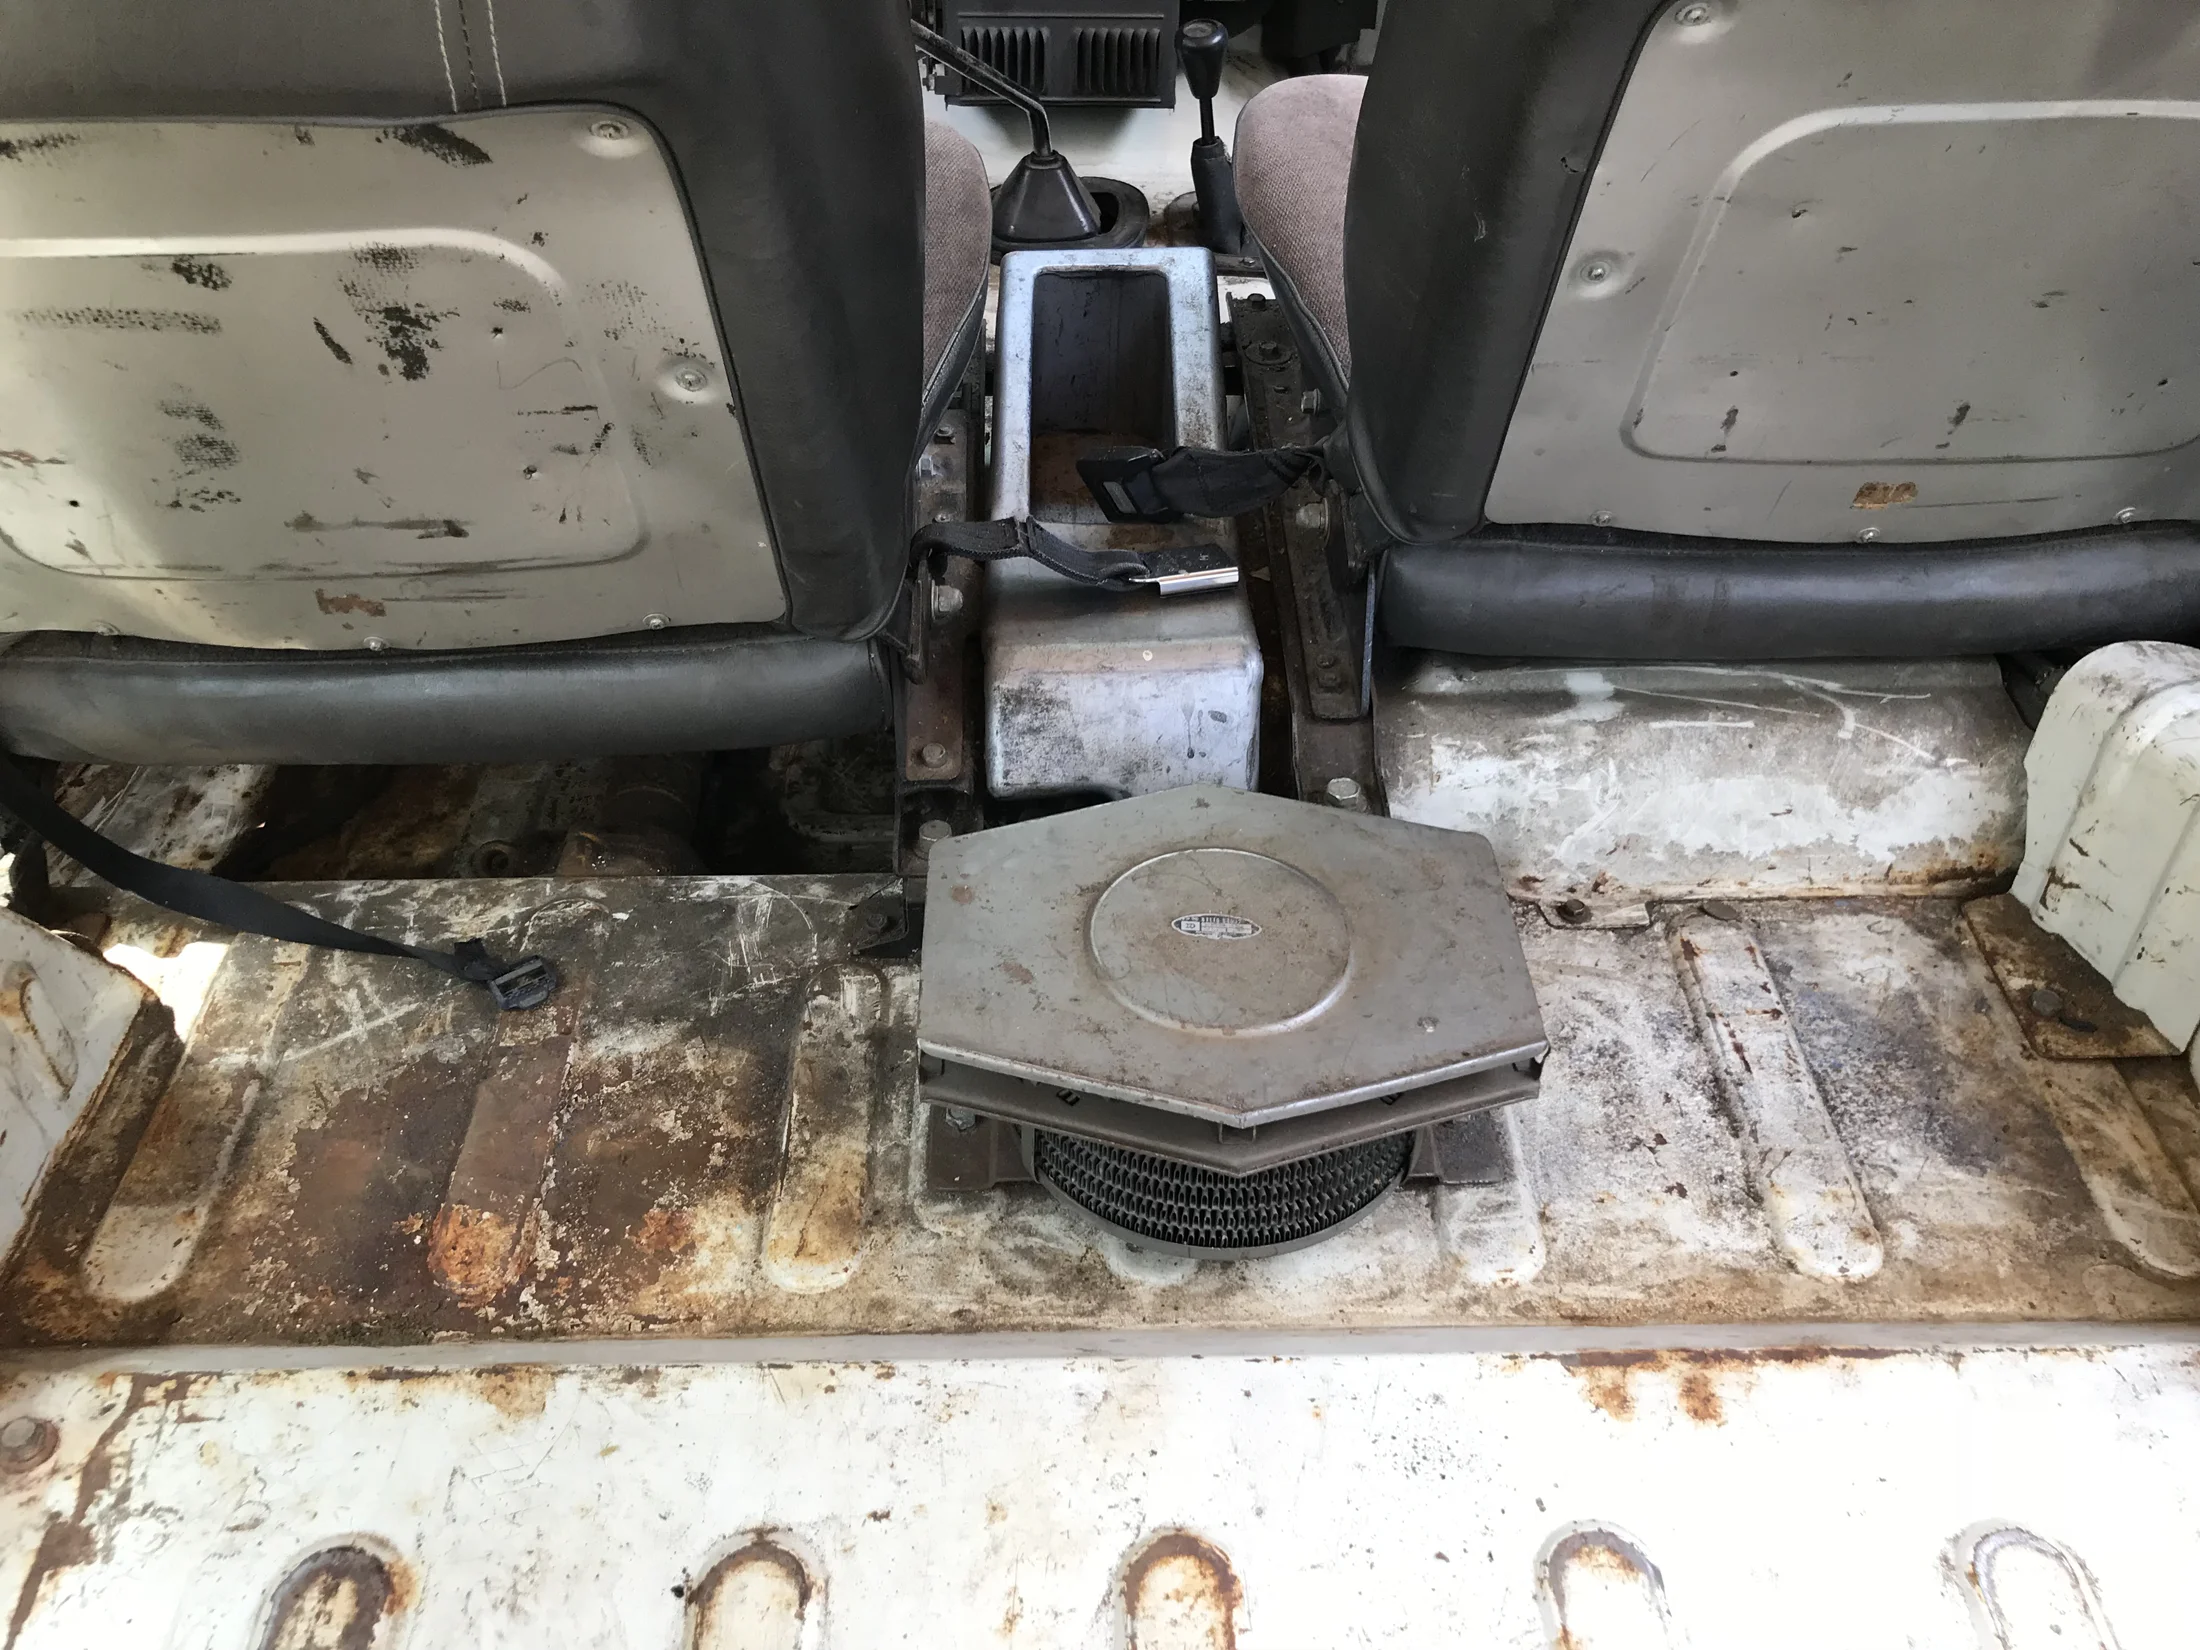
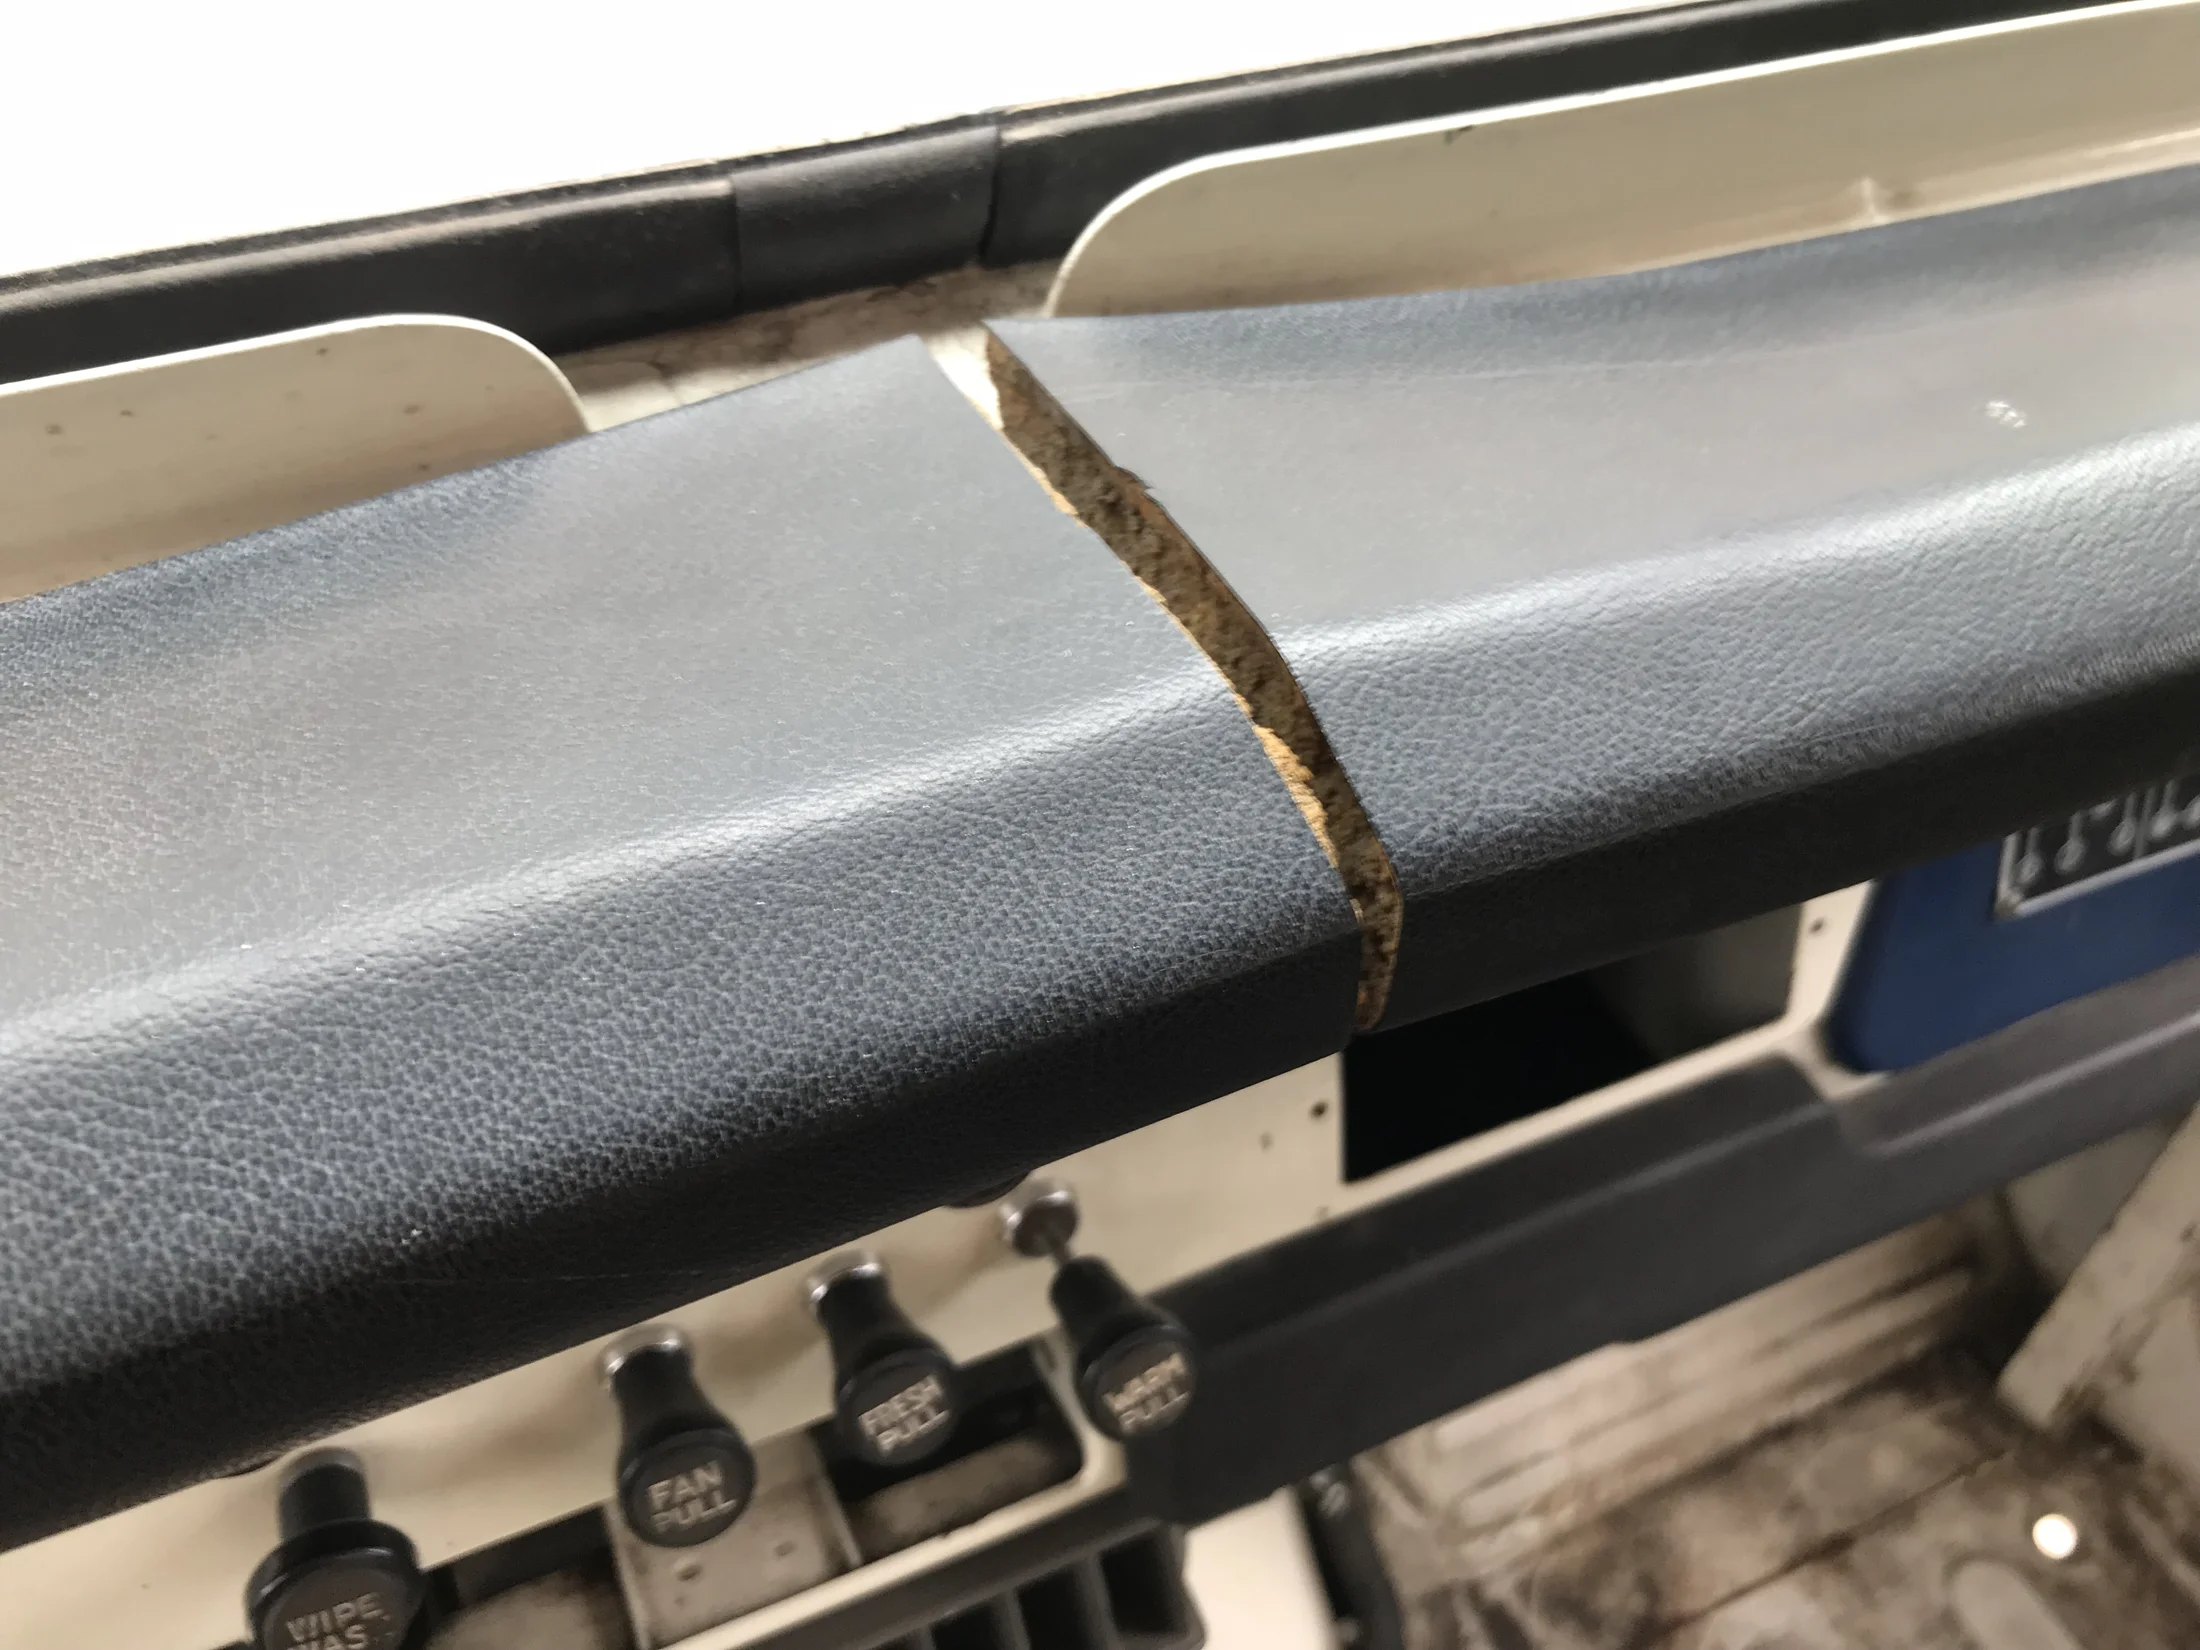
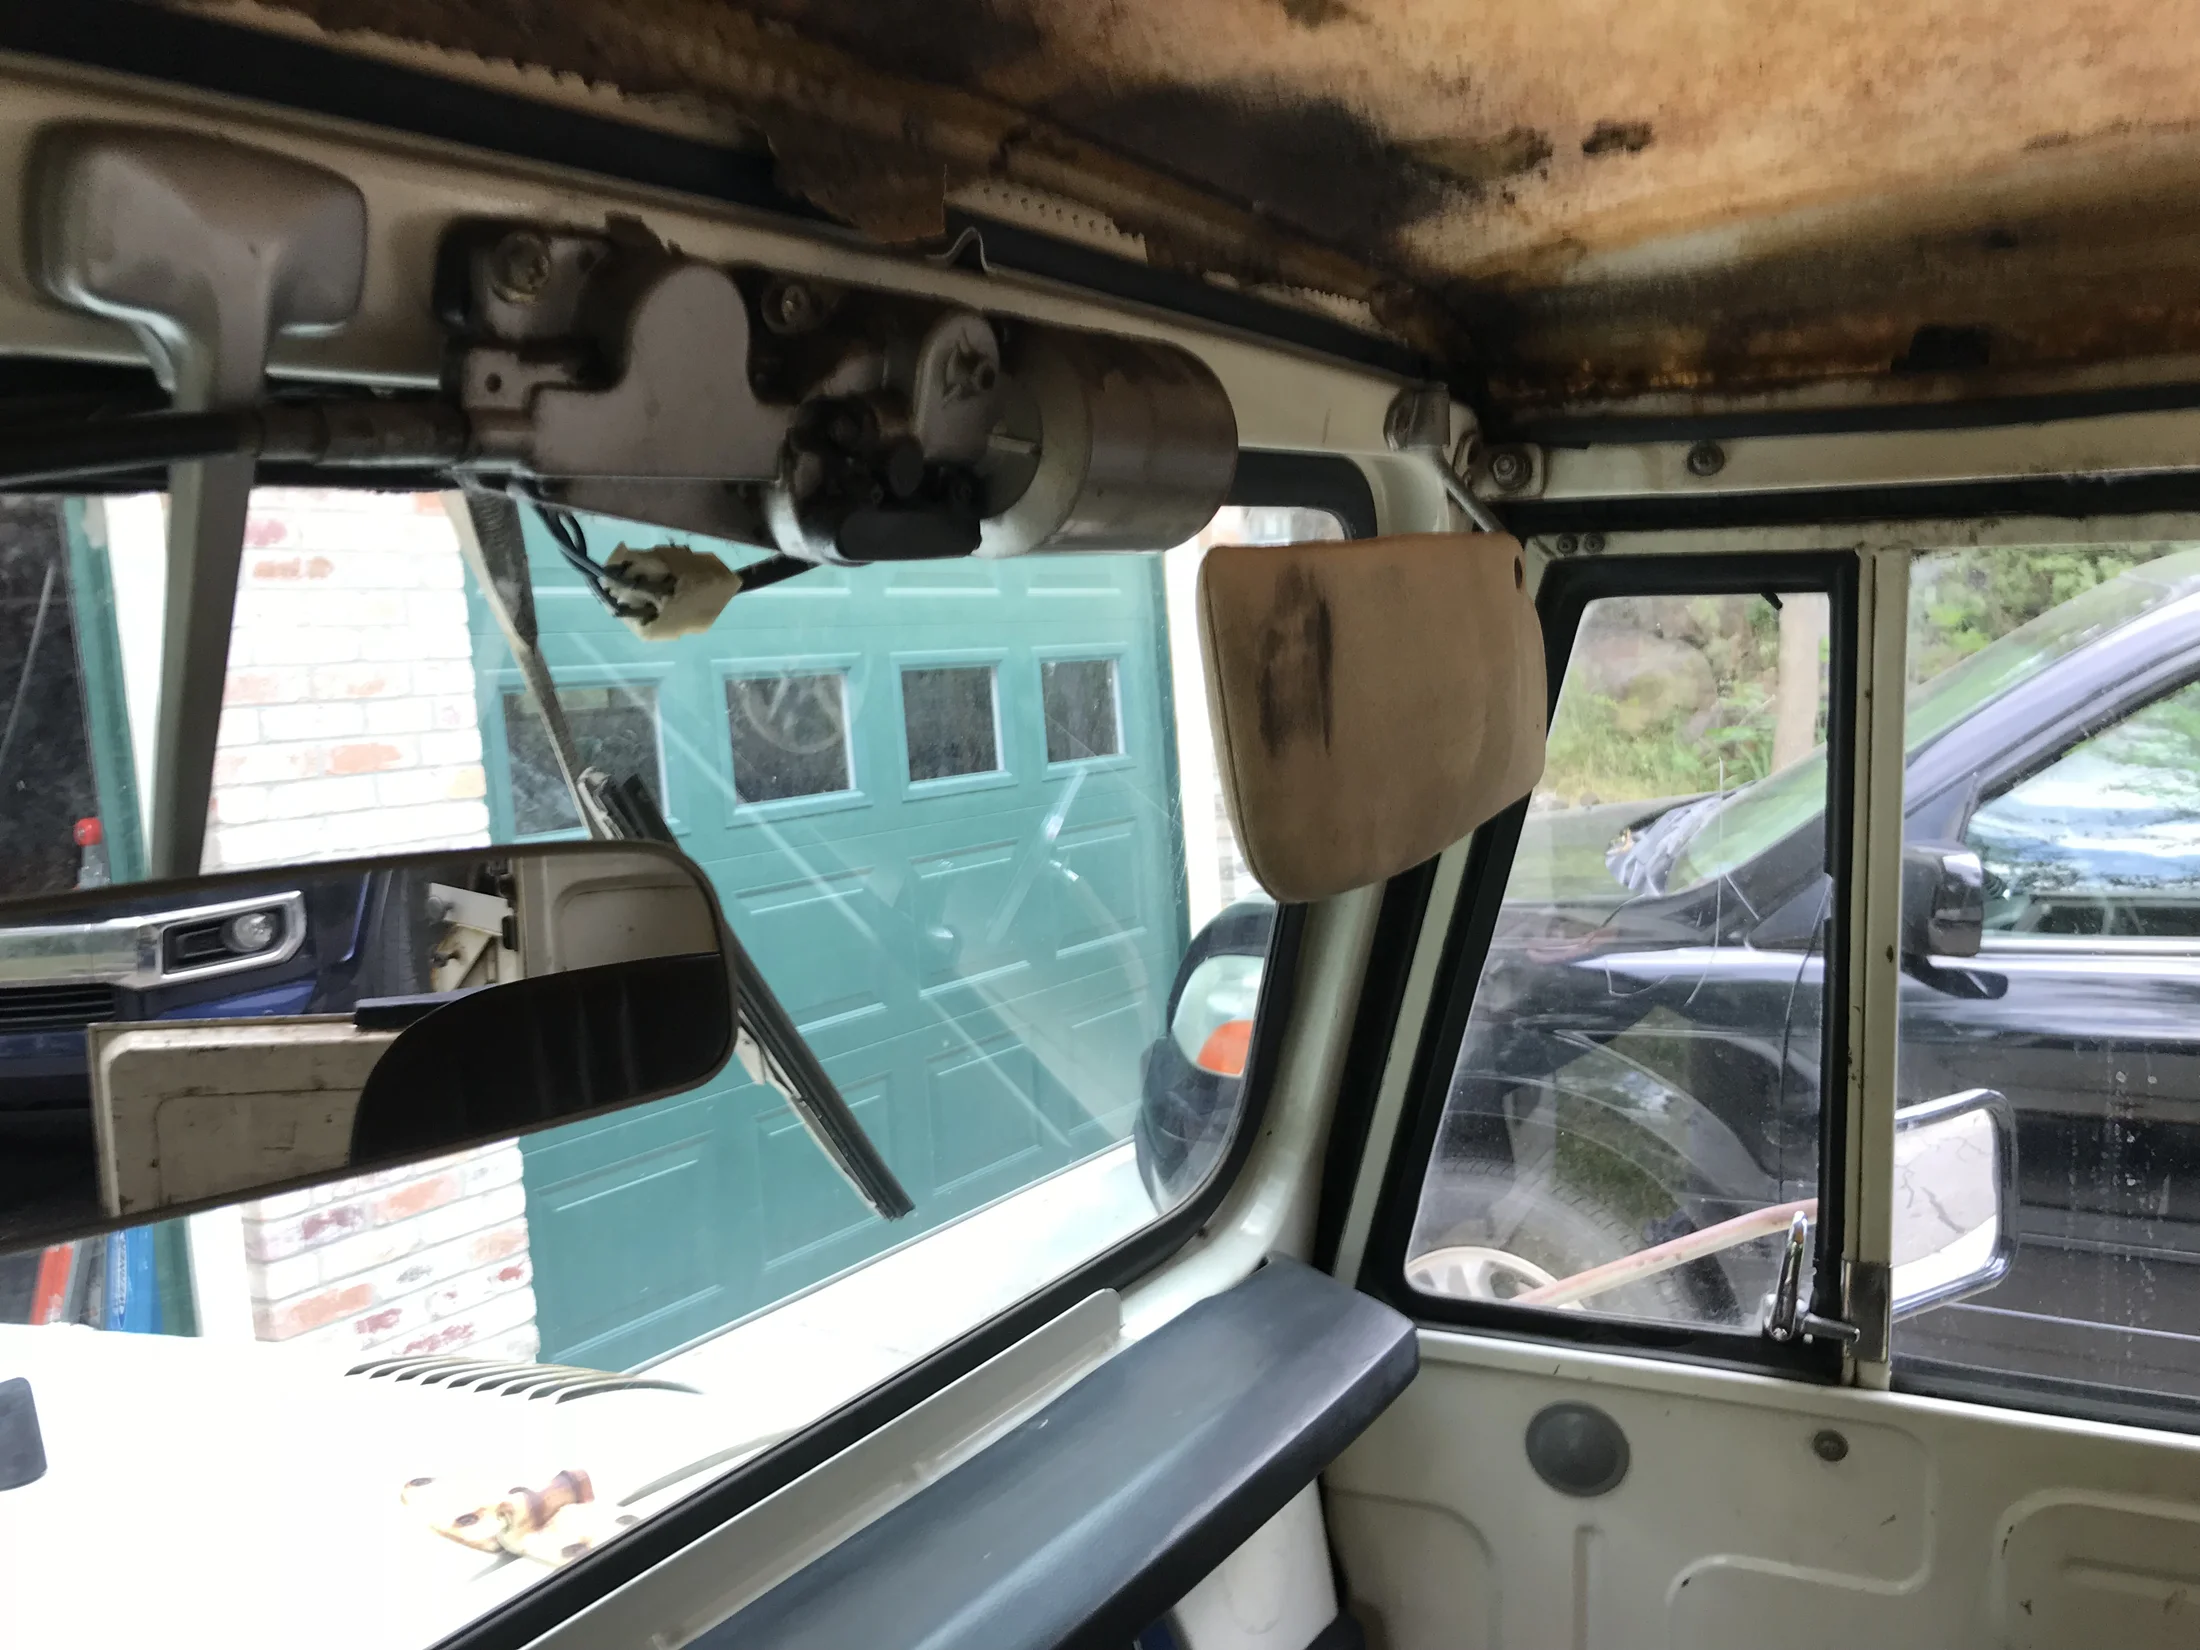
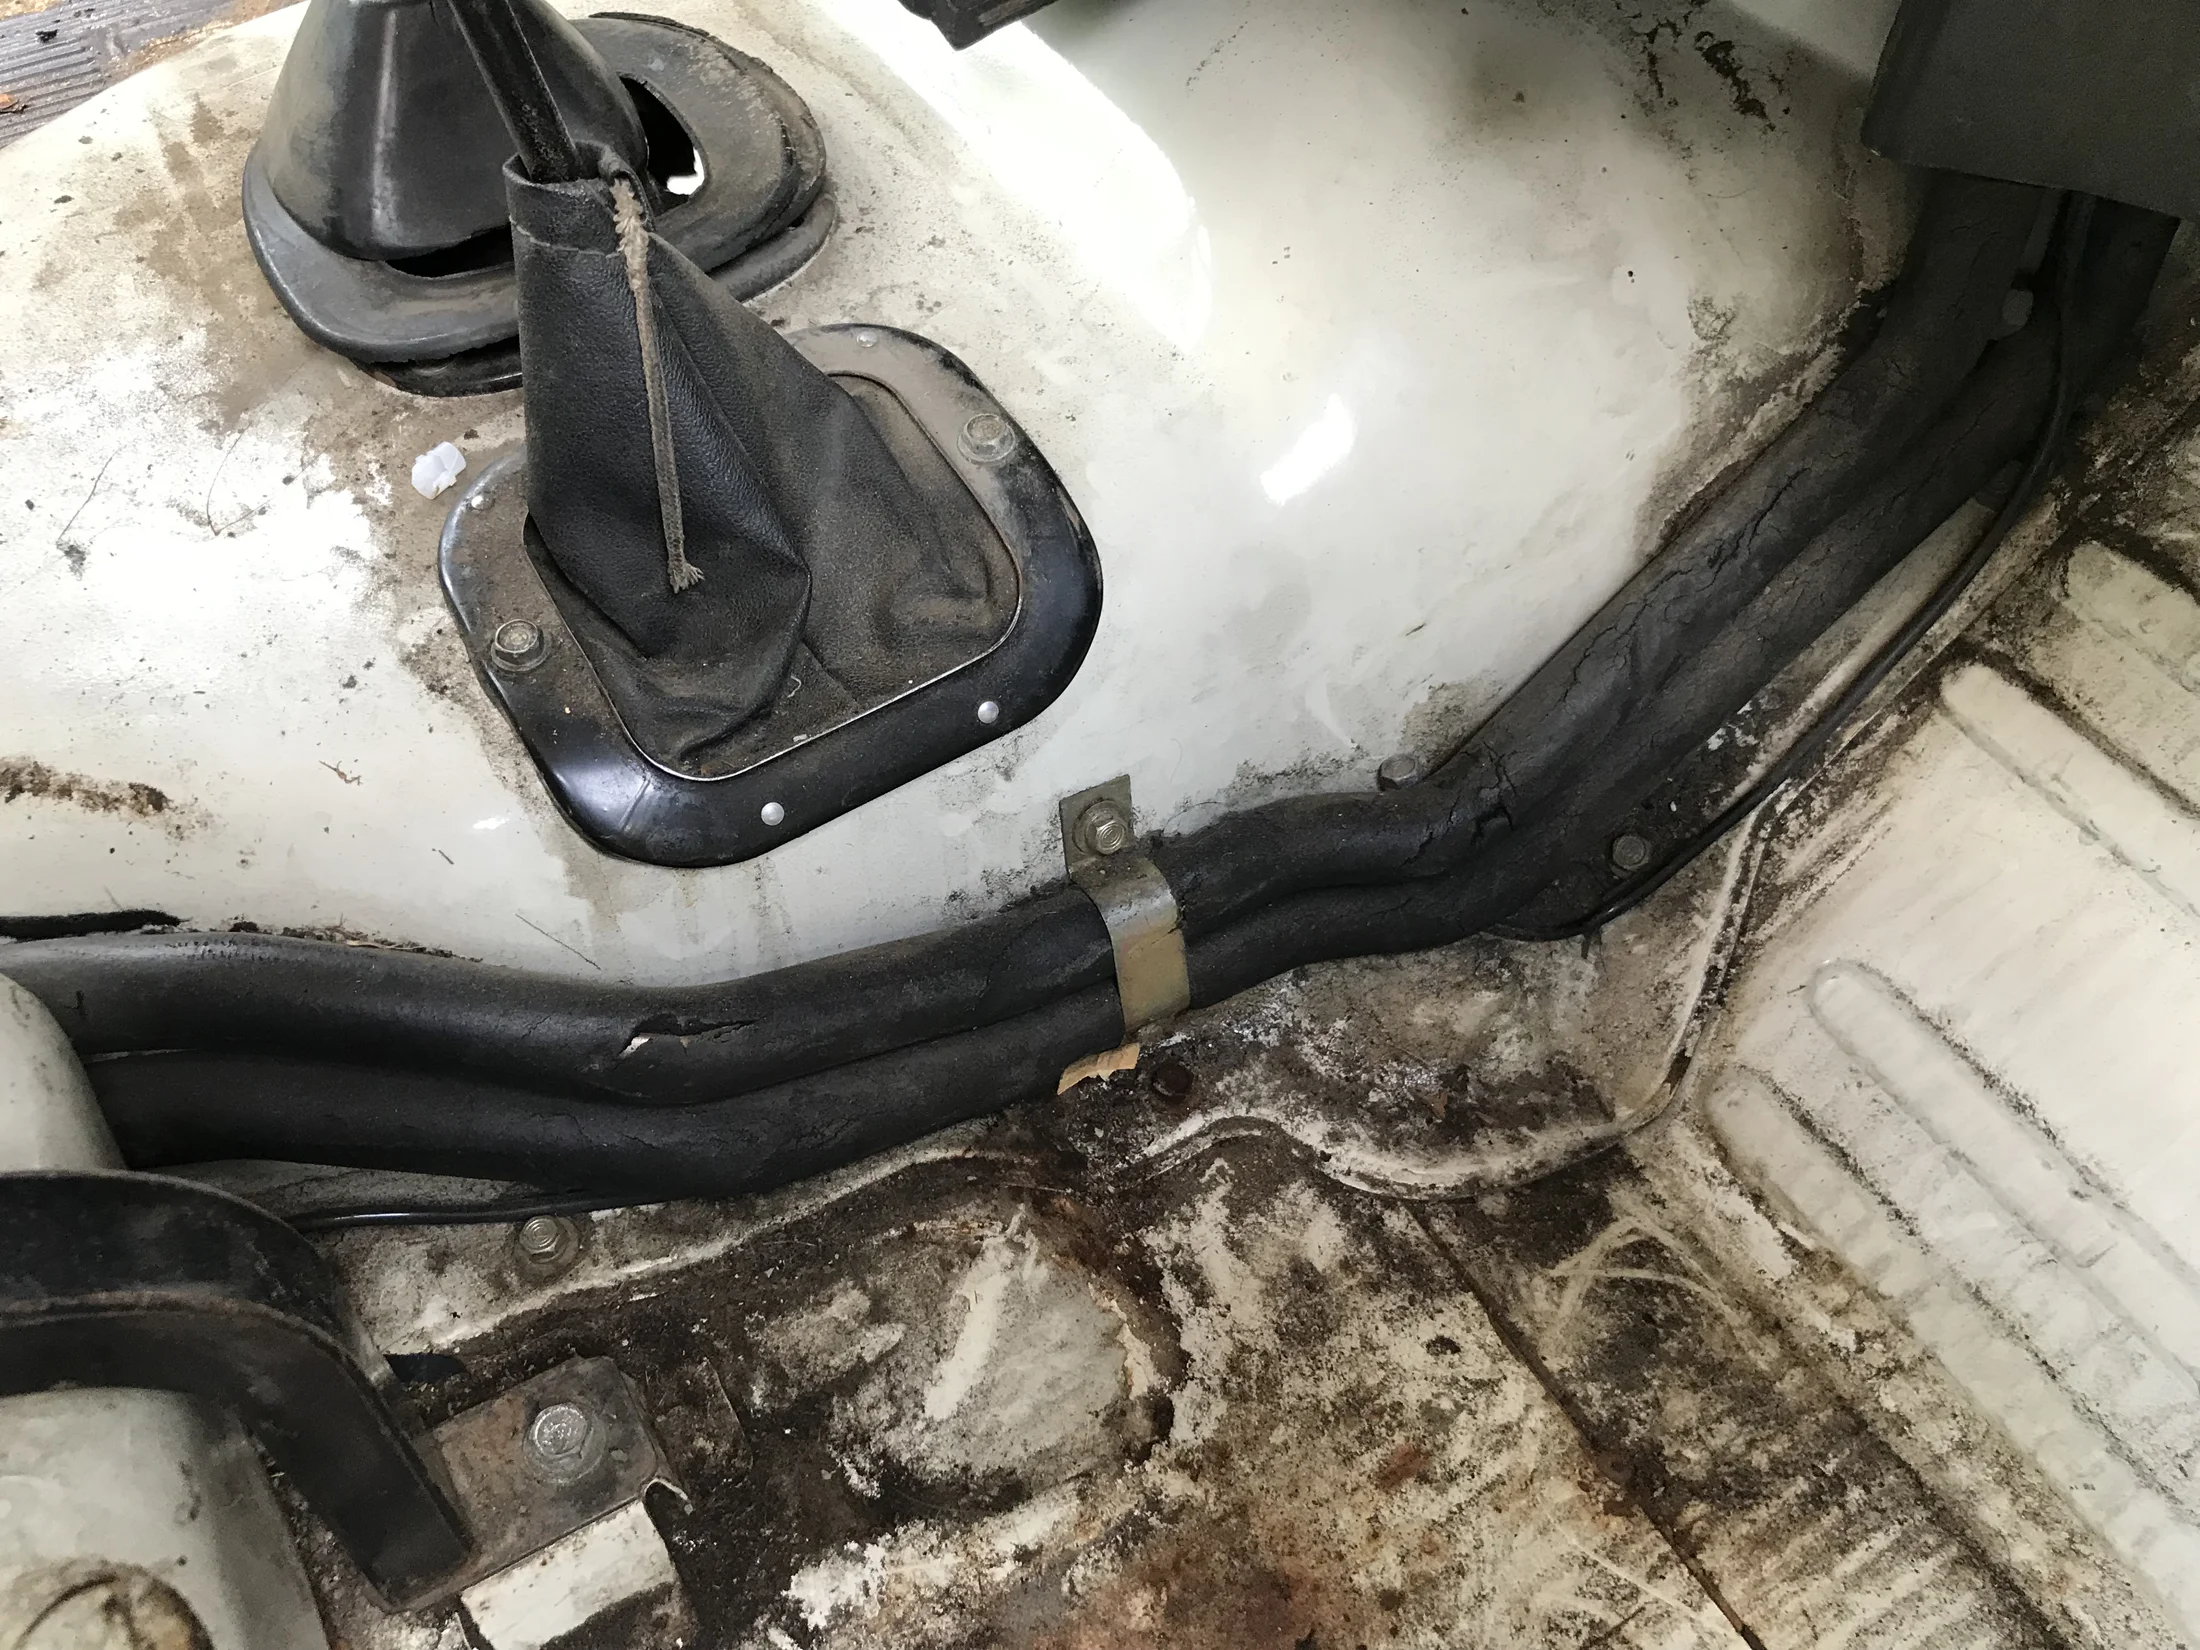
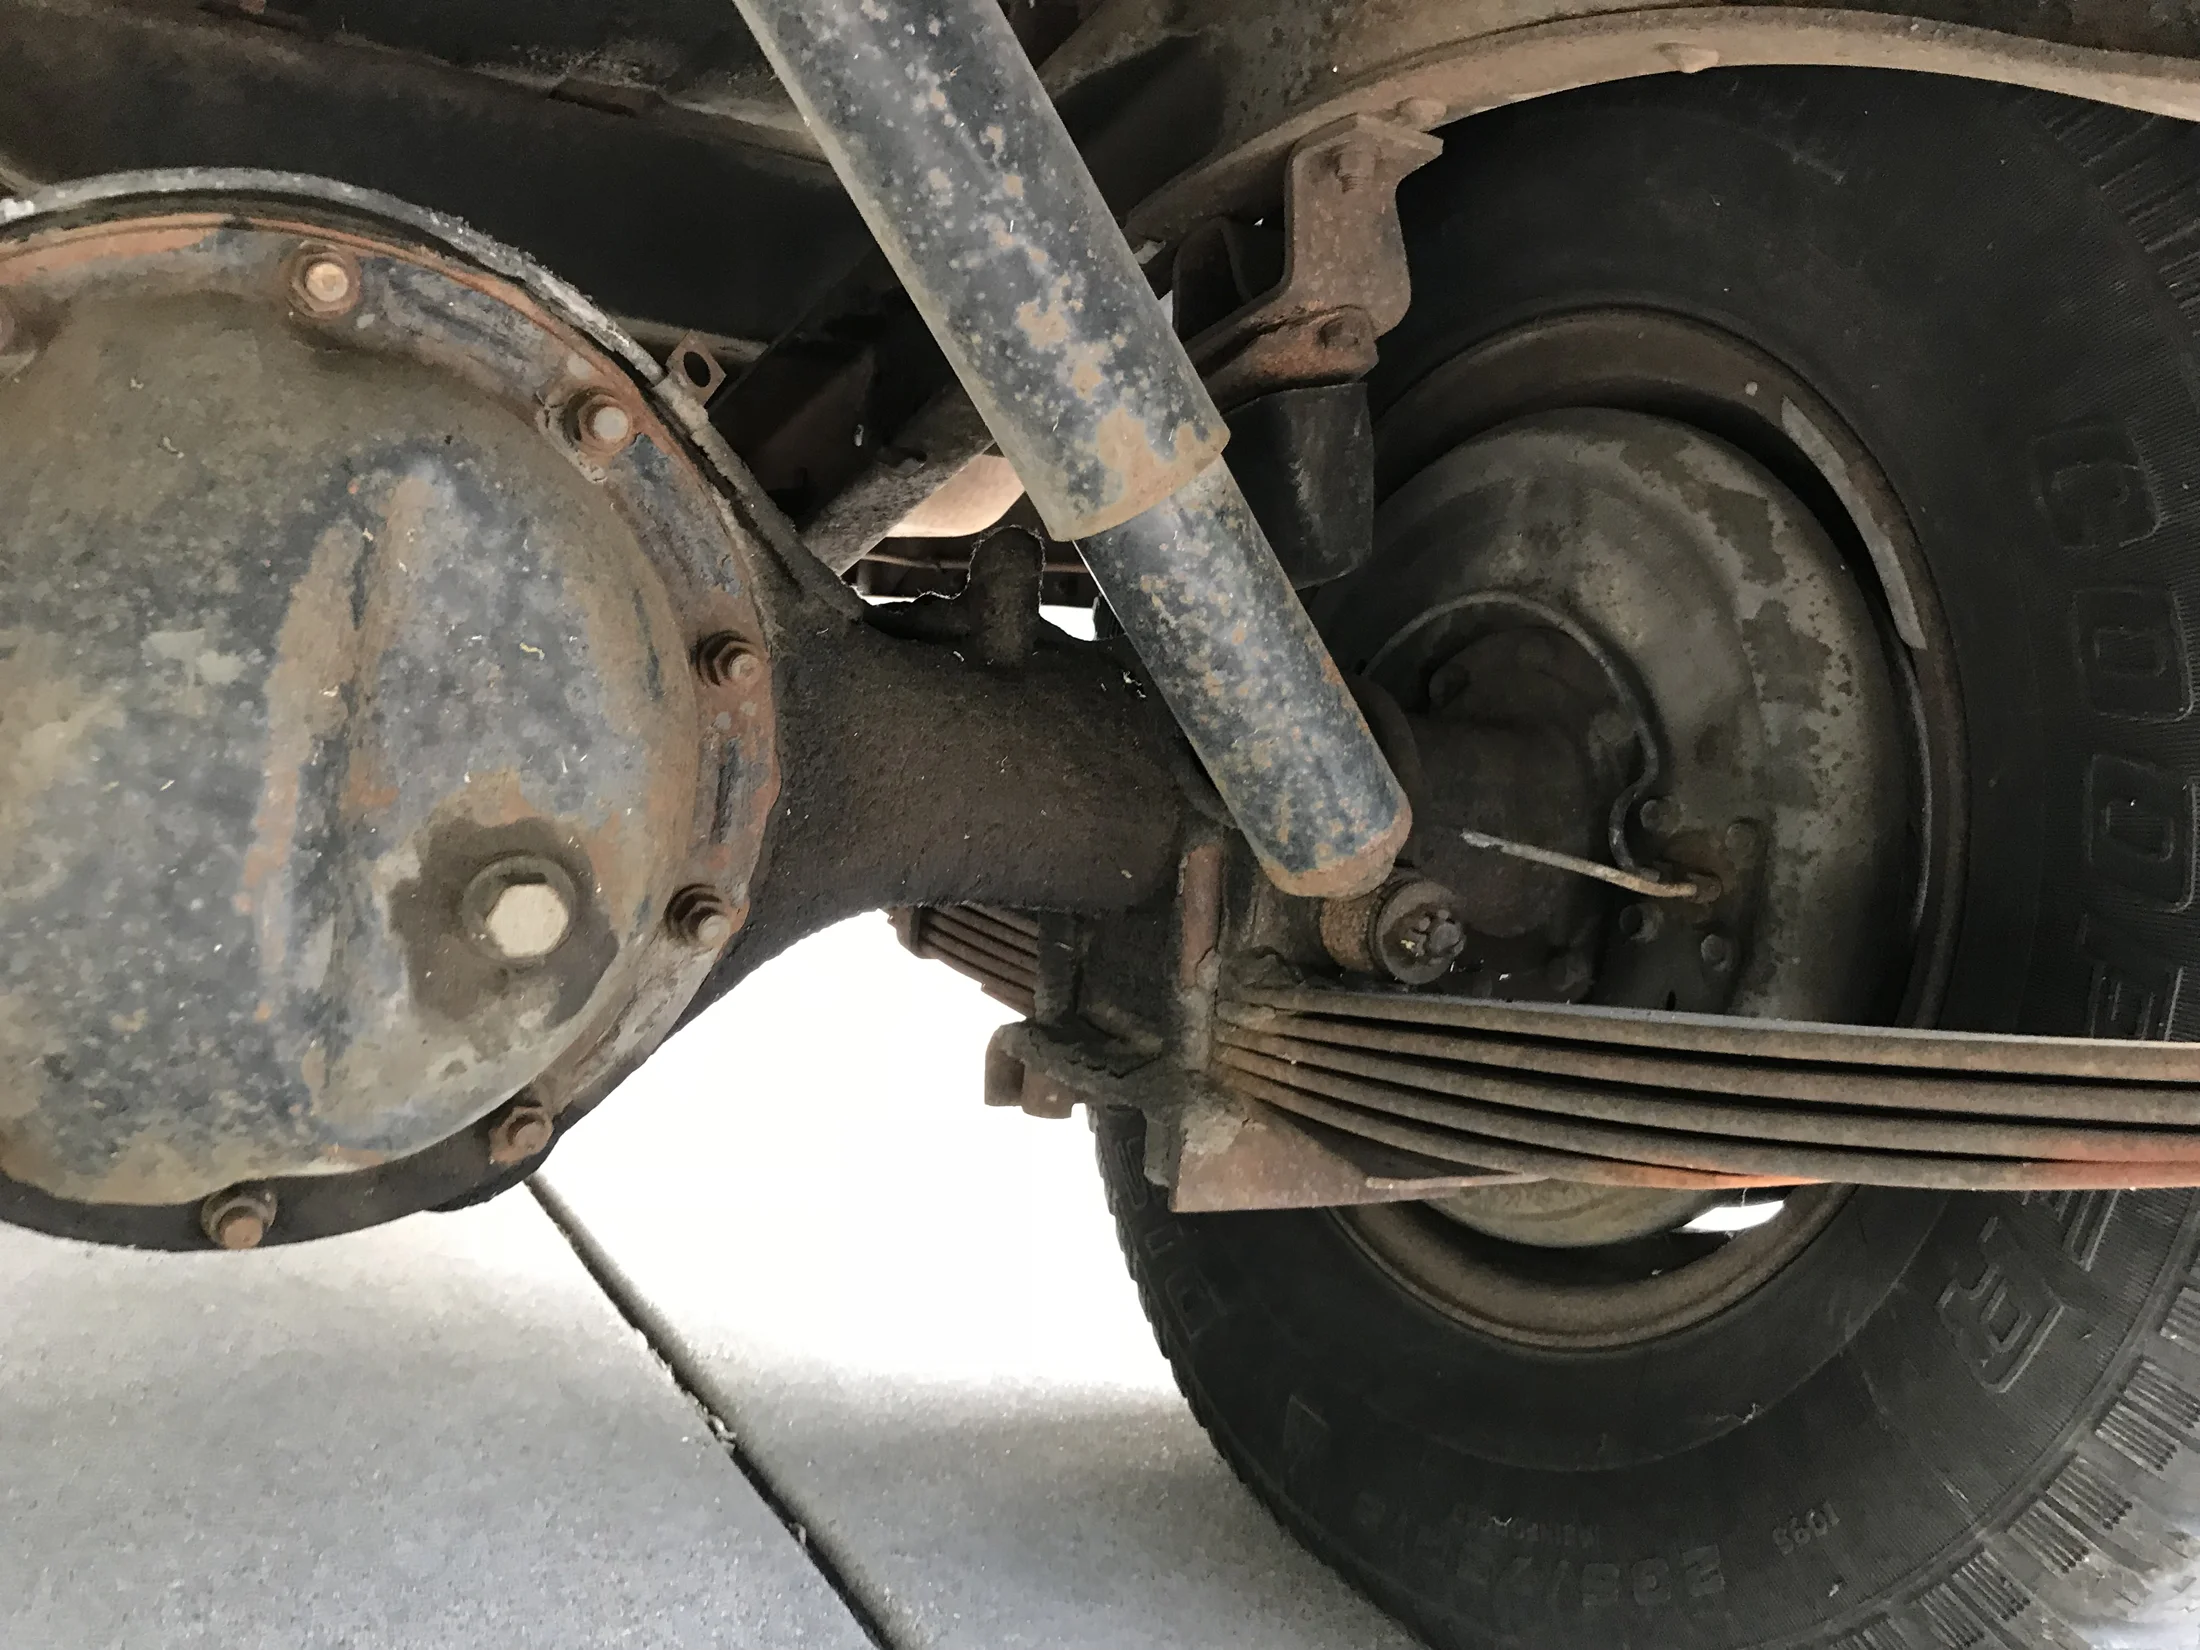
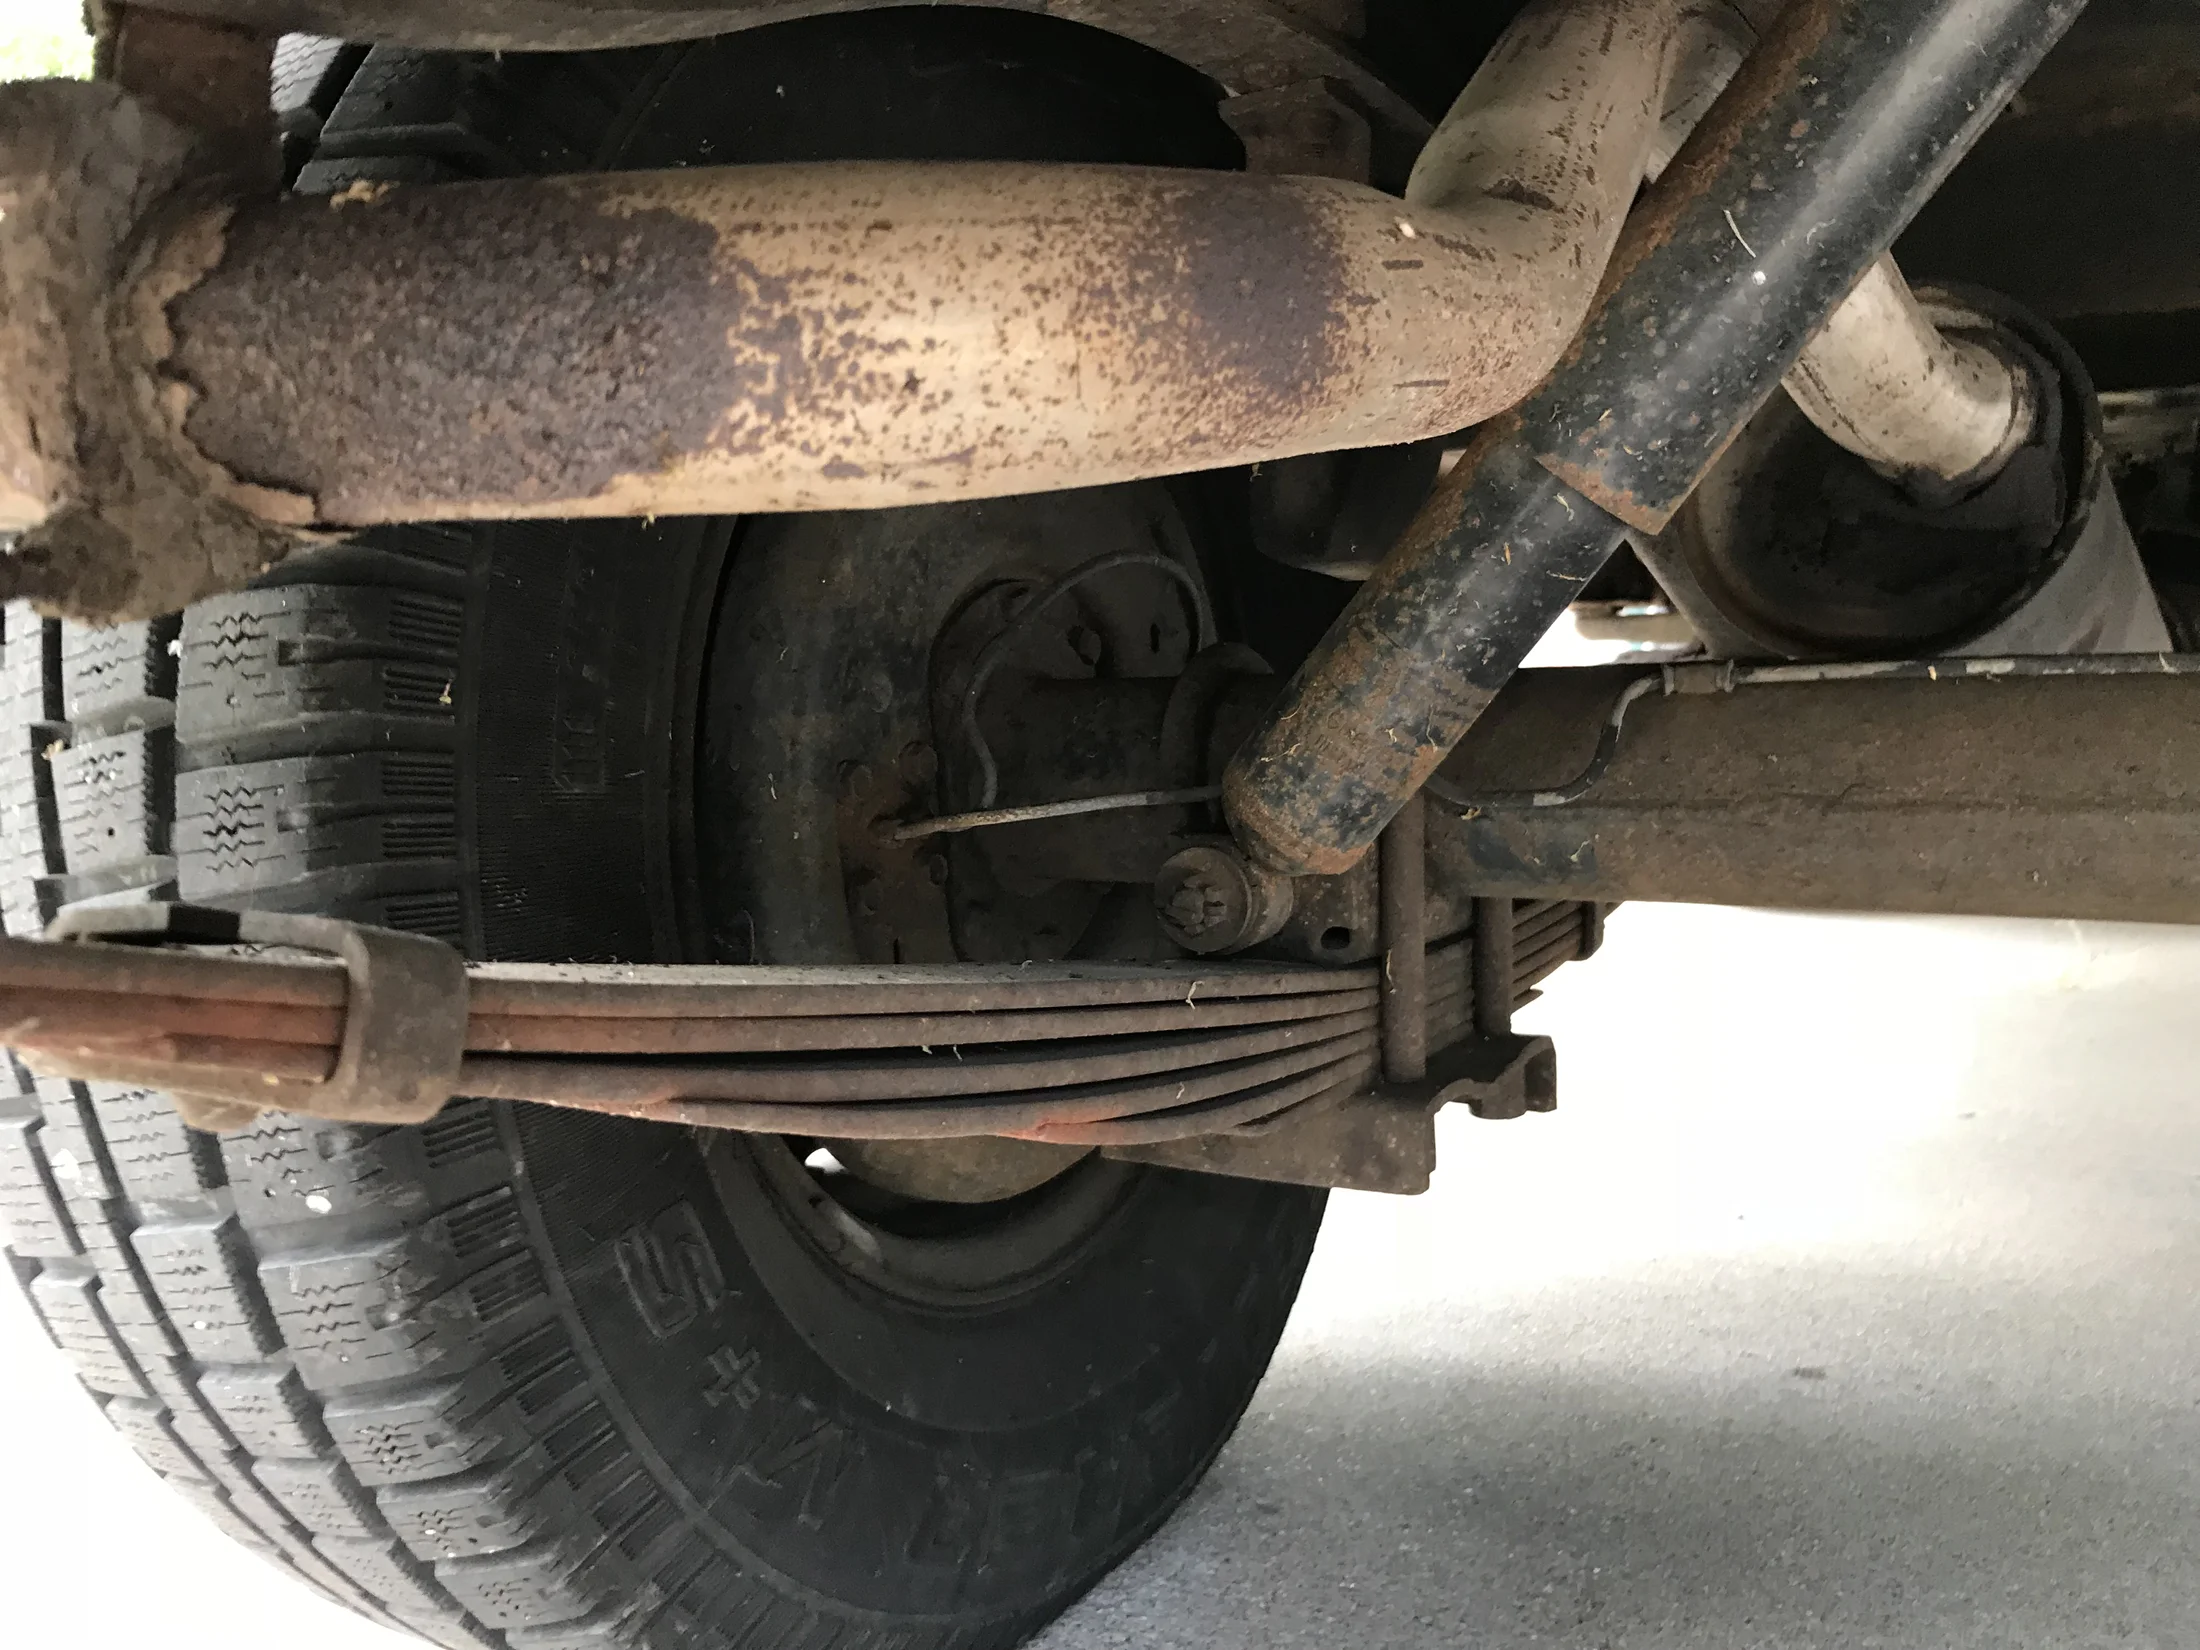
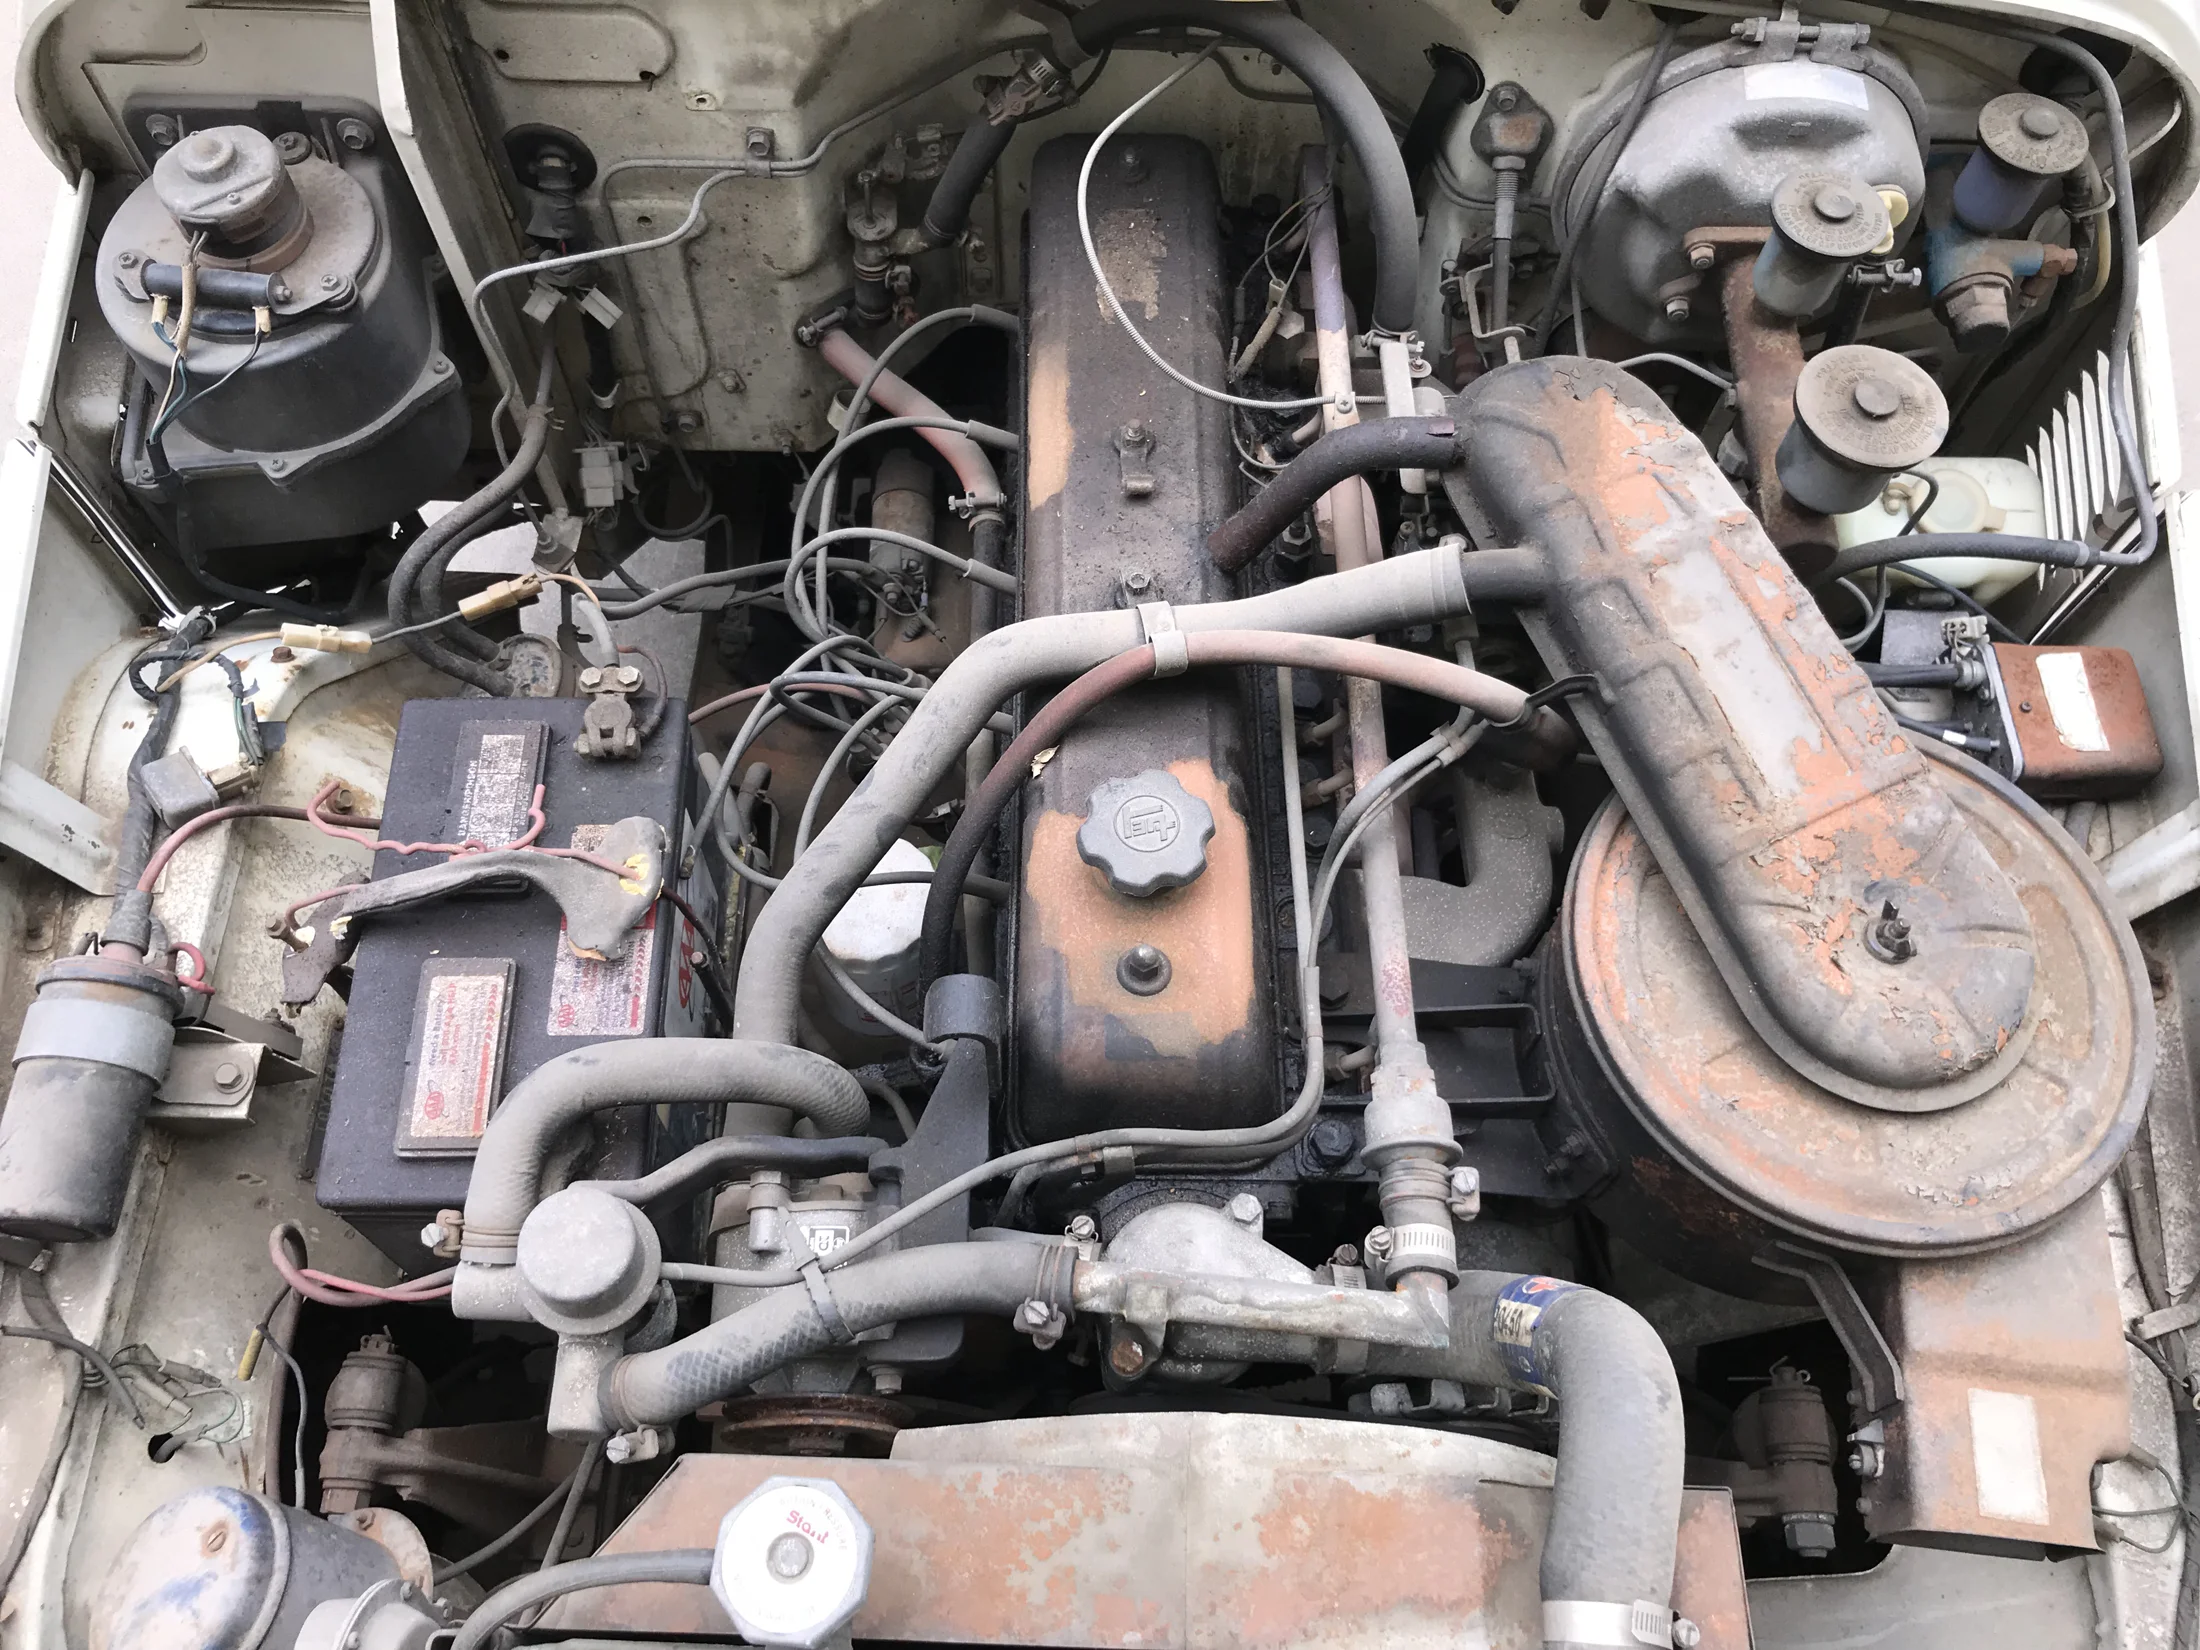
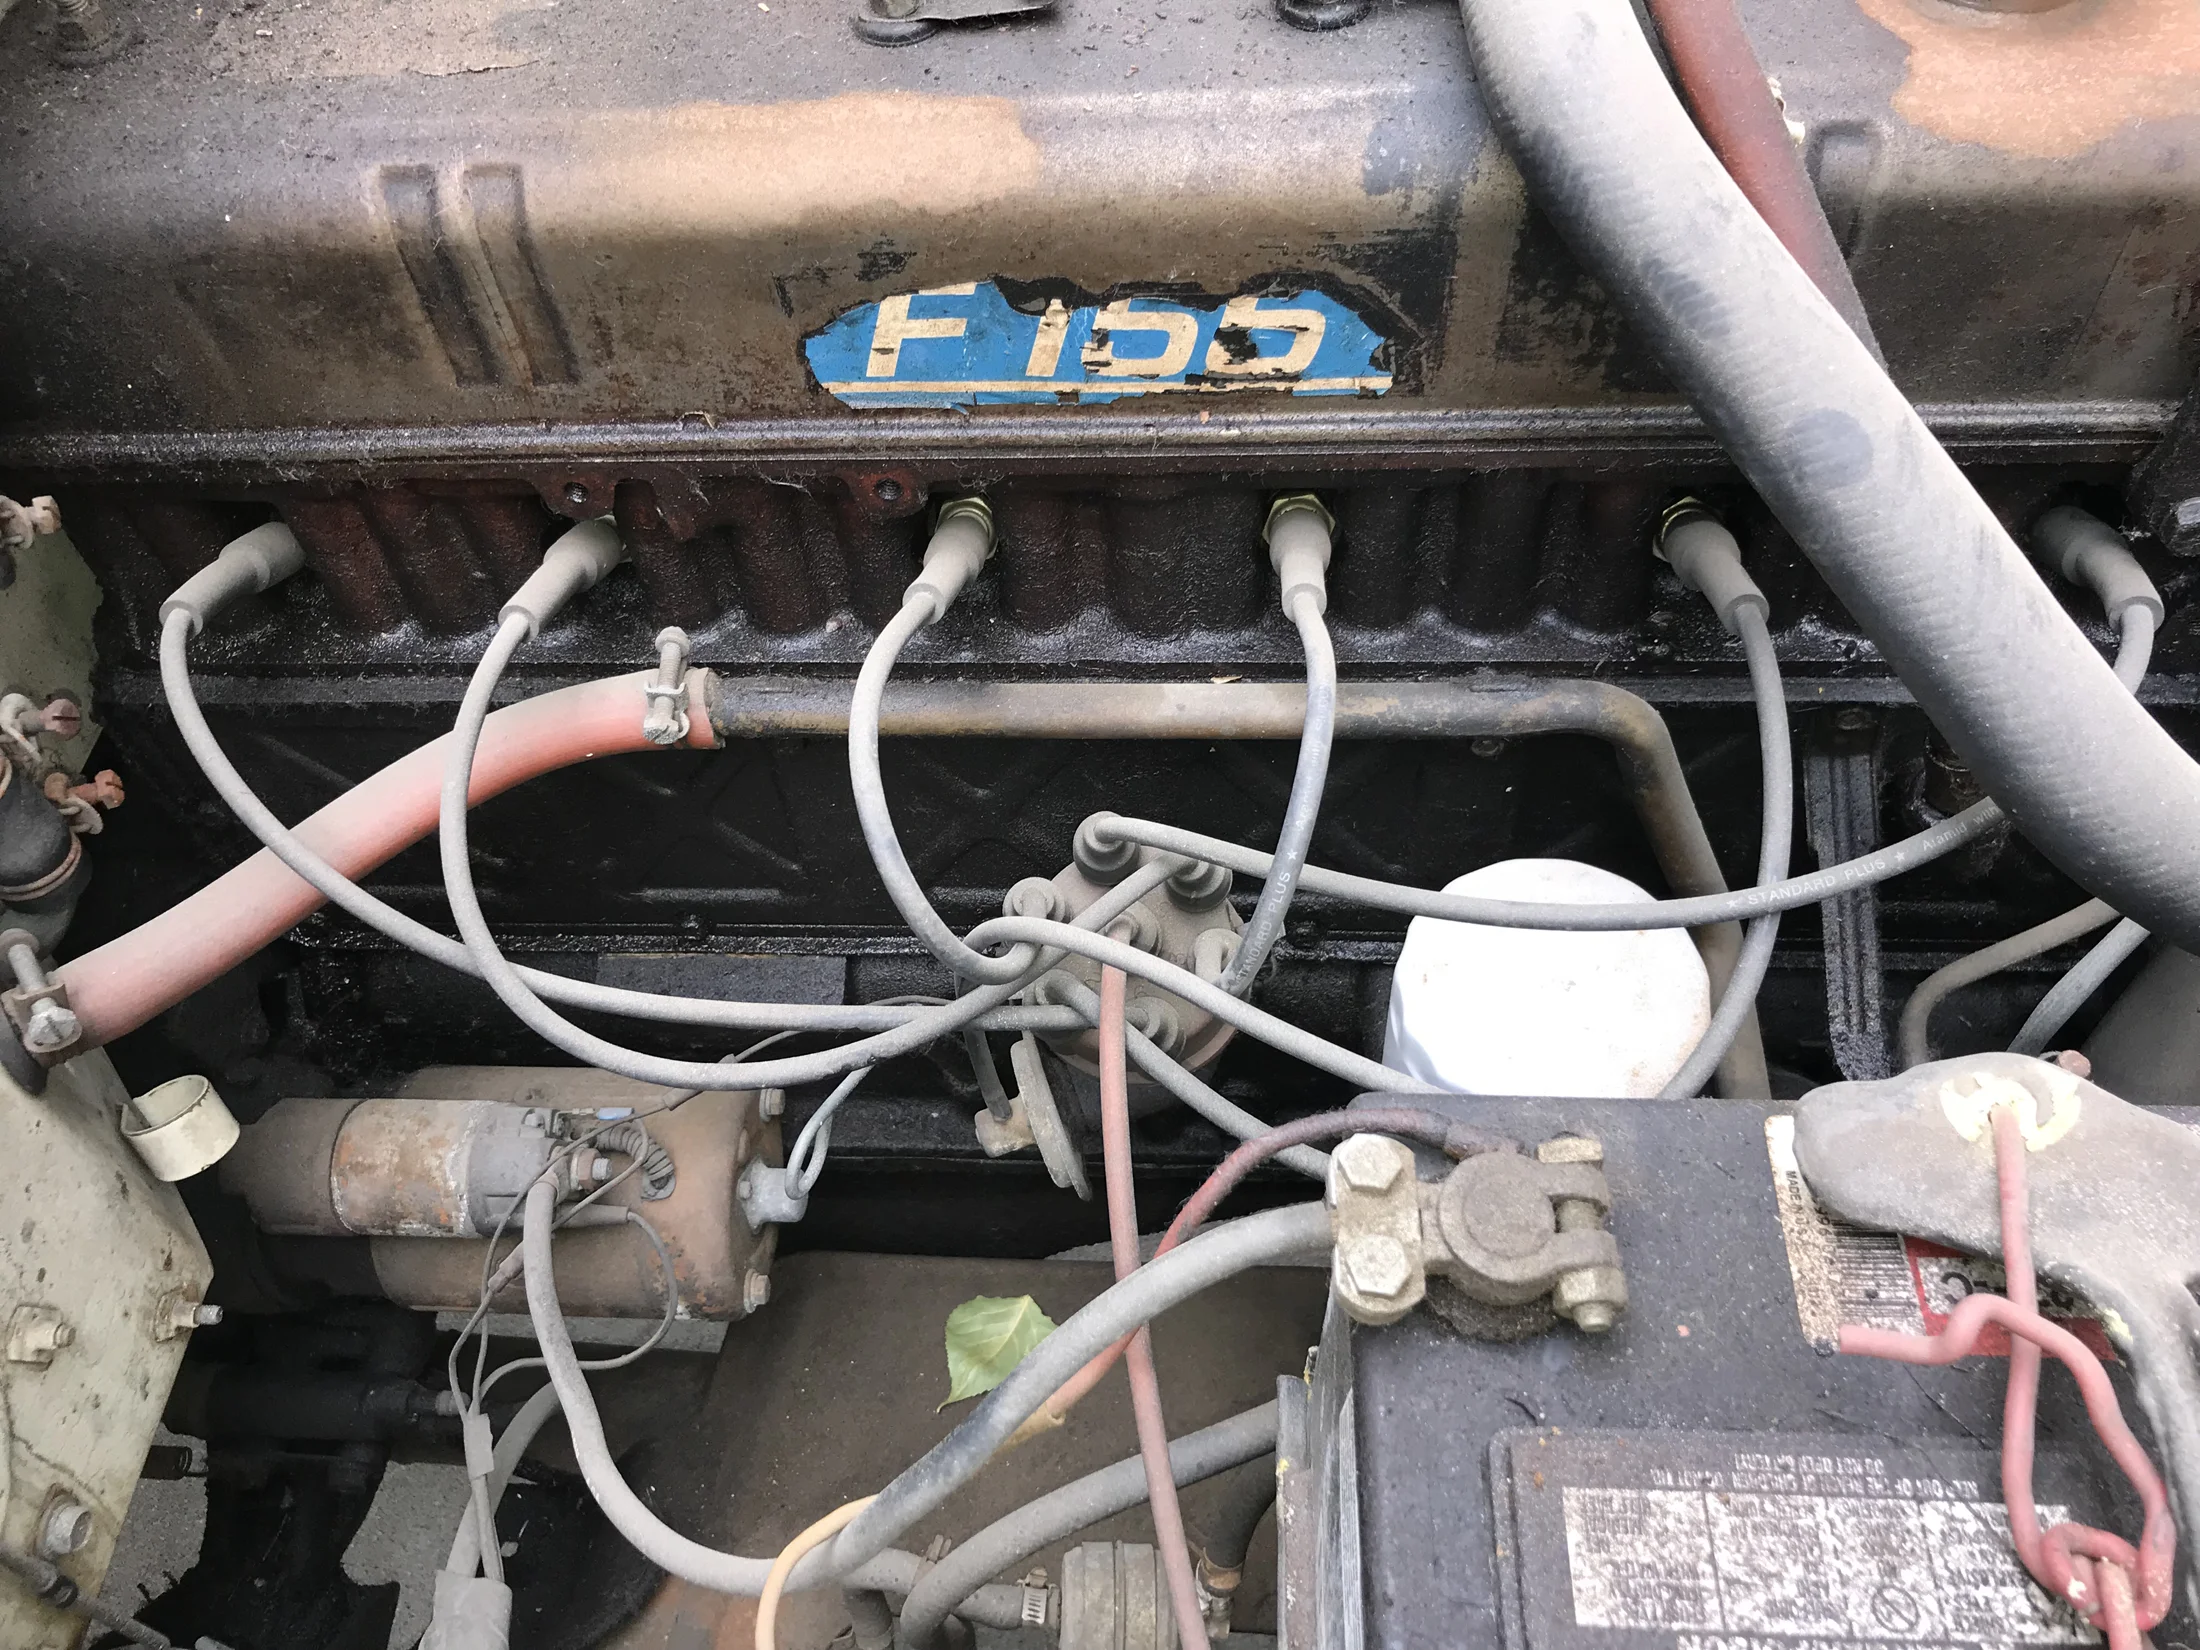
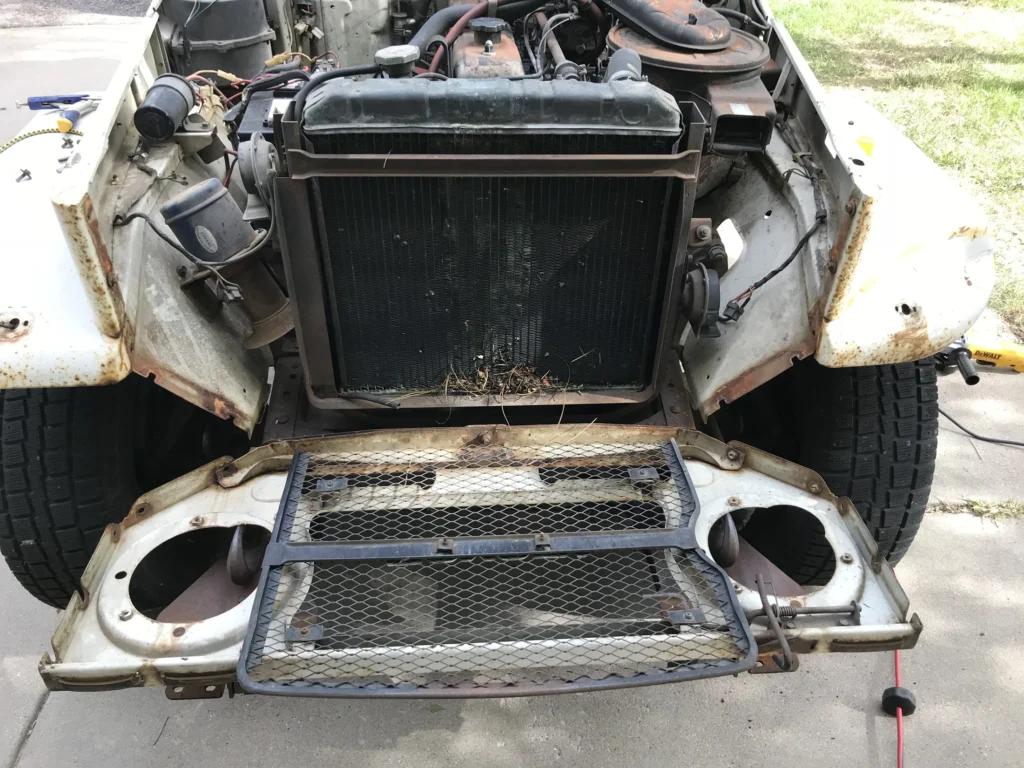
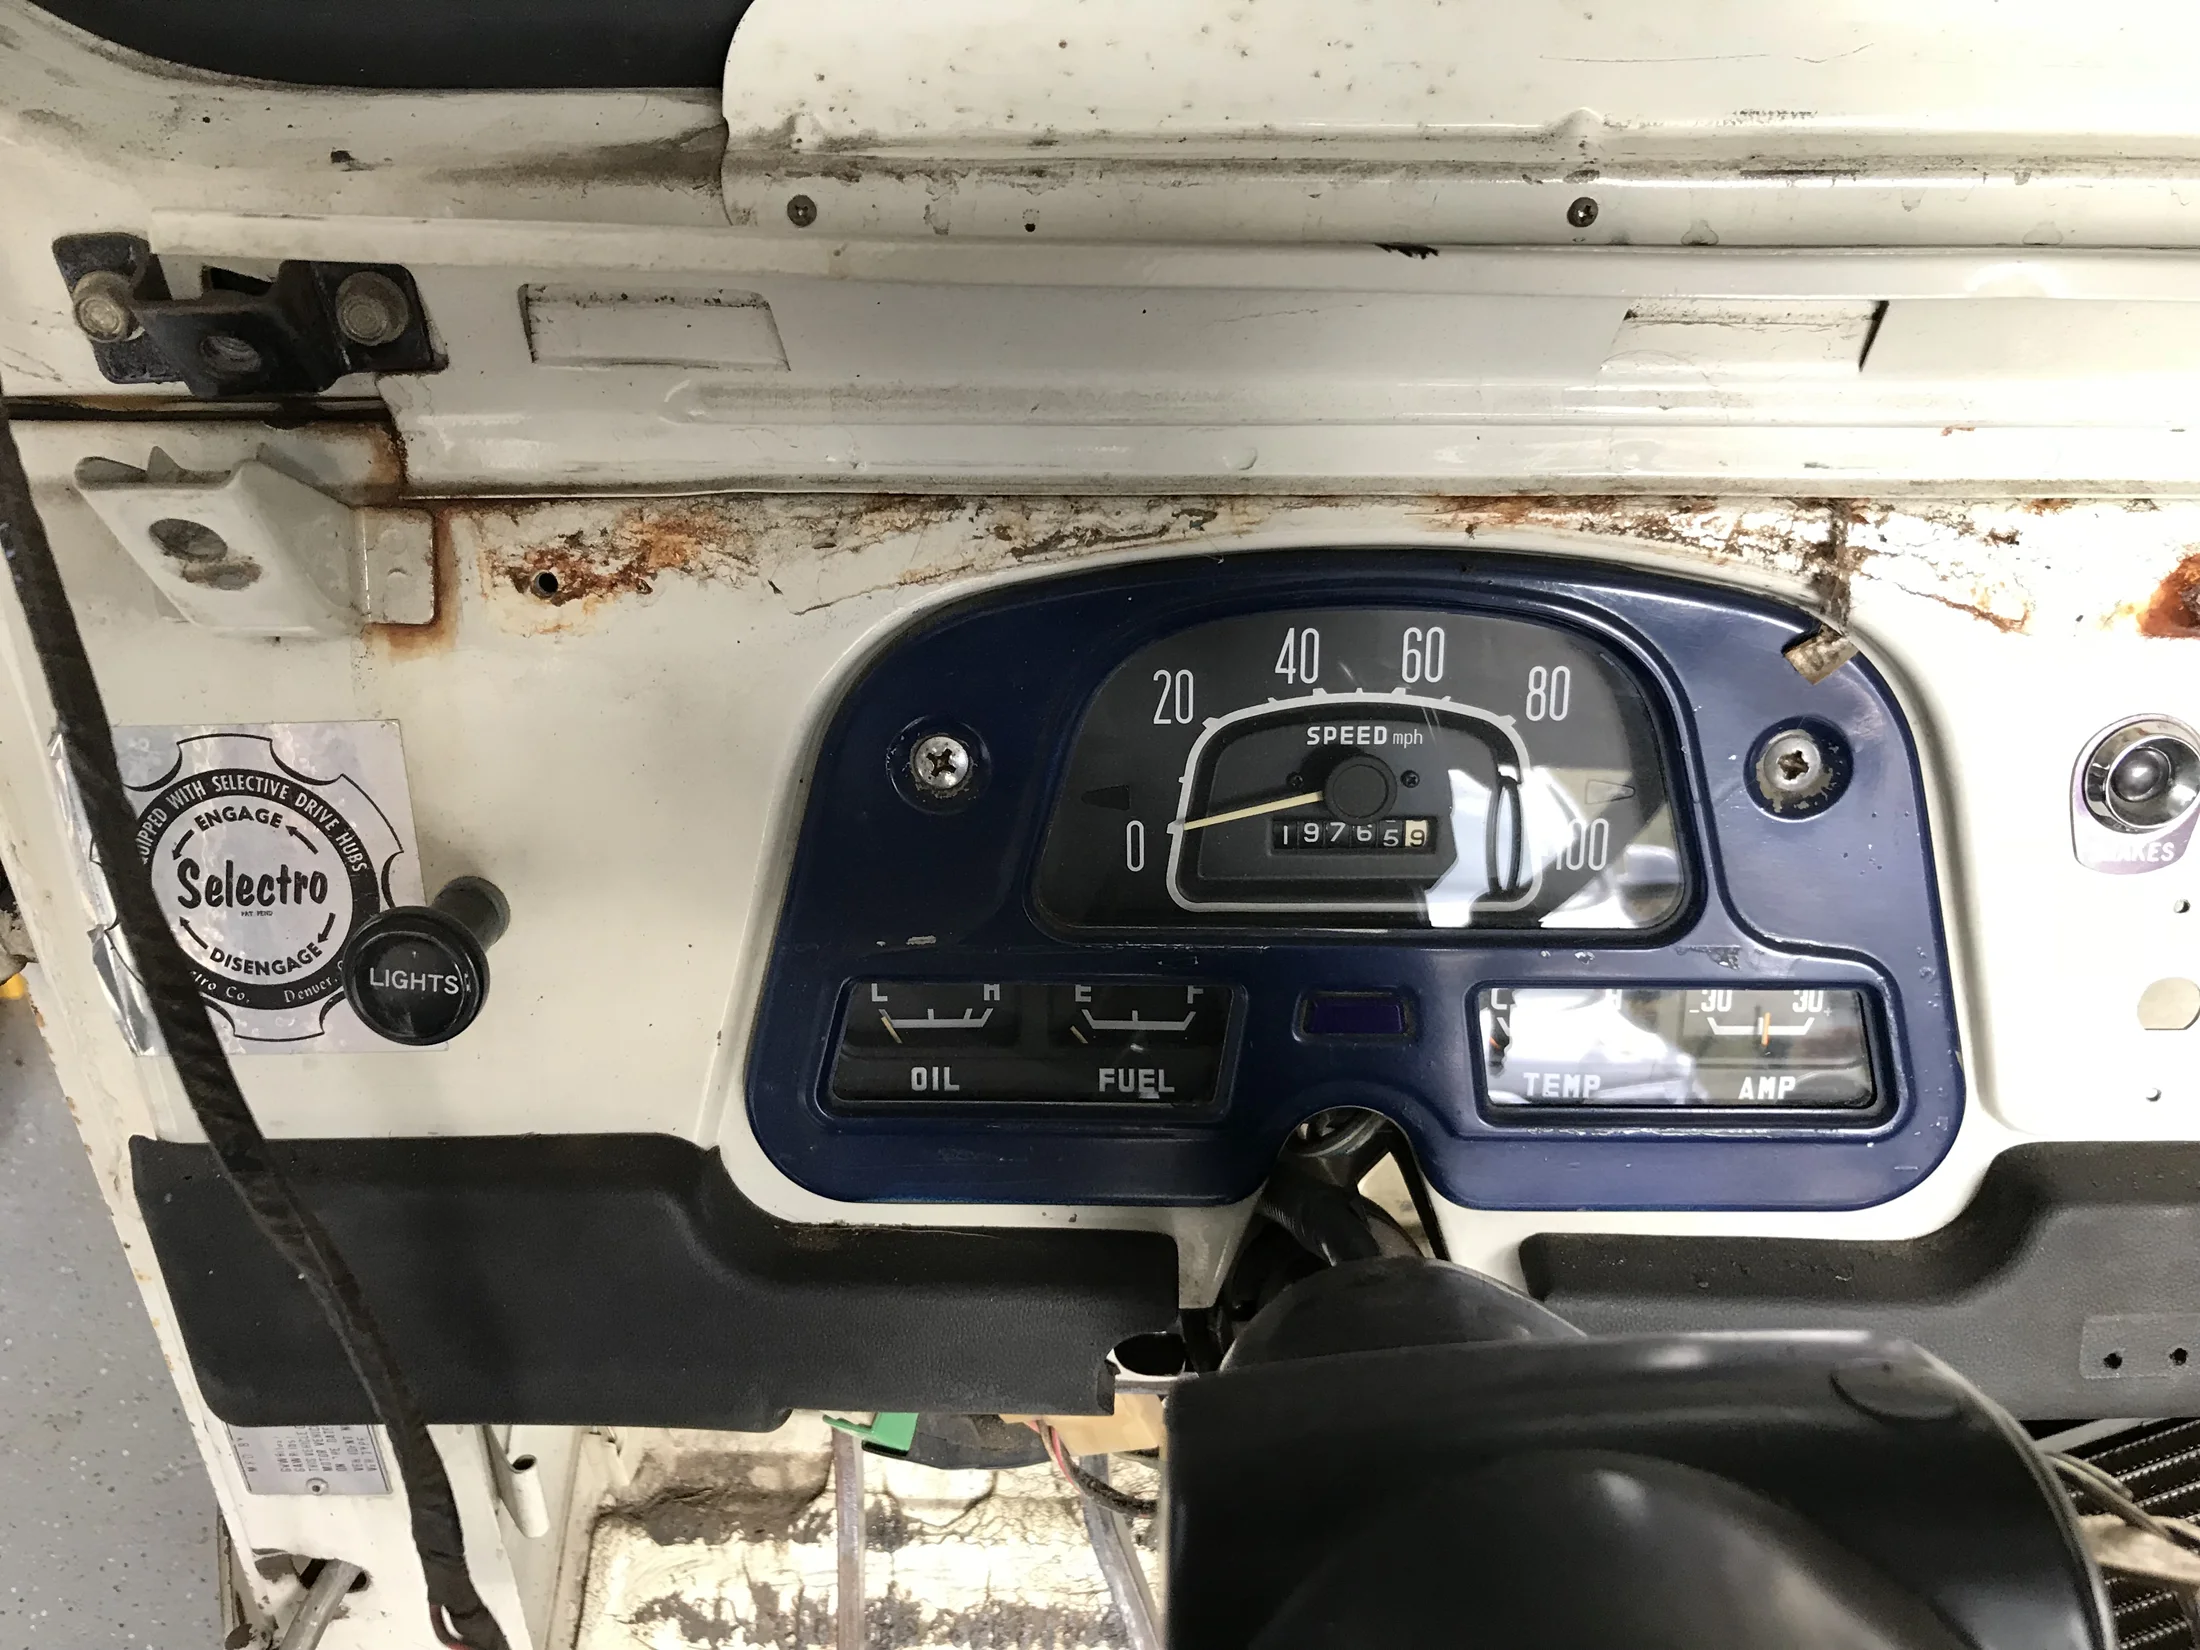
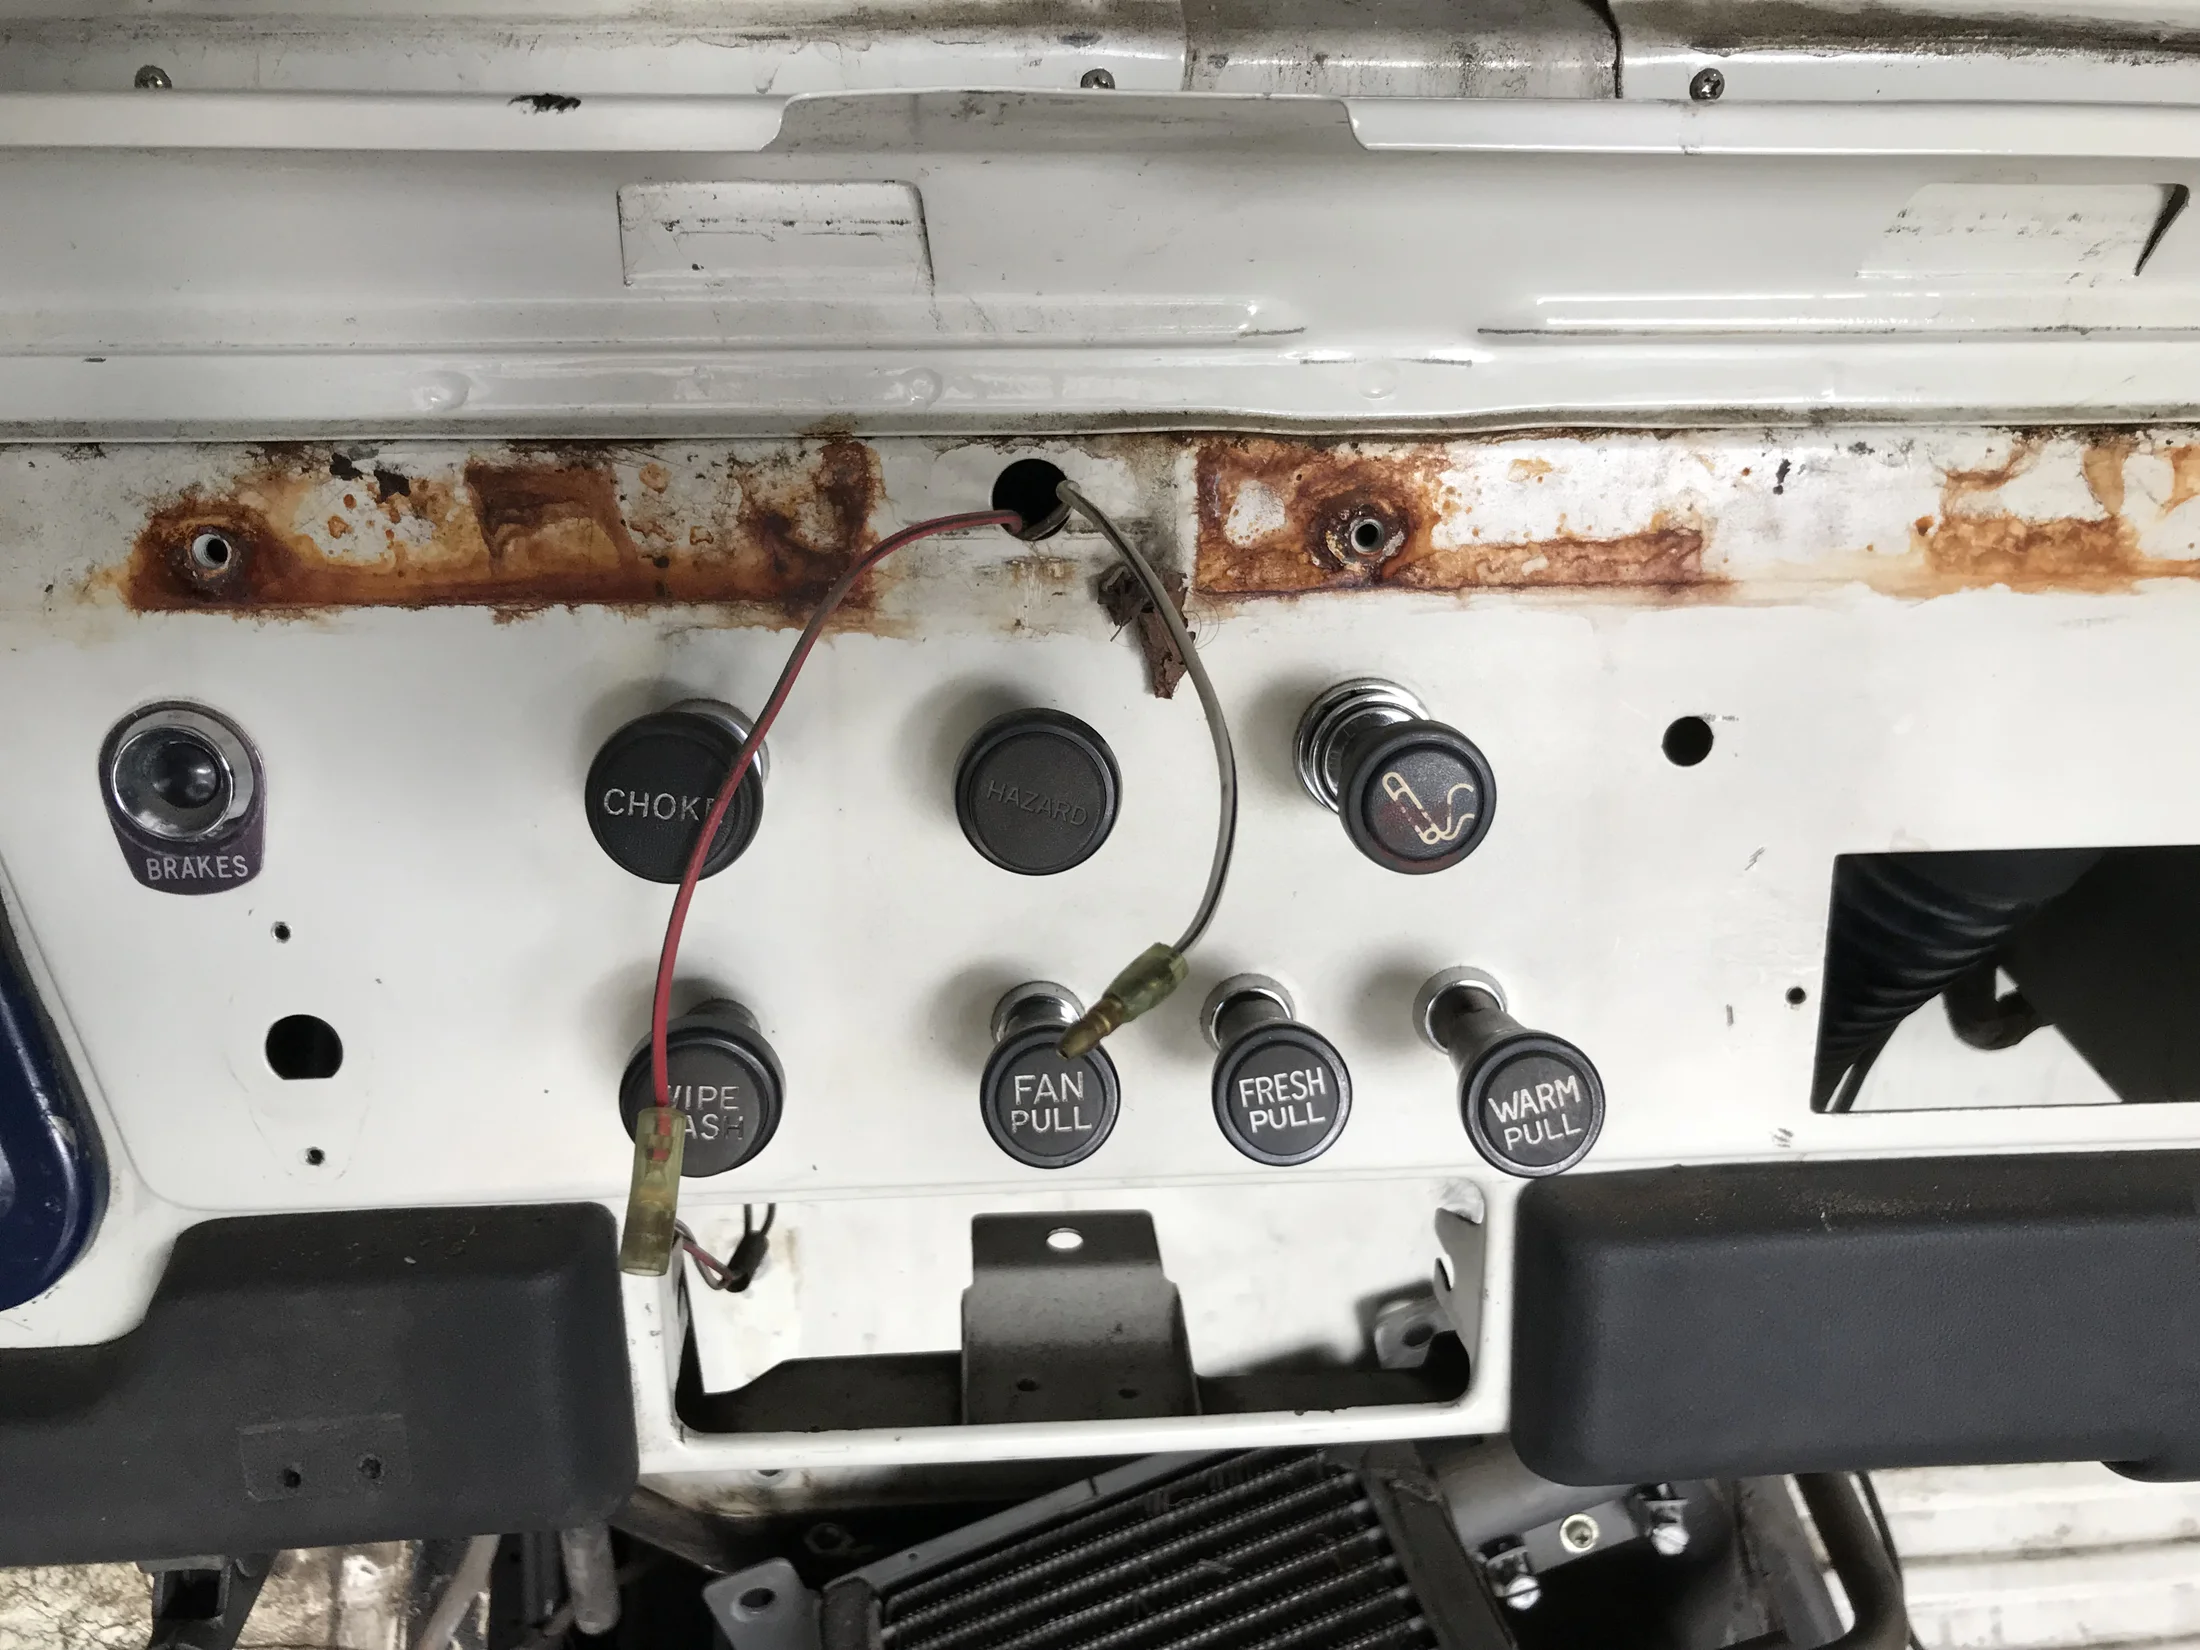
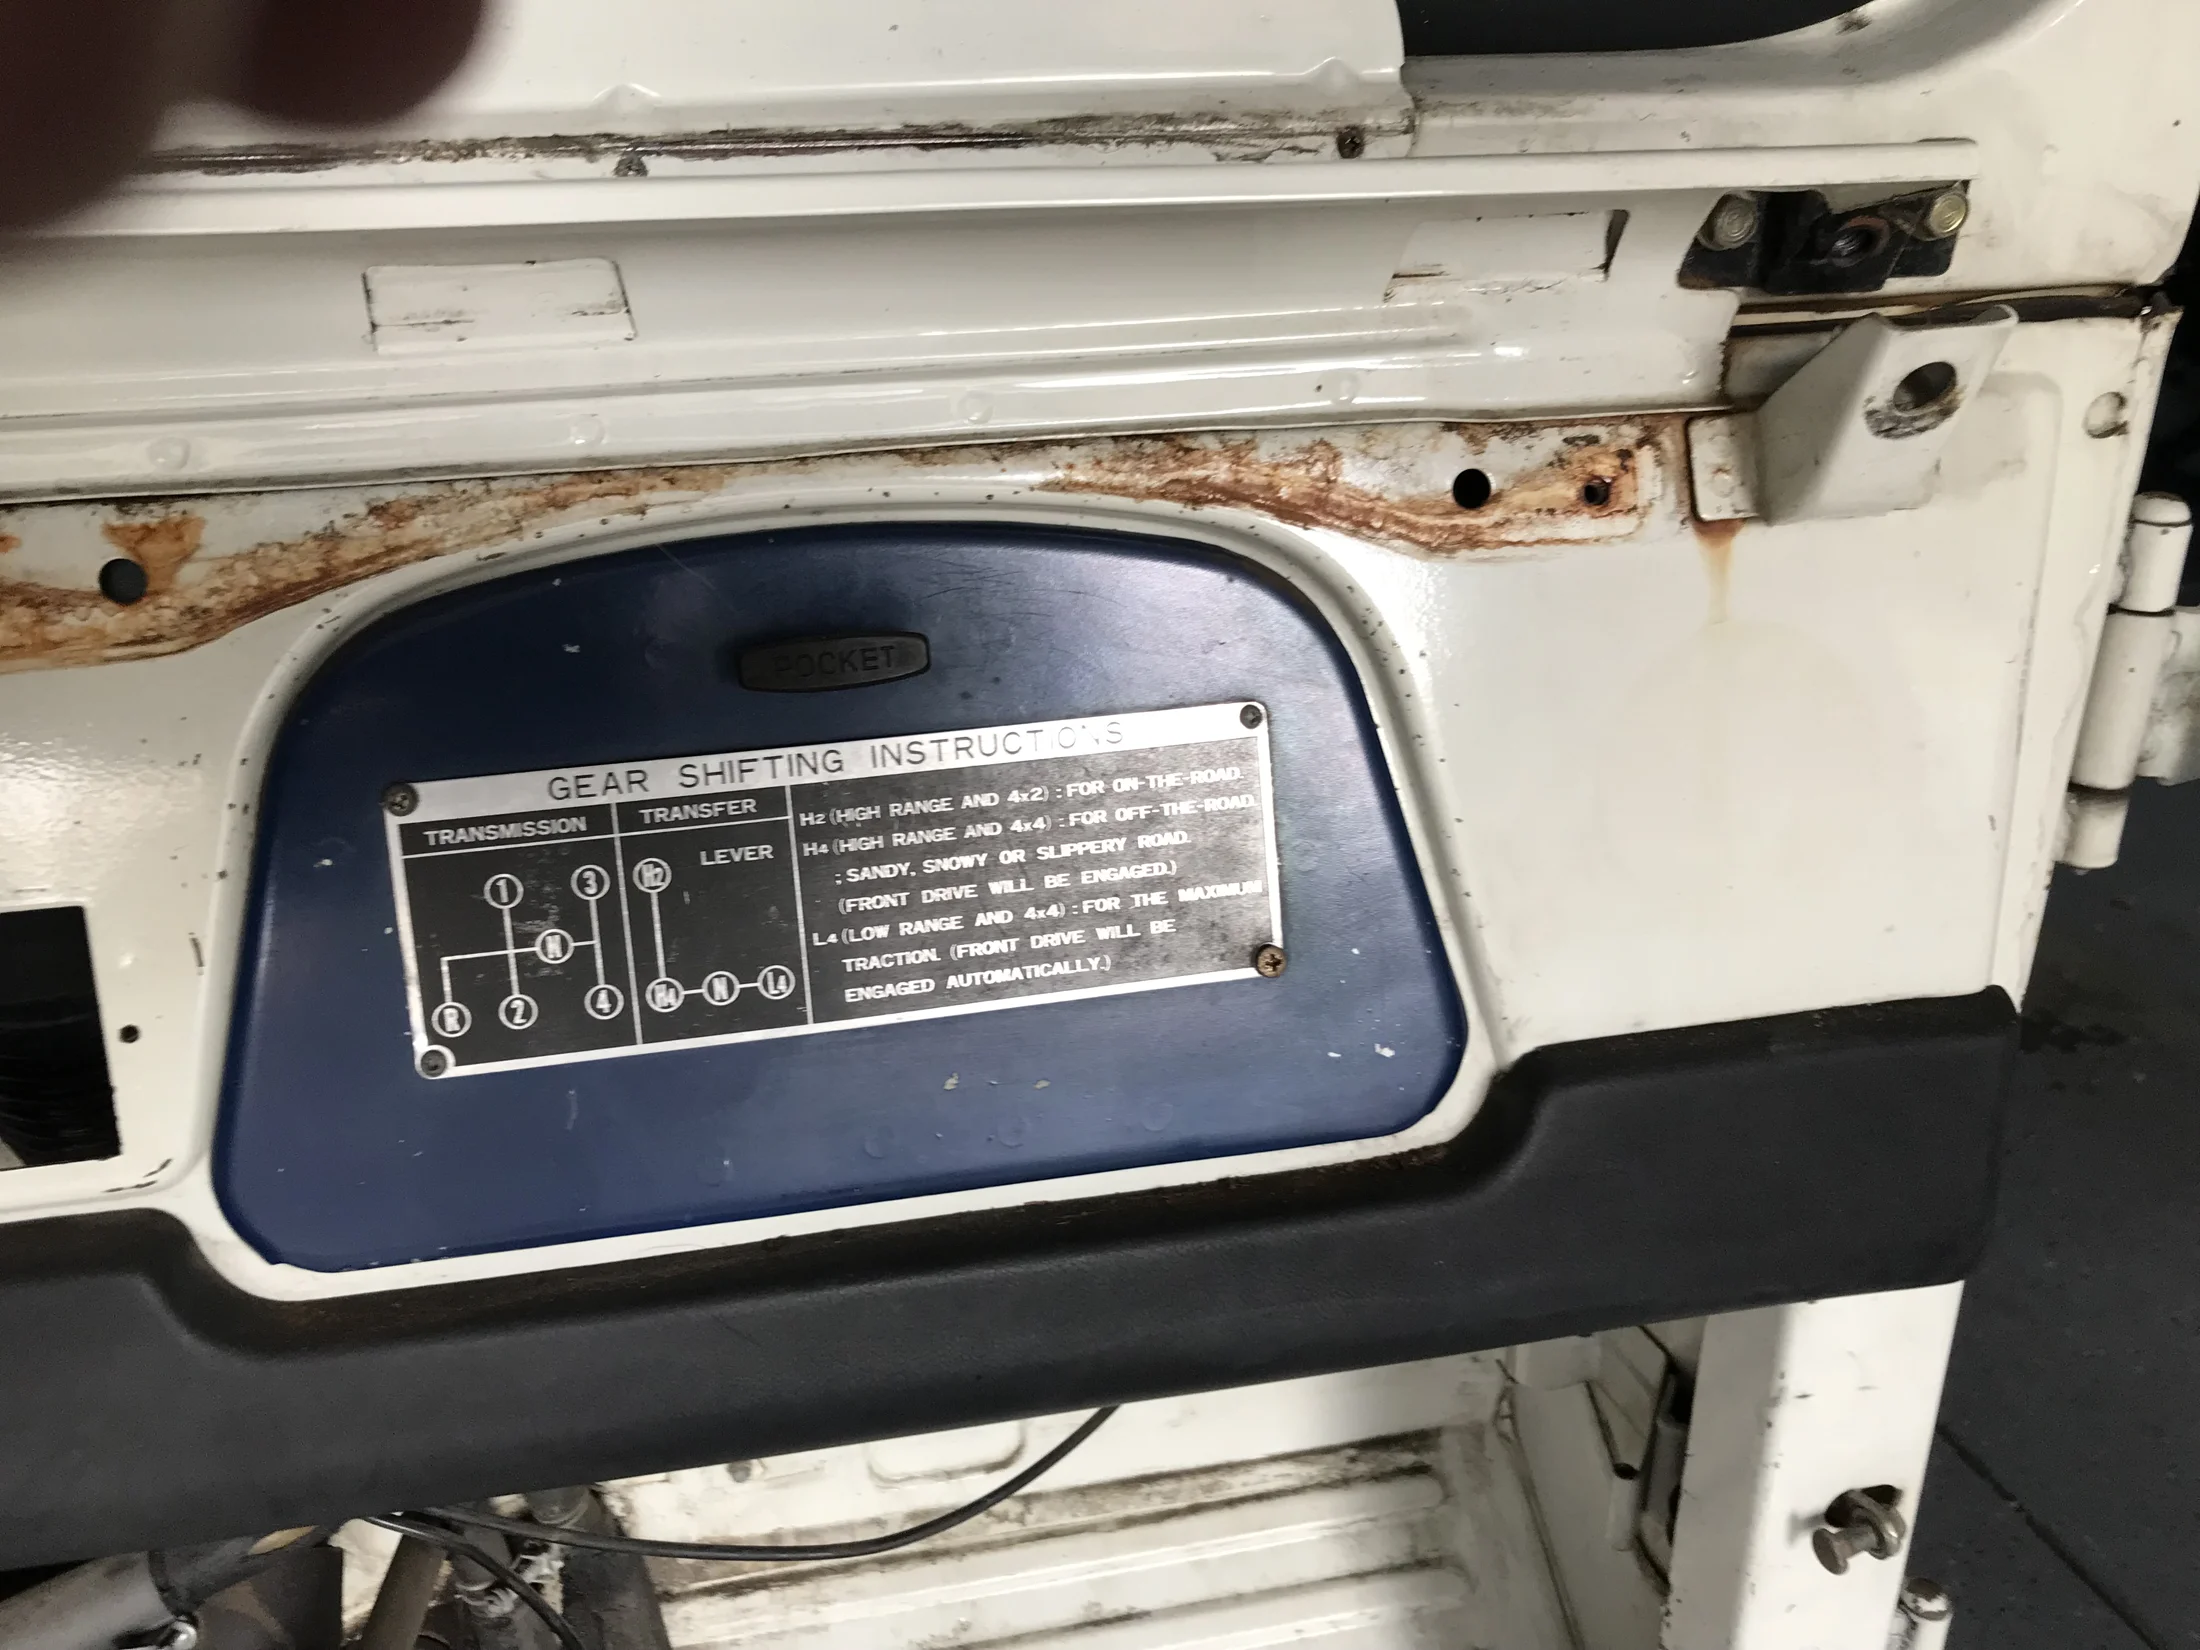
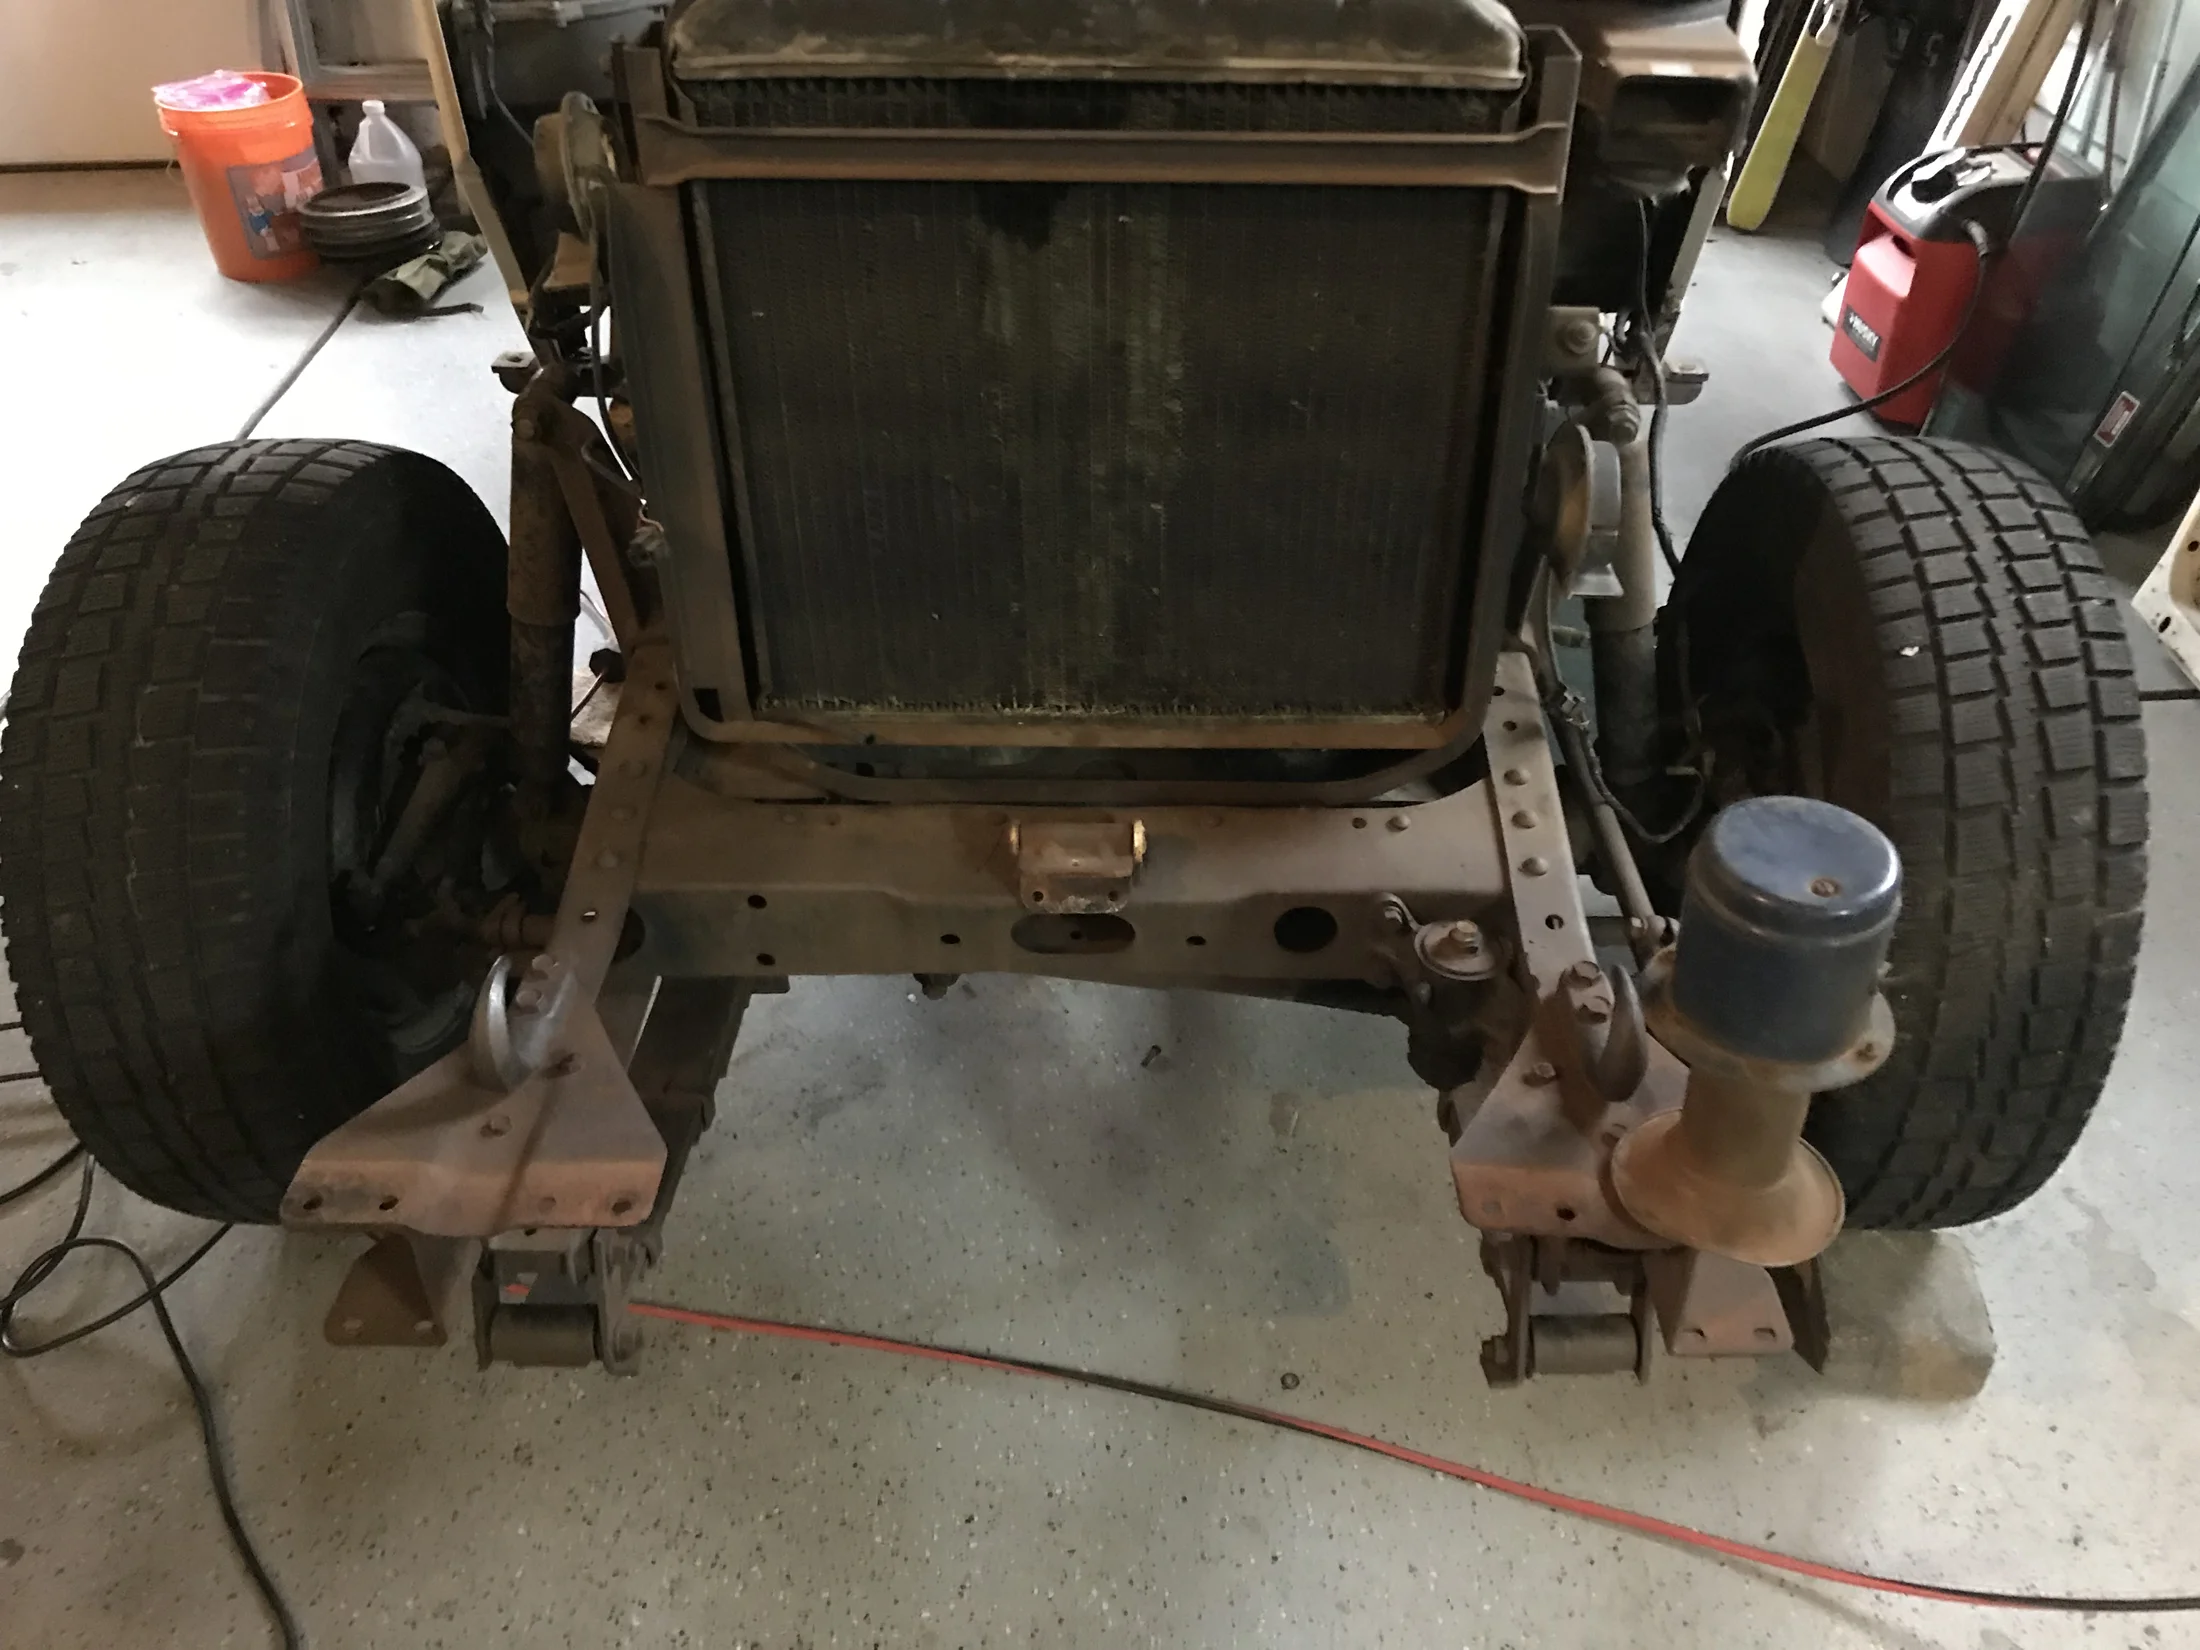
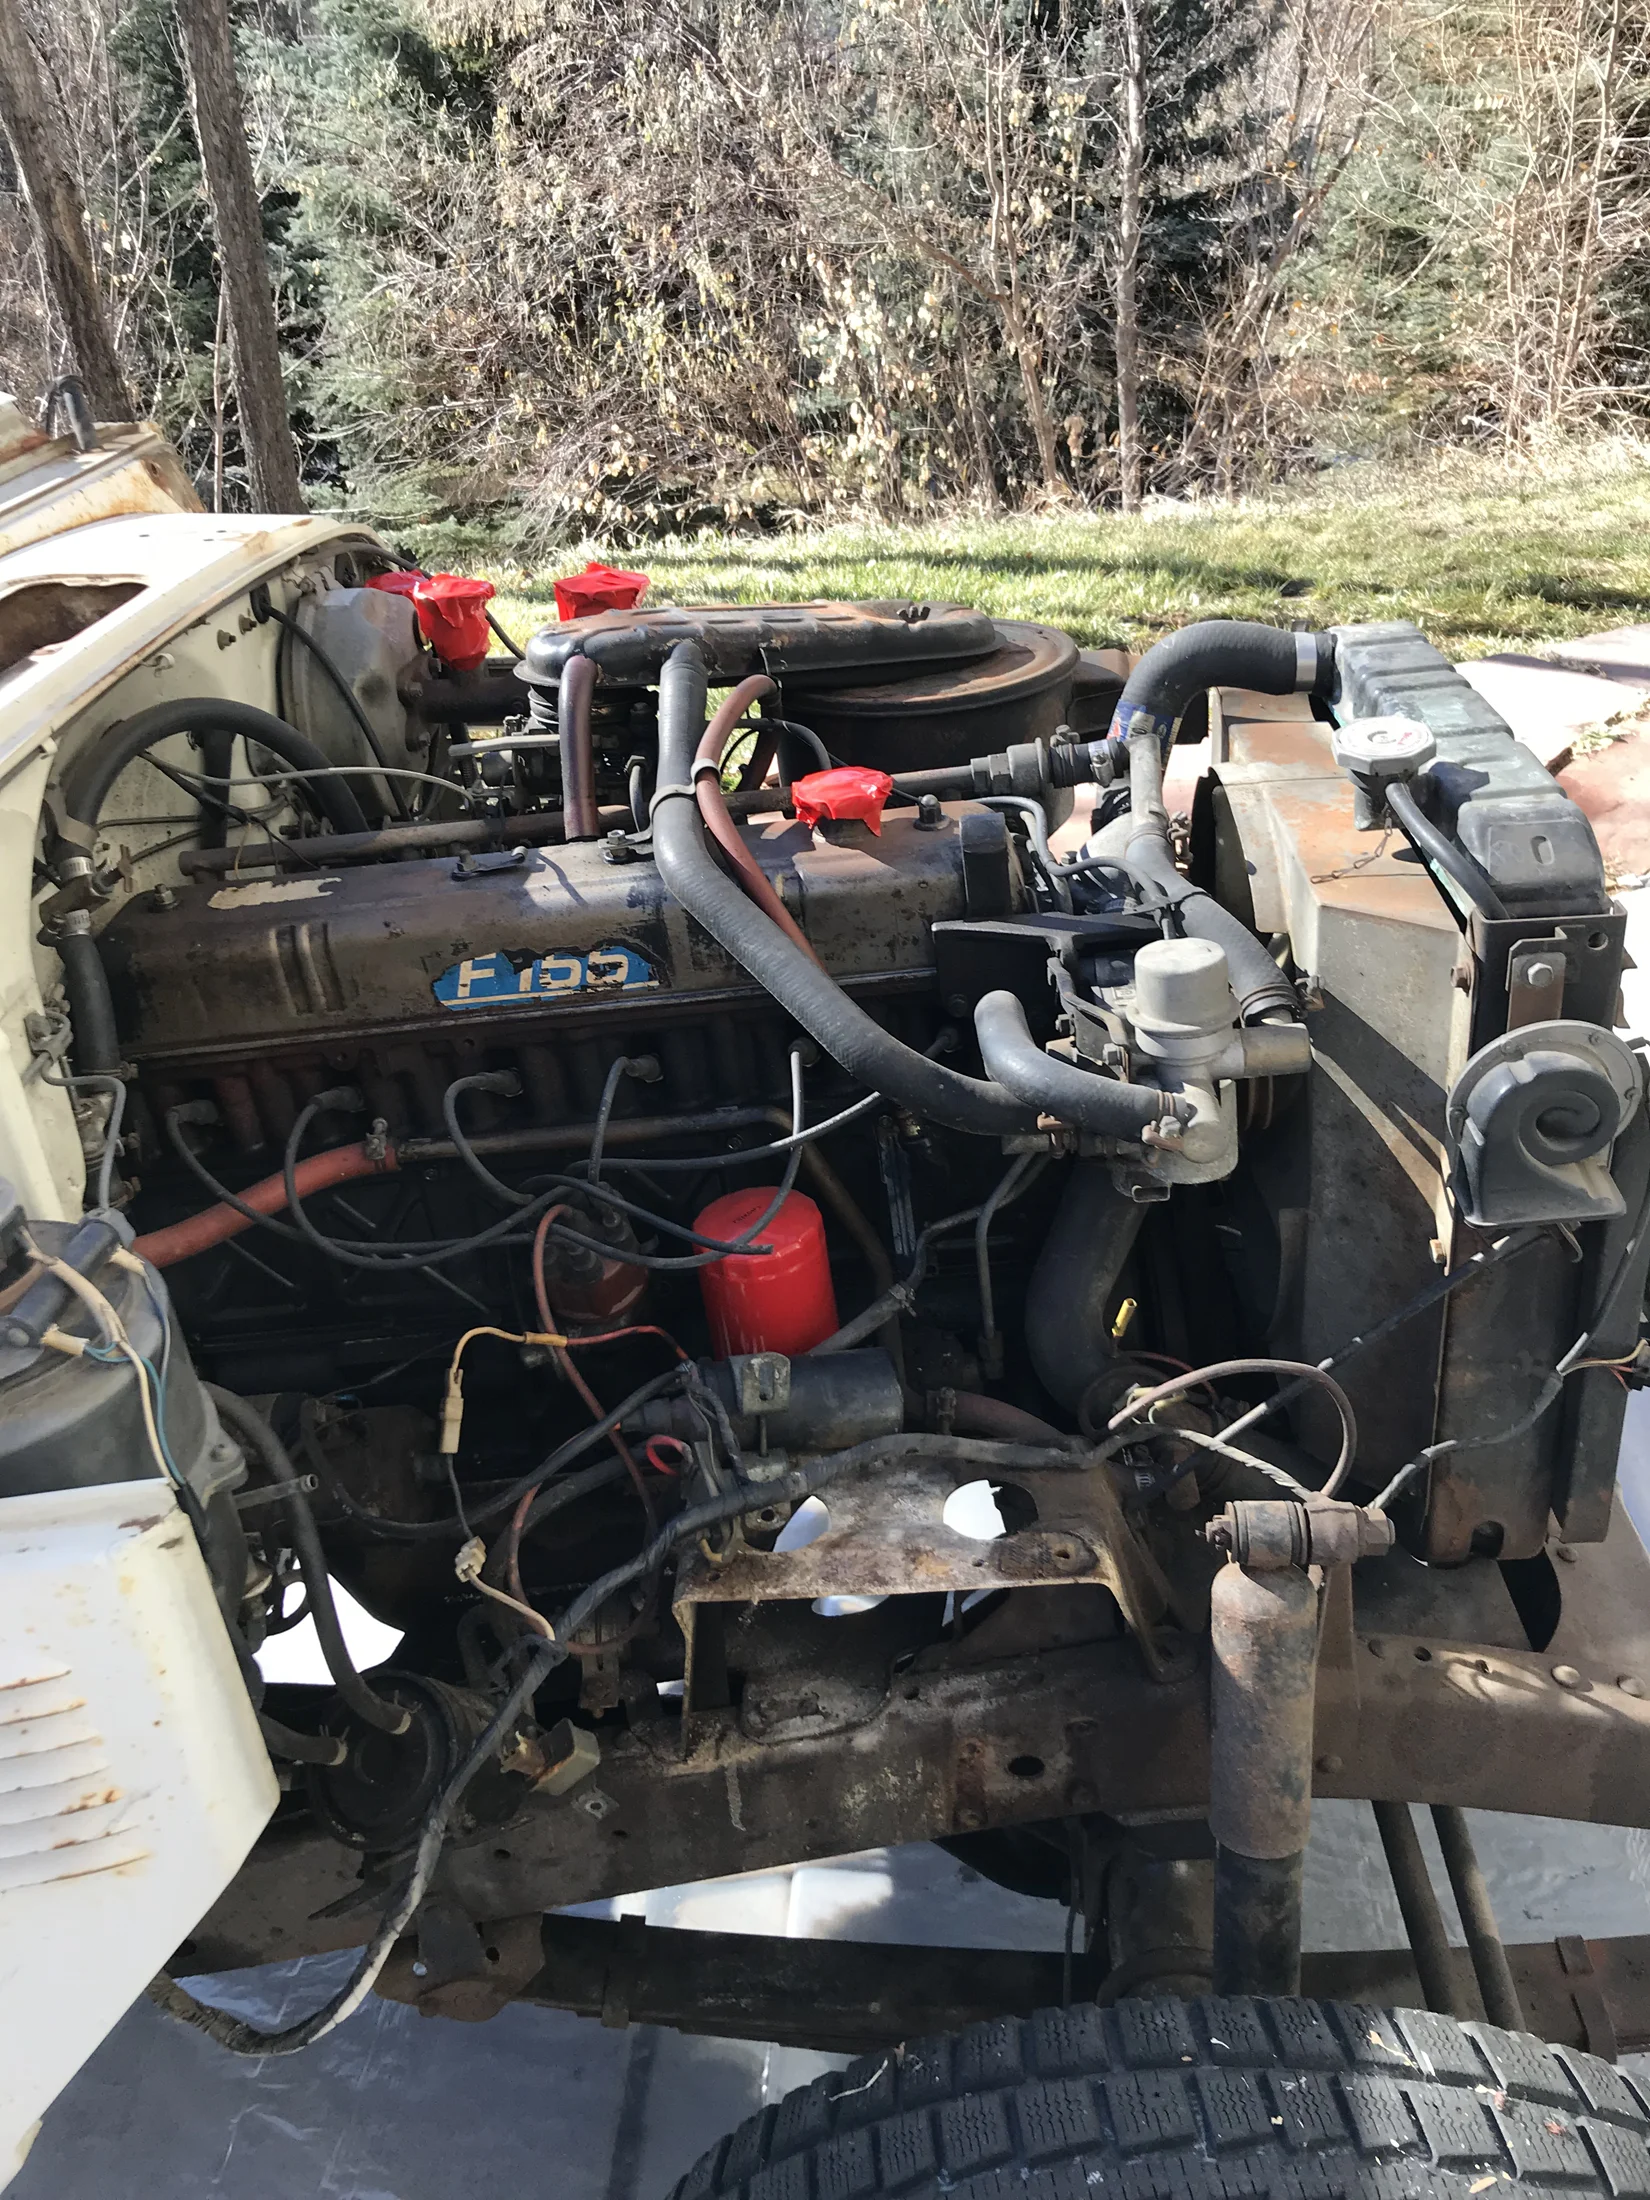
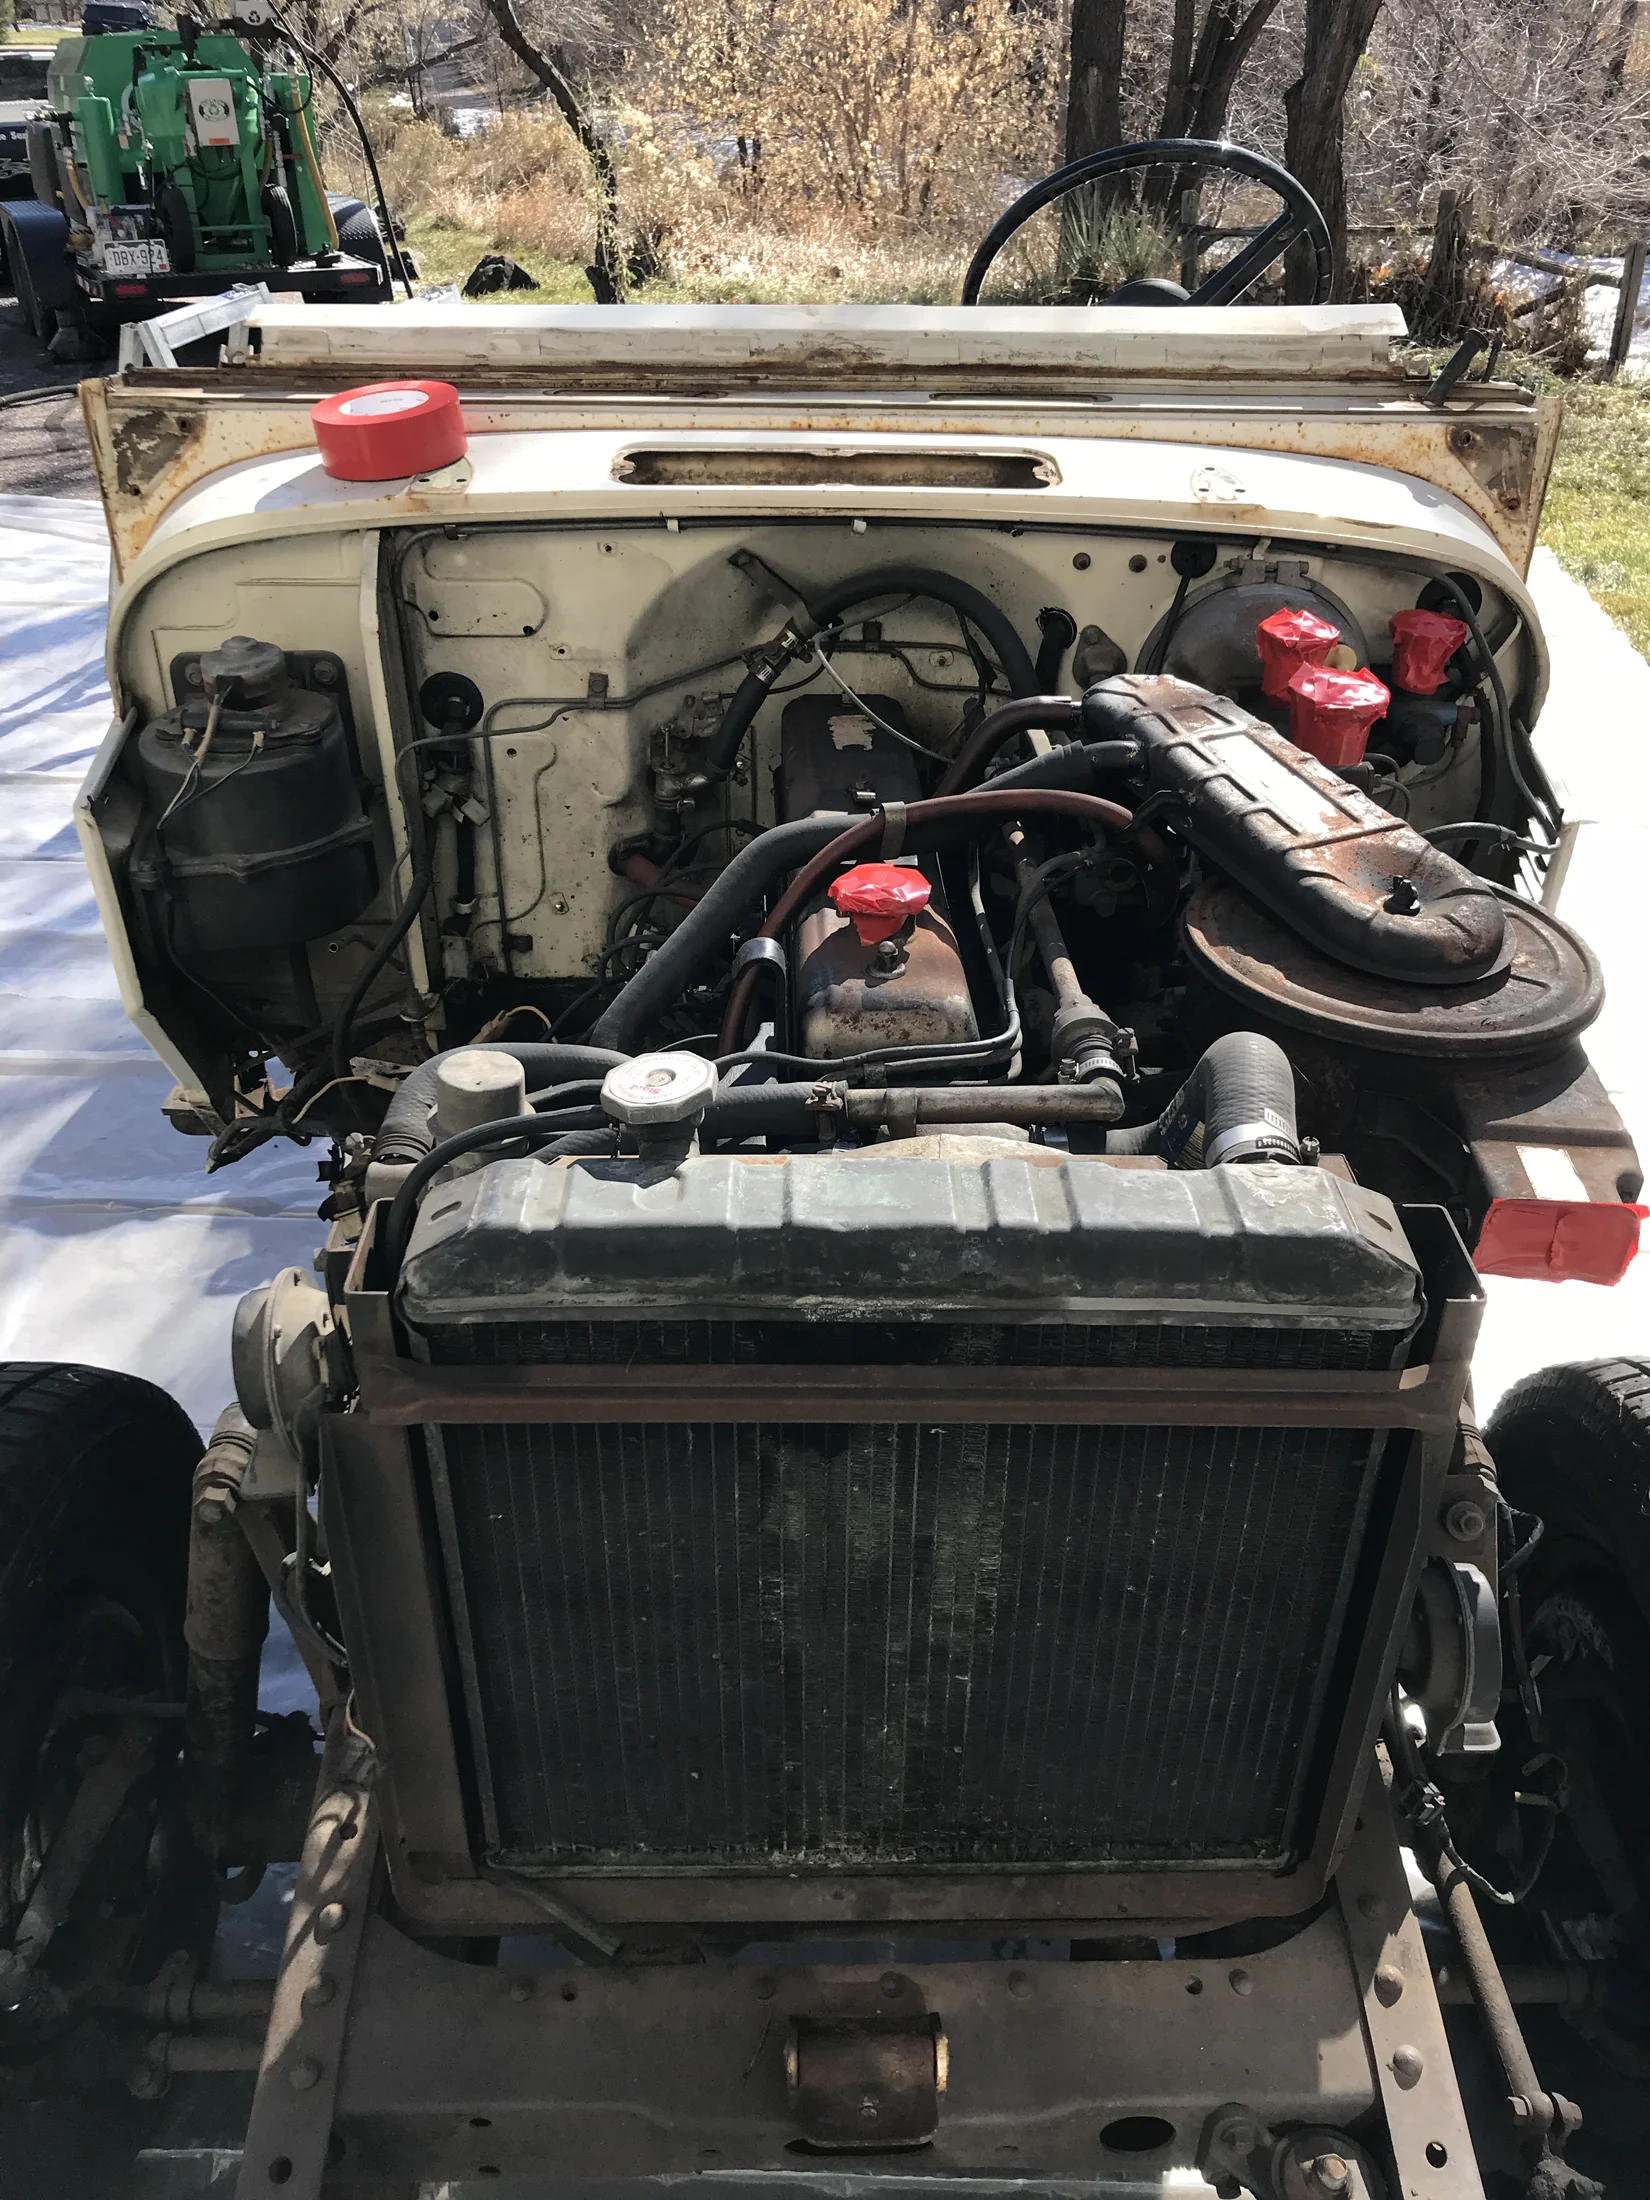
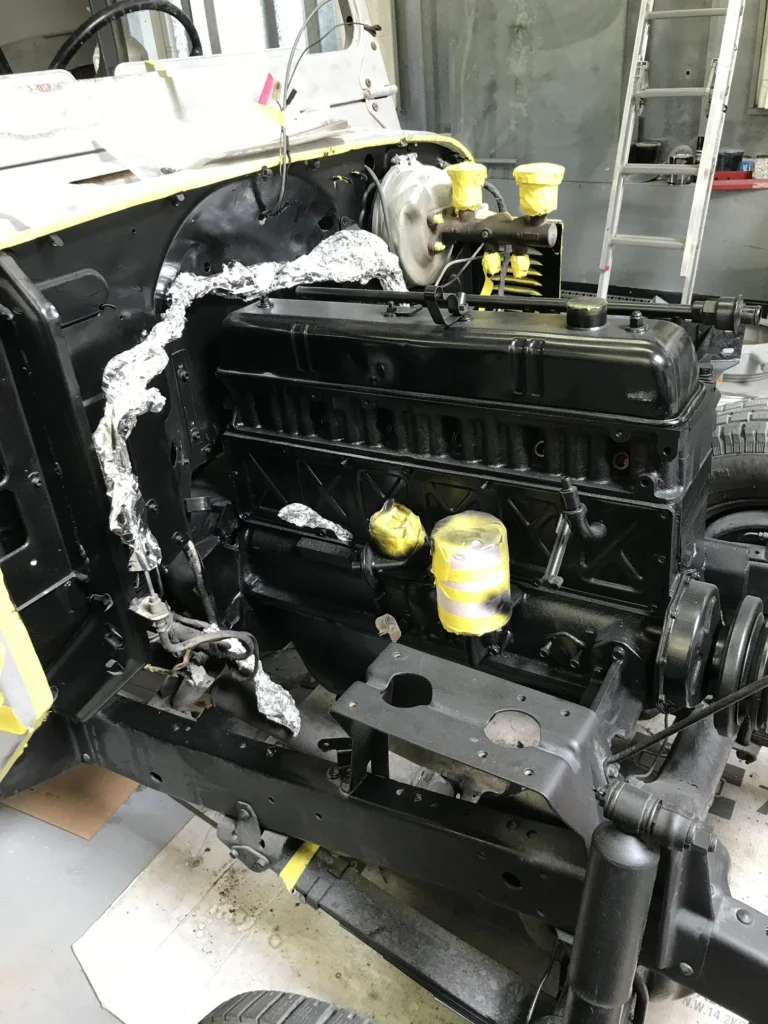
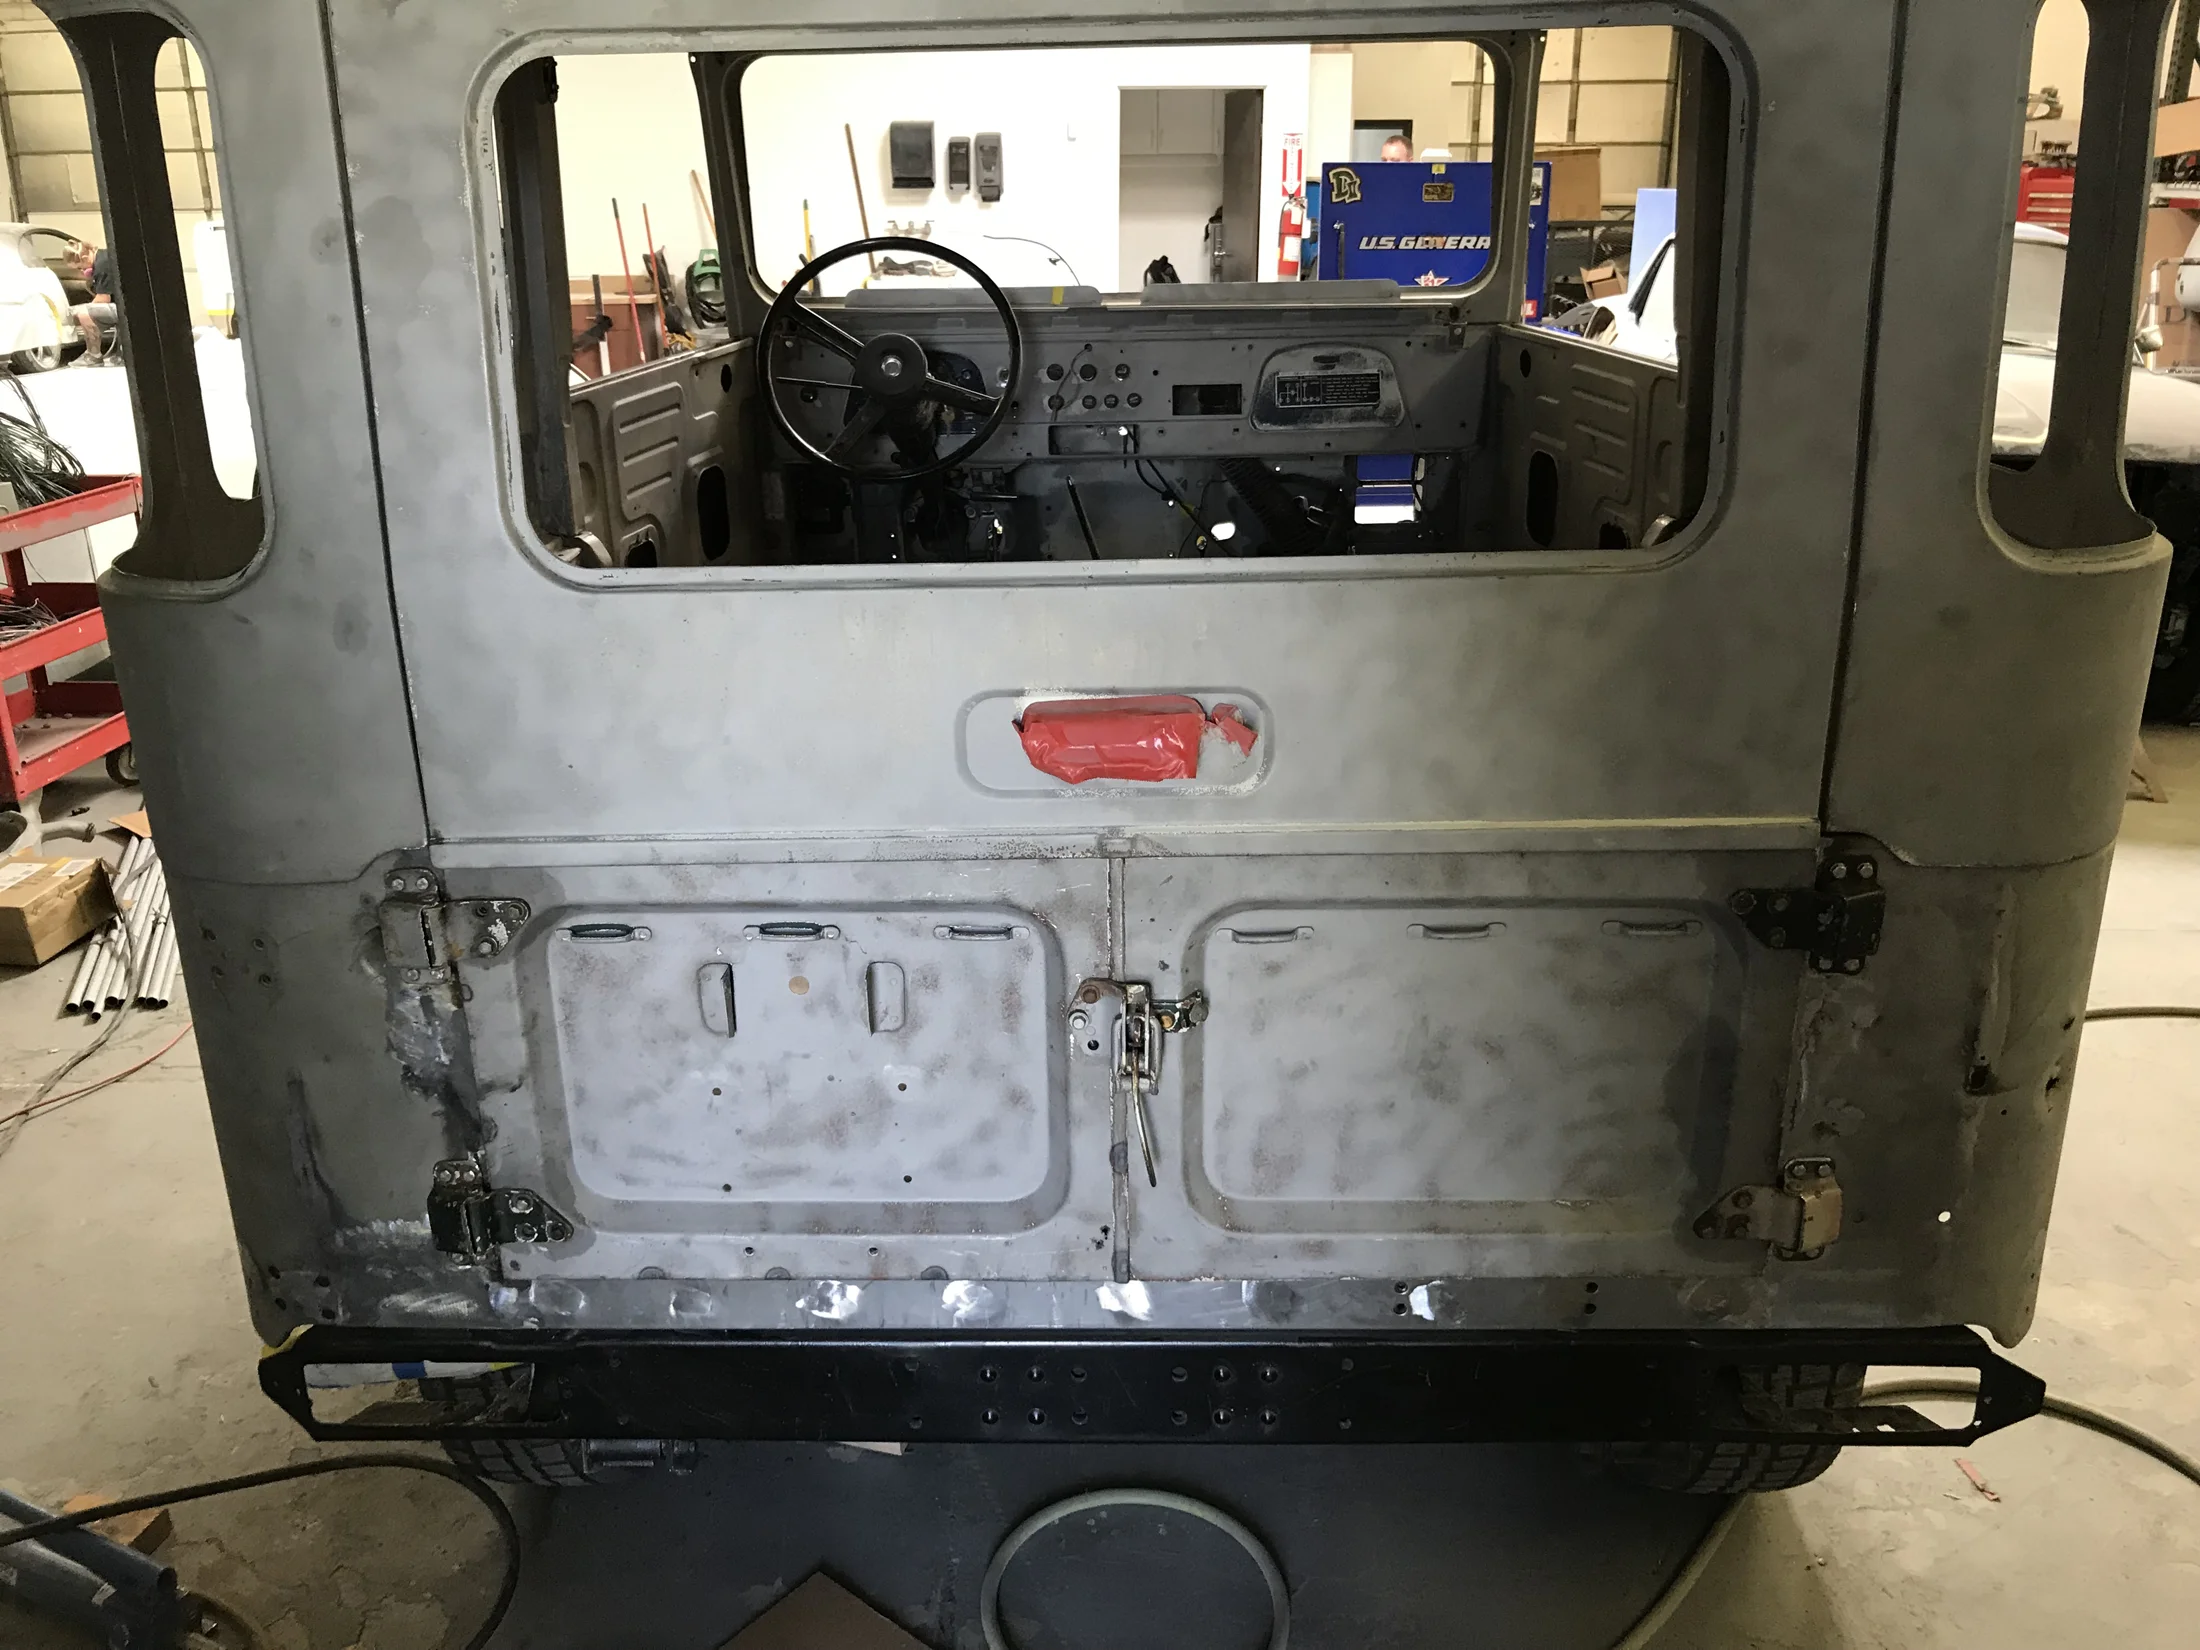
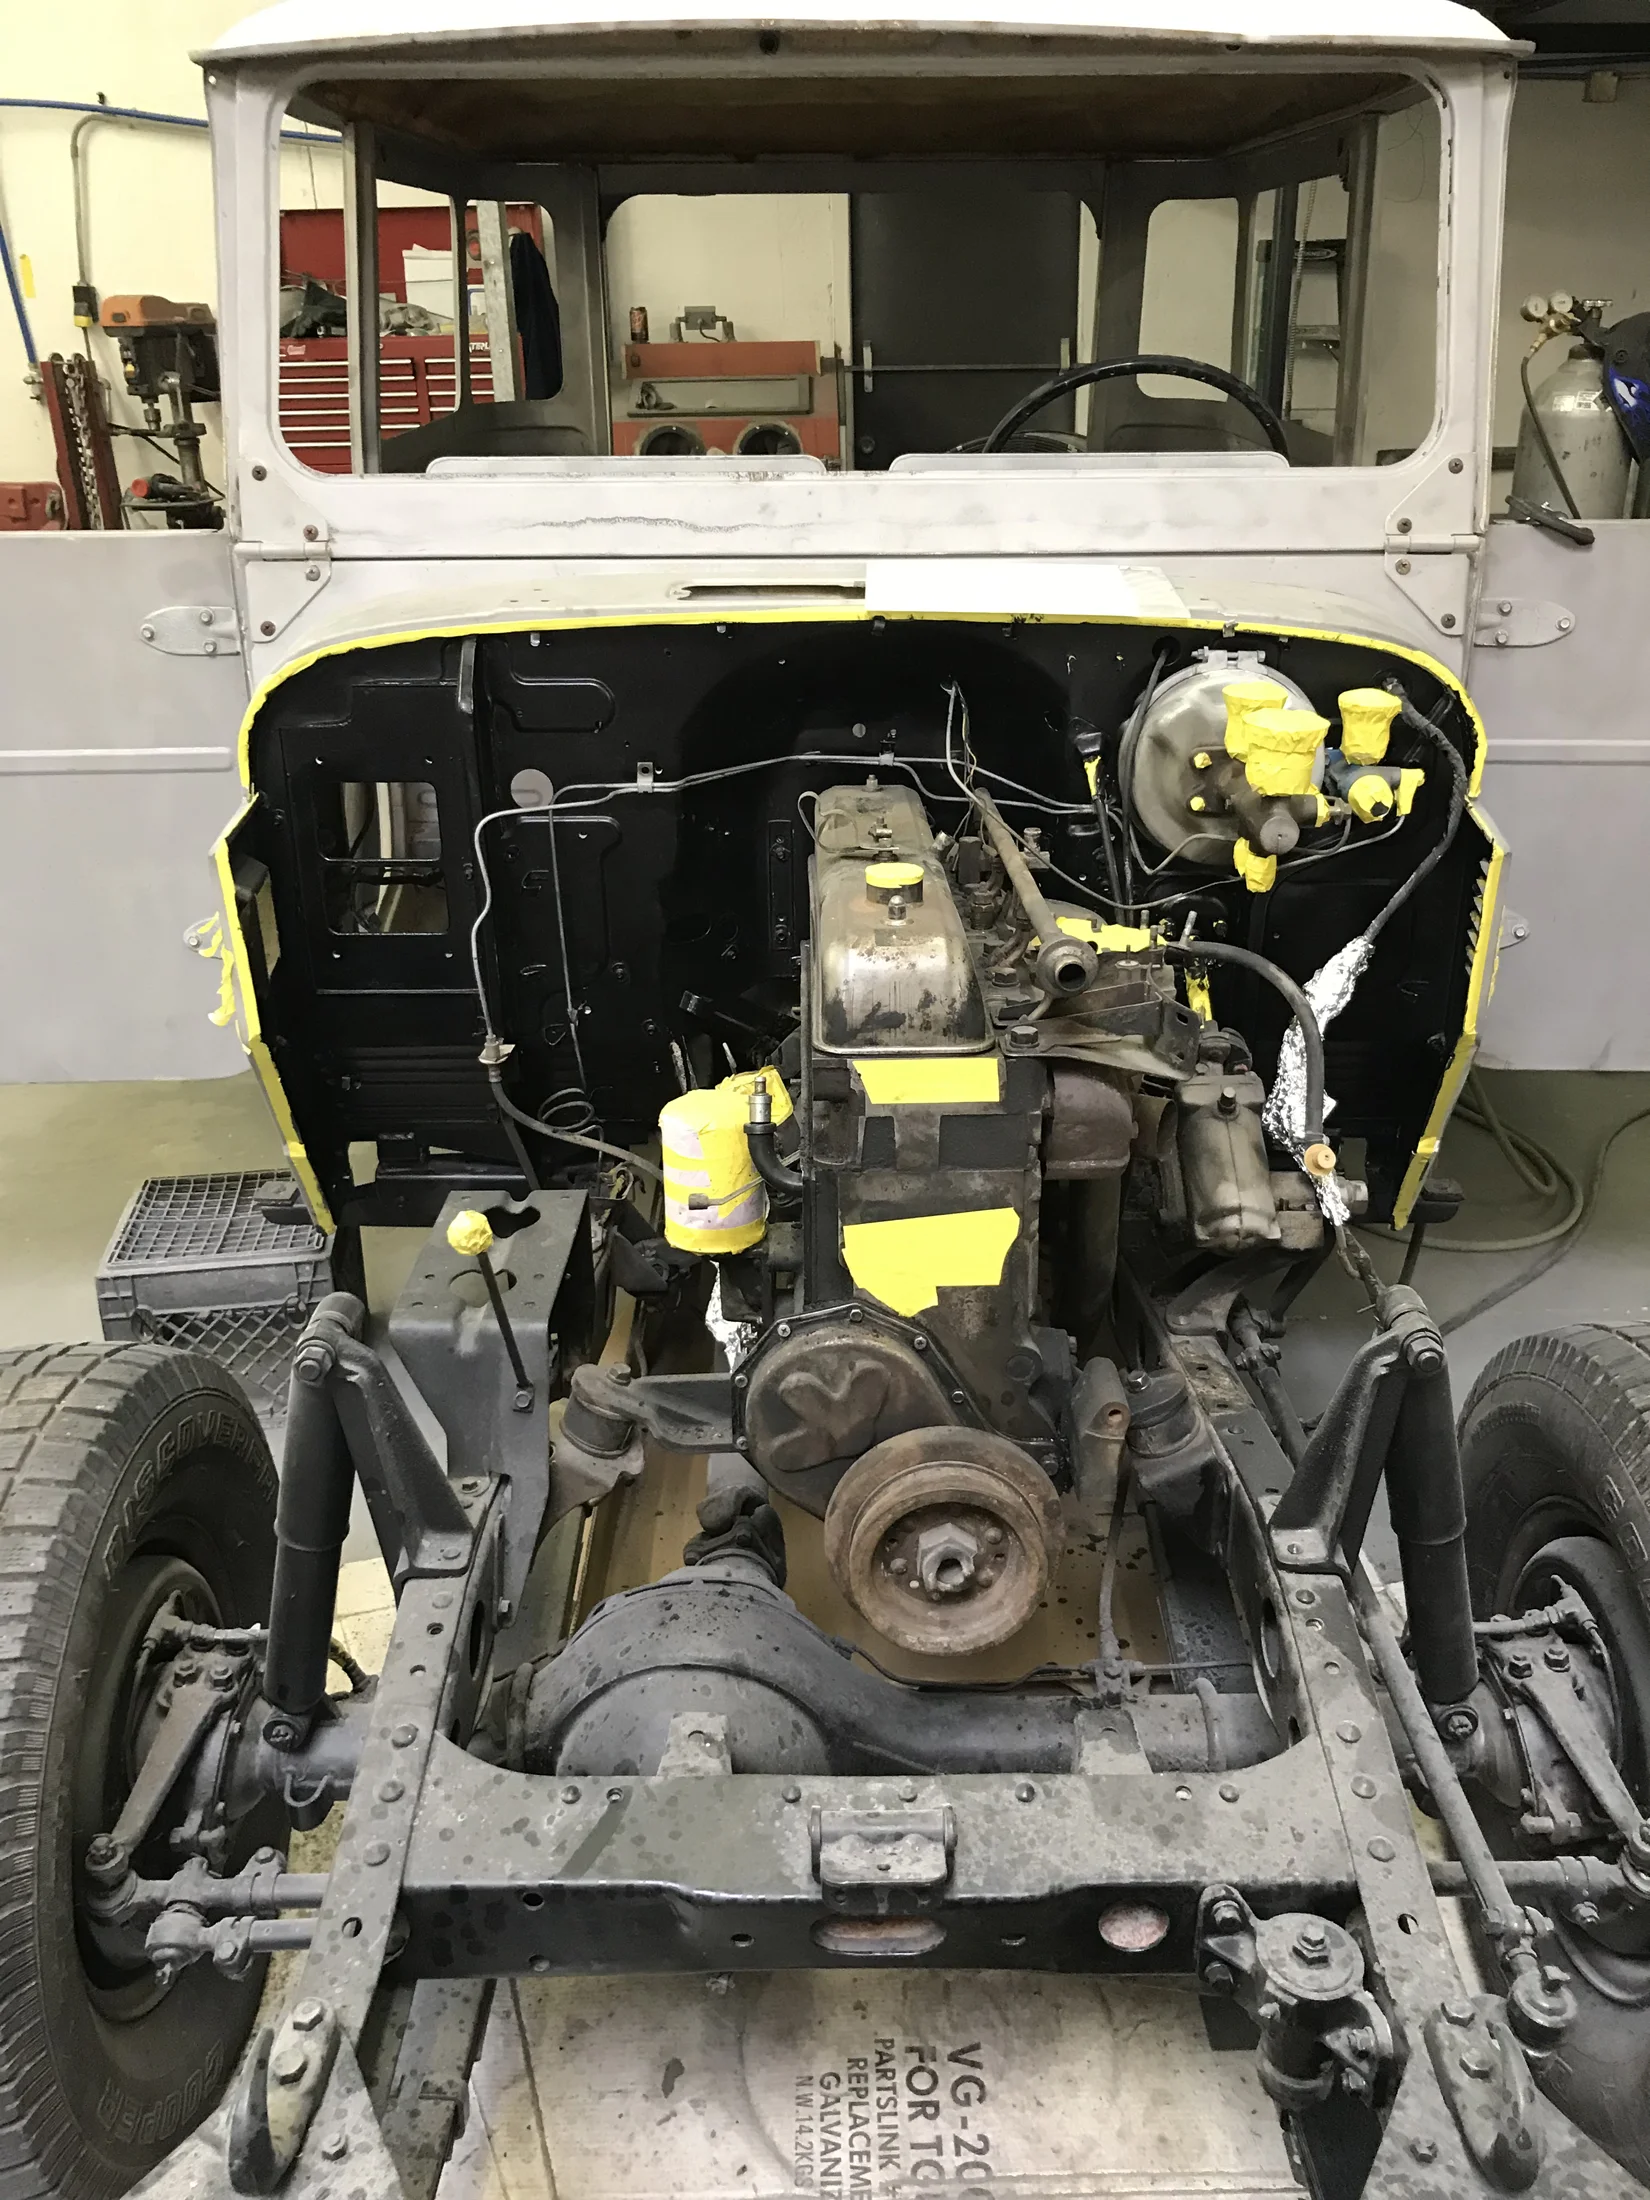
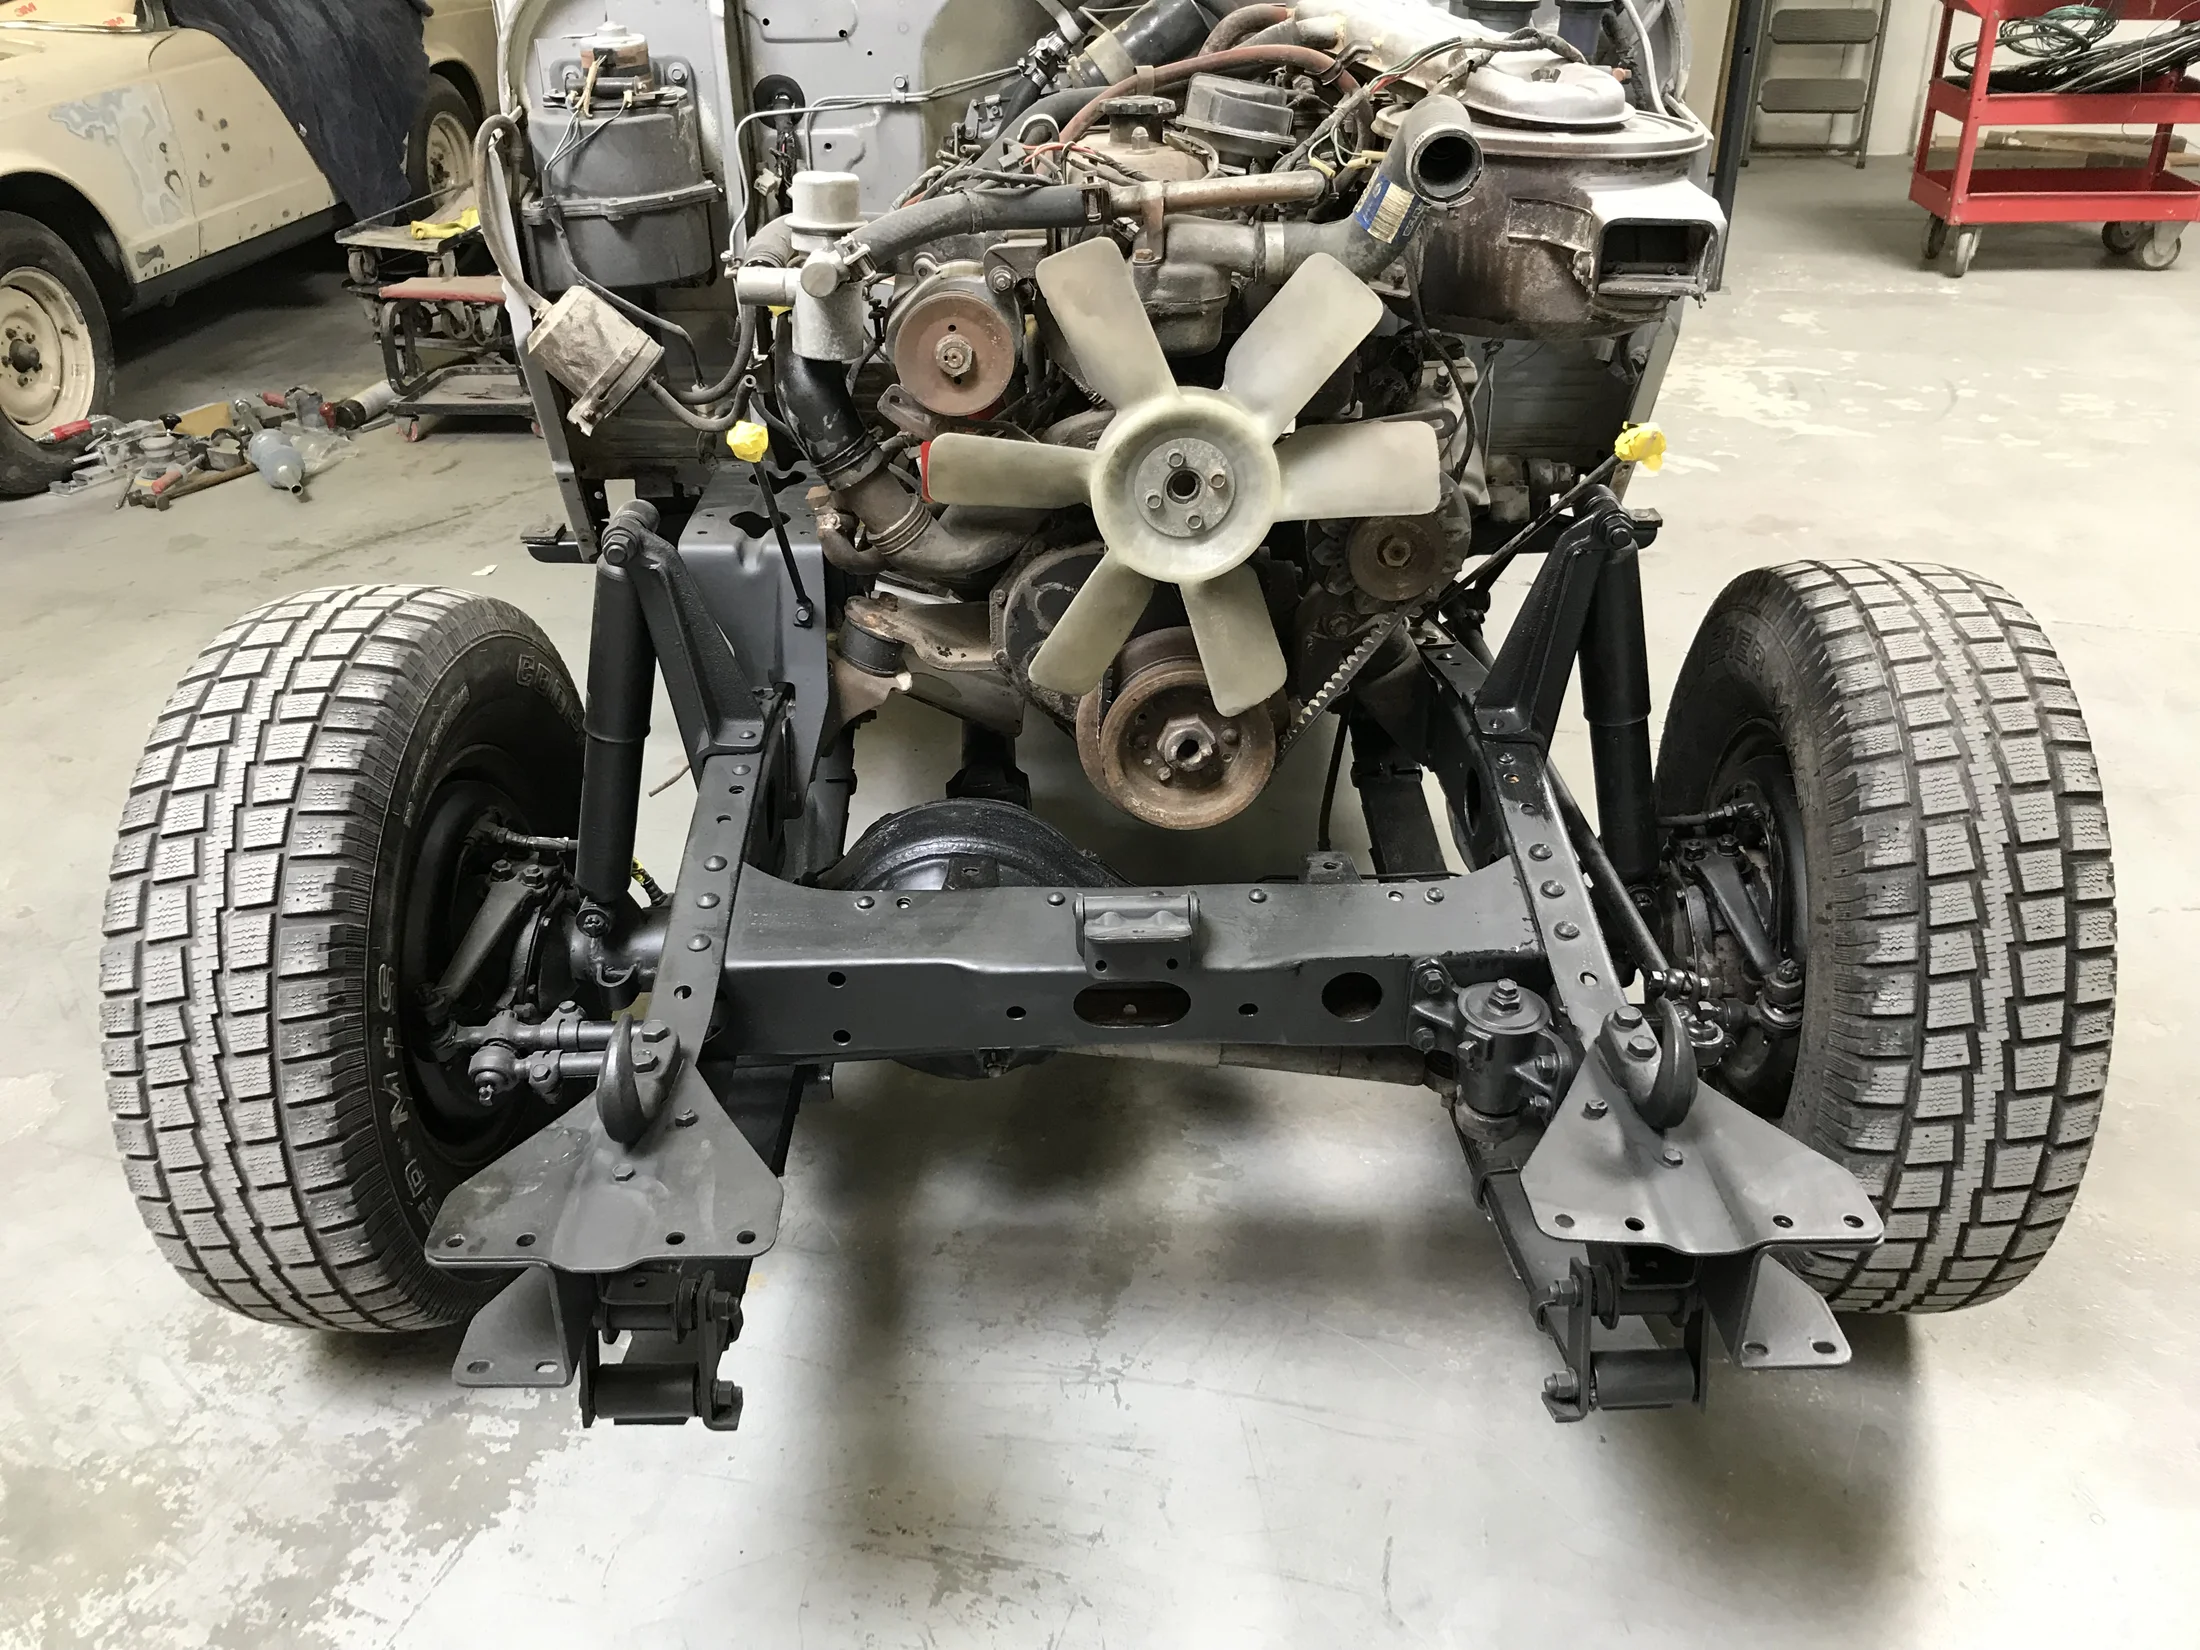
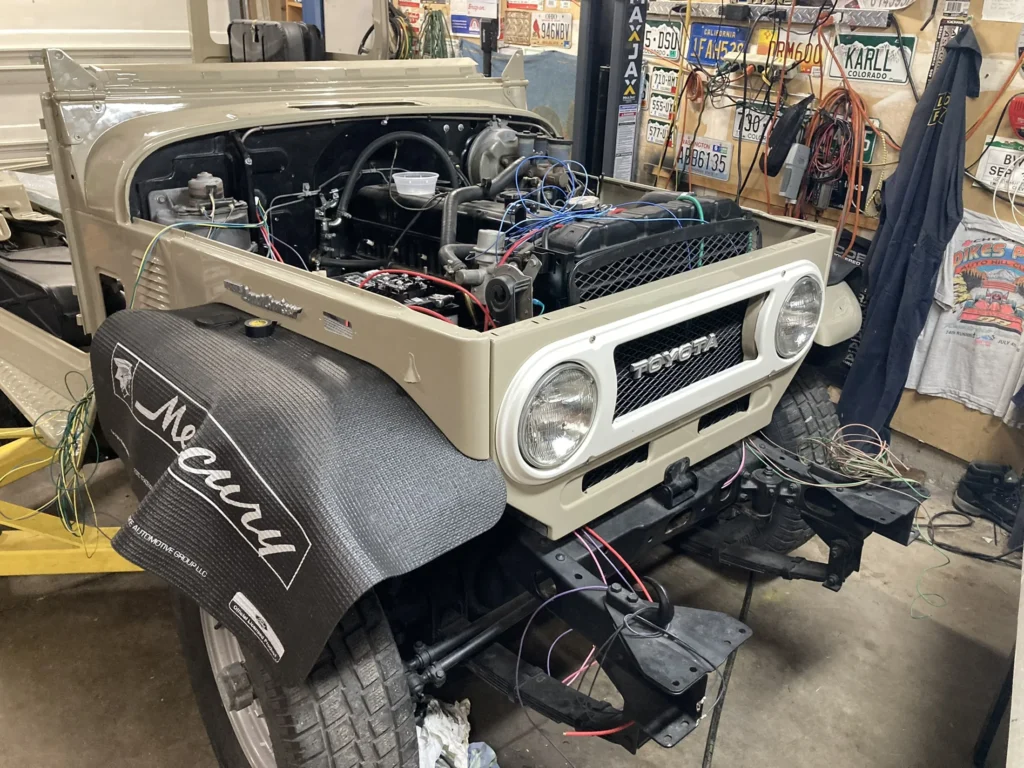
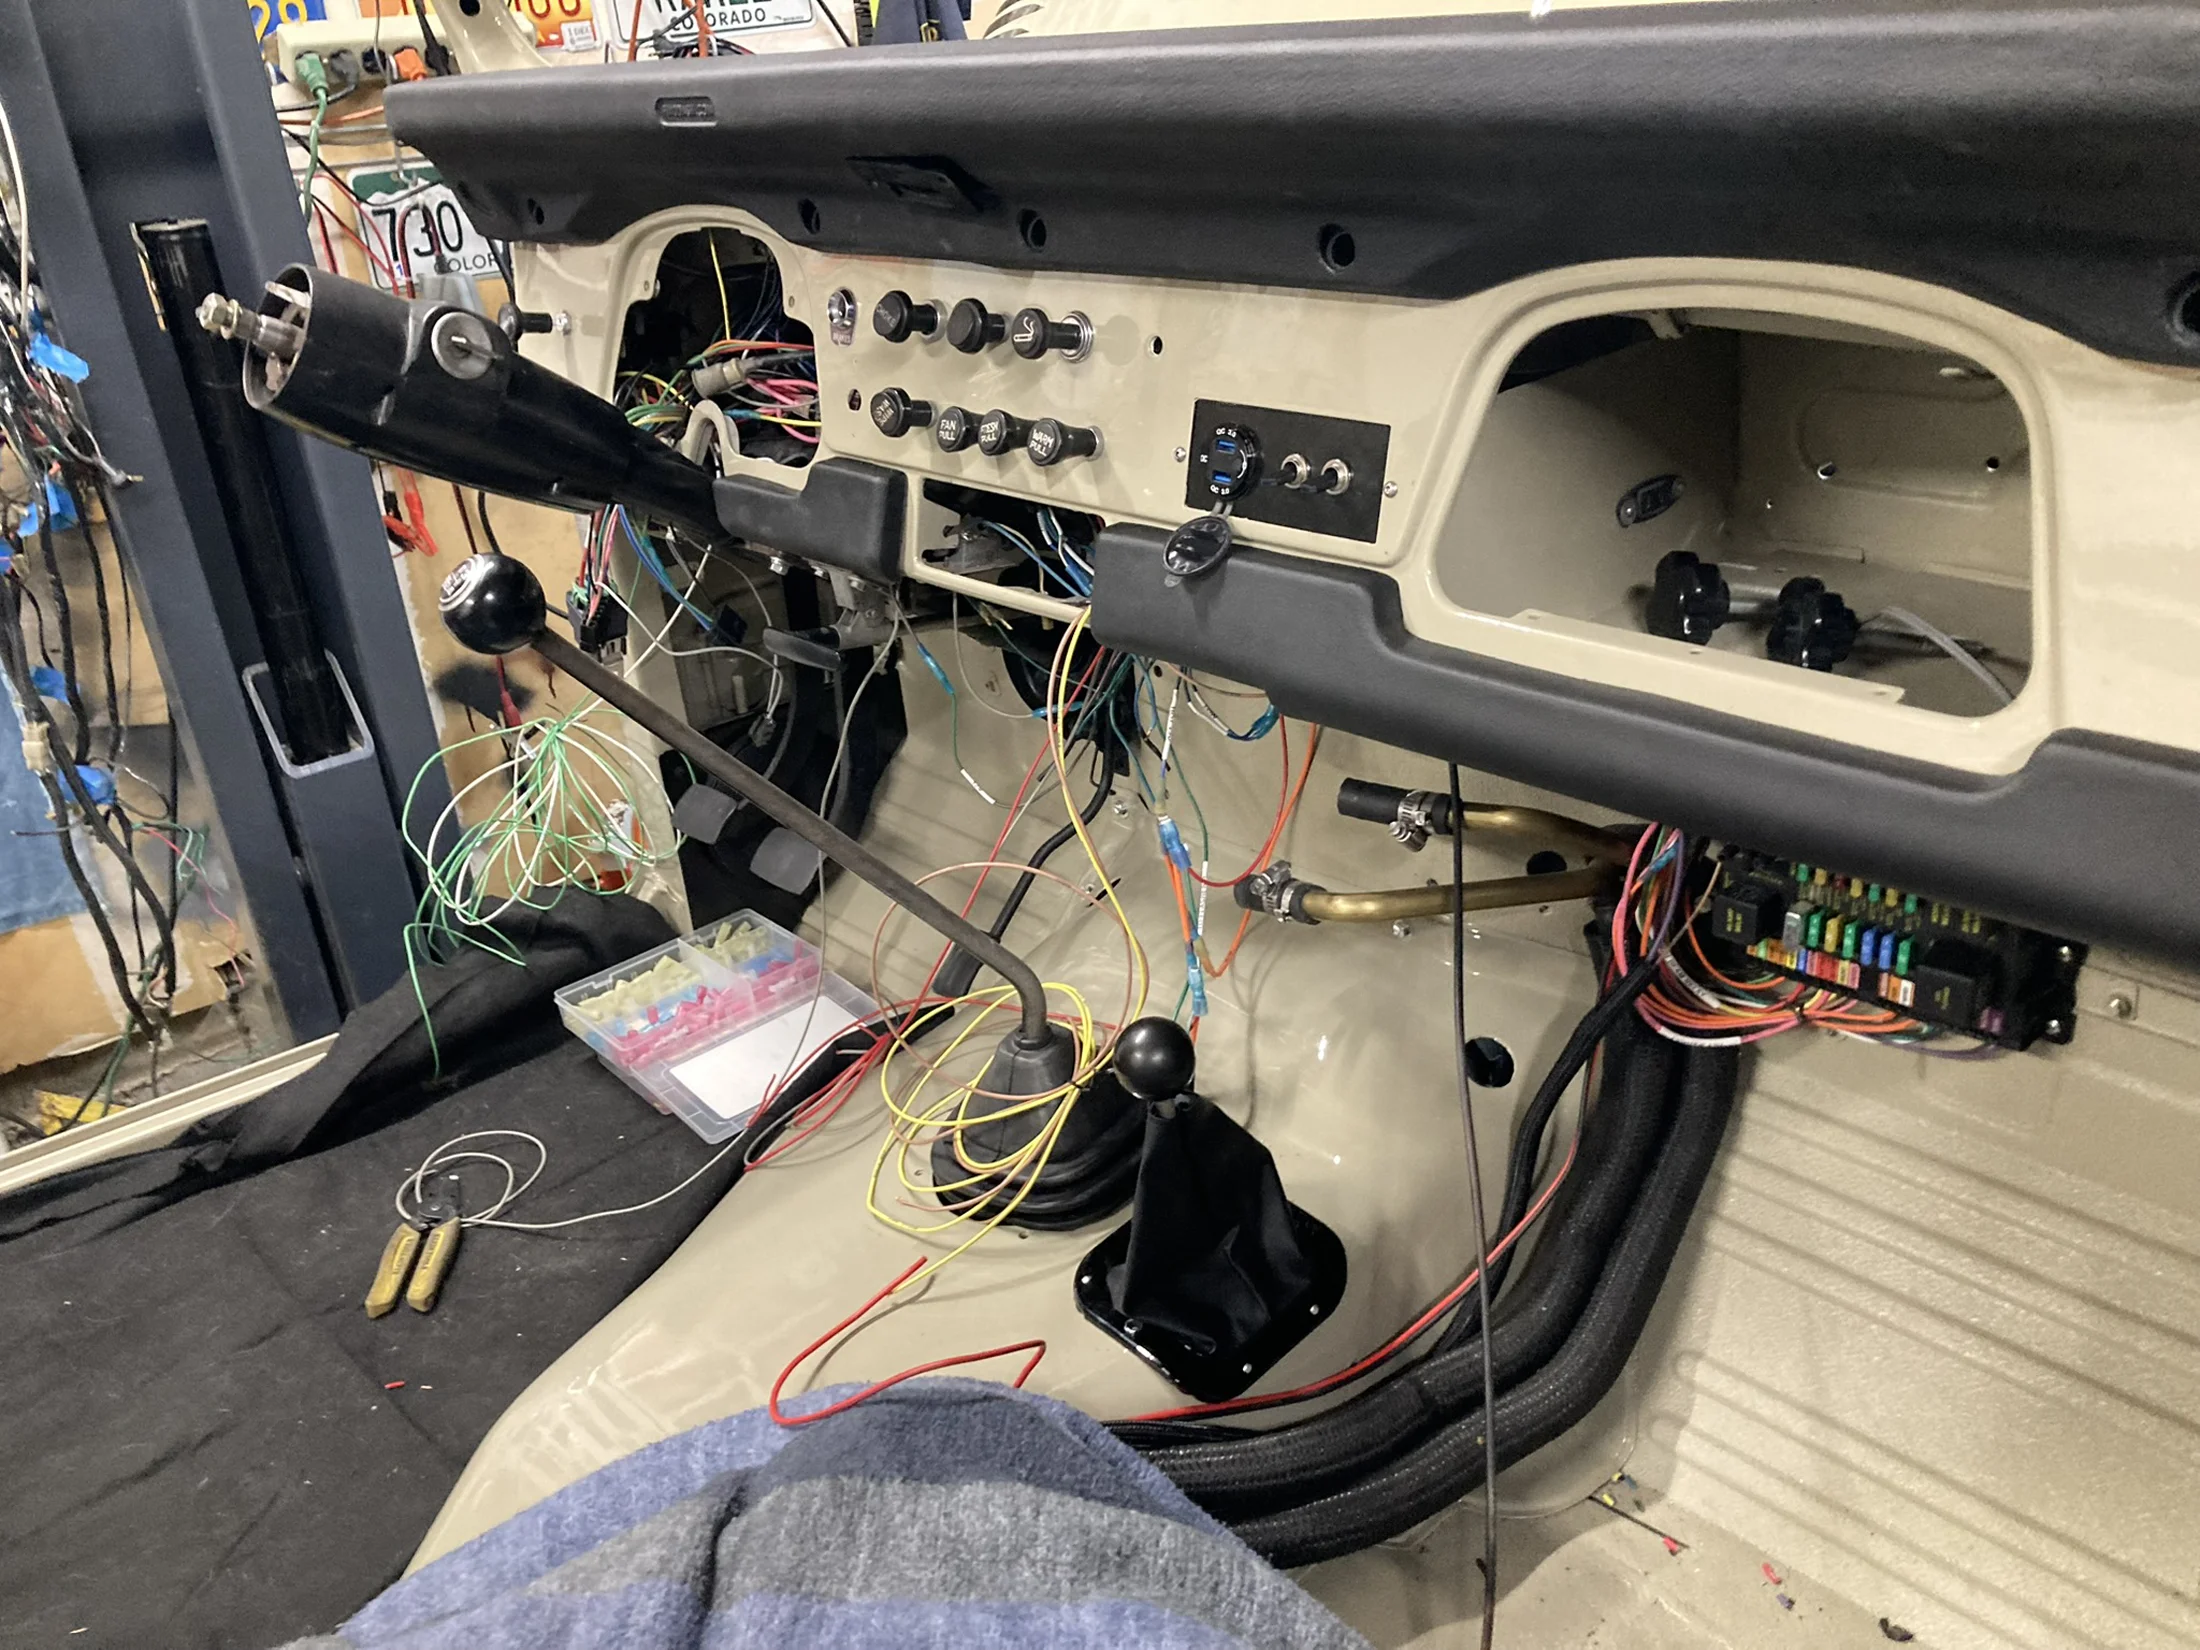
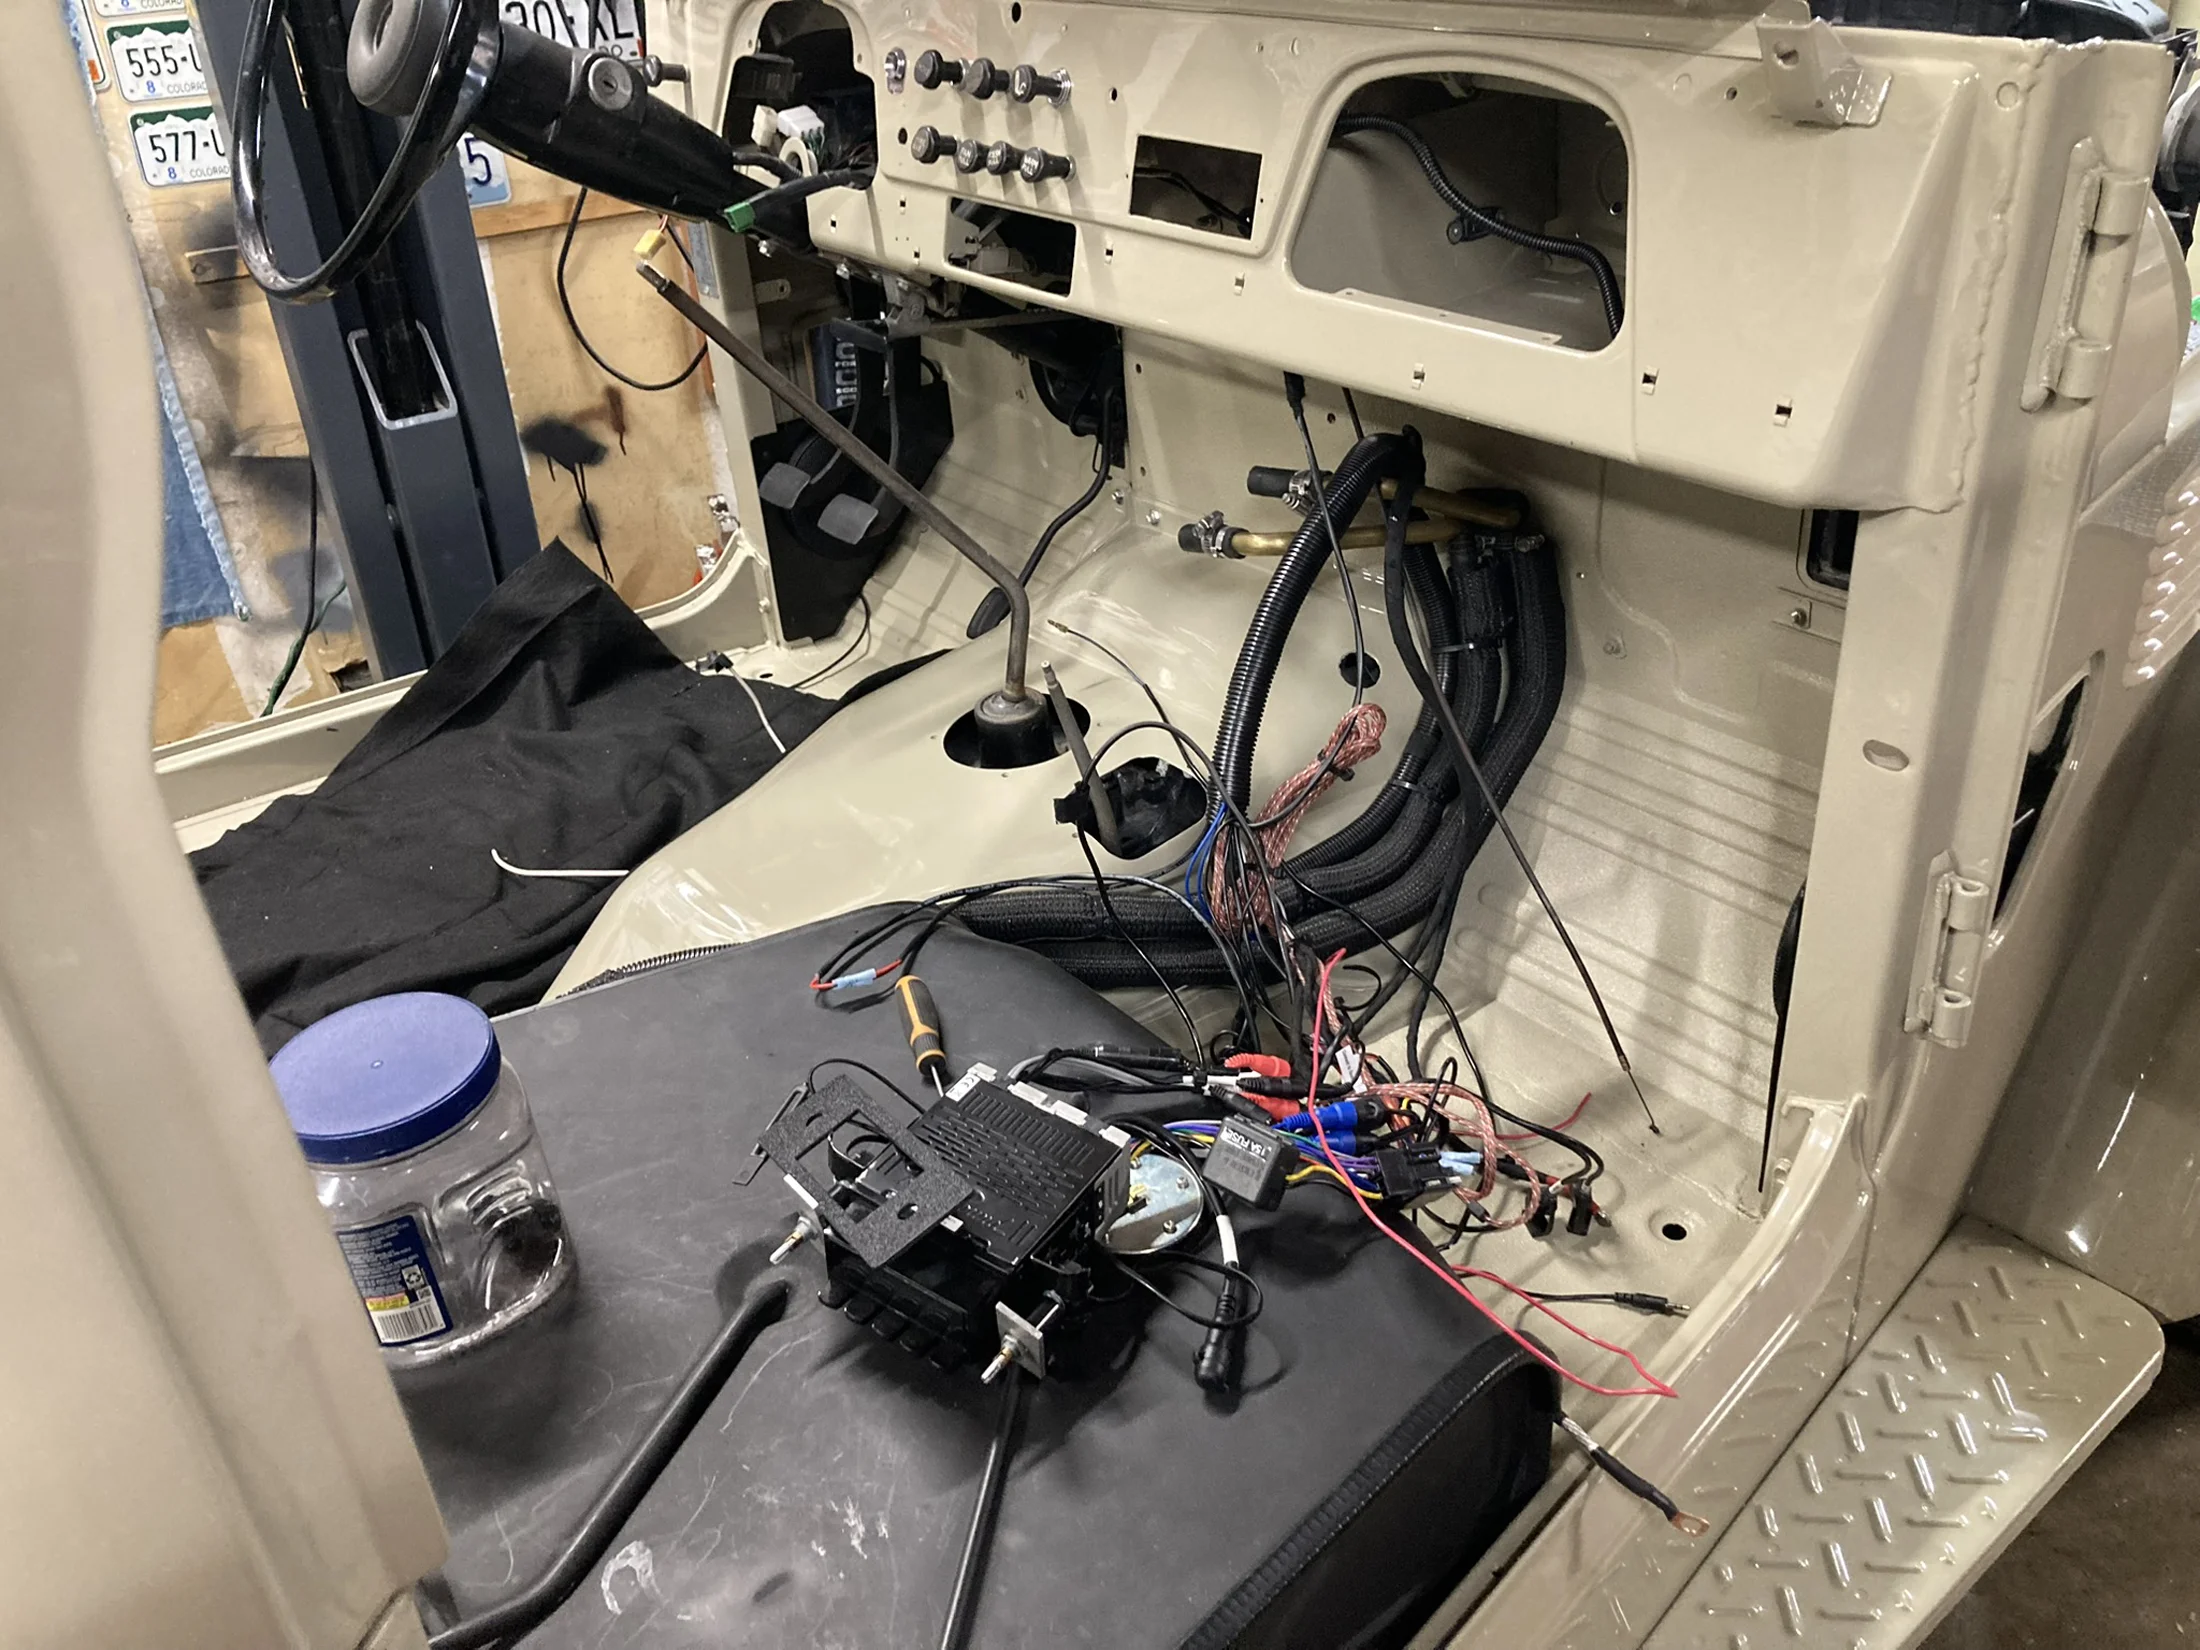
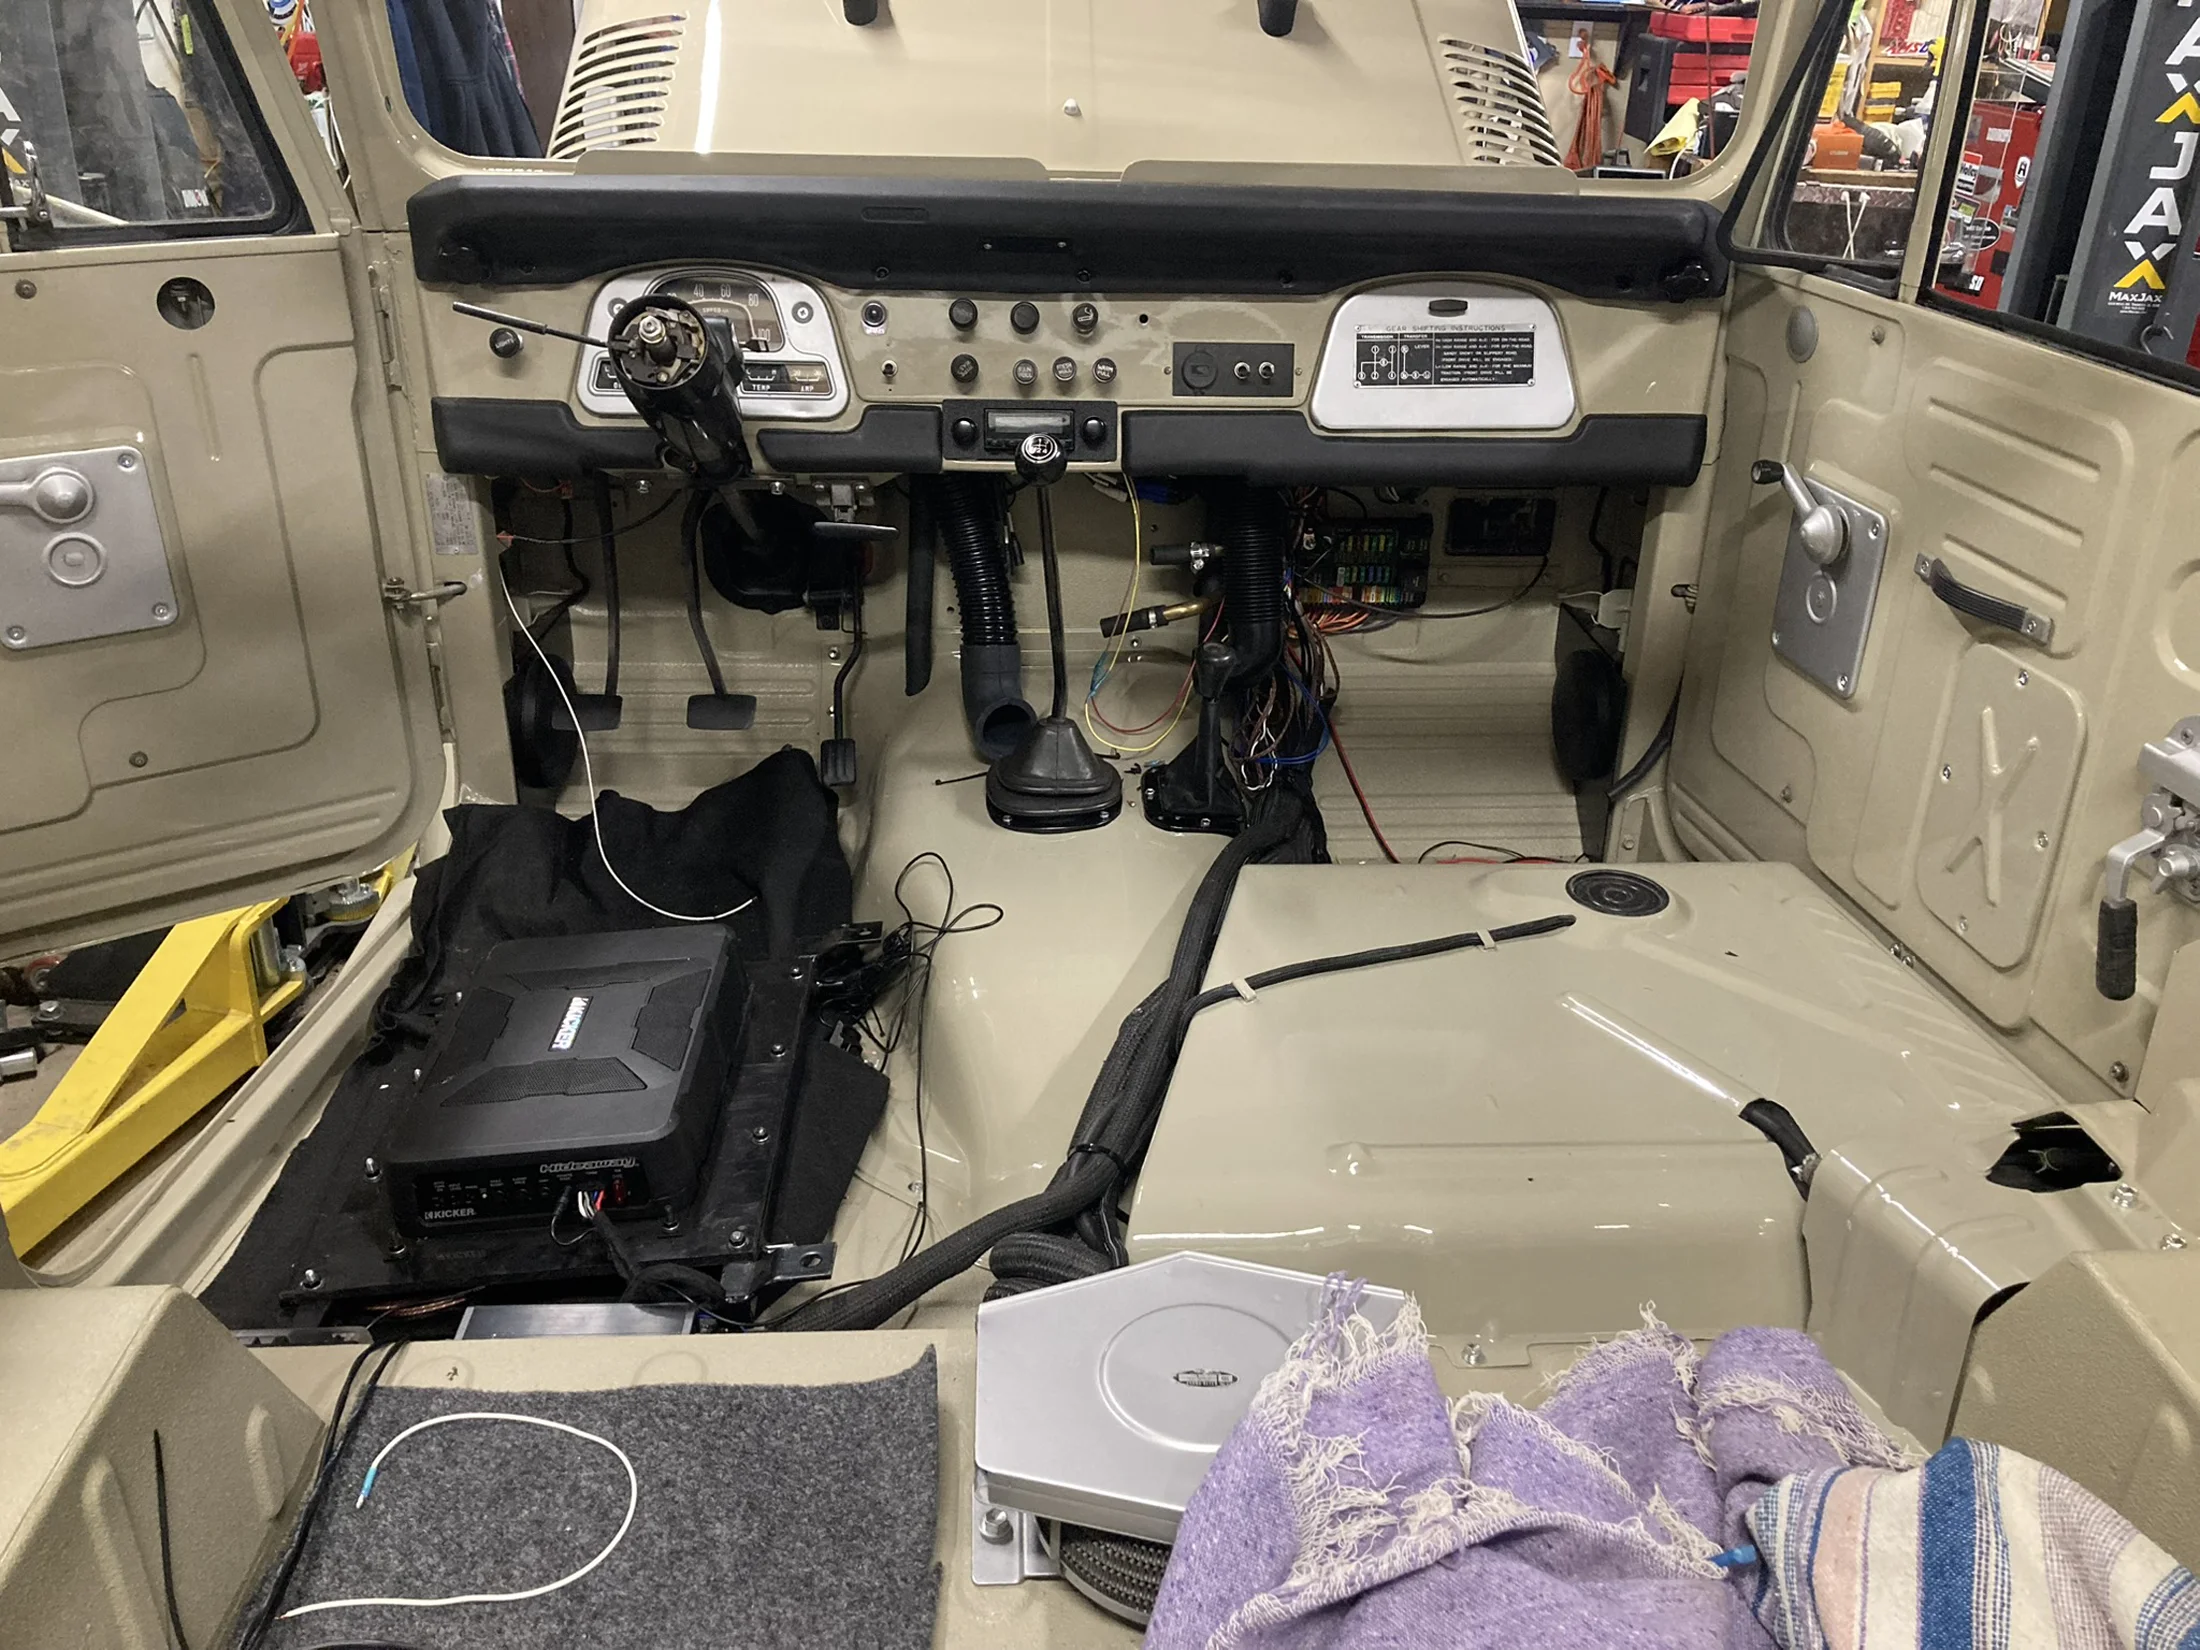
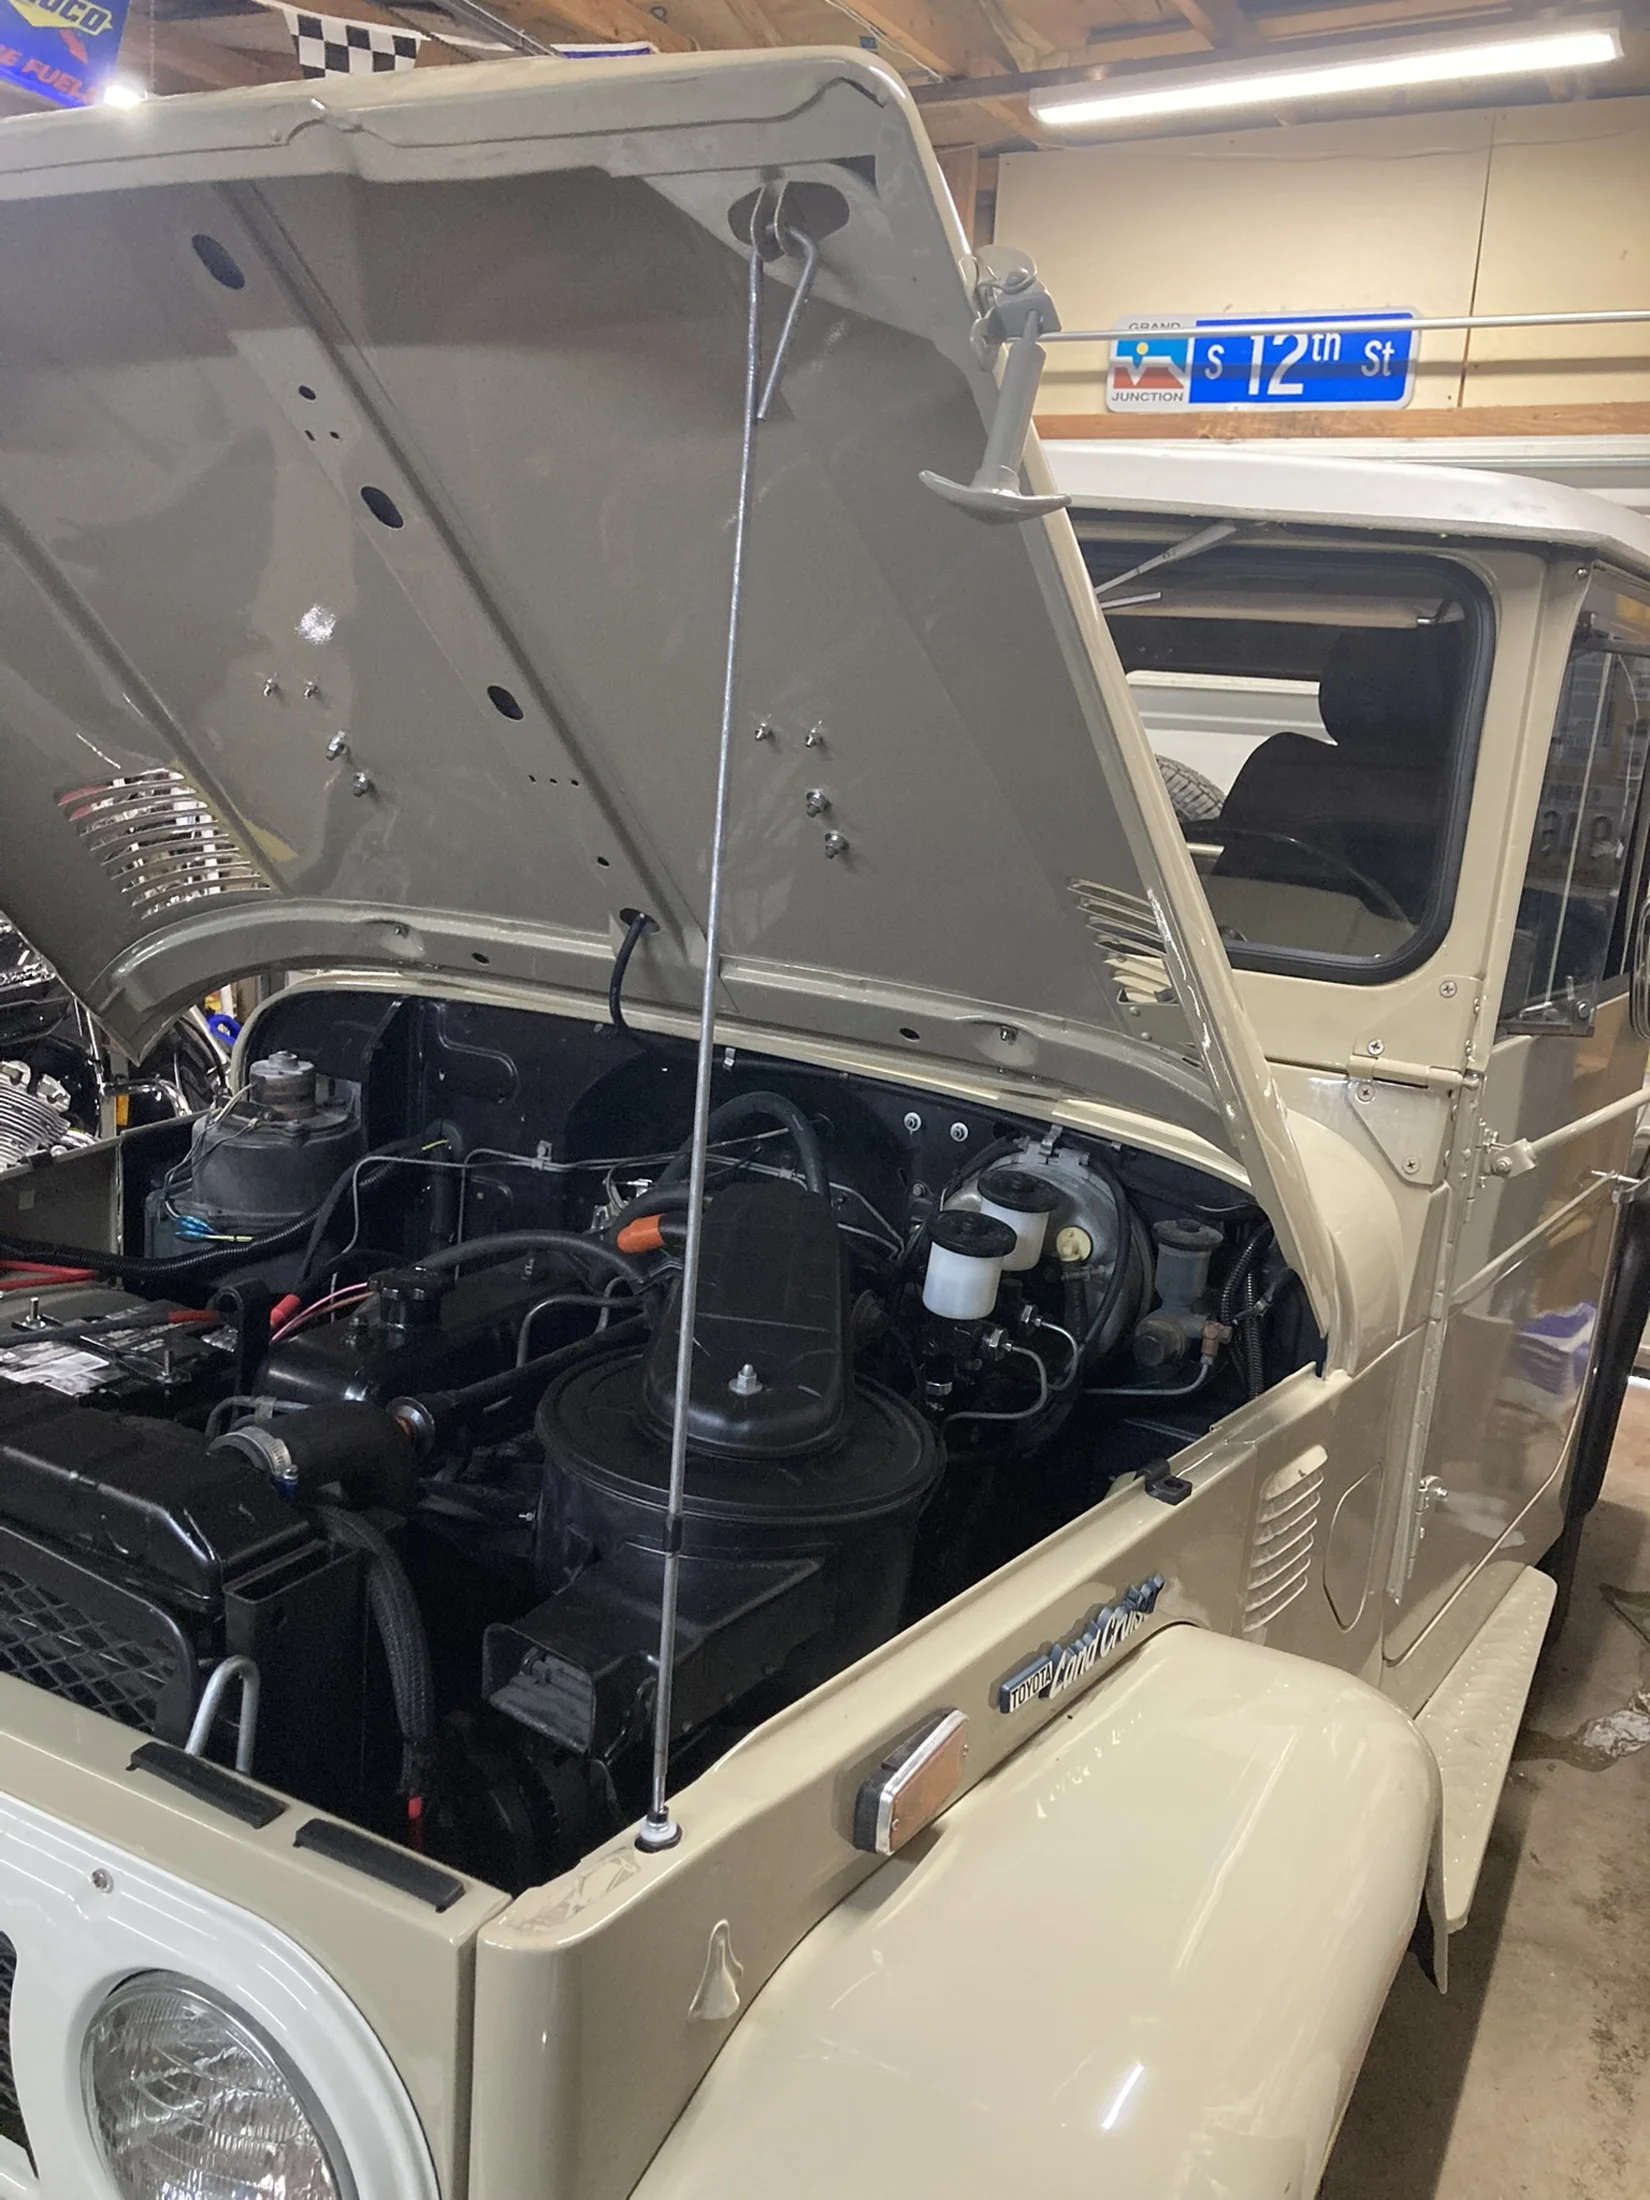
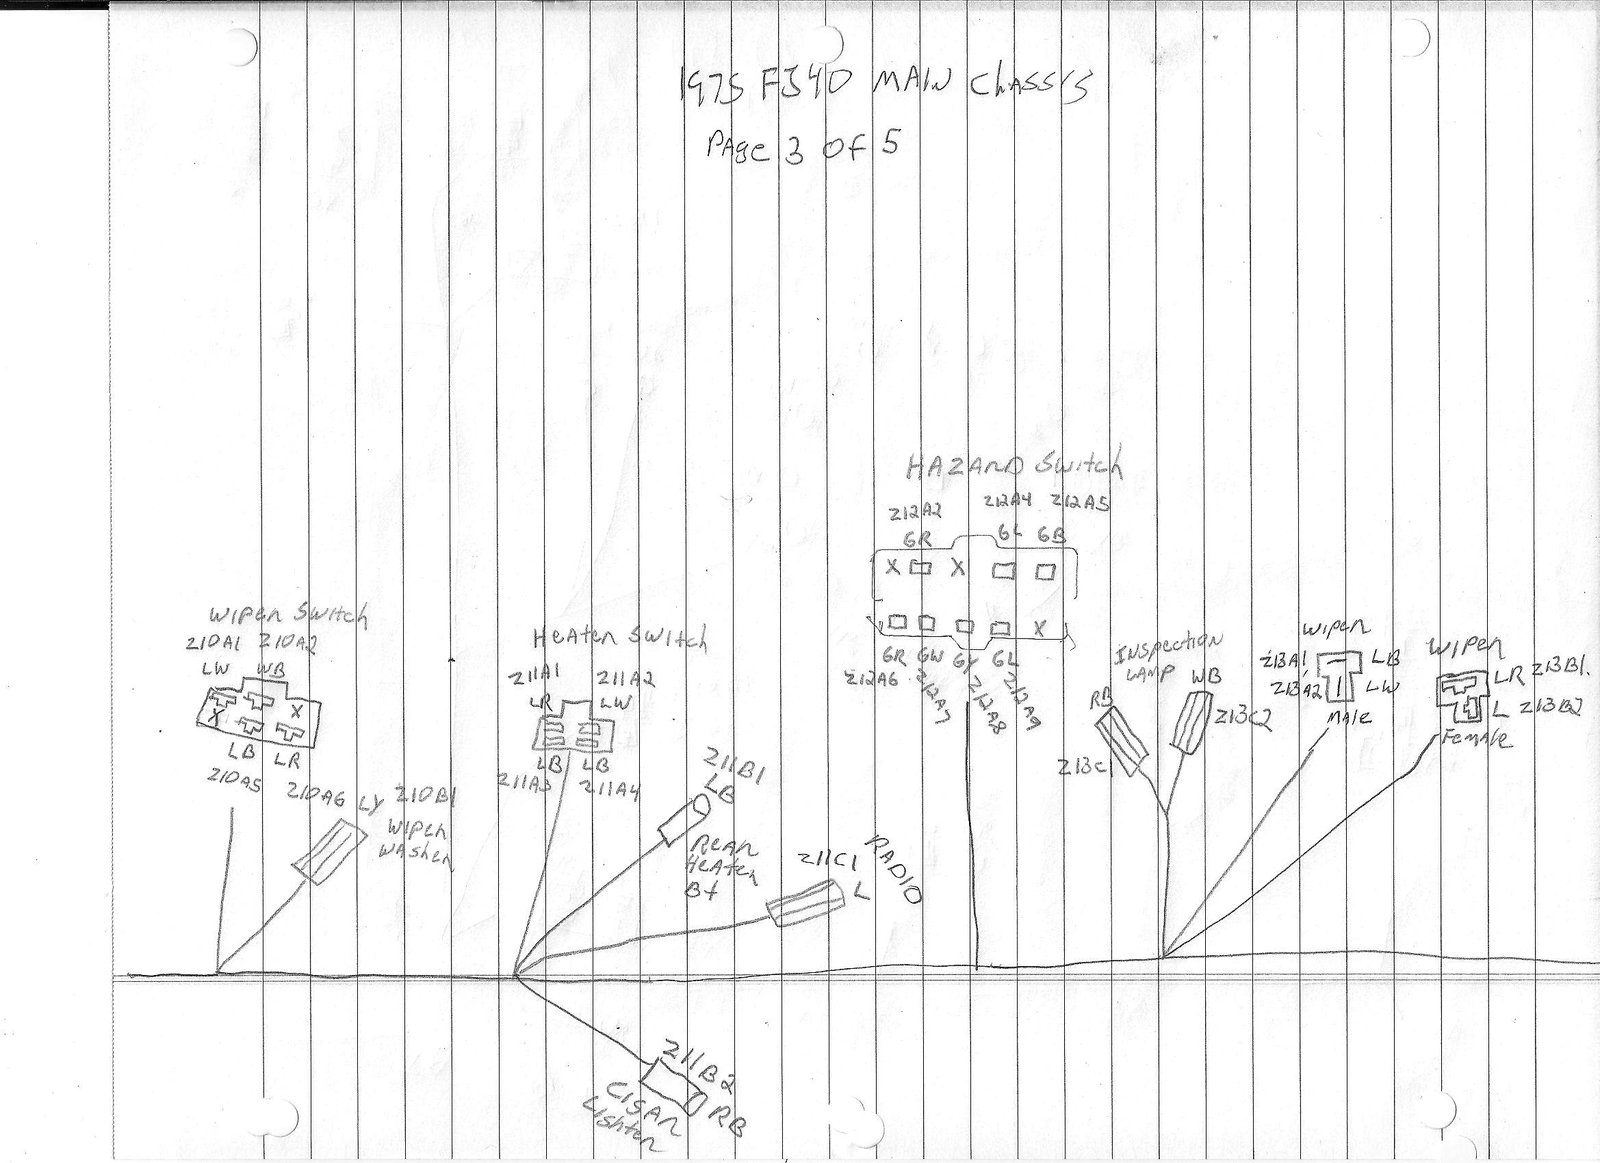
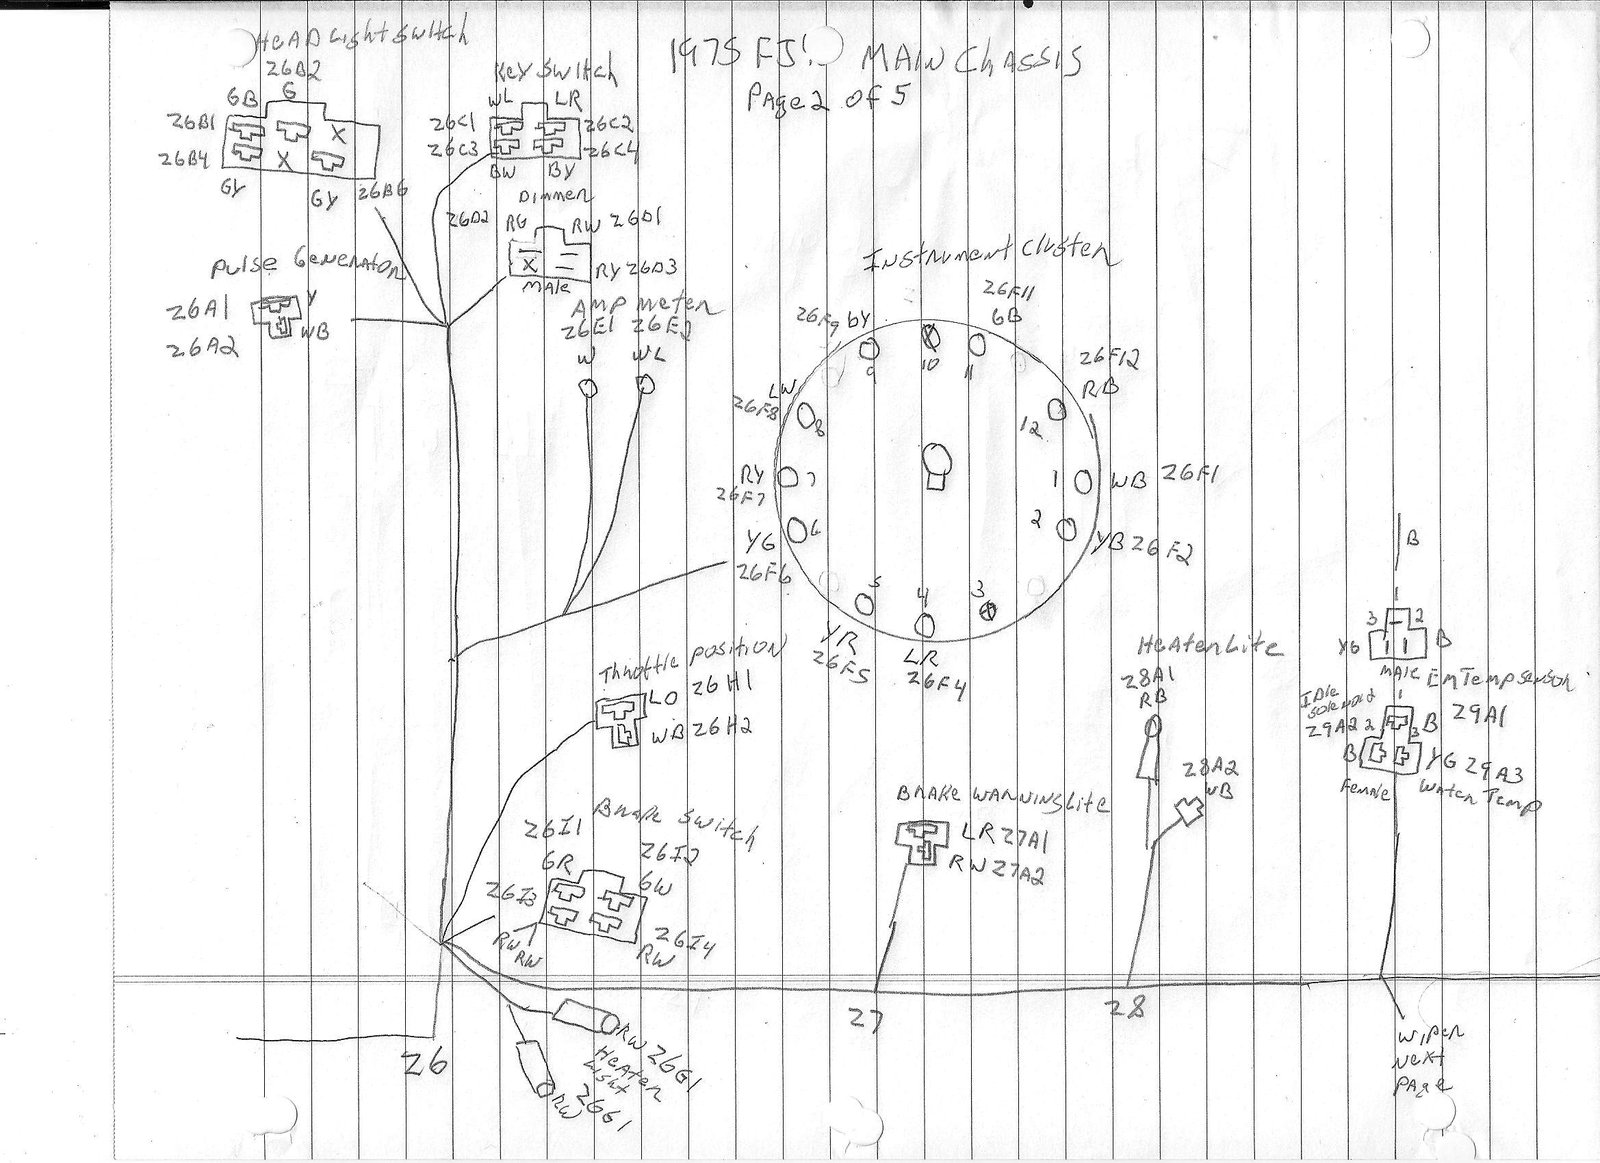
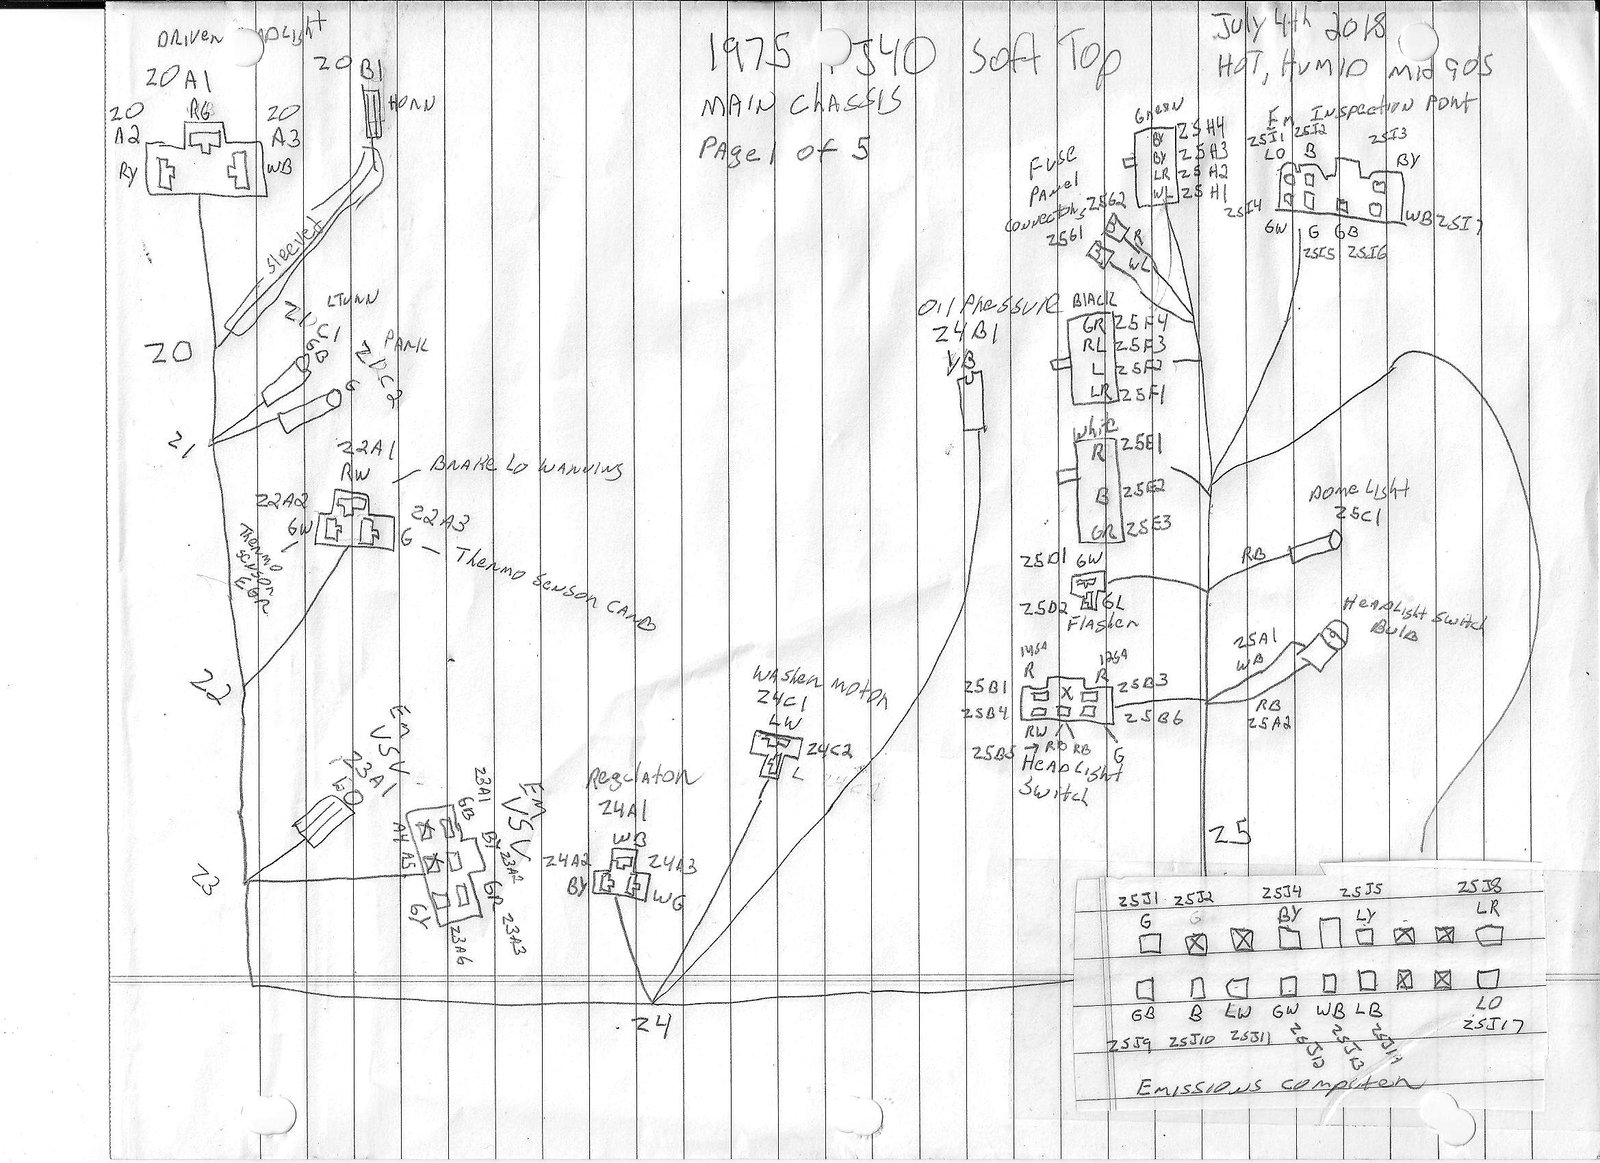
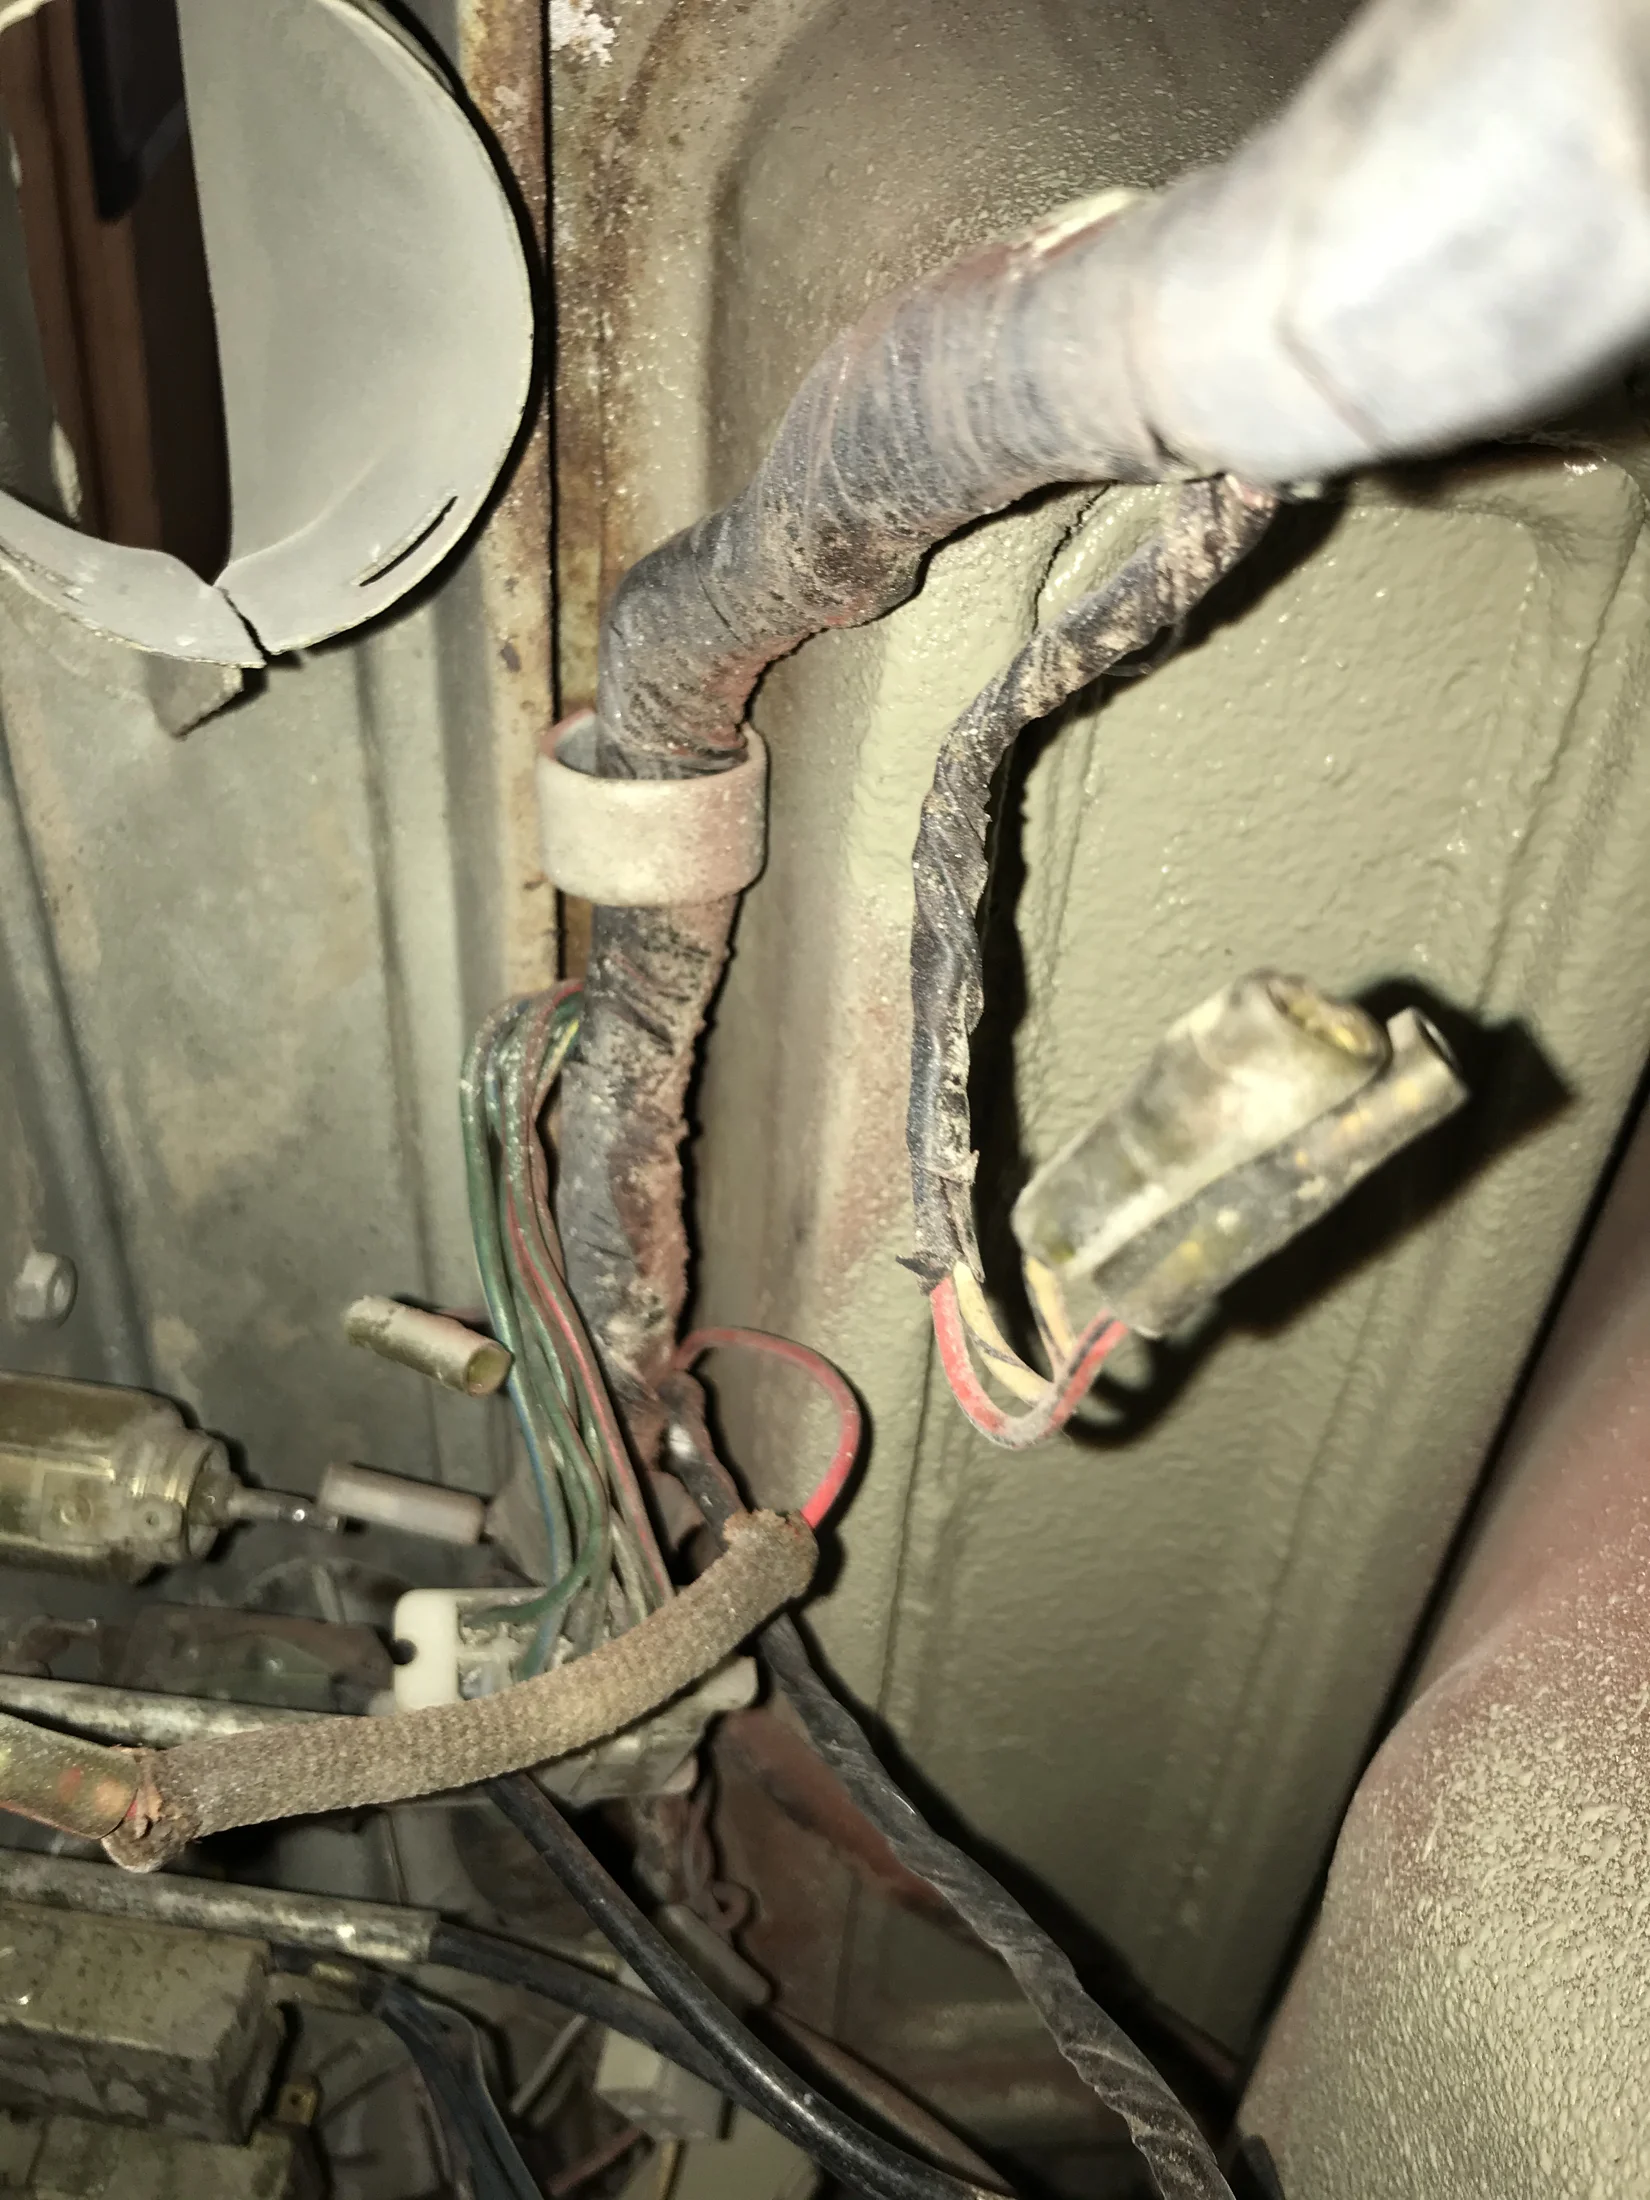
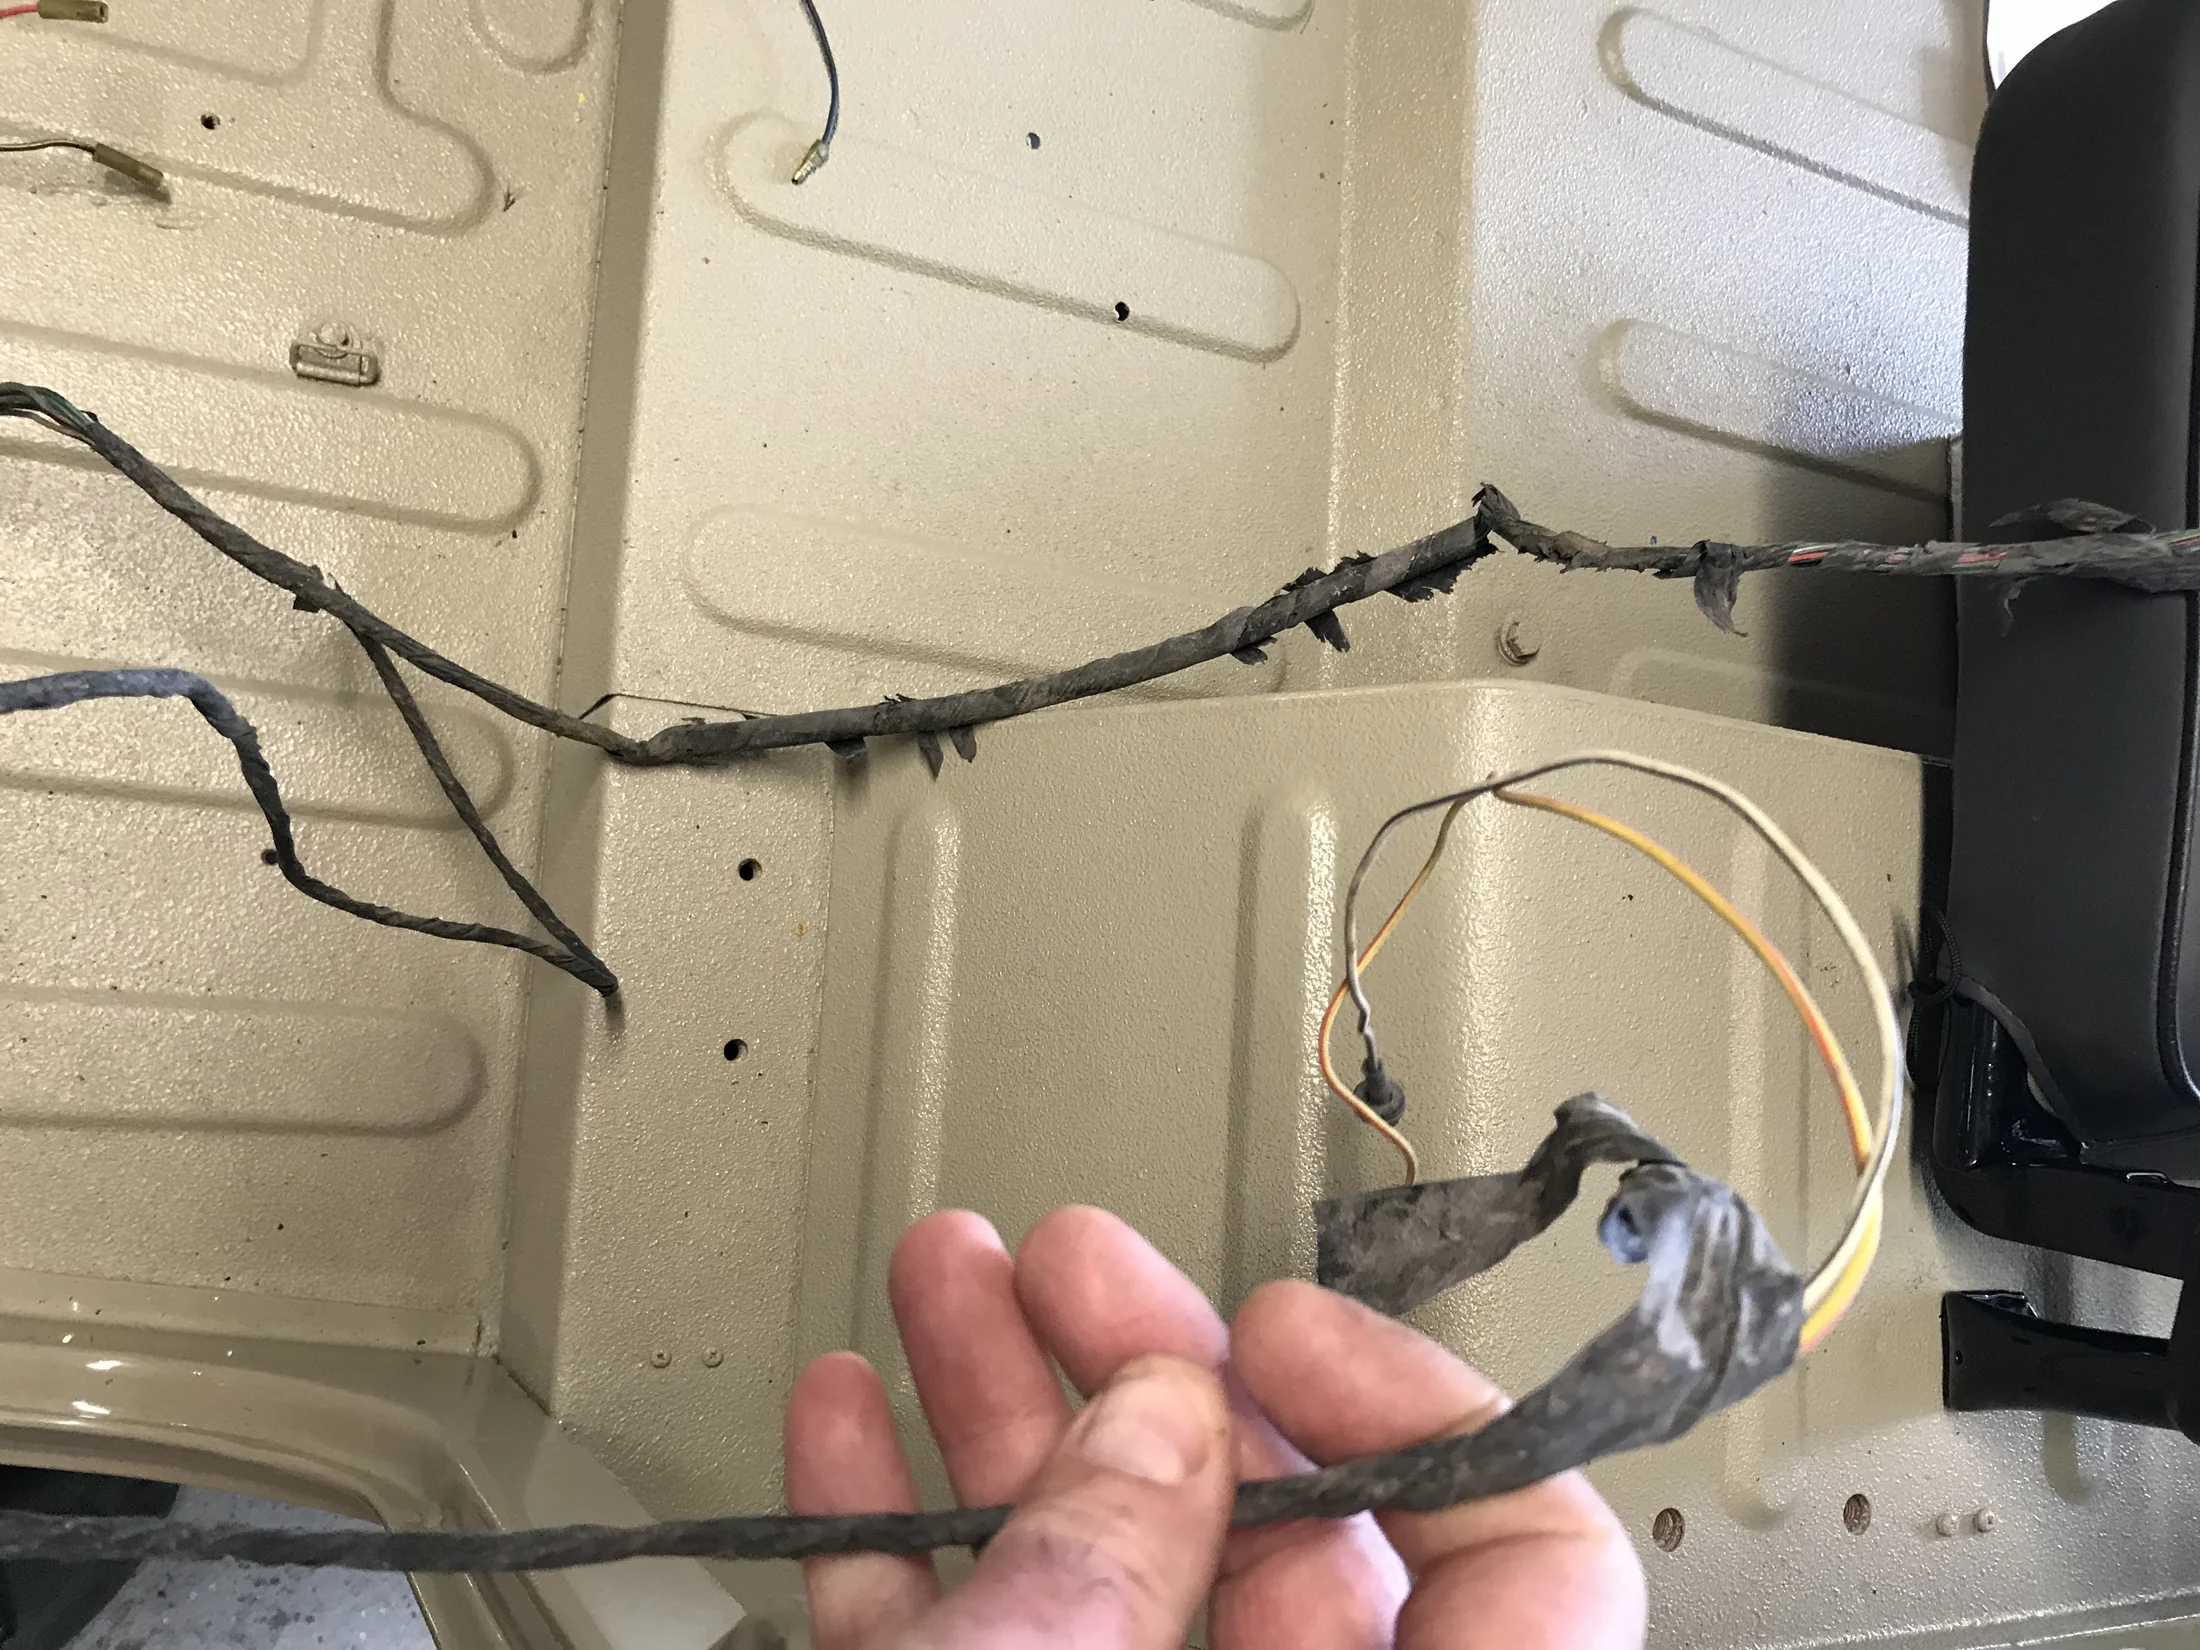
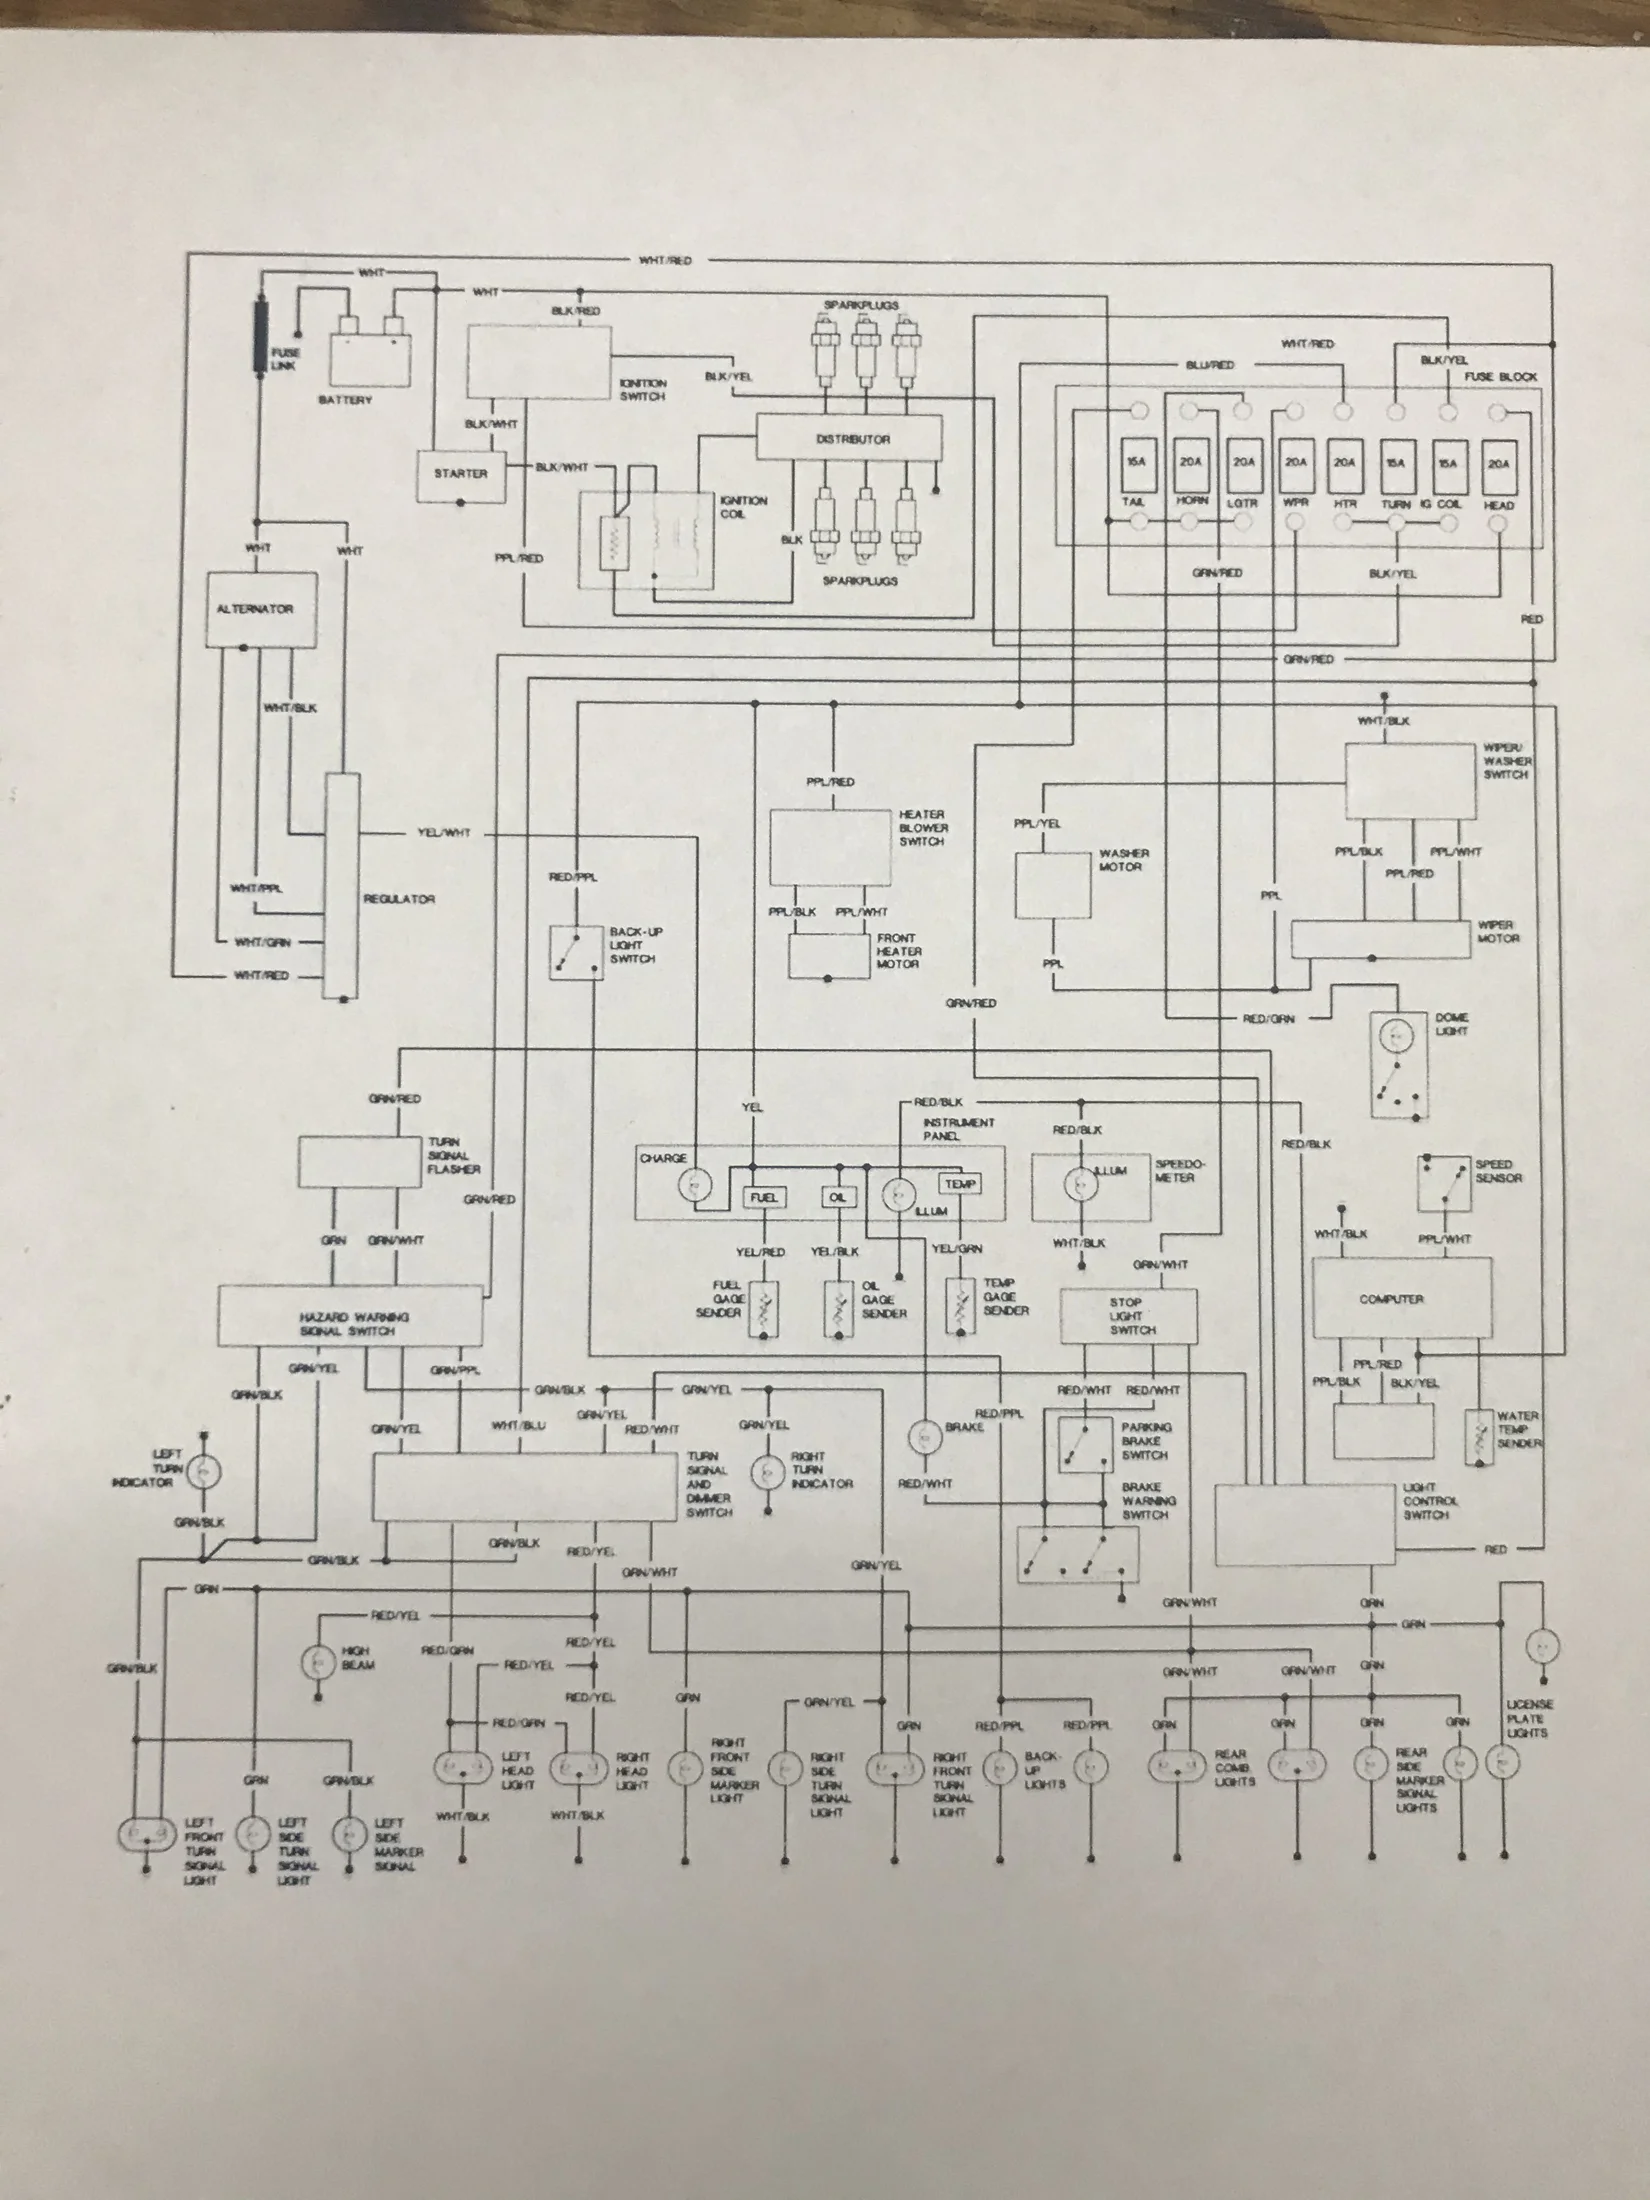
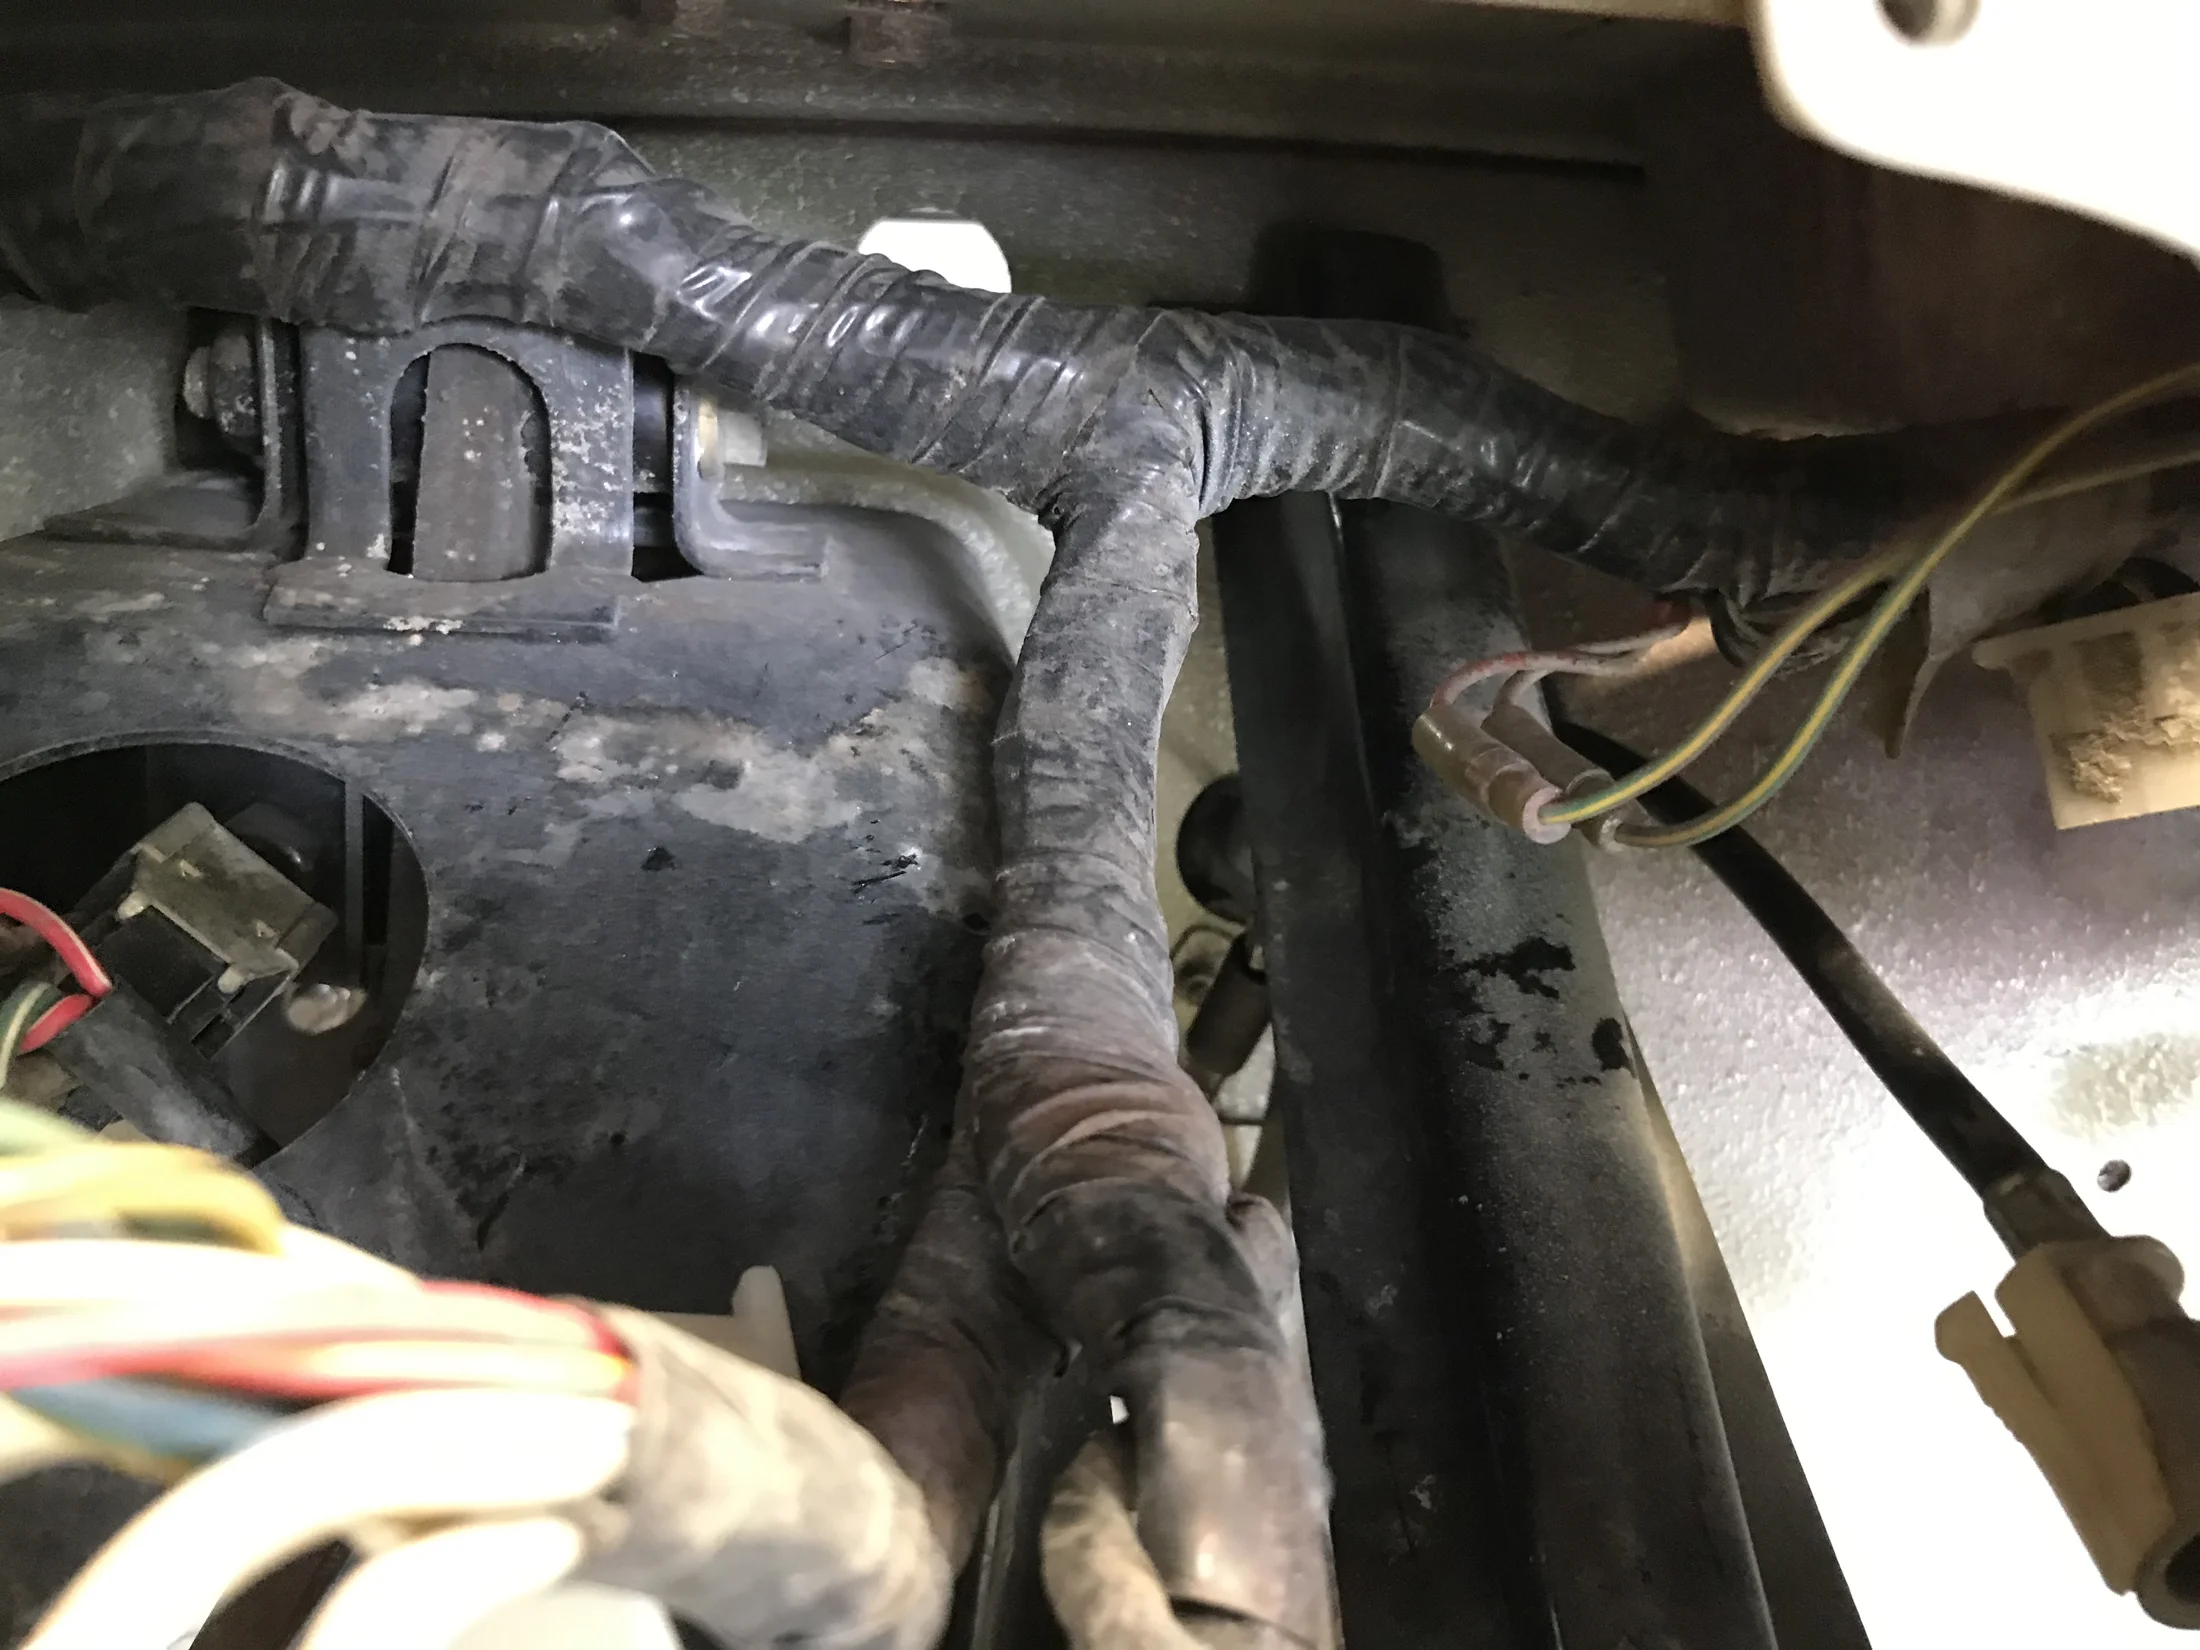
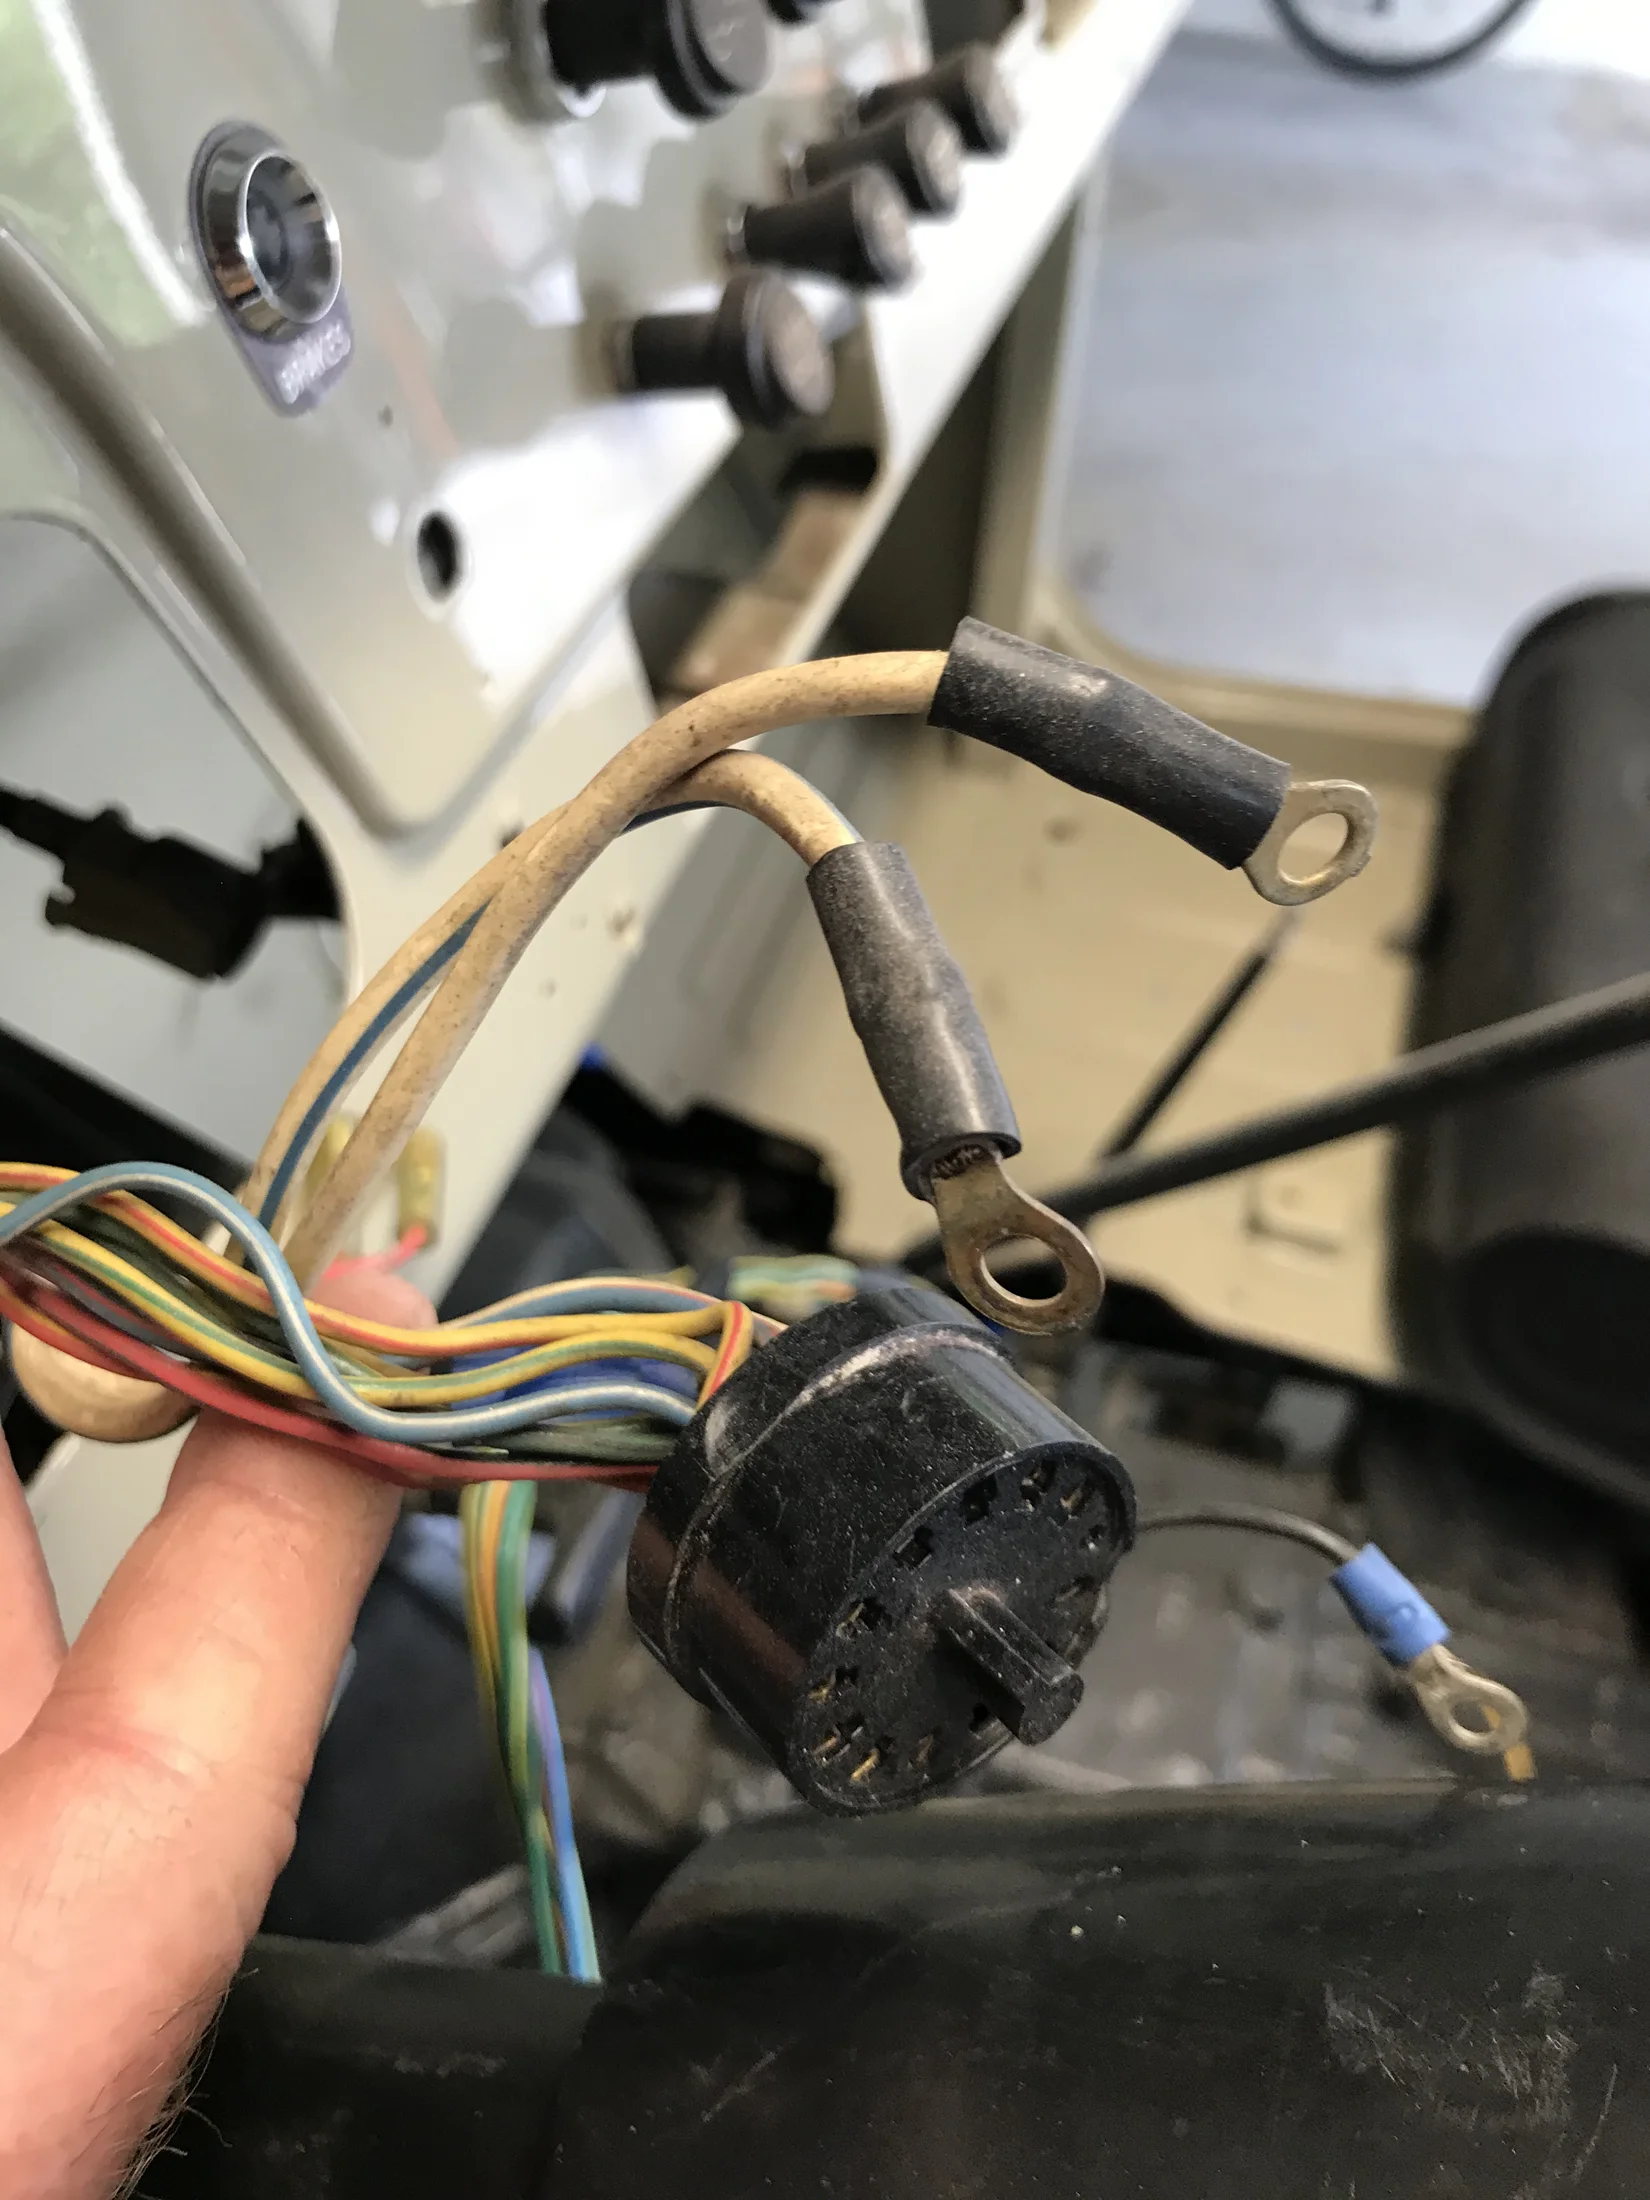
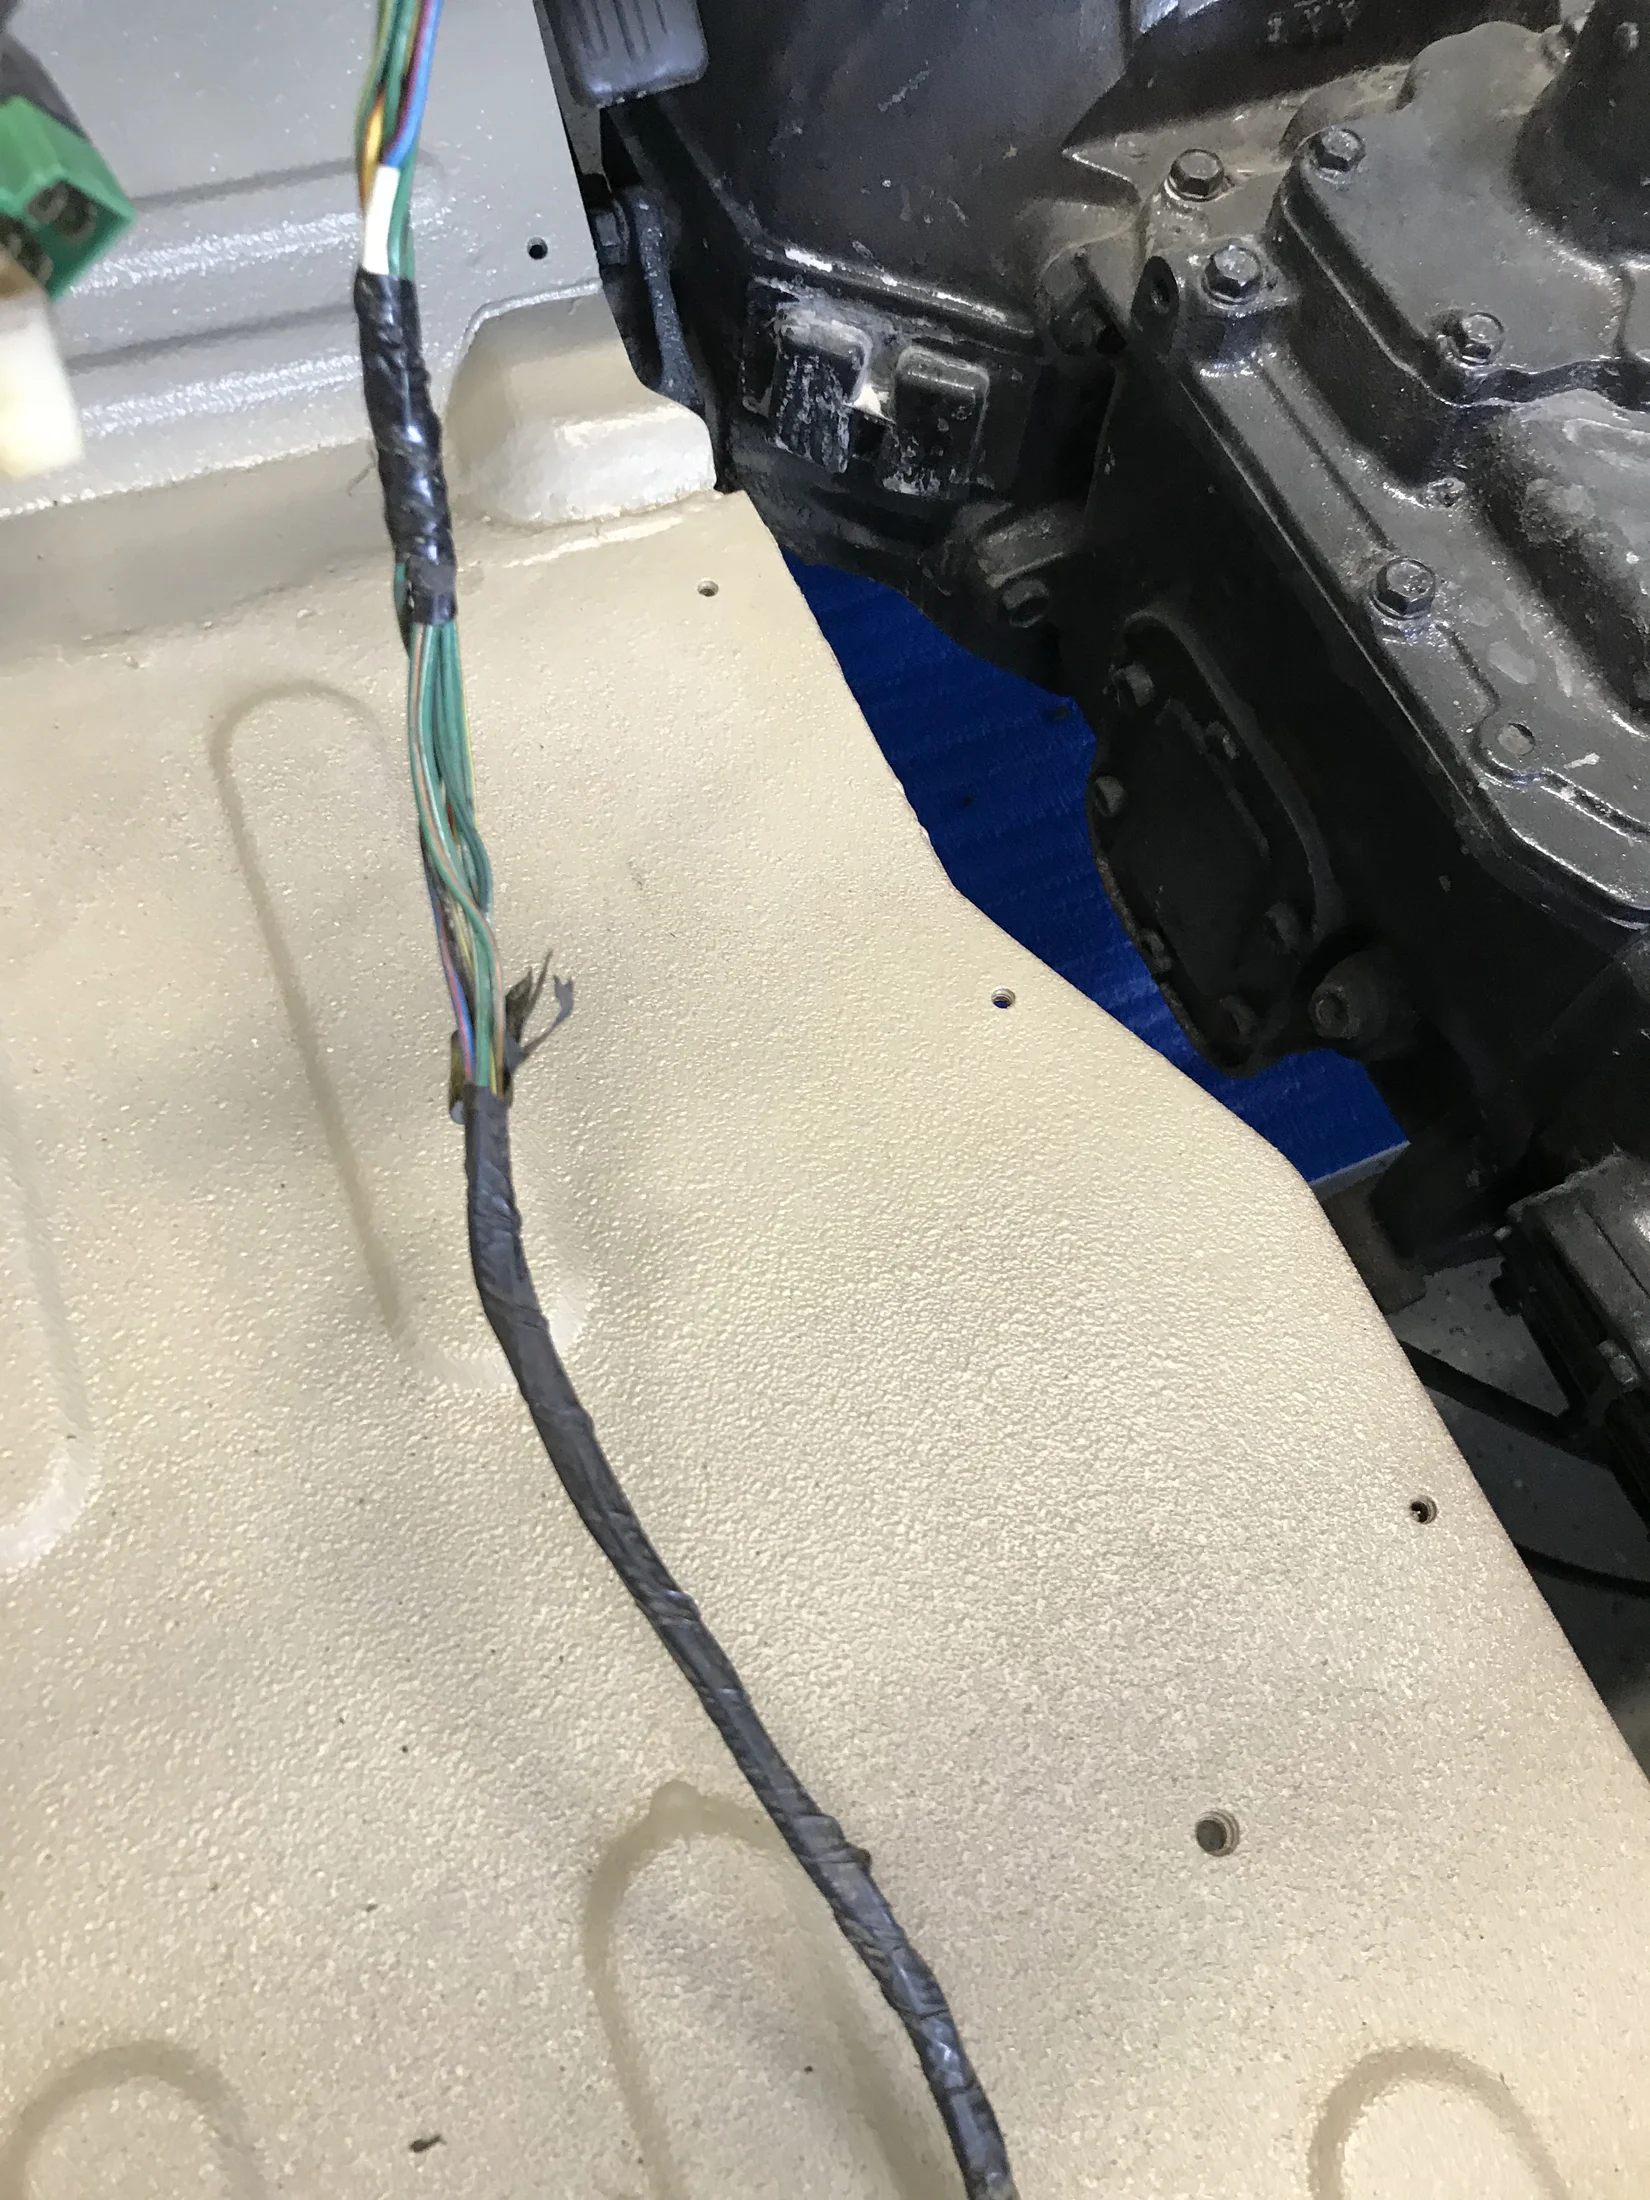
We stripped the FJ down to its underwear…not the full monty. Then engine stayed in since it was actually running pretty well. I was envisioning minimal work on that front so it stayed. The electrical also stayed…for now (this writing trick is called “foreshadowing”).